In today's age of smart gadgets and complete replacement of even some simple things with their smart counterpart, it is not really a surprise to see some strange innovations that try to take advantage of modern technology.
One of these innovations is a smart book, or to be more precise smart note, a reusable notebook that could be connected to your phone.
Why Rocketbook Fusion smartbook
One thing that could justify, well it should justify buying Rocketbook is the preservation of trees and the environment since it can be reused. The second argument would be its price since it is not expensive considering what it offers.
On top of all, you also have a free application for your phone in order to take full advantage of it.
What is a smartbook?
Imagine this scenario, you have a notebook of 42 pages with several different page styles inside. You write in it and after it is filled you upload its content to your email or cloud service of your choice, get a cloth, erase everything and start again from zero.
So as mentioned notebook comes with 42 pages of various page styles. Most of the pages are either lined or dotted but the notebook also includes a monthly calendar, two-week detailed calendar pages, and three pages for project or idea tracking. Since everything can be erased this is enough variety to cover all basis and eliminate any need for another workbook ever.
When you feel like you want to save work or once it is filled you can easily upload and save the workbook from the scan page option in the free Rocketbook app. Once scanned pages can be uploaded to your preferred cloud service or sent to your email.
Now in order to write and be able to erase any of Rocketbook's notebooks, you will have to use Pilot's Frixion writing pens. They will dry around 15s on the page and can be of course easily wiped with a damp microfiber cloth that is included with the purchase. One pen also comes with a workbook when purchased.
Application
Application has cool features, of course, the most important and most useful one is setting your upload scan destination so when you scan your pages they get automatically uploaded to your chosen destination.
In the application settings, you can also toggle some handwriting recognition features that will allow you to easily search your uploaded documents. For example, you can search through documents just by writing now or two words. There is also a Smart List feature as well that will take your checklist and make it into a virtual checklist.
The app also has a fun Explore section where you can find all sorts of fun hacks and different ideas on how to use your Rocketbook.
Not a Valid Win32 Application error code that indicates either the file or the program you are attempting to run missing or corrupt. And because of this error, Windows is unable to open your desired file or run the program successfully.
Error Causes
The ‘Not a Valid Win32 Application’ is triggered due to multiple reasons such as:
Unsuccessful program installation due to damaged disc/CD
Corrupted or incompatible file
The hard drive is loaded with bad and invalid entries
Malware invasion or viral infection
When you come across this error code on your PC, it is advisable to resolve it as it will cause you a great deal of inconvenience hampering program and file accessibility.
Furthermore, if the error code occurs due to malware or viruses, then it can lead to severe data security threats and privacy issues.
Further Information and Manual Repair
To resolve the Not a Valid Win32 Application error on your PC, you don’t need to be a technical expert or hire a professional. Though this error might be crucial it is easy to fix.
Here are some of the many methods that you can try to resolve this error code on your PC:
Check for File Compatibility
If you downloaded a file that is not compatible with your Windows version then you will come across this error. In this case, it is advisable to download the file version that is compatible and can run easily on the Windows version installed on your system.
Nonetheless, if the file is compatible but still doesn’t run on your PC, then it’s possible that the file became corrupt during the download.
Try downloading the file again.
Check if the CD is Clean
You may also come across the Not a valid Win32 application error code if the program installation from the CD is unsuccessful.
This happens when the CD is dirty or it is scratched. The program does not copy properly onto the computer from the damaged CD. So, if the CD is scratched and dirty, buy a new CD and try installing the program again.
Verify the Program You Want to Run is Still on the Computer
If you are running the program from a shortcut, then verify that the program is still installed on your PC. This error may occur if the program is no longer installed on the computer.
If you find the program is not installed on your system, then reinstall and try running the program again.
Wrong File Name Issue
Make sure the program or the file you are attempting to run on your system does not contain the same name as the long filename directory it is saved in. For example, running a file named ‘program’ in the ‘program files’ directory can cause errors in some Windows versions.
If this is the issue, then try installing the program in a different directory.
Repair Hard Drive
If the hard drive is bad or corrupted, it can also generate the not a valid Win32 application. And because of this error files and programs fail to execute successfully as not all data can be read from the hard drive.
To repair this issue first you need to run defrag and ScanDisk Microsoft built-in tools. These tools check for errors on the hard drive.
Run an Antivirus
If the error code occurs due to a viral infection or malware attack on your system, then you must download an antivirus, scan, and remove such malicious software. However, antivirus may slow down the speed of your PC.
So, to resolve speed issues and boost the performance of your system, you may have to download a system optimizer.
There are some new generation motherboards for laptops and PCs that bring in support for both the Unified Extensible Firmware Interface or UEFI as well as the Basic Input Output System or BIOS. The main advantage of UEFI over the traditional BIOS is the fact that UEFI supports a hard drive that has a capacity of more than 2 terabytes. However, the disadvantage of UEFI is that it only supports the x64 Windows operating system versions and that the hard drive is supposed to use the GPT structure. So if your PC is compatible with and supports UEFI and you want to change from Legacy to UEFI, then you’ve come to the right place as this post will guide you on how you can exactly do that without having to reinstall it.
There are two ways to change Legacy to UEFI. You can convert MBR to GPT using either the built-in utilities in Windows or using the Recovery Environment. Before you proceed, make sure that your computer fulfills the following prerequisites:
Your PC’s motherboard should support both Legacy and UEFI.
Your PC should be running at least the 1703 Windows 10 version or newer on an MBR partition.
Once you’ve made sure that your computer covers the aforementioned prerequisites, refer to the given options below.
Option 1 – Convert MBR to GPT via Windows built-in utilities
In the Windows Search box, type “command prompt” and from the search results that appear, right-click on Command Prompt and select the “Run as administrator” option.
After that, execute this command: exe /convert /allowfullOS
Now, wait until the process is completed since you can track its process on your screen.
Once it’s done, go to Settings > Update & Security > Advanced Startup options and from there, click on Restart Now. This will restart your computer and give you advanced options.
Next, select Troubleshoot > Advanced Options where you will see further options including System Restore, Startup Repair, Go back to the previous version, Command Prompt, System Image Recovery, and UEFI Firmware Settings.
Now select the UEFI Firmware Settings. This will take you to the BIOS. Boot Mode is typically available under Boot > Boot Configuration. Once you’re there, set it to UEFI and then save the changes you’ve made. After that, your computer will restart.
Option 2 – Convert MBR to GPT via the Recovery Environment
When the message appears on your screen while running Windows Setup, you need to tap the Shift + F10 keys to open Command Prompt.
Make sure to run Command Prompt as admin and then execute this command: exe /convert
After that, wait until the process is completed. When it’s done, you have to go to the BIOS just like in the first given option above.
As mentioned, you can usually find the Boot Mode under Boot > Boot Configuration. Once you’re there, set it to UEFI.
Now save the changes made and exit as your computer will restart.
As you know, one of the useful and efficient utilities in Windows 10 is the DISM tool. It can be used with the Command Prompt command line which allows users to carry out various tasks. However, there are instances when the DISM tool could encounter some errors when you try to execute a command. One of these errors is the one that states, “The component store has been corrupted”. This kind of DISM error is due to an error in the image file.
When you encounter the DISM Error 14098 when running the DISM tool, you will see the following content in the command line:
“C:>Dism /Online /Cleanup-Image /RestoreHealth /Source:c:testmountwindows /LimitAccessDeployment Image Servicing and Management toolVersion: 10.0.10586.0Image Version: 10.0.10586.0[==========================100.0%Error: 14098The component store has been corrupted.The DISM log file can be found at C:WINDOWSLogsDISMdism.logC:>”
There are several fixes you can check out to fix the DISM Error 14098, “The component store has been corrupted”. You can try to run the Restore Health command or reset the Windows Update components, or whitelist the dism.exe in your antivirus program, as well as try to uninstall any recently installed updates. Follow the options provided below for more details.
Option 1 – Run the Restore Health command in a Clean Boot State
First, you need to put your computer in a Clean Boot State.
Type in MSConfig in the Start Search to open the System Configuration utility.
From there, go to the General tab and click “Selective startup”.
Clear the “Load Startup items” check box and make sure that the “Load System Services” and “Use Original boot configuration” options are checked.
Next, click the Services tab and select the “Hide All Microsoft Services” check box.
Click Disable all.
Click on Apply/OK and restart your PC. (This will put your PC into a Clean Boot State. And configure Windows to use the usual startup, just simply undo the changes.)
Now open Command Prompt with admin privileges.
Then type and enter this command to execute it: Dism /Online /Cleanup-Image /RestoreHealth
Wait until the process is completed and restart your computer.
Note: If the Restore Health command fails, you can use the “/StartComponentCleanup parameter” by executing this command: Dism /Online /Cleanup-Image /StartComponentCleanup
Option 2 – Try to reset the Windows Update components
If by any chance that the second option didn’t work, resetting the Windows Update components could also help you resolve the problem. How? Refer to the following steps:
Open Command Prompt with admin privileges.
After that, type each one of the following commands and hit Enter after you key in one after the other.
net stop wuauserv
net stop cryptsvc
net stop bits
net stop msiserver
Note: The commands you entered will stop the Windows Update components such as Windows Update service, Cryptographic services, BITS, and MSI Installer.
After disabling WU components, you need to rename both the SoftwareDistribution and Catroot2 folders. To do that, type each one of the following commands below, and don’t forget to hit Enter after you type one command after the other.
Next, restart the services you’ve stopped by entering another series of commands. Don’t forget to hit Enter after you key in one command after the other.
net start wuauserv
net start cryptsvc
net start bits
net start msiserver
Close Command Prompt and reboot your PC.
Option 3 – Whitelist the “dism.exe” in your antivirus program
The DISM error 14098 might also be caused by your antivirus program which could be interfering it from running. To fix this, you have to whitelist dism.exe. How? Refer to these steps:
Open the Windows Defender Security Center from the system tray area.
Next, click the “Virus & threat protection” option and then open the “Virus and threat protection settings”.
After that, scroll down until you find the “Exclusions” and click on the “Add or remove exclusions” option.
Then click the plus button and select the type of exclusion you want to add and from the drop-down list, select Folder.
Next, navigate to this path and select the WinSxS folder: C:/Windows/WinSxS
When a User Account Control or UAC prompt, just click on Yes to proceed.
Option 4 – Try to uninstall recently installed updates
There are times when some Windows Updates affect some mechanism internally when you update your Windows 10 computer. As a result, it causes issues with other components of the operating system which could be the reason why you’re getting the DISM error 14098.
Go to Settings and select Update and Security > Windows Update.
From there, click on the “View update history” option and then click on the “Uninstall Updates” option.
This will open a new window that contains the list of installed Windows Updates.
Now right click on the Windows Update you wish to uninstall and click Uninstall.
Open Source Software is developed, tested, or improved through public collaboration and distributed with the idea that the must be shared with others, ensuring an open future collaboration. In other words, it is free software developed and maintained by public contribution. Many open-source projects have reached performance and usability like their paid alternatives, some have even surpassed them. Here we will explore open source alternatives to paid applications, you will find alternatives to paid ones that aim to do the same task.
LINUX - alternative to Windows or macOS
When it comes to the operating system, Windows and macOS mostly dominate the home market, but if you go a little deeper into the OS world you will hear this talk about LINUX and its distributions. LINUX is an open-source operating system, it has many various distributions aimed at different types of users and they are also open source as well. Its security and account privileges, as well as complete control over it, make it one of the best-operating systems in the world, many servers that run websites today use LINUX as their choice of operating system mostly due to its superior security features. If LINUX is good enough for big web companies, I am sure it will be at least satisfactory to you as well. Get your LINUX distribution here.
Thunderbird - alternative to outlook
A great alternative to any mail client actually, connect all of your emails into thunderbird and use it as the centralized email client for all of your email needs. Thunderbird does not lack any features that its paid counterparts have and overall it is a great application worth installing. Grab it from here.
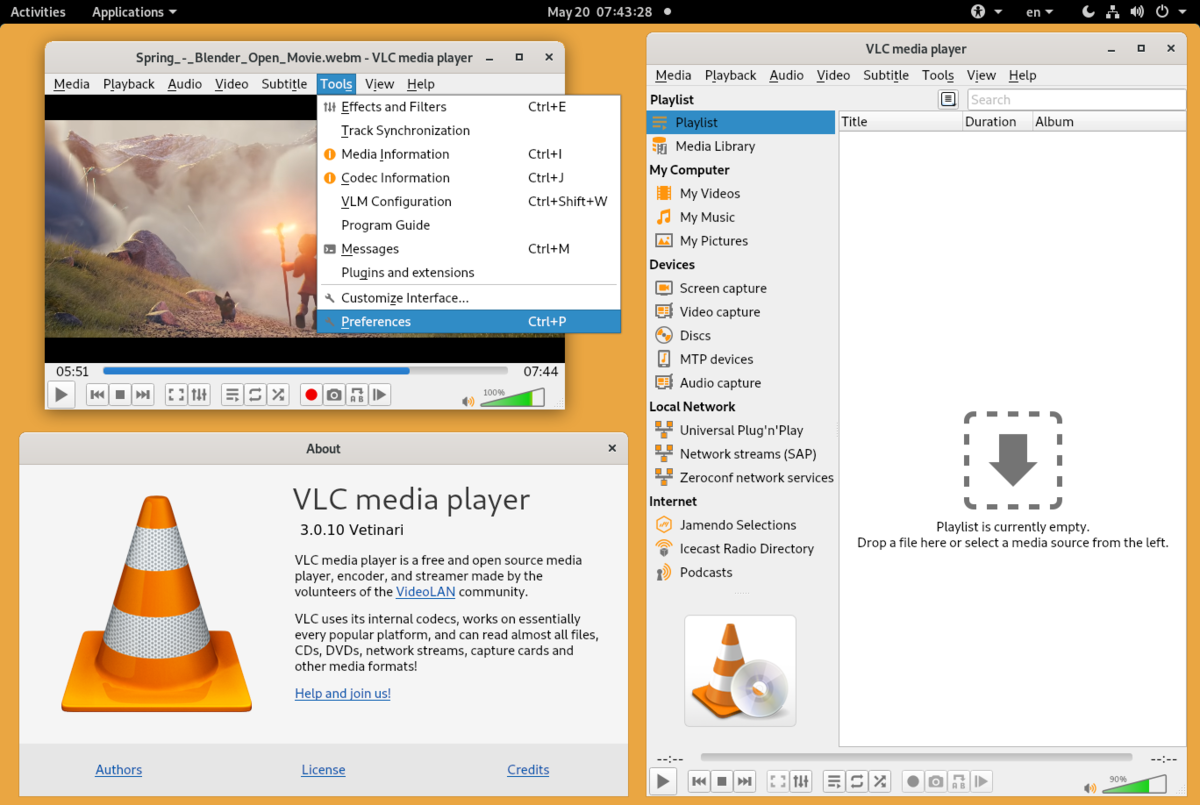
VLC media player - media player able to play almost anything
Are you looking for a great media player alternative to Windows media player or iTunes? Look no further, VLC is a lightweight media player that can play almost any file type, it is customizable and packed with features even its paid counterparts would envy. Its playback features are unmatched by other applications and once you try it, I am sure you will hardly go back from it. Give it a go and grab it from here.
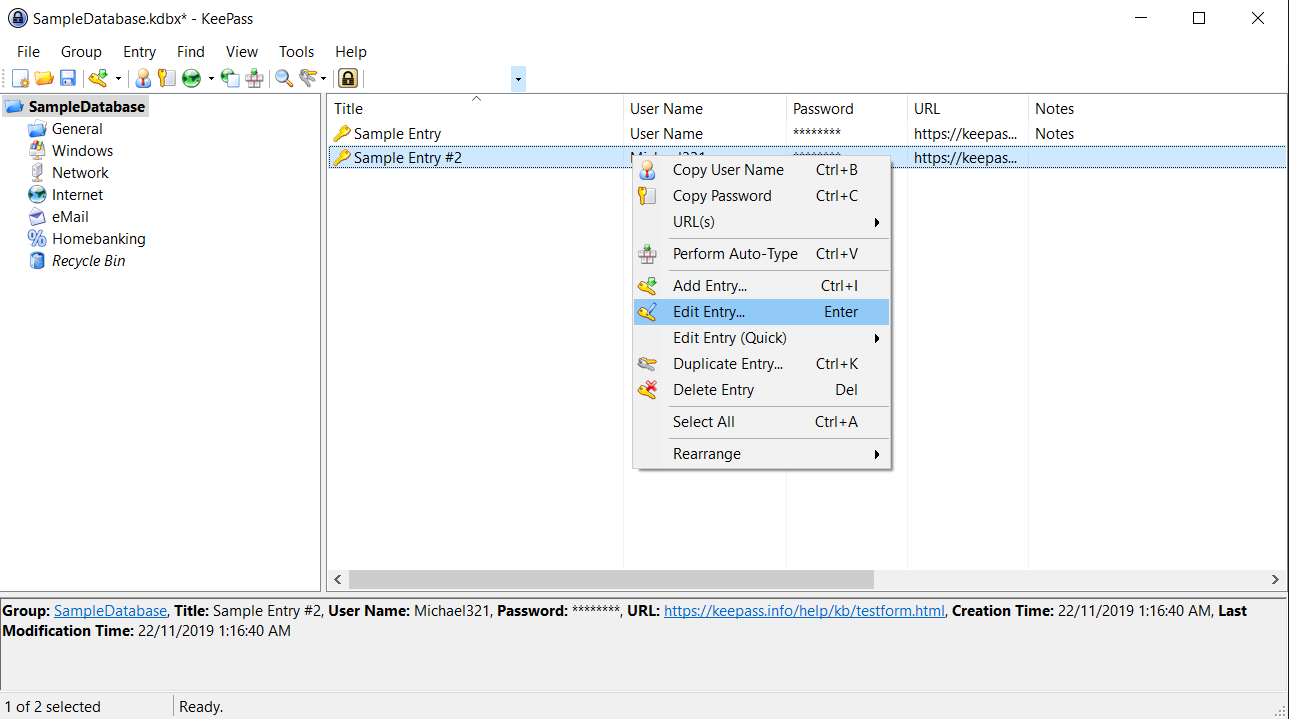
KeePass - password manager
Keepass is a simple, user-friendly lightweight password generator and manager, it uses industry-standard AES encryption and two-factor authentication to keep the details of your accounts safe and secure. you can store him and the database on a USB stick for safekeeping making it a great one to use on a go, wherever you need it. Get it from this link.
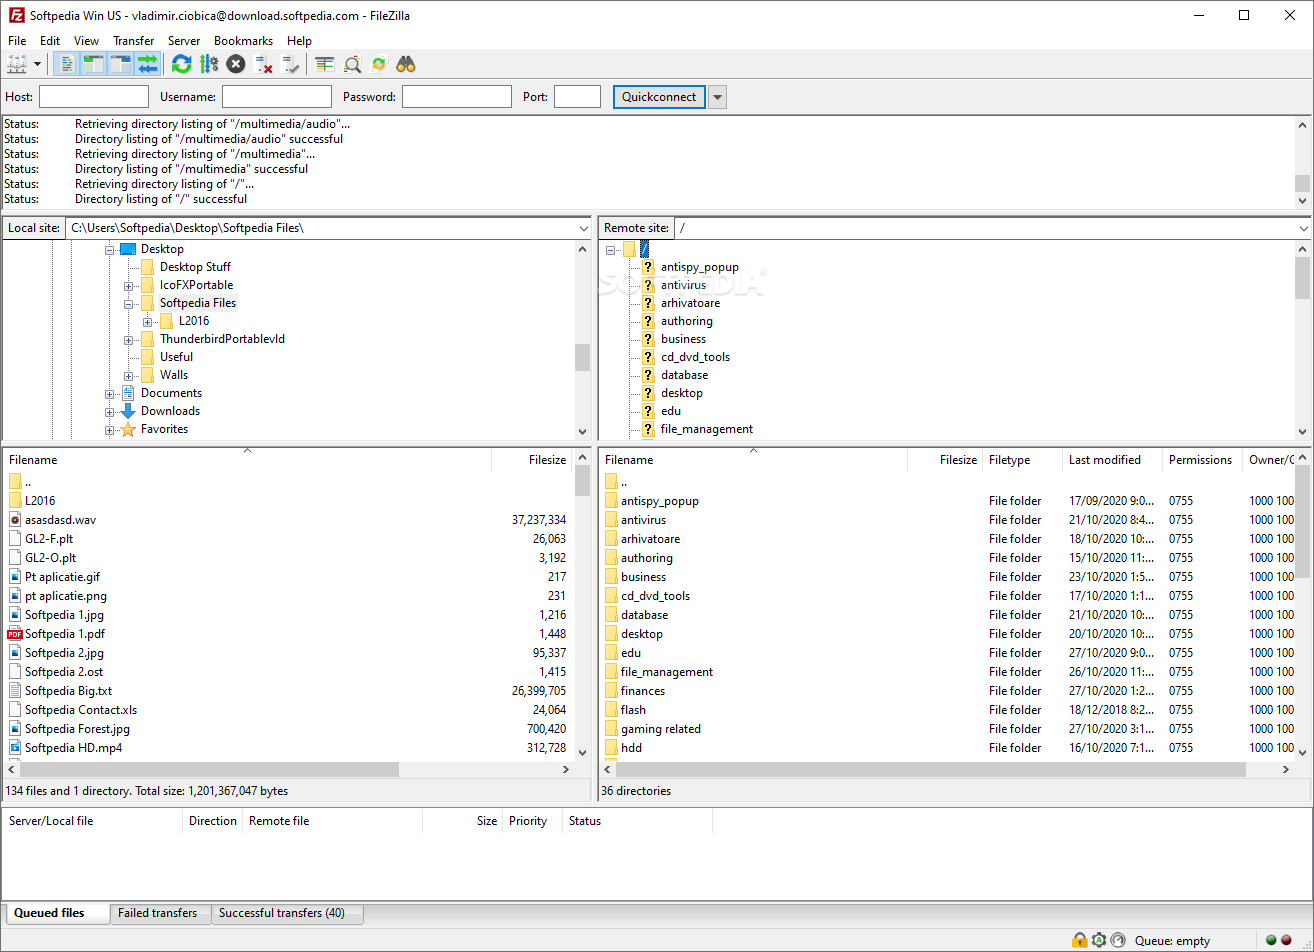
FileZilla - FTP client
A lightweight and future-rich FTP solution. It supports remote file editing and resuming of lost transfers, overall great application which anyone who needs this type of software should not overlook. Download it from its official website.
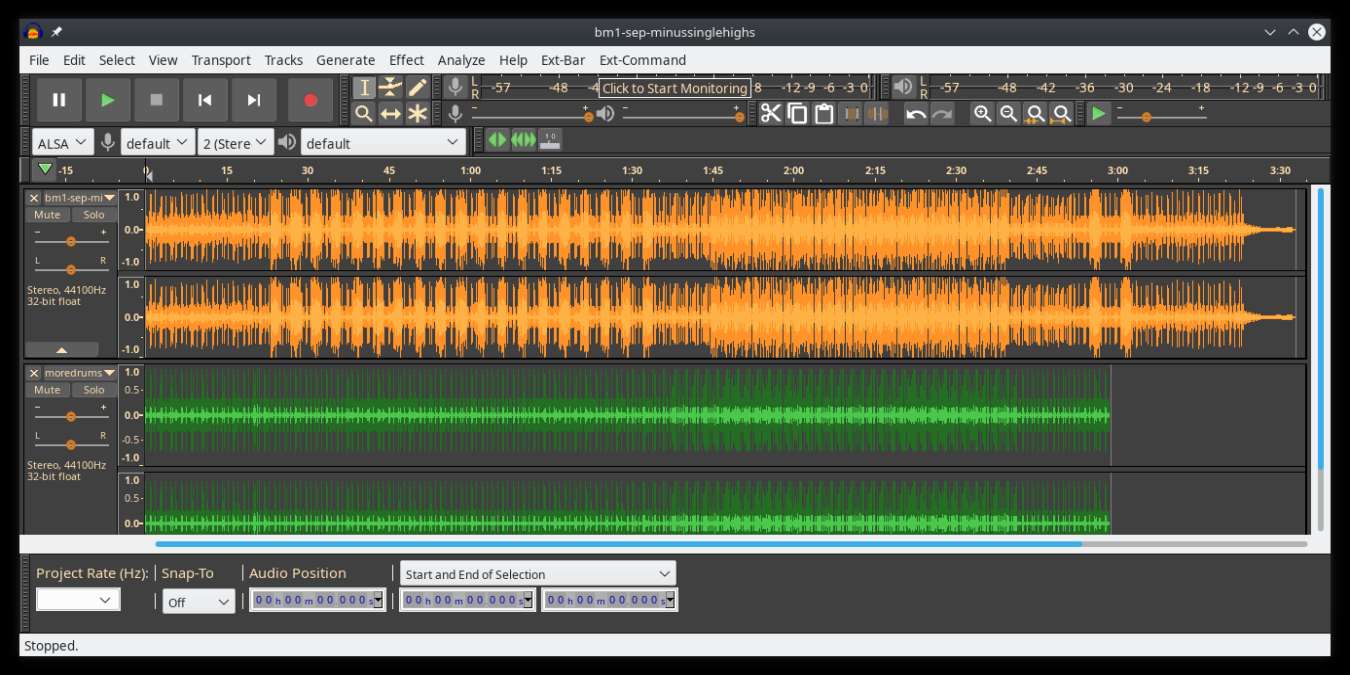
Audacity - alternative to Audition, Fl, apple logic pro,...
Digital audio editor and recording computer software with some great features like recording audio from multiple sources, post-processing of all types of audio, including podcasts by adding effects such as normalization, trimming, and fading in and out. Audacity has a great following and it is well documented, easy to learn and use. Grab it from here.
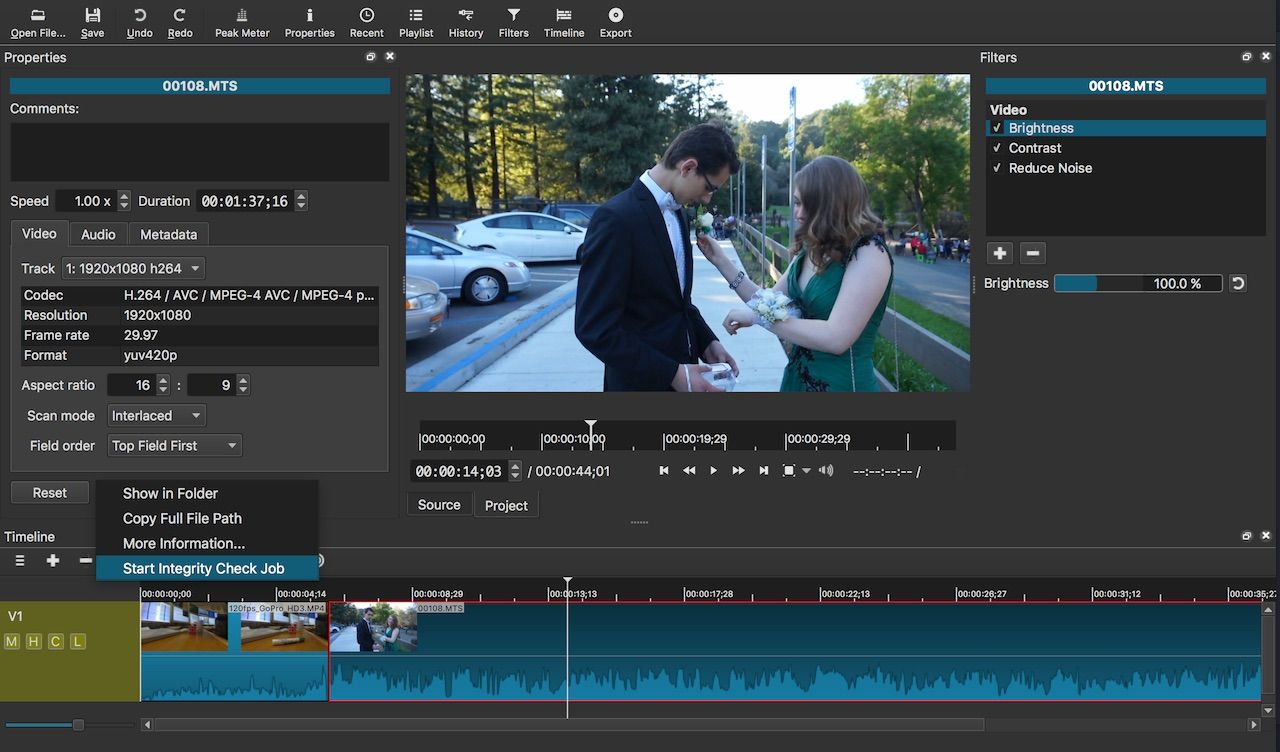
Shortcut - alternative to adobe premiere, avid media composer, DaVinci resolve
The shortcut is a video editor application that demonstrates how long an open-source project can go if enough dedication and work are put into it, started as not so great and not so feature-packed in beginning, today it can easily contend with its paid counterparts with its non-destructive editing, color gradation, keyframing, etc. It is running and using FFmpeg, an open-source video framework that lets it open and works with virtually any video or audio format. Download it from here.
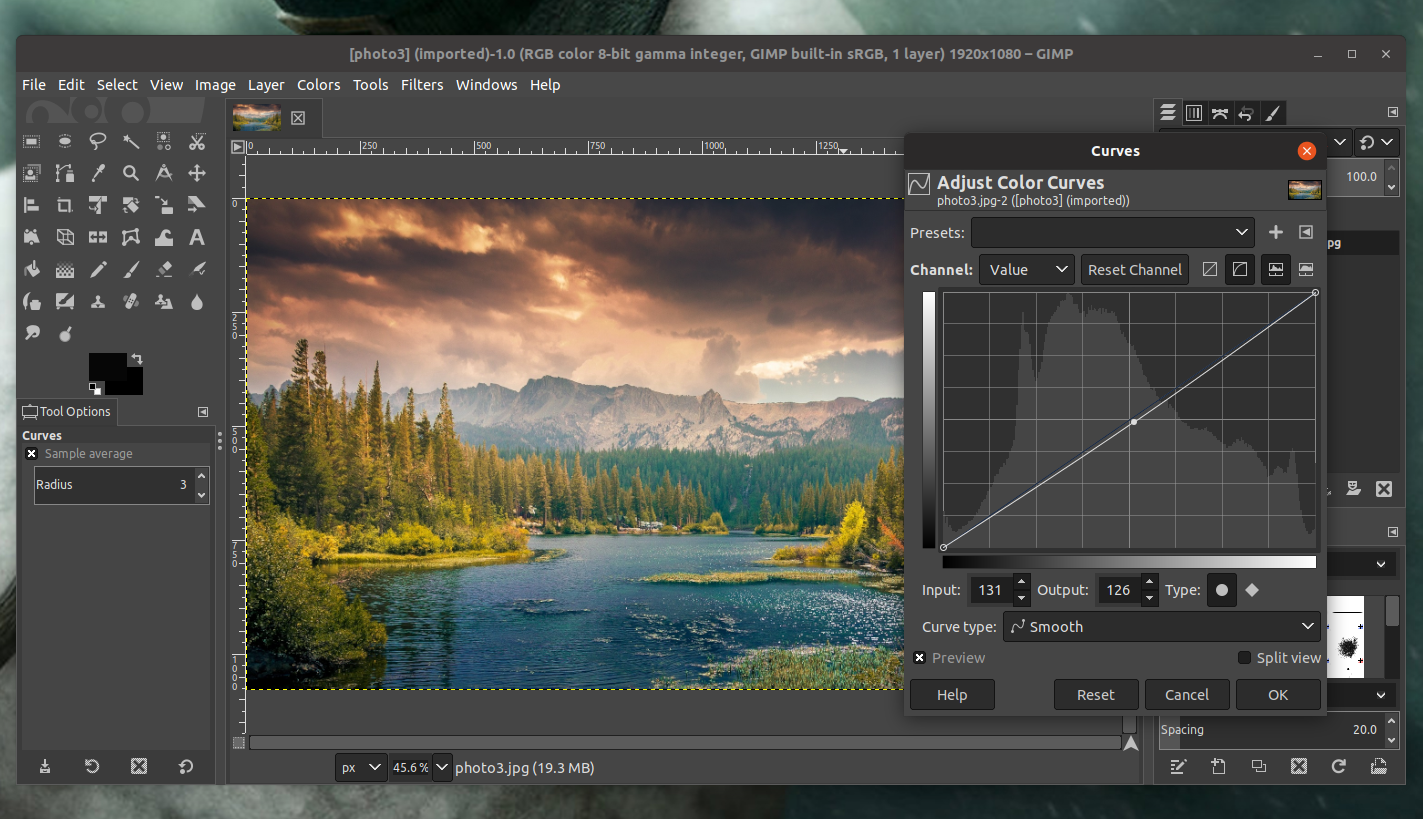
Gimp - alternative to adobe photoshop
This one has been around since 1996 and it is one of the best maintained open source applications. With its features like built-in support for layers, filters, and automatic photo enhancement. It also makes it easy to create new graphic design elements and you can really take things to the next level by downloading plug-ins created by the broader GIMP open source community. Gimp is the best pixel manipulation-free tool on the market and with the right skills, it can go side by side with adobe's flagship product. Check it out here.
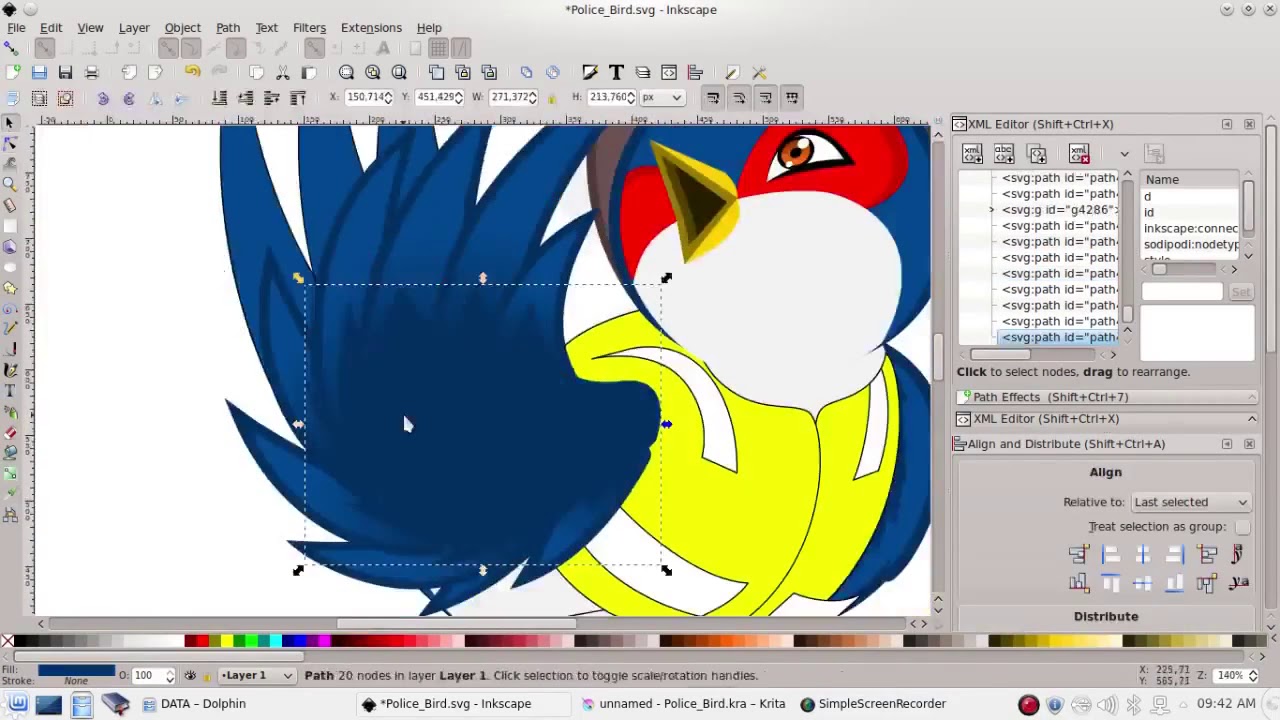
Inkscape - alternative to adobe illustrator, Corel draw
What is Gimp for photoshop that is Inkscape for illustrator. This free open-source vector graphic tool does not fall behind with its tools in comparison to its paid counterparts and I would highly recommend it for anyone. Features like alpha blending, cloning on-point path manipulations can assure that you can create anything you want inside it. get your copy from here.
Libre office - alternative to MS office
Libre office is one of the most quality office suite there, it has spreadsheets, word processor, presentation app, calculation applications, database application, and diagrams. All these applications create and make one great suite that can open Microsoft Office files and even work with them naturally. Completely free and active in development there is no reason, not t use it in your daily routine. Go to its official website and download it for a test run.
Amarok - alternative to iTunes
Amarok is an audio player with a broad range of features like integration with multiple Web audio services, dynamic playlists, bookmarks, scripting, context view, and more. get it from here.
PDF Creator - alternative to adobe acrobat
As its paid counterpart PDF Creator lets you make PDF files from any application that could print. It works the same way as adobe acrobat and supports encryption and digital signature, it lacks in PDF forms a little but if that is not something that you need, it is a great alternative to acrobat and completely free. Download it from here.
Blender - Alternative to Autodesk Maya, Autodesk 3dmax, foundry Modo, cinema4d,...
3D modeling and animation software is very expensive. From the point of home user long it has been lost dream to have industry quality 3D modeling, animation, and rendering application for an affordable price. Blender has made that dream a possibility, completely free and open-source this package offers everything that its paid counterparts offer, some could even argue that since its open-source nature and availability of full code it offers even more. Why you are still here? Go get it here.
Bluefish - alternative to Adobe Dreamweaver
When it comes to web editing and code editing applications, notepad ++ seems like a person go-to application, but if you prefer a more professional suited IDE for web development check out Bluefish, auto-filling, code syntax, and constant development make sure that this application will not go away soon and it is worth investing your time in it. Get it from here.
ClamWin - alternative to Kaspersky, BItdefender, Norton
This antivirus has over 600000 users and active database updates also feature a full email scanner, scanning scheduler, and File Explorer integration. It is far better than other freeware alternatives and if you are looking for a free antivirus option look no further, ClamWin is here to stay. Grab it from here.
Natron - alternative to adobe aftereffects, foundry nuke
Full-featured node-based composition and effects suite. Natron is a powerful Digital Compositor that can handle all of your 2D/2.5D needs. Its robust OIIO file formats and OpenFX architecture is what makes Natron the most flexible open-source compositor for the visual effects community. Its interface and functionally are the same across all platforms such as macOS, Linux, and Windows. Natron has a powerful keying, roto/roto paint, 2D tracking tools that are staple for all current film production project that requires visual effects. Get natron from here.
Clonezilla - alternative to Norton Ghost
When it comes to cloning hard drives usually there is only one application, Norton ghost. Clonezilla tends to change that by offering the same usability as the ghost. Grab your copy from here.
FreeCAD - alternative to Autodesk AutoCAD
Autodesk AutoCAD has years of development and dedication of its team behind it to keep it as the best CAD application on the market and it shows. However, if you are not really a hardcore professional who needs all of AutoCAD features and can live without some automation inside it FreeCAD is one of the best free open source options, it will certainly get the job done and with its dynamic simulation and analysis, it is guaranteed that you can achieve same results as in AutoCAD with little more time investment. Get if here.
Octave - alternative to MATLAB
Octave is the best open-source educational tool used for numerical computation with an interactive environment. The tool features powerful mathematics-oriented syntax with built-in plotting and visualization tools and also Octave syntax is largely compatible with Matlab. Get your copy from here.
Godot - alternative to Unity3D, Unreal
Godot is a lightweight feature-packed node-based game development engine, completely open-source and free to use for commercial projects. The engine has reached 3.2 version and it is more and more adopted by various independent game makers across the globe, recently there are to of video tutorials and documentation to get you up and running and its open-source nature lets you modify the engine itself in any way that suits and benefits you. Also, any project made with Godot is completely yours, there are no hidden fees or anything similar. Download it from here.
Conclusion
That's it, my pick for 20 open source alternatives which I believe you should at least try and if you end up with at least one, you have saved some hard-earned money.
And always remember:
Open-source programs give you complete freedom without any shady terms and conditions.
Open-source software code is readily available for anyone who wants it, so anyone can use it, share it, modify it for their own needs, and study it.
No spying eyes, no tracking, and no telemetry
In some cases, open-source tools offer features or performance benefits that surpass their commercial counterparts.
No hidden charges, completely free.
If you would like to read more helpful articles and tips about various software and hardware visit errortools.com daily.
If you suddenly encounter Error 0x80000003 while trying to execute a random file then read on as this post will show you how you can fix such an error. Obviously, it mostly happens on executable files or .exe files and is most likely caused by the conflict in the execution of some registry files or it could also be caused by missing drivers or it could also be due to some incompatible hardware which is why you’re unable to run the executable file.
When you encounter this error, you will see the following error message on your screen:
“The exception Breakpoint, A breakpoint has been reached, (0x80000003) occurred in the application.”
As you can tell, the Windows Executive STATUS message is a warning and if you are given an option, you must select one of the options from the message box. So if you are running the application in an end-user environment rather than in a development environment, you must contact the supplier of the running application regarding this error message since this shouldn’t be happening when a finished program is running.
Before you get started executing the troubleshooting guide given below, make sure that you create a System Restore Point first since you will be dealing with some critical settings in Windows. Having done this, proceed to the options provided below.
Option 1 – Try to run the CHKDSK utility
Running the CHKDSK utility might also help you resolve Error 0x80000003. If your hard drive has issues with integrity, the update will really fail as the system will think that it’s not healthy and that’s where the CHKDSK utility comes in. The CHKDSK utility repairs hard drive errors that might be causing the problem.
Open Command Prompt with admin privileges.
After opening Command Prompt, execute the following command and hit Enter:
chkdsk /f /r
Wait for the process to be completed and then restart your computer.
Option 2 – Try to run a System File Checker scan
You can also try to run a System File Checker or SFC scan in order to scan your computer for corrupted files that might be the cause behind the Error 0x80000003. Once it finds any corrupted system files, it will automatically fix them. To run System File Checker, here’s what you have to do:
Tap Win + R to launch Run.
Type in cmd in the field and tap Enter.
After opening Command Prompt, type in sfc /scannow
The command will start a system scan which will take a few whiles before it finishes. Once it’s done, you could get the following results:
Windows Resource Protection did not find any integrity violations.
Windows Resource Protection found corrupt files and successfully repaired them.
Windows Resource Protection found corrupt files but was unable to fix some of them.
Restart your computer after the scan is completed.
Option 3 – Perform a Clean Boot
There are some instances that some conflicting programs installed in your computer might be the one that’s causing the Error 0x80000003 to appear. To identify which program is causing the problem, you need to put your computer in a Clean Boot State. To do so, follow the steps below.
Log onto your PC as an administrator.
Type in MSConfig in the Start Search to open the System Configuration utility.
From there, go to the General tab and click “Selective startup”.
Clear the “Load Startup items” check box and make sure that the “Load System Services” and “Use Original boot configuration” options are checked.
Next, click the Services tab and select the “Hide All Microsoft Services” check box.
Click Disable all.
Click on Apply/OK and restart your PC. (This will put your PC into a Clean Boot State. And configure Windows to use the usual startup, just simply undo the changes.)
From there, start to isolate the problem by checking which one of the programs you installed recently is the root cause of the problem.
Option 4 – Run the Memory Diagnostic Tool to check for Memory leaks
Tap the Win + R keys to open Run and type mdsched.exe and hit Enter to open the Windows Memory Diagnostic Tool.
After that, it will give two options such as:
Restart now and check for problems (Recommended)
Check for problems the next time I start my computer
Once your computer has restarted, perform a basic scan or you could also go for the “Advanced” options such as “Test mix” or “Pass count”. Simply tap the F10 key to start the test.
Option 5 – Try contacting the developer
If you find that you’re getting Error 0x80000003 on only one particular application, then you can try to contact the developer of the software that’s throwing up this error. All you have to do is search the web for the official support channel of the software and discuss the error from there.
Special folders like music, pictures, download, videos, etc, can be placed as shortcuts in the start menu inside Windows 11 for easy access.
Shortcuts will appear in the start menu on the bottom as simple glyphs. They are not present in the start menu by default so it needs to be turned ON first.
If you want to place these icons in your Star menu follow this step-by-step guide and you will have them in no time.
Open Windows settings
In settings go to Personalization > Start
In Start click on Folders
On the given list of Settings, File Explorer, Documents, Downloads, Music, Pictures, Videos, Network, and Personal folder click on the switch beside them if you want them as shortcuts in the Start menu. You can choose whichever you want.
Close settings
You can revisit the settings menu to add more icons or remove some of them later if you wish so.
Many Windows 10 users often change the IP addresses of their computers’ network adapter in order to connect to the internet or network they belong to in times when there is no automatic connection for their computers. In most cases, access to modifying this setting is restricted for some odd reason even if you are an administrator. So if you are one of the users whose Windows 10 VPN IPv4 Properties are not working, this post can help you remedy that so that you can open and edit the IPv4 Properties on your Windows 10 PC.
The common way to change IP settings is by going to Settings > Network and then to Internet > Change adapter options > Select Network adapter > right click and open Properties. From there, you can select TCP/IP 4 and modify it. If you aren’t able to do this, refer to the instructions laid out below to troubleshoot the problem in accessing the IPv4 Properties.
Option 1 – Try using PowerShell to manually set the IPv4 properties
As you are not able to set it using the interface, you can do so using PowerShell instead. Note that this option will only work for you if you run PowerShell with administrator privileges.
After opening PowerShell, according to many users, you have to run the this command – set-DnsClientServerAddress -InterfaceAlias “Ethernet” -ServerAddresses xxx.xx.xxx.xxx,x.x.x.x,xxx.xx.xxx.xxx,x.x.x.x
Usually, Ethernet is the name of your network adapter which is set by default. If you want to see the actual name of your network adapter, you can just type this command and tap Enter after doing so – Get-NetAdapter -physical | where status -eq 'up'
After entering the given command, you will see a list of active Ethernet adapter in your computer as you can see on the image above. Note that the 4 sets of X like the one on the image below should match with the sequence:
Option 2 – Try editing the rasphone.pbk files
The rasphone.pbk files stores property for the connections and since you are not able to access the IPv4 properties, it is most likely that it has been disabled here. The good thing is that you can open these files and edit them using Notepad. Refer to the steps below to do so.
Open the Windows Explorer and then enable the show hidden files option.
After that, look for the files at this location – C:Users <username>AppDataRoamingMicrosoftNetworkConnectionsPbk_hiddenPbkrasphone.pbk
Then right-click on it and select the “Open with” option and choose the Notepad app.
After opening the file, look for “IpPrioritizeRemote” from the long list.
Once you found it, set its value from “1” to “0”.
After that, look for “IPInterfaceMetric” and set its value to “1” and tap Ctrl + S to save the changes you’ve made, and then exit and try accessing the IPv4 properties again. It should work, but if you’re still unable to access it, try the next option below.
Option 3 – Enable the Split Tunneling if you use VPN
All data goes back and forth when you are using a VPN service on your computer. And since you are using VPN, it could be that it disables the IPv4 interface. If that’s the case, you need to stay connected with both the local network and VPN and to do so, you have to enable Split Tunneling. How? Follow these steps:
Open PowerShell with administrator privileges.
Next, type in “Get-VpnConnection” and tap Enter. After doing so, it will give you the exact name of your VPN.
After that, type in “Set-VpnConnection -Name “yourVPNName” -SplitTunneling $True” and tap Enter. Once you enter the command, it will free your IPv5 settings so that you can change it to connect with your local network if you prefer it to.
The 0x8007045D error code is an I/O (input and output) error that is associated with the registry. It indicates that the Windows operating system has become overloaded with invalid system references in the registry.
This may prevent you from executing reading and writing to and from devices successfully.
Error Causes
Registry is the main database of your PC. This portion of your computer saves all the activities that you perform on your PC including the junk files, temporary internet files, invalid entries, bad registry keys, and more.
This clutters the hard disk. If the unnecessary files are not removed from the registry, it may lead to I/O errors like 0x8007045D.
On the hard drive, some parts of the drive may fail to function. If this is not fixed on the time it may lead to serious disk damage and registry corruption eventually resulting in system failure. System failure can make you lose all the valuable data saved on your system for good.
How to Fix the Error Code 0x8007045D?
Error codes on your PC are like warnings. These codes indicate that your PC has some issue. Therefore ignoring it is not wise. To spare yourself from such serious PC damages, it is advisable to take correct measures timely instead of prolonging and making the situation go from bad to worse.
Started as an internal network and has slowly expanded since 1960 internet has taken over the world. In the beginning, it was a means of information change but in the modern age you can run applications and virtual machines over the internet, you can stream video and audio, and you can communicate in real-time with someone on the other side of Earth.
With the internet growing so fast in such a small amount of time it is only logical and wise to take a step back and take a good look at what it offers now, what are great things about it and what are some of the worst.
Good sides of the internet
Information
There are a lot of advantages of the internet, first and foremost is information. Internet was made as an information exchange service and even today you can find a lot of various information about various topics that interest you. A site like Wikipedia is a completely free online encyclopedia and a lot of news companies have their own internet sites where you can find free information and news.
On the other hand, there are also websites like udemy, edx, Coursera, and many others that will offer you the education, some for free, some for money but you can get a glimpse and part of university quality education for just a fraction of price.
Online shopping
Sites like Amazon have used the internet and launched themselves as today's multi-billion companies. In today's world, there is not a single thing you can not buy online. Many sites today are going from the large online marketplace where you can find everything to small niche specialized ones. Also every major brand in the world today has its own online store.
Other shops will offer you music, movies, games, etc. Services like steam, xbox pass, sony pass etc, will let you buy games online, other music, movies, and many more.
Streaming services
Days, when you had to buy movies in order to watch them at home, are gone, thanks to the internet we have plenty of streaming services for movies and tv shows as well as ones for music. If you do not want to spend money on actually purchasing things then a good idea is to have a streaming plan set up when you want it.
Email and messaging
Communication is a great thing and since the dawn of mankind people have been talking and sharing with each other, the internet has made it possible to send mail electronically and instantly and modern chat communication is everywhere. We can not just talk with our friends and family that can be on the other side of the world, we can also talk in real-time with the sales representative, with technical service, or attend online classes with a group of people.
Cloud storage services
Saving your pictures in this digital media age on the hard drive can be risky but thanks to modern technologies you can save most of your precious files on cloud servers for safekeeping. From pictures to documents and even other files that you need and want to save. There are some of them that will offer you a free amount and some basic free plans as well.
Bad sides of the internet
Malware, viruses, and phishing
We could not talk about the bad side of the internet if we do not mention its greatest threat. Bad sites, infected software, phishing emails, and many more malicious threats. Problem is that these kinds of tricks and attacks have become more and more sophisticated and harder to detect and avoid.
Pornography
Pornography is bad, having it freely available to children is even worse. Sadly the only way to regulate this is on a computer-by-computer basis by turning on parent control on each one. There are many studies that go into detail about why this is bad, sadly currently there are no effective ways to isolate this content.
No privacy
When we say there is no privacy we do not mean by using social media and not setting your privacy settings altho that also fits in this point, what we are talking about is data mining of your habits and things you do. It is well known that today lot of websites are using some form of AI recommender system in order to tailor your internet experience to suit your needs better. Most of these AI systems are trained by mining your data and analyzing your habits.
If you have 2 google accounts there is a high probability chance that for the same query you will get different results, depending on your so far browsing habits. The same goes for other services as well.
Dark webshops
There are some great things in dark and deep WEB-like sites with true news and information. Even some legit libraries where you can find and download rare books. Sadly as goes with the internet dark and deep WEB also has its well, dark sides, from disturbing content to shops that sell stolen items to straight stealing your money by parading as legit shops but only to steal your money.
Dating sites
We all try to find someone that is perfectly matched with us but using the online dating site has many proven bad effects on psychology. It also devaluates interaction between people and can lower self-esteem.
Bad habits
Since the internet has become wildly available and popular on various devices like tablets and mobile phones more and more people are spending an unhealthy amount of time on it. Harvesting the benefits of the internet is great but find some time for other people as well.
If you got encounter an error message saying, “Error opening file for writing” while running a setup file to install some program on your computer, read on as this post will give you some suggestions on how you can fix it. You can encounter this error when running a setup file for installing a program like GlassWire, Notepad++, VLC, Steam, OBS, Mod Organizer, WinpCap, NSIS, FileZilla, BSPlayer, Kodi, Wireshark, rtcore64, qt5core.dll, MSI Afterburner, GWCtlSrv.exe, npf.sys, vcredist_86 and many more. And so when this error pops up while you run a setup file, refer to the steps given below which might help resolve the problem.
Step 1: First, you have to make sure that there is no other installation in progress as multiple installations can most likely cause this error to show up. You can restart your computer and try to run the setup file again.
Step 2: If you still got the error even after your restart your computer, click on Retry to try again and if it does nothing, click Abort to terminate the installation. After that, go to the folder where you’ve placed the setup file and then delete it.
Step 3: Make sure that you have enough disk space on your computer. You can use the Windows 10 Storage Sense feature which can clean all the temporary files from your computer and help you save storage space. To use Storage Sense, follow the steps below.
Open Setting > System > Storage from the WinX Menu.
From there, you will see a list of all the local and connected storage devices along with the details on the free space.
Now make sure that the Storage Sense feature is turned On then go find a link that says “Free Up Space” and click it to open.
After that, a screen which is the built-in program in Windows 10 will appear and will scan your computer for the following junk files so you can free up disk space:
Windows Upgrade Log Files
The system created Windows Error Reporting Files
Thumbnails
Temporary Internet Files
Previous Windows Installation Files
Delivery Optimisation Files
DirectX Shader Cache
Note: Once you’re done freeing up space on your drive, try to run the setup file again.
Step 4: If freeing up space didn’t help, you can just delete the setup file and download another one from the official homepage of the program. From there download the setup file and place it in a different location. After that, run the setup file once again.
Step 5: Make sure that you have downloaded the correct setup file according to your operating system, i.e. x64 or x86.
Step 6: Restart your computer once more and make sure that you sign in as administrator. After that, right-click on the setup file and click “Run as administrator”.
If it still didn’t help, you might want to take ownership of the folder where you saved the setup file. How? Follow the steps below but before you do that, you have to create a System Restore Point first, once that’s done, proceed.
First, locate the concerned folder and right-click on it then select Properties.
Next, click on the Edit button in the Properties window and click OK to confirm if you got a User Account Control elevation request.
After that, select user/group from the permission windows or click on the Add button to add another user or group. It would be best if you add “Everyone” to give permission.
Then check “Full Control” under the “Allow” column to assign full access rights control permissions.
Now edit the permission to Full Control for “Everyone”.


 If you want to place these icons in your Star menu follow this step-by-step guide and you will have them in no time.
