Hello and welcome to our Outlook 2013 Preview. Everyone has heard of sneak peeks when it comes to new movies and games that are coming out soon. That is what advertisements and test reels are for to get the audience interested and excited before the piece of media even comes out.
It serves to entertain the target audience in the months, maybe even years, up until the release date of this thing they want to play or see and it keeps it in the public mind.
It is also great for the viewers because it is a hint to what they will expect when it comes out and it keeps them wanting more excitedly. However, did you know that sometimes computer software releases previews and sneak peeks too?
Outlook 2013
Well, they do and Microsoft has released some sneak peeks and previews of their new Outlook, Outlook 2013!
This is probably to get consumers ready for when it comes out next year; people are going to be getting excited about this new makeover that Microsoft Office, with Outlook, has given itself, people from Microsoft even saying it is ‘the most ambitious’ version of Office yet!
The new orange color scheme and logo design look promising enough for the consumer without even checking the new features and special things that have been revealed about it yet!
Outlook 2013 Features
The best part of this new Outlook is that you can move widgets around in it.
If you don’t like the fact that your inbox is placed over your outbox, you can move it- simple as that! It will be really handy for people who like messing around with layouts and will also be handy for people who tend to overlook things at the bottom of the pile like spam and trash if they can move them to a more noticeable location for themselves.
Another great thing is that the new Microsoft Office that Outlook comes with has a cool new stylus option, allowing you to personalize things with your own handwriting or even drawings.
This can then be used as your email signature on Outlook which can give a really nice and personal feel to the emails you are sending.
Another new thing is their labeling of drafts. Like Gmail, Google’s own email service, a red-lettered ‘draft’ will now appear over composing messages you have not yet sent.
Handy Email Tools in Outlook 2013
This is handy because you know where your message has been saved as opposed to how it could be saved in your outbox or be sent to the trash.
Also, there are new links with Facebook that allow you to see what your friends are doing through Outlook. You can also converse with Facebook friends through Outlook now, which is a big step forward in this age of social media.
You can get an email from a person and, at a click of a button, also read all their Facebook posts. However, there is not an option for Twitter or Tumblr or even Myspace, which is a shame I suppose, but maybe in the next update.
So, I think Outlook 2013 will be worth looking at, don’t you?

 Many times we were talking and writing here on Errortools.com about security, privacy, hacking, identity theft, etc. We tried to raise important security questions and I hope I have managed to at least shed some light and change maybe some bad behaviors for some, helping them embrace better routines about their security on their PC.
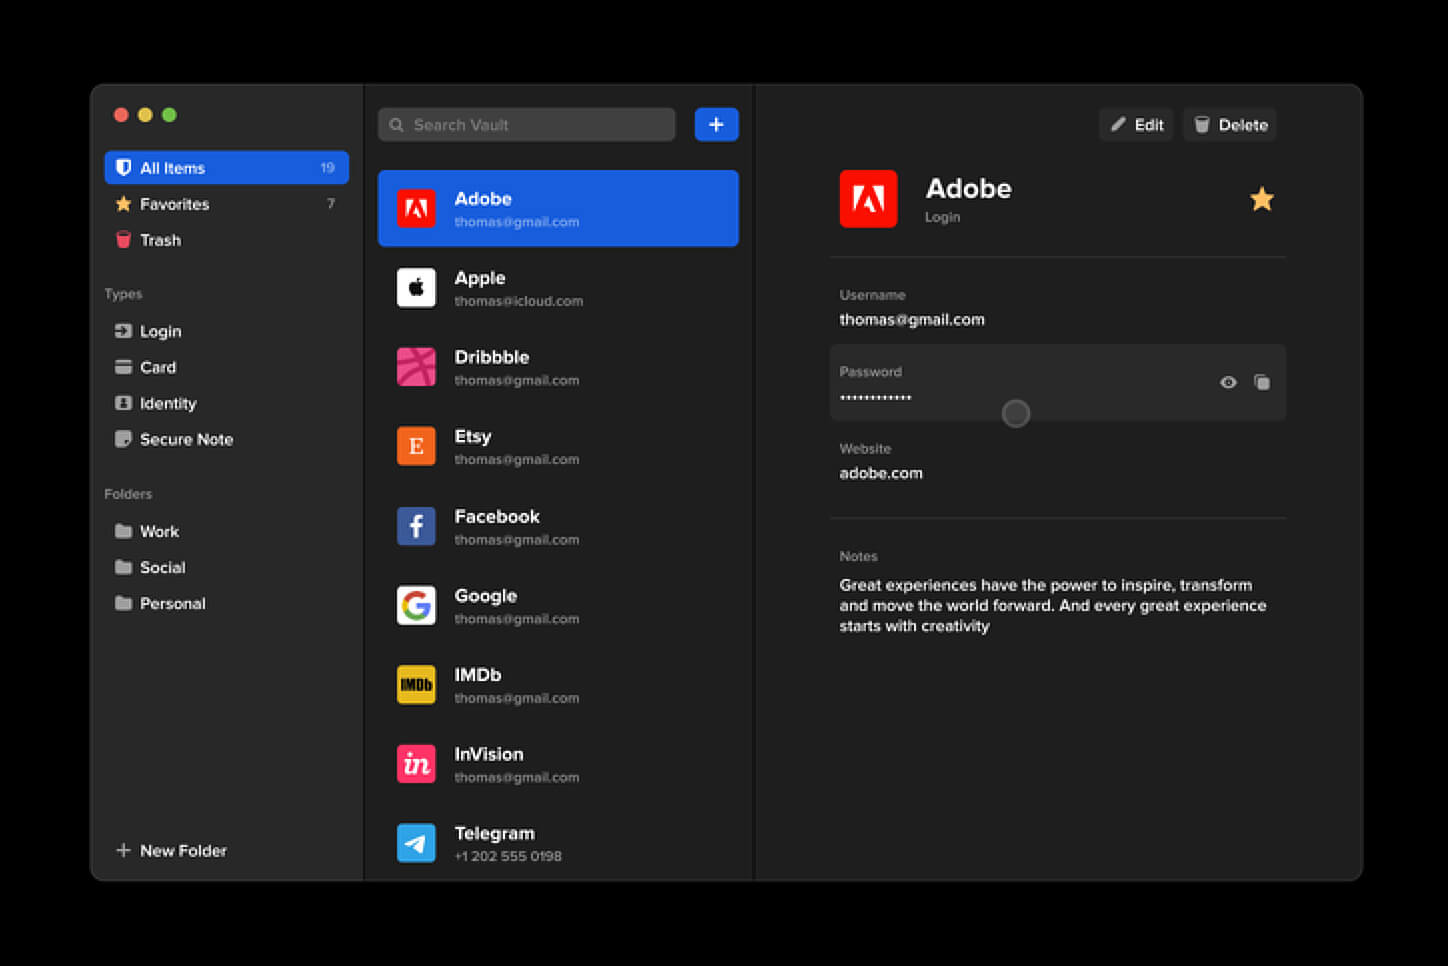
In this light, I will today present you with one neat and awesome piece of software, a password manager worth your time and money (if you want premium features): BitWarden.
Many times we were talking and writing here on Errortools.com about security, privacy, hacking, identity theft, etc. We tried to raise important security questions and I hope I have managed to at least shed some light and change maybe some bad behaviors for some, helping them embrace better routines about their security on their PC.
In this light, I will today present you with one neat and awesome piece of software, a password manager worth your time and money (if you want premium features): BitWarden.

