No one knows everything about a program off hand. You need to use the program for a long time before you can even possibly know all that it is able to do and all you are able to achieve with it. However, this doesn’t mean that you don’t need help from time to time. This is also the case when Outlook errors pop up. Sometimes there are things you must or probably should do with your program that you do not understand and definitely don’t know how to do. Set up POP3 with your email account in Outlook is one of these things you will probably need help to achieve.
Steps to Set up POP3
First, you may need to know what POP3 is. POP3 is the way emails are sent from one email address to another. It may be more or less instant nowadays, but the process is still long and hard-winded. Similar to how your letters get from your mailbox to the recipients' mailbox, your emails get from you to the next person.
Letters are picked up in your mailbox and sent to your post office where they send it to the recipient’s post office who sends it to the recipient’s mailbox.
Similarly, your email is sent to your outbox, which sends it to your email service provider, that sends it to the recipient’s email service provider who sends it to their inbox.
This is one of the reasons that sending an email to someone who uses the same email service provider as you is about a millisecond faster. This process of sending emails is called POP3 and you need to set it up if you use Outlook on Microsoft.
This, on Outlook, also determines which email account you send your emails from. You see, on Outlook and many other email service providers, you can have many different email addresses, no even necessarily with the email service provider’s prefix on the end.
Now, if you want to see this for yourself, go on to your settings on Outlook and look for manage email accounts. If you have more than one email account, you will see them listed. Somewhere on the sidebar, you will see POP3 as well.
If you want to add more email accounts to this, such as a business email or a personal email, then just click ‘Add new account’ instead of 'Manage email accounts'.
When you click on an email account you have linked already, you will see on this side the details for your POP3 (incoming emails) and your SMTP (outgoing emails).
This can be changed, but since everyone’s number of accounts and type of accounts is different, there is no set way to change this.
However, you can give Microsoft a call and they will walk you through the necessary steps in order to change this.
Conclusion
So, POP3 can be incredibly easy to understand or incredibly hard; it depends on how good you are with electronics and the advice you are given.
But don’t try to change things by yourself; get a professional from Microsoft to help you with POP3 on your Microsoft Outlook account.

 REevil is one of the most active and successful hacking groups connected to Russia and operating all over the world. The group recently demanded a huge bitcoin ransom for an attack targeting IT firm Kaseya in the USA.
Since Tuesday blog and payment site run by REvil group cannot be longer reached without any kind of explanation or why.
The reason behind the disappearance is unknown but has sparked speculation that the group may have been targeted deliberately by authorities.
US President Joe Biden said he raised the issue with Vladimir Putin during a phone call on Friday, after discussing the subject during a summit with the Russian president in Geneva last month.
Mr. Biden told reporters that he had "made it very clear to him...we expect them to act" on information and also hinted the US could take direct digital retaliation on servers used for intrusions.
The timing of Tuesday's outage has sparked speculation that either the US or Russian officials may have taken action against REvil - though officials have so far declined to comment and cyber experts say sudden disappearances of groups are not necessarily uncommon.
The development comes after a series of high-profile ransomware attacks which have hit major US businesses this year.
The FBI accused REvil - also known as Sodinokibi - of being behind a ransomware attack on the world's largest meat processing company JBS last month.
REevil is one of the most active and successful hacking groups connected to Russia and operating all over the world. The group recently demanded a huge bitcoin ransom for an attack targeting IT firm Kaseya in the USA.
Since Tuesday blog and payment site run by REvil group cannot be longer reached without any kind of explanation or why.
The reason behind the disappearance is unknown but has sparked speculation that the group may have been targeted deliberately by authorities.
US President Joe Biden said he raised the issue with Vladimir Putin during a phone call on Friday, after discussing the subject during a summit with the Russian president in Geneva last month.
Mr. Biden told reporters that he had "made it very clear to him...we expect them to act" on information and also hinted the US could take direct digital retaliation on servers used for intrusions.
The timing of Tuesday's outage has sparked speculation that either the US or Russian officials may have taken action against REvil - though officials have so far declined to comment and cyber experts say sudden disappearances of groups are not necessarily uncommon.
The development comes after a series of high-profile ransomware attacks which have hit major US businesses this year.
The FBI accused REvil - also known as Sodinokibi - of being behind a ransomware attack on the world's largest meat processing company JBS last month. 
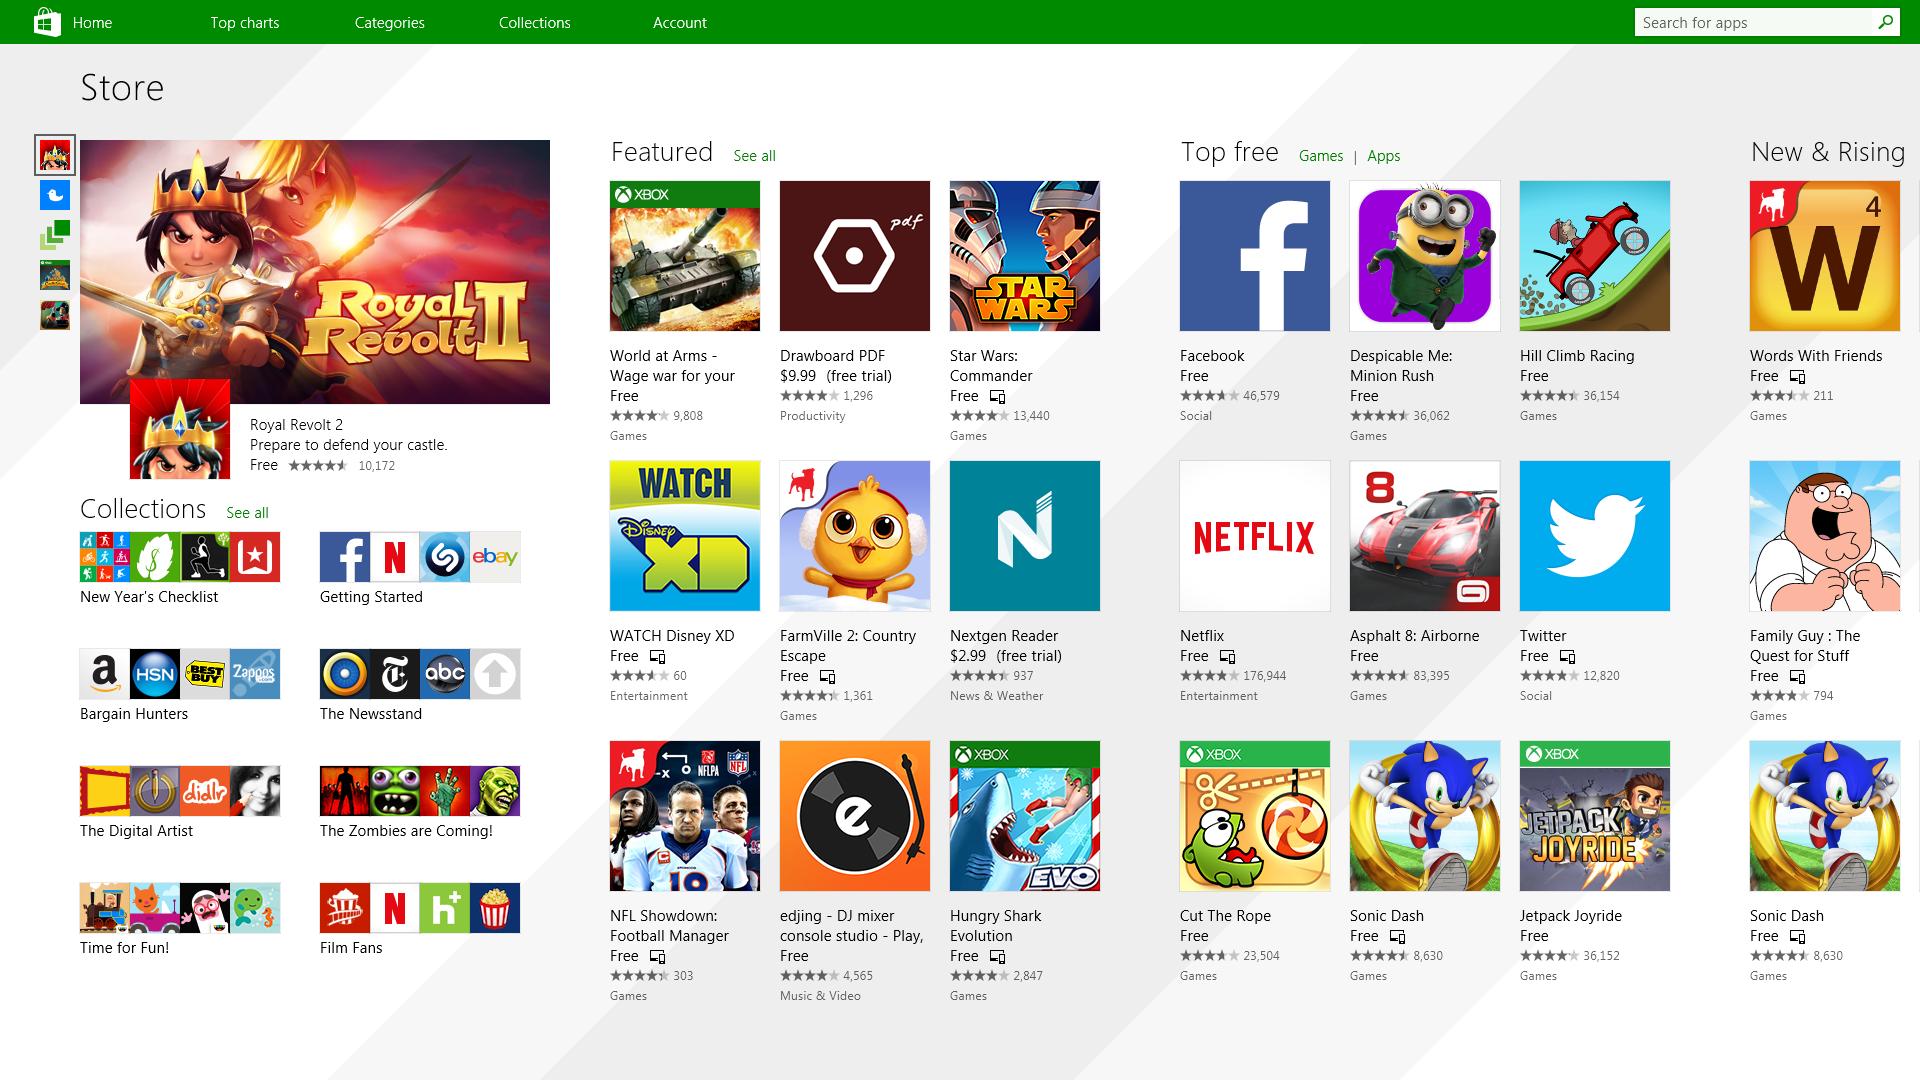 It has officially confirmed that many open source and free applications will be in it like Opera, VLC, discord, Libre office, etc. It seems that Microsoft wants to place its store as one place to go for all of your software needs.
Another great surprise is the coming of Epic games store implementation. It was officially confirmed but not explained in detail, will we have Epic store opened in Windows store or we will only get installer as a package we will see but this is some great news.
As for how it states now, it seems that the Windows store aims to eliminate searching the web for applications and bring them all into one environment with reviews and ratings so you know which one to install and use. It also features a great search engine to find proper applications for your needs.
The new store will come to Windows 10 as well but after all Windows 11 has been mostly released and adopted. So expect it via update in two or three months' time.
It would be great if some larger companies decide to join MS stores like Autodesk, Adobe, the Foundry, etc so you can install everything you need from it but one can only hope.
It has officially confirmed that many open source and free applications will be in it like Opera, VLC, discord, Libre office, etc. It seems that Microsoft wants to place its store as one place to go for all of your software needs.
Another great surprise is the coming of Epic games store implementation. It was officially confirmed but not explained in detail, will we have Epic store opened in Windows store or we will only get installer as a package we will see but this is some great news.
As for how it states now, it seems that the Windows store aims to eliminate searching the web for applications and bring them all into one environment with reviews and ratings so you know which one to install and use. It also features a great search engine to find proper applications for your needs.
The new store will come to Windows 10 as well but after all Windows 11 has been mostly released and adopted. So expect it via update in two or three months' time.
It would be great if some larger companies decide to join MS stores like Autodesk, Adobe, the Foundry, etc so you can install everything you need from it but one can only hope.