If you suddenly encountered a Windows Error Code 0x80070017 during an Update, Installation or System Restore then it’s probably due to some missing or corrupted system files. This kind of error code can occur during an update, installation, or system restore and the only way out of it is to download the file once again and re-run the installation from the top.
Before you start to troubleshoot the problem, you need to create a System Restore Point first. After you create a System Restore point, you can follow the troubleshooting options laid out below to fix the Windows Error Code 0x80070017. You just have to follow the troubleshooting option that applies to your situation and whether you got the error during an update, installation, or during System Restore.
Whether you got the error 0x80070017 while updating Windows 10 or installing it or during a system restore, the first thing you must do is run the System File Checker. As pointed out early on, the Windows Error Code 0x80070017 might be caused by corrupted or missing system files so the first thing you can try is to run the System File Checker scan.
- Tap Win + R to launch Run.
- Type in cmd in the field and tap Enter.
- After opening Command Prompt, type in sfc /scannow and hit Enter.
The command will start a system scan which will take a few whiles before it finishes. Once it’s done, you could get the following results:
- Windows Resource Protection did not find any integrity violations.
- Windows Resource Protection found corrupt files and successfully repaired them.
- Windows Resource Protection found corrupt files but was unable to fix some of them.
If you have encountered Windows Error Code 0x80070017 during an
Update, then here are some options you need to try:
Option 1 – Delete the files/contents in the SoftwareDistribution Folder
The Software Distribution folder in the Windows operating system is a folder that can be found in the Windows directory and is used to store files temporarily which might be required to install the Windows Update on your PC. Thus, it is required by the Windows Update and maintained by WUAgent. A lot of users tried deleting the files in this folder to fix the problem and so far it has worked. Like them, you can try clearing the Windows Update cache by simply deleting the contents of the folder named “SoftwareDistribution” since Windows apparently can’t clear and re-download the update contents once they are corrupted. Thus, deleting the contents of this folder will make Windows download the contents again which will fix the problem. To do that, follow the steps below.
- Open the WinX Menu.
- From there, open Command Prompt as admin.
- Then type in the following command – don’t forget to hit Enter right after typing each one of them.
net stop wuauserv
net stop bits
- After entering these commands, it will stop the Windows Update Service and the Background Intelligent Transfer Service.
- Next, go to the C:/Windows/SoftwareDistribution folder and get rid of all the folders and files thereby tapping the Ctrl + A keys to select them all and then click on Delete. Note that if the files are in use, you won’t be able to delete them.
- Once all the contents in the Software Distribution folder are deleted, restart your PC and then go back to Command Prompt and input the following commands again.
net start wuauserv
net start bits
Since the folder has already been flushed, it will be populated afresh the instant your restart your computer and open Windows Update.
Option 2 – Run the Windows Update Troubleshooter
Running the built-in Windows Update troubleshooter could also help you resolve the Windows Update Error Code 0x80070017. To run it, go to Settings and then select Troubleshoot from the options. From there, click on Windows Update and then click the “Run the troubleshooter” button. After that, follow the next on-screen instructions and you should be good to go.
On the other hand, if you got the error code 0x80070017 during a
Windows 10 installation, then it’s because of bad media or corruption in ISO. Here are some troubleshooting steps for this kind of situation:
Option a – Try to create Windows 10 ISO media again
In this option, you will have to create a Windows 10 bootable media and use it to install the latest Windows 10 version. Most users reported that this option works and the reason why it does have something to do with the Windows Update client since the Windows Updates downloaded from the regular Windows Update client seem to create issues such as the error 0x80070017. However, issues like this one don’t occur when the very same Windows Updates are downloaded and installed via an ISO file.
Take note that when using a Windows ISO file, you will be asked to choose what you want to do with the previous settings and apps. A lot of users opted for the “Not to keep the old Windows settings” option which has resolved the issue. So if you want to keep the previous settings then you must try to update Windows first while keeping the old settings. However, if it doesn’t work, you have to try installing the latest version of Windows without keeping the previous settings.
- Click this link and then click the Download Tool Now button.
- Next, click the “Use the tool to create installation media (USB flash drive, DVD, or ISO file)…” option and follow the next given instructions on the screen.
- Now select the ISO file option in step 5.
- After that, you should now have an ISO file.
- Next, go to the location where you’ve downloaded the ISO file.
- Then right-click on the Windows 10 ISO file and select the Open with the option and then select File Explorer.
- Now click on “setup.exe” and follow the next instructions that appear on the screen. When asked, you have to select either Nothing (clean install) or Keep personal files only option. Take note that you must not select the “Keep personal files, apps, and Windows settings since it doesn’t really work.
Option b – Run Microsoft’s online troubleshooter
Running Microsoft’s online troubleshooter might also help you fix the Windows update error 0x80070017. This online troubleshooter is known to help in fixing Windows Update errors, it scans your computer for issues that might be causing the problem and then fixes them automatically.
If you got the error during
System Restore then this means that the files that are being copied from the disk are not making it to the hard drive. To resolve it, here’s what you can do:
Option 1 – Run System Restore in Safe Mode
You might want to run System Restore in Safe Mode and see if it works. Just reboot your PC into Safe Mode and then run System Restore.
Option 2 – Reset Repository
- Boot your PC into Safe Mode.
- Then open Command Prompt as admin.
- Next, type the “net stop winmgmt” command and hit Enter to stop the Windows Management Instrumentation Service.
- After that, go to C:/Windows/System32/wbem. From there, rename the repository folder to “repository-old”.
- Restart your computer.
- After your computer has restarted, open Command Prompt as admin again and then type the “net stop winmgmt” command and hit Enter.
- Next, type the “winmgmt /resetRepository” and hit Enter to reset Repository.
- Restart PC and check if System Restore now works.
Option 3 – Try resetting Windows 10
To fix the error 0x80070017, you can try resetting Windows 10. Doing so won’t get rid of any file in your system – instead of erasing all your media files and documents, it only resets all the system settings and files. Simply go to Settings > Recovery. From there click the Get started button under the Reset This PC section.


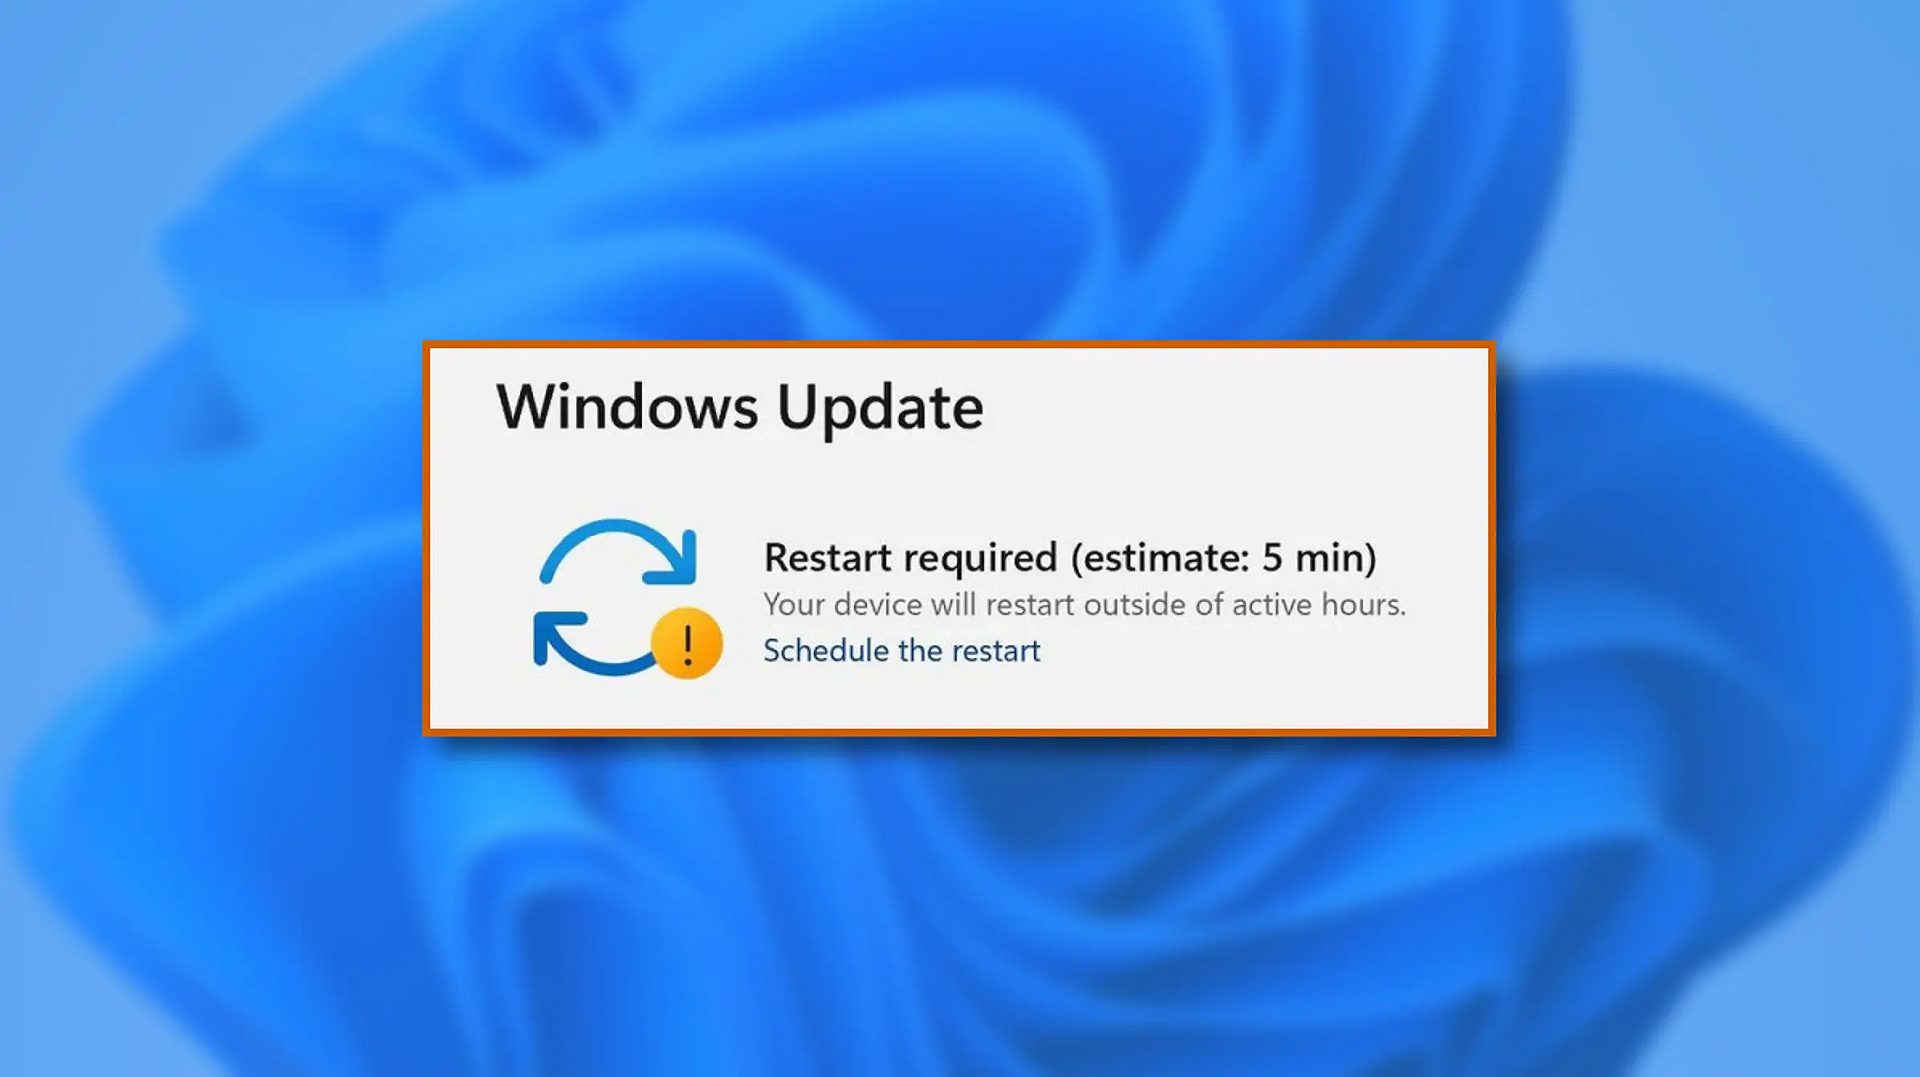 When Windows 11 update is available but you do not wish to restart right away because you are in the middle of using a computer, you can schedule a restart for up to 7 days. It is very easy and we will show you how to do it.
