New Apple's upscaling technology called MetalFX will place iOS and macOS devices back into the gaming world. Apple had great games back in the old days and some all-time hits like the prince of Persia have been made first for apple but along the way, it just lost it.
Same as NVIDIA's DLSS and Intel's XeSS systems, Apple MetalFX also uses AI algorithms to upscale the resolution of output game frames. So, for example, the GPU inside your MAC might render the game at 1080p, but through MetalFX and AI upscaling it will look like a 4K image but have a good frame rate since it is rendered in base resolution.

The ability to make AI strike a good balance between performance and image quality is a key to technology in today's modern gaming and having this technology will help developers a ton to be able to achieve great results on Apple hardware.
So far three official games that will use this technology and be released natively for Appl hardware are Resident Evil 8 Village, GRID legends, and No Man's Sky. All three games have been confirmed and Resident Evil 8 Village is already sent for review people are impressed since the game can run smoothly on all Apple devices, even ones with an M1 CPU.
When you say Apple gaming is probably the last thing that comes to your mind but truth be told Apple makes more money from games than Microsoft, Nintendo and Sony combined. Also, Apple itself was a big player once regarding computer games as well, Myst and Prince of Persia are games that were made and have been released for Apple first. Bungie was also founded by Apple developers and Halo was originally announced as a Mac game.
Apple has been trying and pushing gaming on its platform since it kind of died down. Today all Sony, Nintendo, and Microsoft controllers work without any issues with all Apple products. Apple also has its own gaming subscription service, Apple Arcade, and its Apple TV is packed with GPU that can rival Xbox ones.
MetalFX API ties and brings it all together, it is designed to get the most performance from the hardware by minimizing overhead.
Now, computers and laptops do not hold any large numbers if we look at the user base, and that could deter developers but if we look at iPad and iPhone things are different there, much different. How same CPU power these devices and how MetalFX is available across all products it is clear that there is a market for games there. No Man's Sky is coming to iPad using these technologies and bringing full computer experience to tablets.

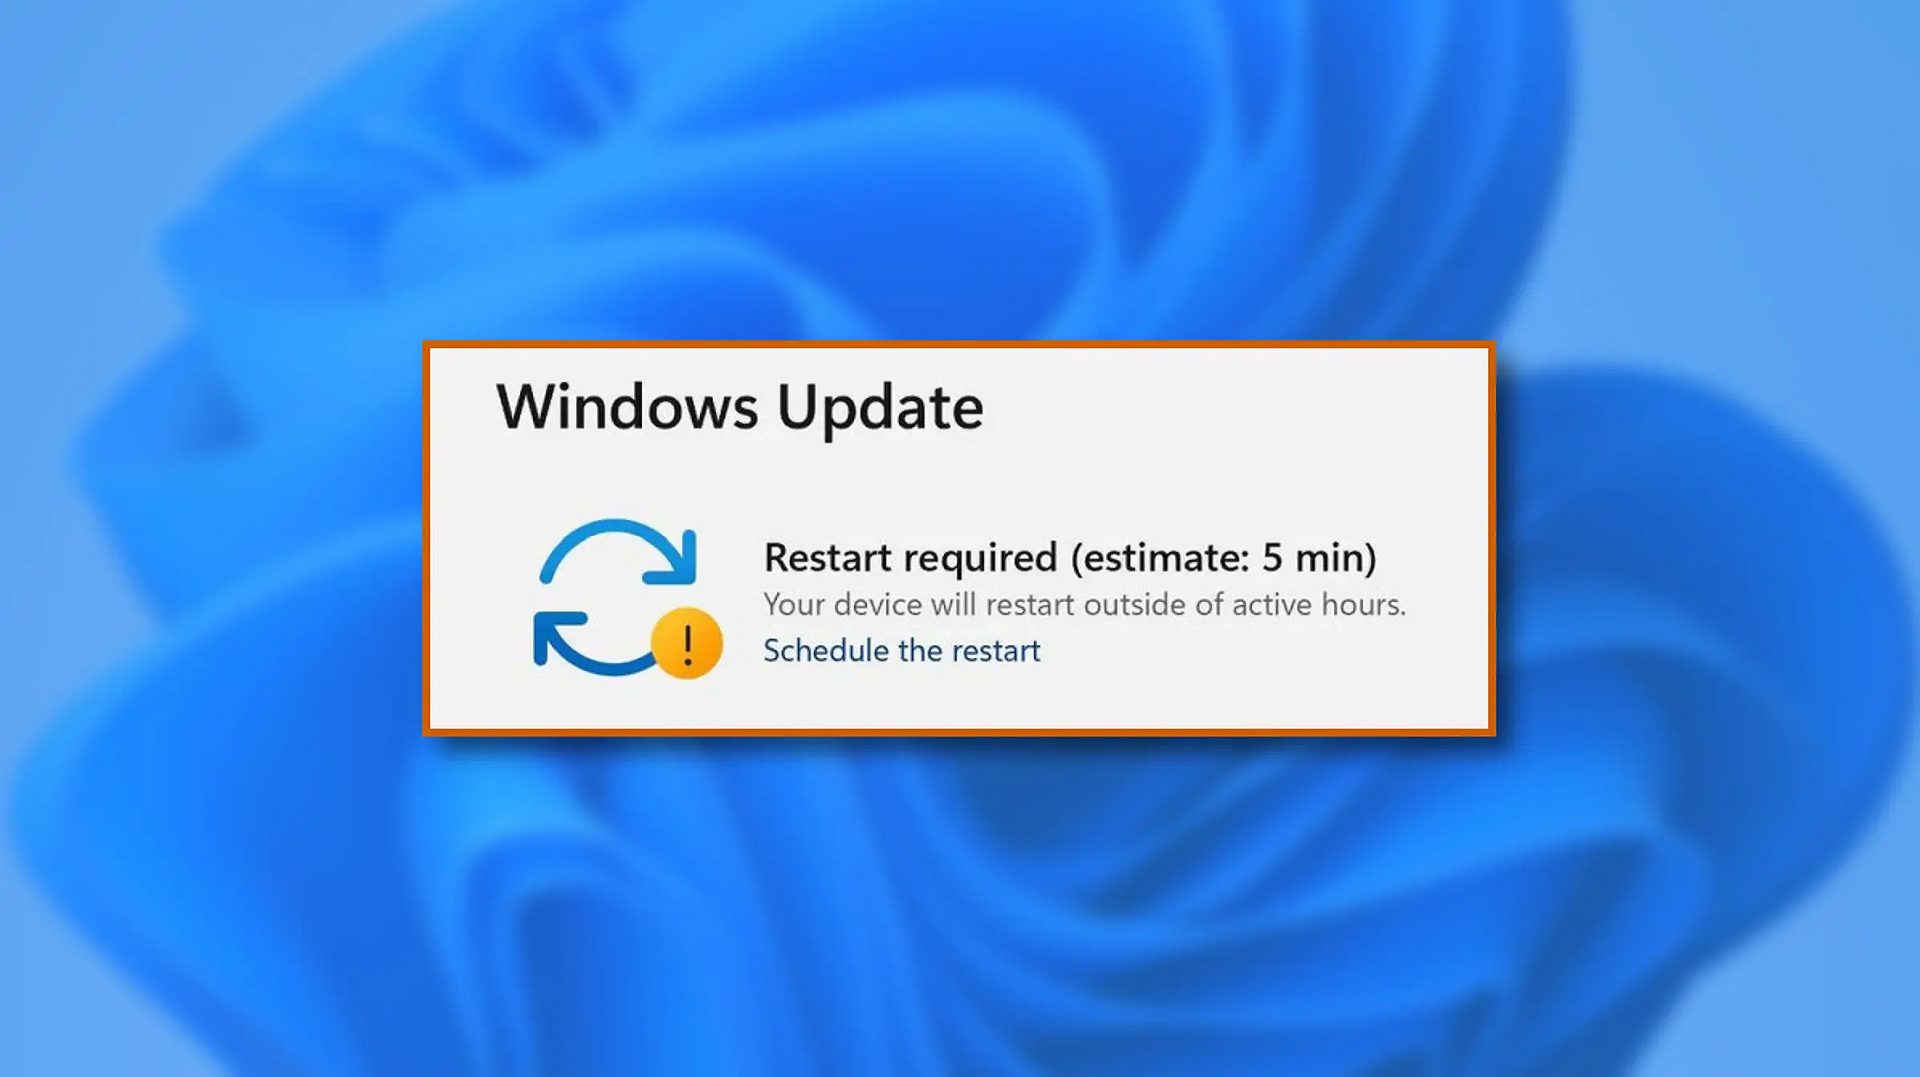 When Windows 11 update is available but you do not wish to restart right away because you are in the middle of using a computer, you can schedule a restart for up to 7 days. It is very easy and we will show you how to do it.
 Error Causes
The new upgraded Surface Laptop Go 2 is the new iteration of the affordable original Surface Laptop Go aimed to offer good performance at a lower price of under $1000. The new version is not anything vastly different from the original but it comes with much-needed upgrades.

The biggest and main upgrade is the CPU, the Surface Laptop Go 2 is packing now Intel Core i5 1135G7, an Intels 11th generation CPU that should increase battery life. The laptop is also coming with an improved WEB camera and the cheapest one comes now with 128GB of storage instead of 64GB. Price went up from $550 to $599 which is not a big increase considering what was upgraded.
The bad news of new models is that sadly they are still packing only 4GB of RAM, that's really not enough for most applications released in 2022 and the screen is having a relatively low resolution of 1536 X 1024.
Microsoft is still offering all the color variations as in its first offering but added as well a new Sage color that is muted green in tint.
When we look at hardware it seems a little weak but for this price, there is not much competition in the field, and after all this line of models is aimed to provide good performance for an affordable price. If you really need something better you will go with a standard Surface or MAC book instead.
The new laptops are available to pre-order at Best Buy and Microsoft’s online store, and they’ll start shipping on June 7.
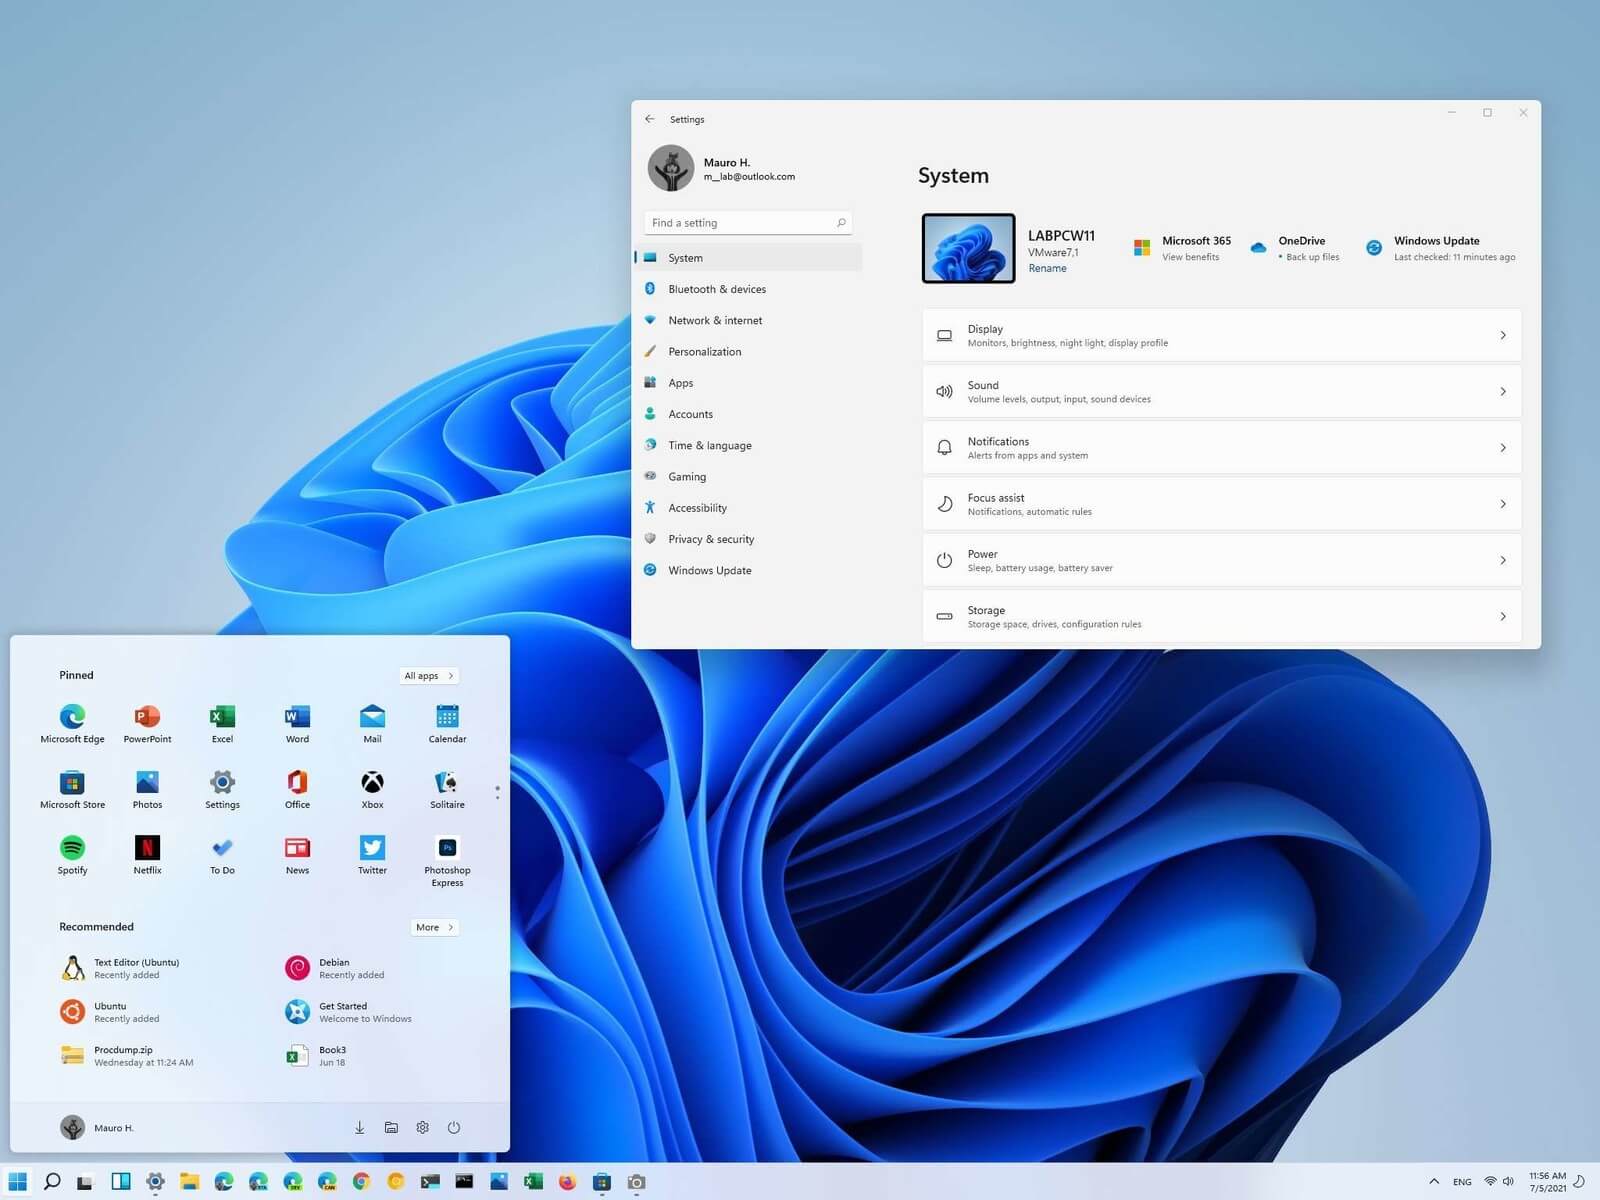 Most scrollbars are hidden by default if they are not used in Windows 11. If you are not ok with this feature and want scrollbars to be always visible and available do not worry, turning them ON is very easy.
Windows 11 will save settings automatically and apply setting right away. Close settings and continue with work.
Linkury Smartbar Engine is a Brower Toolbar for Internet Explorer. Upon investigation, we discovered that this toolbar does not work with the latest versions of Internet Explorer.
From the Author:
What the Smartbar does: – Changes the default search engine in your web browser’s built-in search box. – Changes the default home page of your web browser. – Adds alternative “page not found” functionality. – Enable search from the address bar of your web browser. – Allows software updates of the application once a new version is released. – Adds, removes, or modifies components interacting with search input fields.
While installed, users may see additional unwanted ads throughout their browsing sessions.
Several anti-virus applications have marked this toolbar as a Browser Hijacker, and it is not recommended to keep it on your computer, especially if you are using a newer version of internet explorer that renders this toolbar useless.
Error 17: Spotify has encountered a problem and needs to close. We are sorry for the inconvenience. Spotify could not be started (Error code 17)Some of the symptoms of this error code are program crash, slow Windows performance, and periodic system freeze.
Error CausesError code 0x8007007b will present itself when Windows users are trying to activate Windows. You may try to activate it through the update and security option, but it is likely that you will receive the same error code. Error code 0x8007007b may be presented when Windows 7 and Windows 8.1 users try to upgrade and activate Windows 10 on their computer.
Common symptoms include:
Error CausesThere are multiple causes for the user to see this error code, including if a user is using volume-licensed media while installing a number of various Windows operating systems. This error may also be caused because the activation wizard cannot connect to a KMS host computer. It is likely that if the user has a volume-licensed form of media, they were likely given a MAK (multiple activation keys).
There are several ways to go about repairing error code 0x8007007b. It is important to try all of the methods, but if it is too difficult or you do not know what you are doing, please do contact a Windows repair technician. They will likely be able to fix the problem with ease.
When KMS activation is not used, and when there is not a KMS server, the product key type should then be changed to a MAK. For MSDN (Microsoft Developer Network) or TechNet, the SKUs that are listed on the media are generally volume-licensed media, and that means that the product key that is supplied is a Multiple Activation Key.
To change the KMS to a MAK, click Start, All Programs, Accessories, and then right-click on Command Prompt. Click Run as Administrator. If prompted for a password or confirmation, enter it now.
When the command prompt opens, type in the following command, and press enter after:
slmgr -ipk xxxxx-xxxxx-xxxxx-xxxxx (these x's are representative of the MAK product key).
While on the desktop, press the Windows key and R. The Run window should appear, and then you should enter the following command: Slui 3. Press Enter and then wait for the window to appear. This window will ask for the operating system activation product key. Enter the product key and then press the Activate button. Reboot the computer. Now the Error Code 0x8007007b should be gone.
Open the Command Prompt with access as administrator as mentioned previously. Enter the following command: sfc /scannow. The command will then complete its task. This will take a good bit of time, so leave the computer to do its work. The sfc must finish the scan. When the scan has finished, reboot the computer. Now you can check for activation. The error code should be gone.
This method for correction should be used when the network does have a KMS host computer setup, and the client is not able to locate the KMS host on the network to complete activation.
To verify that the computer does in fact have the KMS host installed. Click Start, All Programs, Accessories, and then right-click on Command Prompt. Run as administrator. If you are now prompted to enter a password or confirmation, do so. When the command prompt box comes up, type in the following command, and then press Enter: nxlookup -type=all_vlmcs._tcp>kms.txt
The command will generate a file, open this KMS file. The file will contain one or more entries. As a default, the KMS host server will dynamically register a DNS SRV server evidence once every 24 hours. In order to check the registry to ensure that this is happening, follow these steps:
If you wish to always have at your disposal a utility tool to fix these Windows 10 and other related issues when they do arise, download and install a powerful automated tool.