Recently, a number of users reported that they weren’t able to download anything from the internet after they’ve updated their Windows 10 computers. This kind of problem occurs because of some Internet options settings located in the Control Panel. Based on the reports, this issue has been known to occur in all kinds of browsers and not only on Microsoft Edge.
Not being able to download anything from the internet is a huge problem since almost everything is wrapped around the internet. To resolve this problem, here are some suggestions that you can try.
Firewall and antivirus programs are known to block files the instant it detects a threat to the system. However, there are some cases when it can also block a file even when it’s a safe one. Thus, your antivirus or firewall programs might be the reason why you can’t download anything on your Windows 10 computer. To isolate the issue, you need to temporarily disable both the Firewall and antivirus programs and then check if you can now download anything from the internet. Do not forget to enable them again as disabling them can leave your computer vulnerable to cyber threats.
According to users, changing the Internet Options settings helped them resolve the problem. There are times when the drive location in your Internet Options settings is not the system drive, chances are, it will cause the error to pop up which is why you need to make sure that it’s correct.
There are instances when browser data can cause issues in downloading files online. And so you can try to clear your browser’s data. This might be a very basic solution but oftentimes it works in fixing this kind of error. Follow the steps below to clear the data in your browser.
Removing the Proxy might also help you in fixing the connection issue in Cortana. Here’s how you can do it:
Note: If you are using a third-party proxy service, you have to disable it.
If none of the options given above worked in fixing the problem, you can try to reinstall your browser. There are times when the browser wasn’t installed properly which can cause several issues like not being able to download anything from the web. Thus, reinstall your browser and see if that helps.

“Windows cannot find a system image on this computer, Attach the backup hard disk or insert the final DVD from a backup set and click Retry. Alternatively, close this dialog for more options.”In the error message, you are offered two choices – to either Retry or Cancel the operation. You can try to select Retry to try again but you will most likely get the same error if you do so. This kind of error can occur if the name of the WindowsImageBackup folder or any of its sub-folders has been modified. On the other hand, this error can also pop up if this folder or any of its sub-folders have gone missing or have become corrupted. To resolve the error, you can try to move the WindowsImageBackup folder or check its sub-folders. You can also try to isolate the System Image file or rename the System Image folder or remove all the unwanted sub-folders as well as use Command Prompt in Repair mode.
Faraday bag is a new take on security and privacy for people using a lot of electronic devices and credit cards. So what is exactly a Faraday bag?
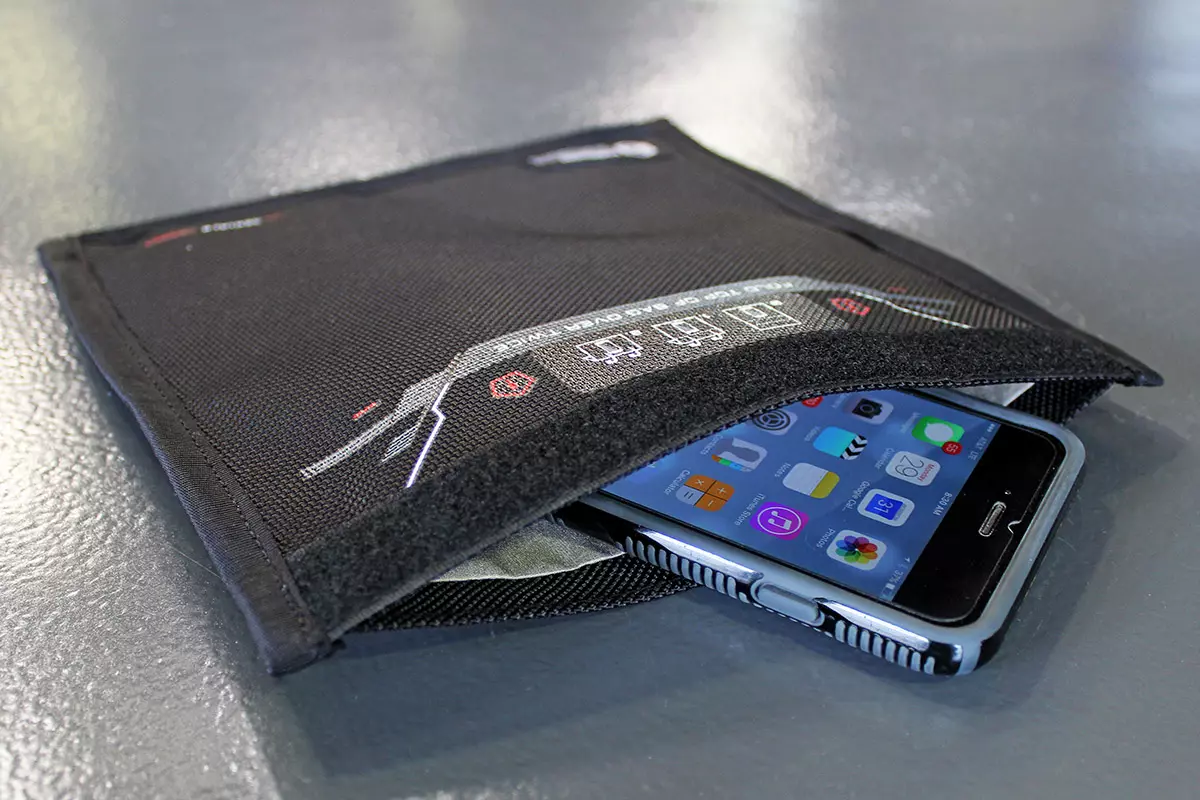
Faraday bag is designed in the same manner as the Faraday cage which was invented by Michael Faraday, who was an English scientist who contributed to the study of electromagnetism and electrochemistry. His main discoveries include the principles underlying electromagnetic induction, diamagnetism, and electrolysis.
The idea of the Faraday cage is that anything inside a cage that is made of specific grid size is completely isolated from outside current and magnetic fields since the cage itself will pick up everything upon itself. This means that for example, a human could be inside a cage that is struck by lightning and be perfectly safe and fine.
This idea led to the Faraday bag design, which takes this concept and places a wiring pattern inside clothing in order to isolate all magnetic fields from the outside so your devices and cards are completely cut off from any kind of influence and electromagnetic waves. If the pattern and quality of material for the bag are good, you have a fully safe placeholder for your stuff.
The main advantages, of course, are the privacy and safety of mobile phones and credit cards from outside influences and this is why this bag has been designed in the first place. If the bag is designed properly your phone would not be able to be hacked nor accessed from any outside source, GPS tracking will also be disabled and your phone location will not be visible. Credit cards will also be completely safe from any malicious attack via wi-fi signals.
Well, the disadvantage of using this bag is a very simple one, since your phone is isolated from outside influence that will also mean that you will not be able to take messages or calls on it while it is in the bag. Notifications from the internet would also be disabled so it is security vs usability deal.
“Something went wrong with the projection”.This kind of error is caused by some issues with the Display driver, hardware, corrupted or damaged system files, and so on. And to fix it, there are several methods you can check out. You can try to update, roll back or reinstall the Display drivers. You could also run the Network Adapter troubleshooter or the Video Playback troubleshooter as well as run System Restore to undo any recent changes that might have triggered the error or reset your Windows 10 computer without deleting any files. For more details, refer to each one of the options provided below.
 Error Causes
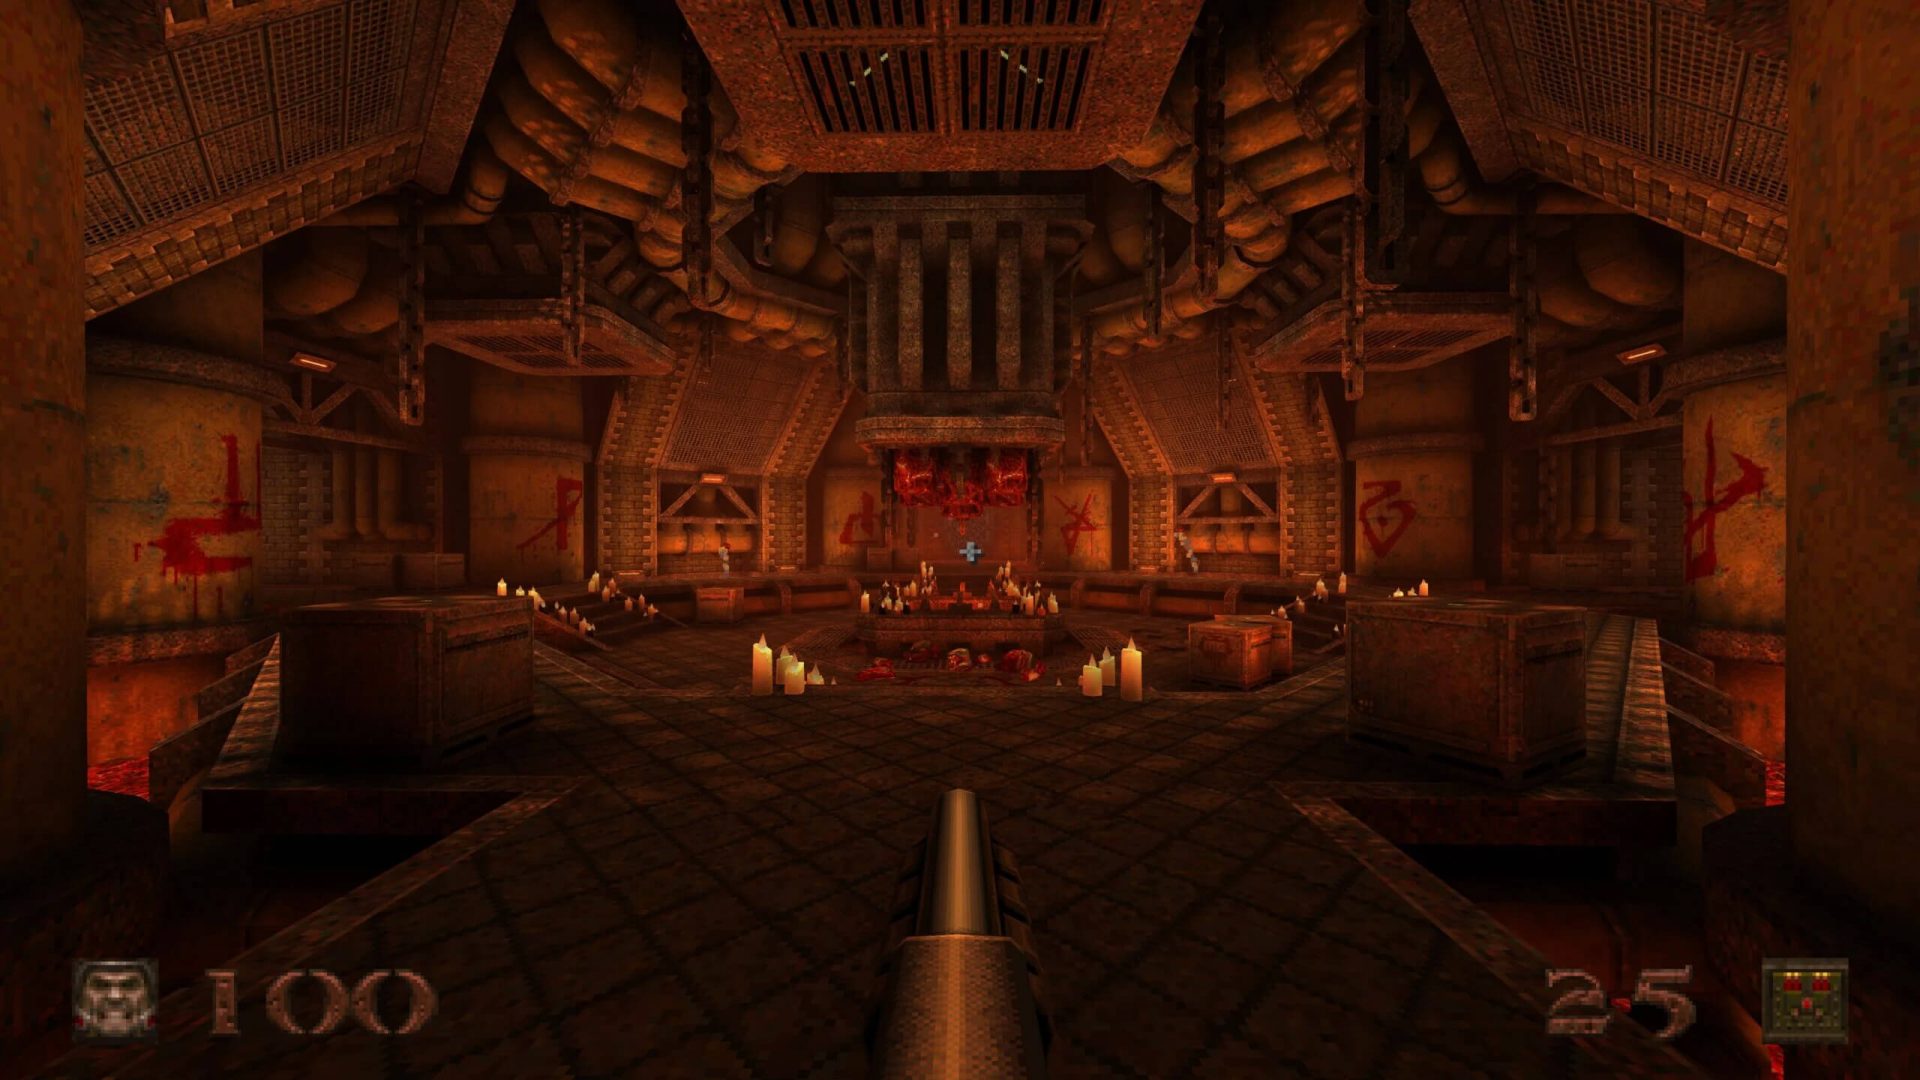 Without any fanfare, news, or information Bethesda has released a completely free upgrade for legendary Quake 1. Free upgrade is automatically applied to all users who possess the original game and it has already been rolled out.