As you know, aside from making computing a lot easier, mouse and touchpad, it also makes computing more efficient and less time-consuming. And so life is unimaginable without these useful devices. However, it is a known fact that you can’t customize these devices since all touchpads and mice come with their own default scrolling direction but worry not for in this post you will be guided on how you can reverse their default scrolling directions.
Every user has their own different preferences when it comes to scrolling directions. You might want the scrolling directions to look like the page is being scrolled in the same direction in where you move your fingers over the touchpad or you might prefer it in an inverted way. Reversing the scroll direction for your device’s touchpad is really easy as Windows by default offers this customization. So if you are trying to find a way to reverse the scrolling direction of your mouse, then you have to follow a tricky little method which will be provided in this post.
It is apparent from the number of settings the touchpad is available that it has become more customizable. You can configure everything, from its gestures, taps, sensitivity, and even its scrolling direction. And now, if you want to reverse its scrolling direction, here’s what you have to do:
Step 1: Tap the Win + I keys to open Settings.
Step 2: From there, go to Devices and select Touchpad from the menu.
Step 3: Next, look for the Scrolling Direction setting.
Step 4: Then click on the drop-down and select your preferred setting. If you want the same direction scrolling, just select the “Downwards motion scrolls down” option, and if you want the opposite select the other one.
After you carry out these steps, the settings will be applied right away and you will see the changes. On the other hand, if you want to change the scrolling direction for your mouse, the procedure is not as simple as it was for the touchpad.
To reverse the scrolling direction for a mouse, refer to these steps:
Step 1: In the Start Search, type “device manager” and click on the appropriate result to open the Device Manager.
Step 2: After opening the Device Manager, look for your Mouse under the “Mice and other pointing devices” section. It is mostly listed as an “HID-compliant mouse”.
Step 3: Right-click on your mouse and click Properties.
Step 4: From there, go to the Details tab and from the drop-down menu, select Device Instance Path.
Step 5: Now take note of the value displayed on its value field and then tap the Win + R keys to open the Run dialog box.
Step 6: Type in “Regedit” in the field and hit Enter to open the Registry Editor.
Step 7: Next, navigate to the following location:
HKEY_LOCAL_MACHINESYSTEMCurrentControlSetEnumHID
Step 8: From this folder, you have to start matching the values in the first part of the value you’ve taken note of.
Step 9: Open the folder which has the same value and repeat this for the second part of the value.
Step 10: Afterwards, click on the Device Parameters and look for a property named “FlipFlopWheel” and invert its value from 0 to 1 or 1 to 0 to reverse the scrolling direction. And then restart your PC to apply the changes made.
After you restart your PC, you should see the changes in the scrolling direction of your mouse. Note that you can change the value back to its original value or just use the registry backup to undo the changes you’ve made.

 Error Causes
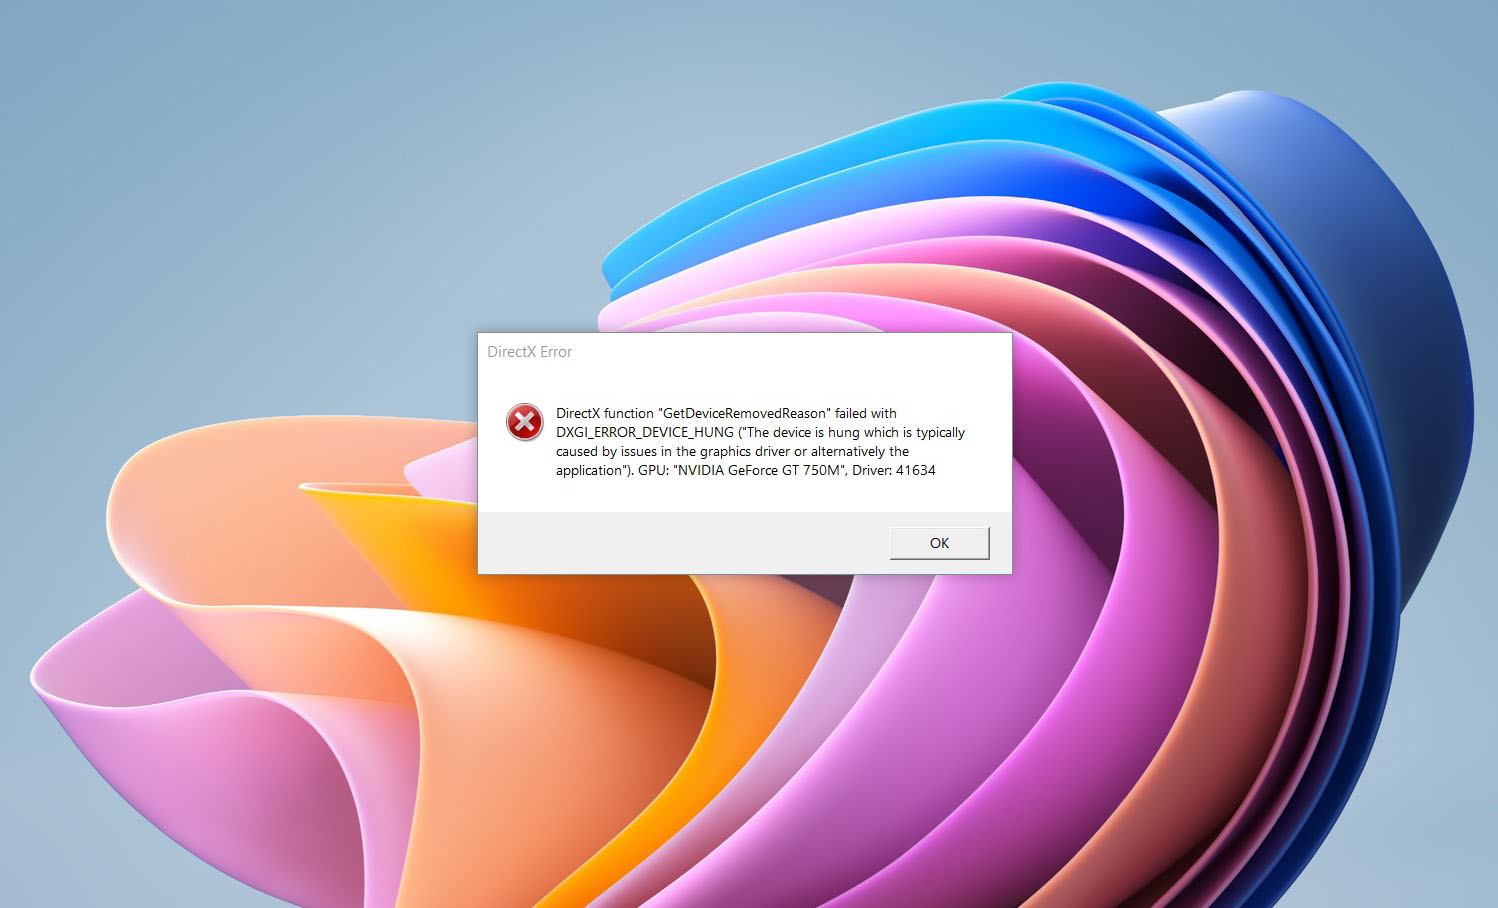 If you are one of the gamers affected by this error, fear not because we have a solution for you. Follow provided fix guide in order to correct this error and get back to gaming asap.
 Once File Explorer is up and running right-click on the hard drive you wish to run disk cleanup on and click on properties.
 Properties Windows will open on the general tab, on that tab you have disk cleanup on the lower right part of properties, click on it.
 Wait for Windows to gather information about your hard drive and files on it. After it is finished you will be greeted with the next screen:
 Here you can thick and mark which items you would like to get rid of and which ones you would like to keep. Note that you can freely tick all of them and remove them since removing these files will not break WIndows in any way. make your choices and click on ok. You can also click on Clean up system files to run system files cleaner and get rid of junk there, you will not be able to choose any options there, Windows will alone clean up what is not needed.
After disk cleanup is finished least thing you will have is more free disk space, but like mentioned, keeping your Windows and computer healthy goes a long way in its usability, speed, and performance.
Here you can thick and mark which items you would like to get rid of and which ones you would like to keep. Note that you can freely tick all of them and remove them since removing these files will not break WIndows in any way. make your choices and click on ok. You can also click on Clean up system files to run system files cleaner and get rid of junk there, you will not be able to choose any options there, Windows will alone clean up what is not needed.
After disk cleanup is finished least thing you will have is more free disk space, but like mentioned, keeping your Windows and computer healthy goes a long way in its usability, speed, and performance.  The greatest lag and server crashes are pinpointed to game-creating events. When a player creates a new online game, the server needs to pull a lot of details from the database and make a game, due to some legacy code present this process takes some time and it is demanding a bit on the server-side, and although code was optimized to cater to more modern approach some legacy code still remains.
Another thing that was spotted to affect performance itself is player behavior, to be more specific, modern gamer behavior. Where players find good builds and runs on the internet and then go to farm-specific areas or bosses for loot or experience points, which in return boils down to making plenty and short runs that are made by creating games and after run eliminating them. Now pair that with the previous statement about legacy server and database code and you can add 1 and 1 and see how this might be an issue.
A lot of short games over legacy code are placing games in a state it was not designed for back in 2001 and therefore we have issues. Sadly solutions without completely rewriting the whole code are not very promising and they include rate limiting, which will prevent players to create many games in succession in a short period of time and maybe even login queues to drop a load on servers.
Blizzard reached to people in the whole company, even old diablo 2 developers to ask for advice and they say that they are working on solutions so they could lift limitations and have everything running fine.
The greatest lag and server crashes are pinpointed to game-creating events. When a player creates a new online game, the server needs to pull a lot of details from the database and make a game, due to some legacy code present this process takes some time and it is demanding a bit on the server-side, and although code was optimized to cater to more modern approach some legacy code still remains.
Another thing that was spotted to affect performance itself is player behavior, to be more specific, modern gamer behavior. Where players find good builds and runs on the internet and then go to farm-specific areas or bosses for loot or experience points, which in return boils down to making plenty and short runs that are made by creating games and after run eliminating them. Now pair that with the previous statement about legacy server and database code and you can add 1 and 1 and see how this might be an issue.
A lot of short games over legacy code are placing games in a state it was not designed for back in 2001 and therefore we have issues. Sadly solutions without completely rewriting the whole code are not very promising and they include rate limiting, which will prevent players to create many games in succession in a short period of time and maybe even login queues to drop a load on servers.
Blizzard reached to people in the whole company, even old diablo 2 developers to ask for advice and they say that they are working on solutions so they could lift limitations and have everything running fine.