There is various Blue Screen of Death errors that you can encounter as you use your Windows 10 computer and some of these Stop errors have something to do with the win32kbase.sys file. This post will guide you in fixing the BSOD errors related to the win32kbase.sys file.
KMODE_EXCEPTION_NOT_HANDLED – win32kbase.sys
PAGE_FAULT_IN_NONPAGED_AREA – win32kbase.sys
The win32kbase.sys file is a Windows operating system Base Win32 Kernel Driver file located in the System32 folder so if it ends up getting corrupted or if it went missing, your computer will throw up Blue Screen error. To fix BSOD errors that have something to do with the win32kbase.sys file, here are some possible fixes that could help. Worry not for these possible fixes are not complicated.
One of the first things you can try to resolve the win32kbase.sys Blue Screen error is running the CHKDSK utility. If your hard drive has issues with integrity, the update will really fail as the system will think that it’s not healthy and that’s where the CHKDSK utility comes in. The CHKDSK utility repairs hard drive errors that might be causing the problem.
chkdsk /f C:
System File Checker or SFC is a built-in command utility that helps in restoring corrupted files as well as missing files. It replaces bad and corrupted system files to good system files. To run the SFC command, follow the steps given below.
The command will start a system scan which will take a few whiles before it finishes. Once it’s done, you could get the following results:
Restart your PC.
You might want to repair potentially corrupted files in your system as having them could also trigger the win32kbase.sys Blue Screen error. To repair these corrupted system files, you can run the DISM commands:
As you know, the Blue Screen troubleshooter is a built-in tool in Windows 10 that helps users in fixing Blue Screen errors related to the win32kbase.sys file. It can be found in the Settings Troubleshooters page. To use it, refer to these steps:

Apple introduced the Live Photo feature way with iPhone 6S in their iOS9. Live Photo idea was that each time you take a photo, your phone will capture a few seconds of video along with sound and all of that is sent when you share your photo. This of course can sometimes be really bad when some not wanted audio gets recorded in the background.

Since the feature was introduced it has been set as the default option when taking pictures so each time you snap one you just capture a small amount of video and audio along. Good thing is that this feature can be turned off and the even better news is that you can edit your old photos to remove back video and audio.
You can keep your Live Photos but share only a single still typical photo if you wish. Go to the photos app on your phone and select the photo you wish to share. Press the Share button on the bottom left part of the screen and once the Share menu appears tap on the Live button in the upper left corner of the selected photo. The button should turn grey and become slashed and now you can share only still photo. This is only temporary for this one specific share so next time you want to do this you will have to go through the process again.
If you are not happy with the previous solution and really do not want to turn off the Live feature each time you want to share a photo or you just simply do not want the feature at all there is way to turn if off for good. Take note that you can temporarily not use this feature just by opening the camera, switching to photo mode, and then tapping on the Live photo button on the toolbar that looks like three circles one inside another. This will temporarily turn the Live Photo feature for this session but next time when you open the camera by default it will be turned on again. This is a good approach if you want the feature but sometimes you just want not to use it.
In order to turn it off completely go to the settings of your phone and go to Camera and then preserve settings. inside the preserve setting turn the switch Live Photo to ON position, now go-to camera and again click on the live photo button to turn it off but this time setting will be saved and next time you open the camera it will not be ON.
As stated before you can edit your old pictures in order to make them stills. You can edit them to remove audio only but keep the video part, or you can completely remove everything and convert them into typical still images.
In order to only remove audio from your Live Photos go to pictures and select one that you wish to change, click on edit, and inside edit tap on the Live Photo icon (three circles). Next tap on the audio icon located in the top left corner of your screen and it will change into the mute icon. Click on done and you are finished.
To completely remove the Live photo go to Photos, select picture, click on edit and select the live photo button again. This time tap and hold the Live button next to the sound until it turns gray with a strike through it. Click on done and you are finished.
DISM.exe /Online /Cleanup-Image /RestoreHealth /Source:C:RepairSourceWindows /LimitAccess
Nvidia announced the third generation of GeForce RTX GPUs called Ada Lovelace. New technology is bringing 76 billion transistors with 18,000 CUDA cores along with new gen ray tracing cores and improved Tensor cores as well. The new lineup also comes with DLSS 3 which is vastly improved from its previous version pushing a 4 times increase in frame rates over native rendering.
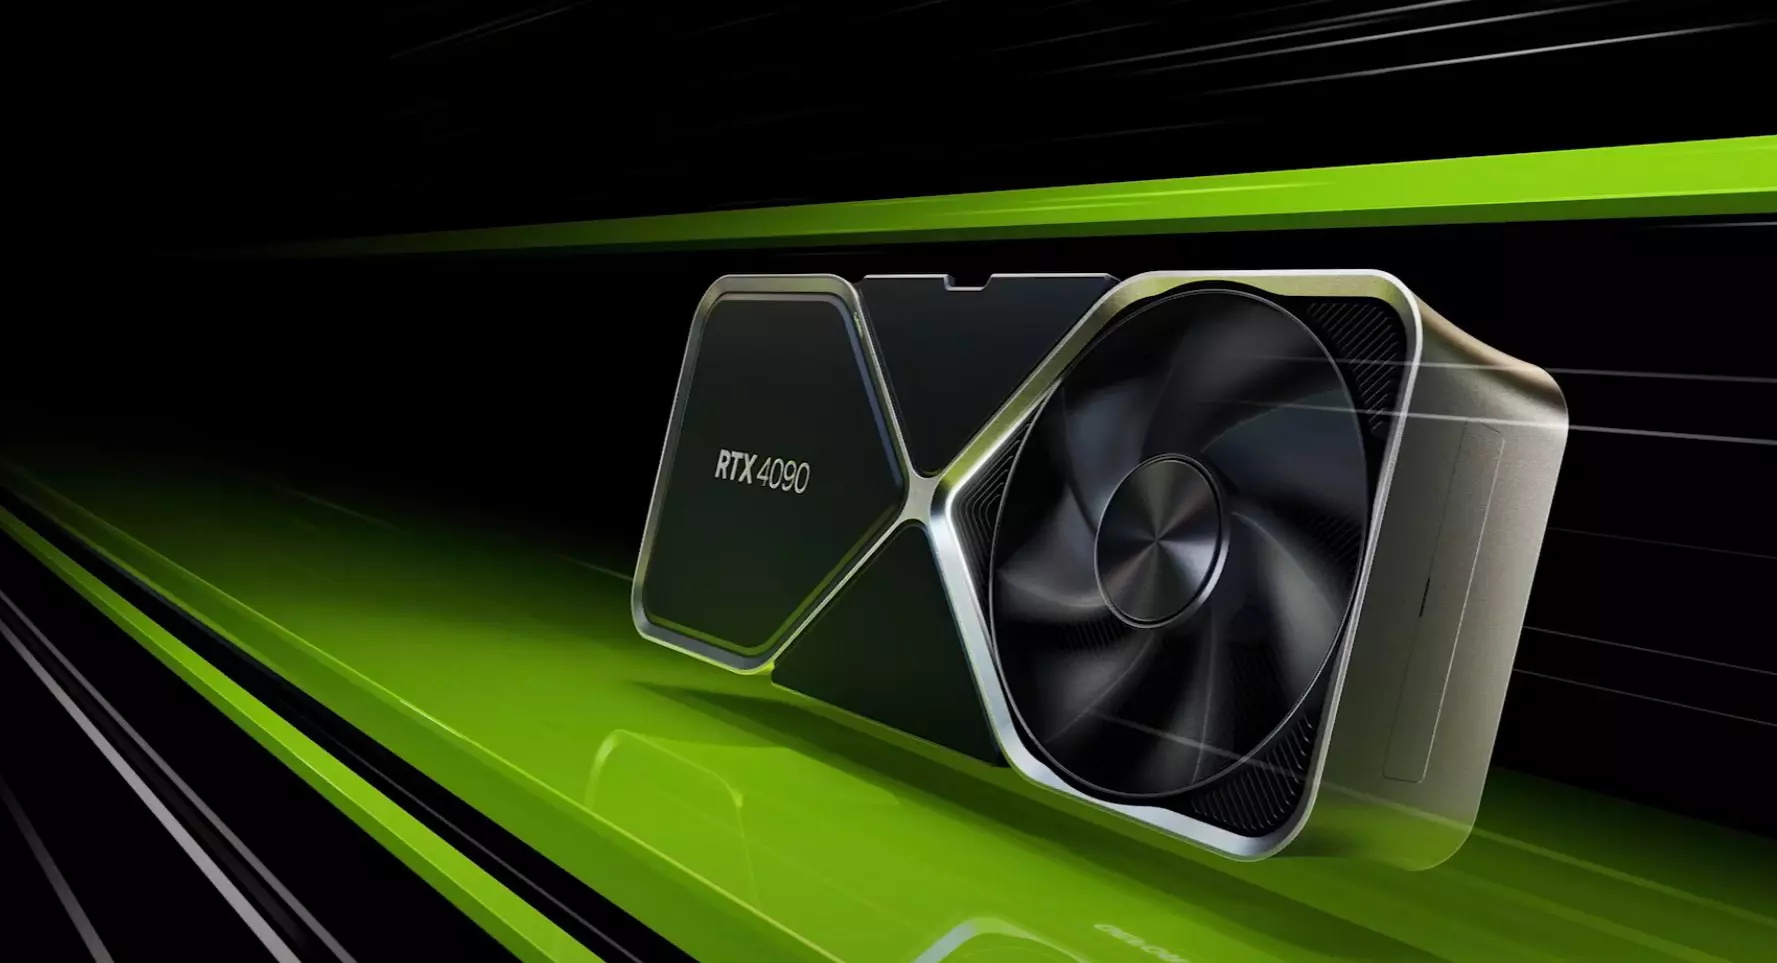
RTX 4090, a better model of GPU will come with 16,384 CUDA cores and a boost clock speed of 2.52 GHz. Also, it is packed with stunning 24 GB of GDDR6V VRAM. In Nvidia's words, its performance is twice faster than the 3090 Ti in games like Flight simulator, three times faster on Portal RTX, and four times faster on RacerX.
RTX 4080 comes in two modes, one with 12GB VRAM and a stronger one with 16GB VRAM but differences do not end here. The lower model is packing 7,680 CUDA cores while the stronger one is going to 9,728 CUDA cores. We will wait to see how will these cores count impact real-world performance in games.
As for prices, the flagship model RTX 4090 will be $1,600 USD and it will hit the market on October 12th. RTX 4080 12GB model will be $900 USD and the model with 16GB VRAM will go up to $1,200 USD. This, of course, is the price for Founders Edition cards, OEM cards from third parties like ASUS, MSI, Gigatech, etc will cost more.
Microsoft will soon offer 4 CPU computer specifically aimed at developers and its name is Volterra. The machine as stated will come with 4 processors but the strange thing is that they will be ARM-based instead of x86.
CEO of Microsoft, mister Satya Nadella has introduced the product and Microsoft has released a youtube video promoting it.
The computer system will have Qualcomm's NPU or built-in neural processing unit to use AI's power to help developers write and produce better and faster code. The sad news is that besides processors used there is no other information on other components that will go into this system.
As seen in the video, the computer reminds me a lot of the apple MAC mini with its size and design, and as stated it is made from recycled plastic which in our opinion will bring the price under $1000.
Microsoft has not provided an official price tag for Volterra, but our hope is that it will be more affordable than building your own development PC. Also, there was nothing said about computer availability, we suspect that the selling model will be typical Microsoft one with first models available only in the USA and moving forward slowly opening it to other markets.
As previously said nothing except the number of CPUs and their type has been officially said but we managed to get some information about some other specific things not including its inside components.
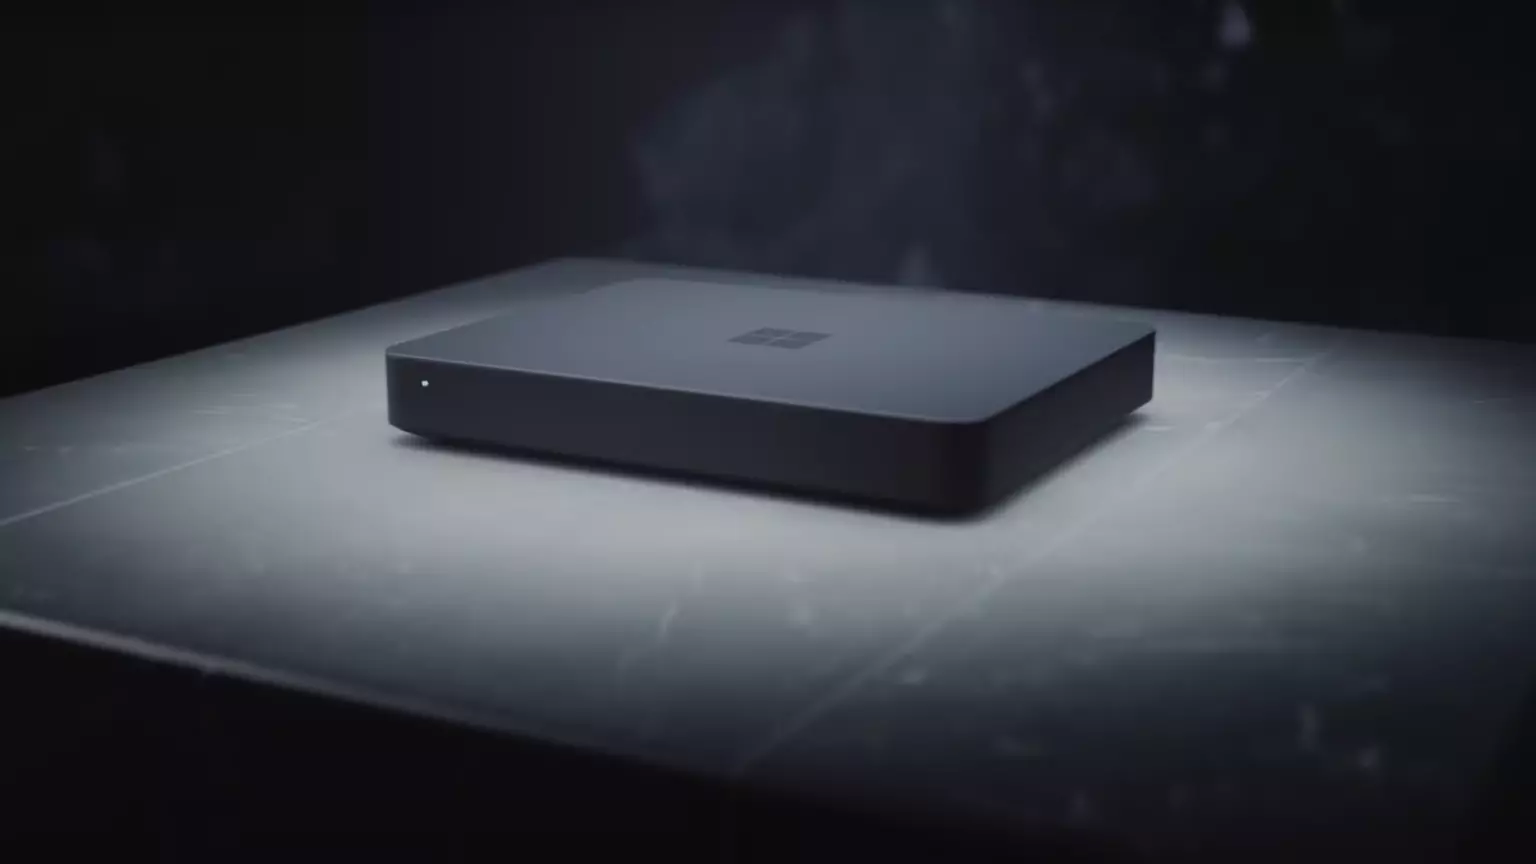
The unit will have a fan inside of it for cooling purposes and better performance and that is what was officially stated by Microsoft. On the outside, it is known that the computer will have three USB-A ports, a mini DisplayPort, and an ethernet input. All of these will be positioned on the back of the device, on its left side there will be two USB-C ports.
The unit itself will be running on Windows 11 but it was not disclosed anything about the version, we presume since this is a model aimed for professional use that it will come with Windows 11 PRO version.
Since this product is aimed at developers logically support for developing software is a must-have and at the time of this writing software that will come and that will run on Volterra is:
Once MAC studio has been released it showed that specific builds have their audience and can be sold for less of a price than full-fledged custom-made workstations. There is no doubt that Microsoft Volterra will find its audience but will that be enough to have more versions of this compact computer only time will tell.
-file "C:/Users/Ayush/Desktop/Powershell Script Sample.ps1"Step 8: Once done, click on OK to save the changes made and see if the task is still giving you an error or not. On the other hand, if you are still getting the same error, you can try to repair the Task Scheduler by deleting corrupted tasks. Note that a single corrupted file can cause big problems so this option is quite important. And for you to delete a corrupted task or any task from the Task Scheduler, you have to use the Registry Editor if you are not able to use the Task Scheduler interface. To do so, follow these steps:
0x800CCC17 - User cancelled operation
 Error Causes