Five Ways of Fixing Error Code 37

What is Error Code 37?

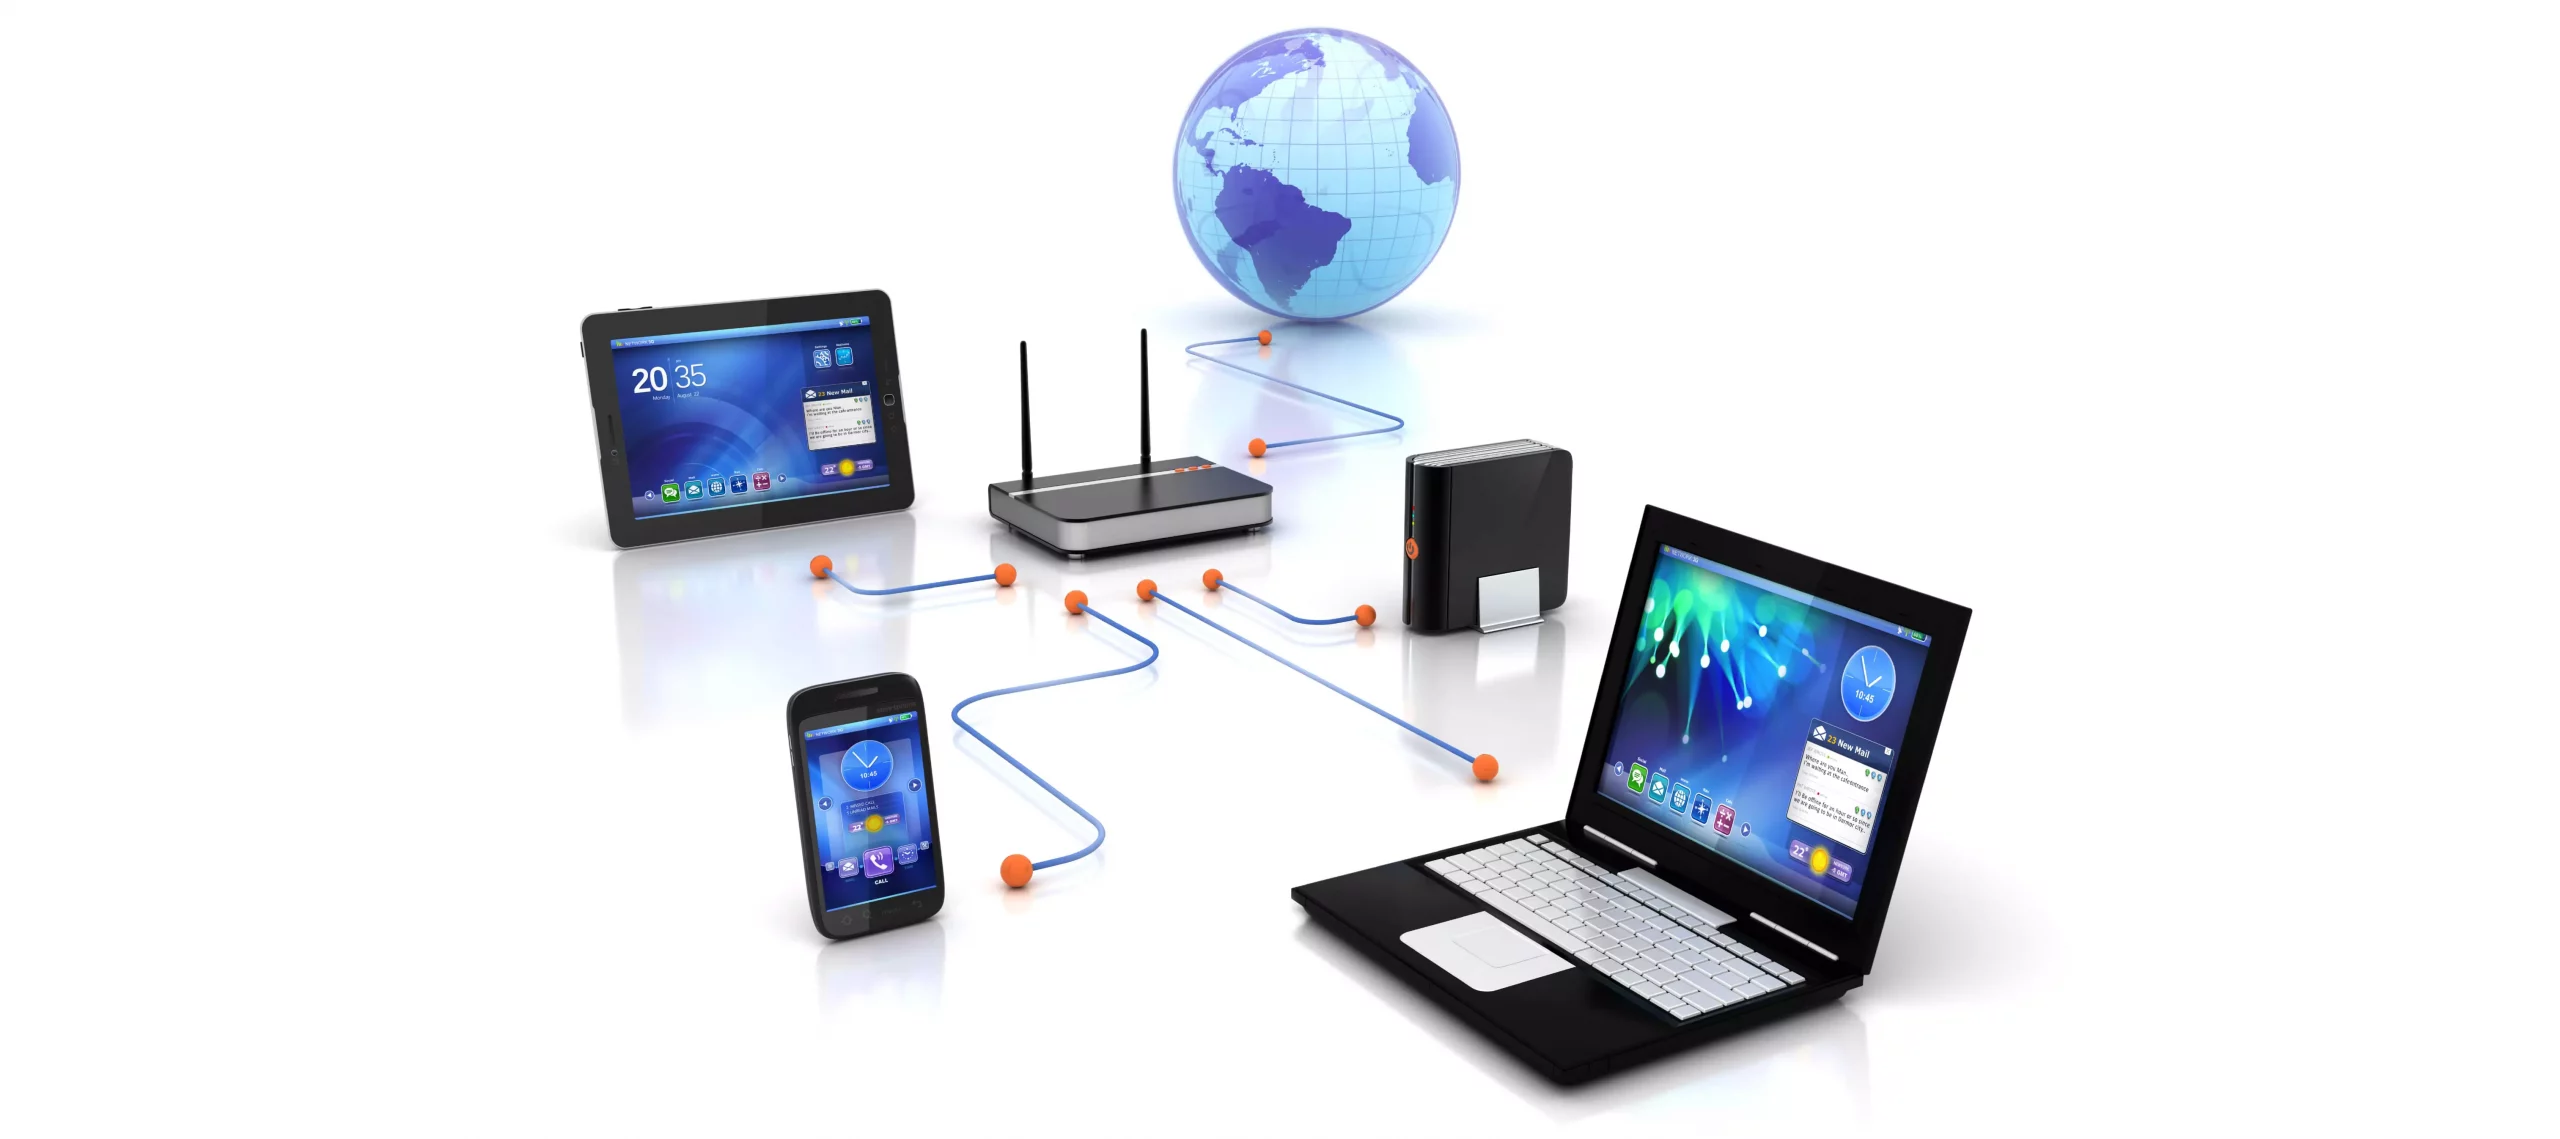
Error Code 37 is a Device Manager Error Code that you may come across when you are unable to use an installed hardware device on your PC. It will pop up on your screen with the following display:

“Windows cannot initialize the device driver for this hardware. (Code 37)”

If you receive the above message, it means that your operating system was unable to acknowledge the drivers for a particular peripheral device.

Solution

driverfix boxError Causes

Error Code 37 mainly occurs due to device driver corruption. However, there are other factors that can trigger this error code, some of which are the following:

  • Missing device drivers
  • Out-of-date device drivers
  • Presence of malware or spyware in the system
  • The particular device is not compatible with your PC

Device driver corruption or other data corruption is not uncommon and part of everyday PC use.

From an installation gone wrong to an unexpected shutdown, commonly generated data errors are considered the main culprit behind error codes.

Further Information and Manual Repair

Just like most PC error codes, Error Code 37 isn’t that difficult to get rid of. There are many DIY methods you can try to have your PC running smoothly in no time. Here are a few methods to resolve this issue:

Method 1: Restart your PC

It is possible that the display of the error code is merely due to a temporary issue with your peripheral device and not anything serious.

Therefore, the quickest and easiest method to solve the error code 37 is to simply restart your PC.

Method 2: Scan for Viruses

If restarting does not do the trick, a quick scan for viruses and removing them is another simple method you can follow to fix your PC.

Since the error code is due to corruption of data, viruses such as malware or spyware create error in your PC’s registry and eliminating them can help restore some of the corrupt data, which also speeds up your PC.

Method 3: Undo recent changes

A possible explanation for the error code may be the recent changes in your Device Manager or due to the peripheral device installation. You can thus undo the changes by either:

  • Remove or change settings of the installed peripheral device
  • Roll back the version of the driver to the one before the update.
  • Use System Restore to reverse the changes made in the Device Manager

Method 4: Manually uninstall and reinstall the drivers

If the above stated methods do not help in speeding up your PC and is still giving you an error code, you may want to manually uninstall and reinstall the corrupt or missing drivers. Here are the following steps:

  • Double-check if the installed external device is properly connected and working smoothly
  • Open Device Manager and double click on the device that is causing problems
  • When it opens, click on the ‘Driver’ tab and click ‘Update Driver’

Method 5: Use DriverFIX

However, updating the missing or corrupt drivers can be time consuming and may also require having a hardware documentation ready that contains specific details about the driver that you should download.

To avoid this time-consuming process, you can use DriverFIX software.

DriverFIX will help you to download the required driver without you having to waste your precious time and effort looking it up in a user manual. This latest software technology is embedded with its own database that tracks the missing or corrupt driver according to your PC’s motherboard version and specific details.

It is user-friendly, which means that it will relieve you from the frustration of such PC error codes appearing from time to time and enable your PC to work efficiently in no time.

Click here to download DriverFIX to resolve Device Manager error code 37 today!

Do You Need Help with Your Device?

Our Team of Experts May Help
Troubleshoot.Tech Experts are There for You!
Replace damaged files
Restore performance
Free disk space
Remove Malware
Protects WEB browser
Remove Viruses
Stop PC freezing
GET HELP
Troubleshoot.Tech experts work with all versions of Microsoft Windows including Windows 11, with Android, Mac, and more.

Share this article:

You might also like

How to get Dynamic Wallpapers in Windows 10
Dynamic Wallpapers introduced with Mojave Update in macOS are pretty cool. Dynamic Desktop is a feature introduced in macOS Mojave (10.14), in which the desktop background changes according to the time of Mac's current location. If Location Services are turned off the Privacy pane of the System Preferences, then the time zone specified in the Date & Time preferences will be used. To apply macOS Dynamic Wallpaper on Windows 10 we need to download & use WinDynamicDesktop, a free application that lets you apply macOS Dynamic Wallpaper. After the installation, you will be asked to Configure the Schedule. While doing that you need to make sure that you enter your location correctly. You can even set specific sunrise and sunset timing by selecting “Use specific sunrise and sunset times” and changing the Sunrise and Sunset times manually. Now, you will be greeted with some of the coolest dynamic wallpapers in the market. Select a theme of your choice, click on the Download button (file size can range between 20-200 MB), and click Apply to enjoy macOS Dynamic Wallpaper on Windows 10. If for some reason you want to go back to the default Windows theme but not necessarily delete the application then right-click on the WinDynamicWallpaper icon from the taskbar, click Select Theme, select None (from the theme section) and click Apply.
Read More
A Quick Fix Guide to Error 0x8004060c

What's Error 0x8004060c?

If you use Ms-Outlook. You may experience the malfunction 0x8004060c sooner or later. This malfunction was proven to arise in nearly every MS Outlook variation be it 2010 or 2,000, 2007. The malfunction 0x8004060c hinders your capacity to deliver and get e-mails from and your MS-Outlook account and happens without any forewarning. The error happens when the PST file grows too big and there's almost no memory to handle the increase (Which is rather rare nowadays). Generally, the PST file has about 2 gigabytes upper limit and when you reach that, this error is unavoidable. This error happens when you attempt incorporating data that is fresh into your MS-OUTLOOK Account.

Solution

Restoro box imageError Causes

This malfunction might generate difficulties for you personally as your e-mails vanish and can happen suddenly. The system could also crash at times unpredictably. You may not be able to see fresh notifications and attachments in your e-mail. Also, it's also possible to drop significant contact details. What's more, this malfunction could stop e-mails that are fresh to arrive in your inbox. Therefore, it is undoubtedly a significant issue that has to be repaired immediately. The following may be some of the causes for error 0x8004060c:-
  • This error might occur when OST/PST file got corrupt.
  • OST file becomes inaccessible due to Exchange connectivity or synchronization issue.
  • OST/PST file exceeded its default maximum file size.

Further Information and Manual Repair

In the event that you find the malfunction 0x8004060c at any stage, you should do the repair instead of risking dropping connections and all the significant data in your account. The easiest way to repair this malfunction and to handle this issue would be to download the Restoro. Click here to obtain this fix tool on your computer. After installing, click your mouse's left button after which can use the application. It repairs the error code 0x8004060c in the least period and walks you through the entire repair procedure quickly.
Read More
How to use Windows maps offline
If you like to travel but you do not have a navigation device and a place where you are traveling does not have internet coverage do not worry, Windows offline maps are here to help. Traveling in today's world often requires that we have some sort of navigation system, wherever that be a dedicated navigation device, maps on your mobile phone, or something similar. Maps on mobile-phone are nice but they drain the battery of the phone fast and being on a road might require that we have access to our phone, just in case of an emergency call, and dedicated navigation devices often cost a lot of money. Lucky for us Windows comes with a maps feature where you can check local maps and orientate with their help and even if you are in an area where you do not have internet coverage you can still use maps via offline mas mode in Windows. This feature will require that you sacrifice little HDD space because you will need to download maps that you will need and some time preparing in order to find and download maps that you will need but in the end, it is worth it, you have a full map system completely offline and independent of the internet. So in order to prepare all maps that you will need, follow this guide step by step and enjoy your trip.
  1. Select Settings from the Start menu.
  2. Click System.
  3. Select Offline maps.
  4. Click the + button next to "Download maps".
  5. Select the continent where your desired country is located.
  6. Select the region you want to download. Depending on the area, you can download a whole country or you'll have to drill down to a smaller region (for example, with Canada and the USA).
  7. Repeat for any additional regions you want to have as offline maps. You can download more maps while other maps are currently downloading.
  8. Pack your bags
  9. GO!
Read More
Malware Guide: How to Remove BitCoinMiner

What is BitCoinMiner Malware?

BitCoinMiner is a Malware created with the intent to force computer systems to generate crypto-currency, namely Bitcoin. This is done without the consent and knowledge of a computer/system holder. This unwanted file bears no digital signature or publisher since the creators of such a heinous invention do not wish to be known. Technical details about BitCoinMiner Malware include:
Product Version: 1.0.0.0 Original File Name: crss.exe Entry Point:  0x000C5AAE

Assessment of BitCoinMiner Malware

After installation of the BitCoinMiner Malware, there were no visible signs of an infection or program files installed. However, based on research, BitcoinMiner Malware utilizes the CPU’s resources (est. to be about 50%). Computer users have reported that they recognized an unknown process utilizing the majority of their processing space. the bitcoin miner is used by the creators to penetrate a user’s system, in effect coercing each infected system to mine Bitcoins covertly. After years of mining, a user might discern that their computer is moving slouchy and may even encounter various forms of BSODs.   After Bitcoins have been mined in the infiltrated system, the cyber currency is then returned/ sent to the creator of the malware. This venture is a sly and deceptive way to earn Bitcoins since the currency is gaining much popularity.

Further Information on BitCoinMiner

BitCoinMiner works covertly. There are no obvious traces of this program running on a computer system. However, once a computer system is infiltrated, the computer user will realize that their CPU resources are strangely being used up, even while the computer idles. Another expression of BitCoinMiner is the addition of cookies of various sorts to a computer system. These include:
  • Tracking cookies
  • Advert (Adware) cookies
  • Casale Media (Spyware) cookies
  • Atwola (Spyware) cookies
  • Adtech (Spyware) cookies
Once BitCoinMiner is present on a computer system, it can potentially slow it down and also create back doors as a means to install other unwanted and harmful programs. To completely remove BitCoinMiner Malware from your computer, click here to download and install Spyhunter.
Read More
How to change network from Public to Private

If you would like your computer to be discoverable on your network and use print and file sharing you will have to change your network profile on your computer from public to private.

computer network

Follow the provided guide step by step to change your network profile setting:

Switch to private profile in Windows 10

Locate the Wi-Fi icon in your system tray and click on it. Click on properties on your WI-FI network to open the network menu. Inside the menu in the Network profile section enable the Private option.

Your changes will be automatically saved.

Switch profile to private in Windows 11

Find the WI-FI icon in the system tray and right-click on it, then choose Network and Internet Settings. Network & Internet page with open, find your network name at the top and select properties.

On the WI-FI page, in the Network Profile Type section choose Private. As in Windows 10, your changes will be automatically charged, and you can start using them immediately.

Another way around

If you want to switch back to a public profile follow provided steps but disable the private option.

Read More
Fix Broadcom BCM20702A0 driver error
In recent times, some Windows 10 users have seen an error code BCM20702A0, when using Bluetooth and they are concerned as to what it is all about. We can say for certain that it has something to do with your Bluetooth driver. The error message in question is:
The drivers for this device are not installed. There are no compatible drivers for this device.
The problem here tends to no longer allow specific Bluetooth components to properly communicate with your Windows 10 operating system. It also affects laptops that do not have native Bluetooth support; therefore, the manufacturer installed a dongle on the inside to deliver the service. This is not the best way to do things because native support is always better. On the other hand, maybe you’re using a Broadcom USB Bluetooth dongle that is acting up, and as such, the error is showing. Below are solutions provided for this particular error and how to eliminate it.
  1. Run the Bluetooth Troubleshooter

    Press ⊞ WINDOWS to open the menu and select settings In settings choose Update & Security Go to troubleshoot and on the right panel click on additional troubleshooters Click on Bluetooth Select Run the troubleshooter, then sit back and allow the tool to do its thing. Once you’ve completed the task, click on Apply this fix if any repairs are needed Reboot your computer
  2. Install Broadcom driver from official website

    Windows drivers for Broadcom Bluetooth devices are no longer posted on their website. They should be available through Microsoft’s Windows Update service. If drivers were not downloaded automatically by Windows Update, use Device Manager to refresh the driver from Windows Update. However, the Broadcom Bluetooth drivers seem to be available here on the Lenovo website. To fix the BCM20702A0 driver error, you may download and install them. After downloading it, right-click on the downloaded item, and select Run as administrator. After installation, restart your computer, then check again if it works.
  3. Remove all Bluetooth drivers and USB controllers

    If previous solutions did not work, go to device manager and remove all Bluetooth devices along with all USB controllers. Reboot your computer and Windows will automatically reinstall and set all devices.
Read More
Facebook messengers alternatives
People are becoming more and more concerned with their privacy and Facebook's flagship messaging application is caught between it all. While still widely popular it has becoming to lose its ground due to many unanswered questions about privacy encryption. Lucky for all of us there are alternatives for more secure messaging.

SIGNAL

Arguably the most secure of all well-regarded messaging apps, Signal is the favorite of the European Commission, as well as newsrooms around the world. While Signal doesn’t disclose how many daily or monthly users the app has, Google’s Play Store says it has been installed more than 50 million times. While using Signal, each voice or video call connected through the app includes full end-to-end encryption. Signal takes an extra step by hiding message metadata so that the location of the original message is missing. While it asks for your mobile number, that number isn’t used with your profile. Instead, it acts as a numeric username. Once registered, you will find 1-1 chat, audio, and video calls, disappearing or “secret” chats, and a privacy lock so nobody can access the app even if they have your phone. Best of all, it’s completely free to use.

TELEGRAM

One of the biggest competitors to Facebook Messenger (and WhatsApp), Telegram is a very strong alternative. With more than 400 million users, it offers an interface that should feel right at home for anyone coming from Messenger. Telegram offers some huge benefits over Messenger, including features like groups that can hold up to 200,000 members for a chat. There is no limit on your media or chat size, and you can share all types of files between users and in groups. From a privacy standpoint, Telegram has robust security, but it is worth noting that only “secret” messages are end-to-end encrypted and can self-destruct. Non-secret messages can be stored on Telegram’s servers so you can pick them up between your devices quickly. That’s a consideration worth knowing prior to making Telegram your default Messenger replacement. Telegram is free across all platforms.

THREEMA

Rising in popularity, Threema is another privacy-focused alternative that has quickly become a competitor to Facebook Messenger. This paid service ($2.99 on both App Store and Play Store) is a pay-once, use forever option. Once you pay the small fee, you gain all of Threema’s touted privacy options, like open-source end-to-end encryption for both messages and calls. Like Signal, Threema won’t require you to link any phone numbers or emails to your account. All chats are handled anonymously, and the service generates a random user ID when you first open and register for the app. No data is collected from any of your chats and no ads are shown. The Swiss-made app does have its own servers hosted in Switzerland, which do not store any chat messages. Another privacy benefit of Threema is the notion that all of your contact lists, groups, and user profiles are hosted on your device, not on the Swiss servers. Because of that, Threema can once again state that none of your personal info is stored anywhere they have access.
Read More
What is and how to Remove Shortcut Virus
Shortcut virus is an easily spreadable and annoying combination of Worm and Trojan that hides all of your files and folders and then replaces them with shortcuts that look identical to replaced files and folders. Shortcut virusOnce disguised it will wait patiently for a user's click and once that happens it will replicate itself and further infect the system. This rapid spread can lead to stolen personal data, some system hick-ups, and other system-related issues. This malware mainly affects physical file transfer devices like for example and most USB drives, hard drives, and SD memory cards and it can easily transfer itself to the computer. The advantage of this shortcut virus comparing it to others is that it is mostly undetected by a vast variety of antivirus software. So running just anti-virus software maybe not be enough to remove it from your system. Luckily for all unfortunate users that have caught this annoyance, it can be easily removed fully manually in a short time.

How to Remove Virus from USB and other removable media

Firstly plugin USB, SD, or removable drive. The infection will transfer to your computer when the infected drive is plugged in so before we go to clean the computer itself, clean each removable drive that you have. Also know that infection will spread from computers into removable devices as well if it is not cleaned. Open the File Explorer and remember under which letter is removable drive registered. Open Command prompt but with administrator privileges and go to infected rive by typing its letter followed with “:” (for example D:) and press ENTER Once you have successfully gone to infected drive type in command prompt: Attrib -s -r -h /s /d *.* This will unlock all original files back into removable storage, next copy all files to your computer, and format the removable drive. Once the format is complete, unplug the removable device. Continue to clean all devices with the same method.

How to Permanently Remove a Shortcut Virus from Your PC

Now once we have cleaned all removable devices it is time to fully clean the PC Firstly open the task manager ( CTRL + SHIFT + ESC ), in the process tab find wscript.exe or wscript.vbs, right-click on it (or both if present), and select End Task. Now close the task manager and press Start. Inside start typing in registry editor to search for it and once found open it. Find the following key inside the registry editor: HKEY_CURRENT_USER/Software/Microsoft/Windows/CurrentVersion/Run In the right panel, look for any strange-looking key names, such as odwcamszas, WXCKYz, OUzzckky, etc. For each one, run a Google search to see if it's related to shortcut viruses. If any returns a positive match, right-click on them and select Delete. !!! Accidentally deleting an important key can cause Windows to become unstable, so double-check everything !!!. Close the Registry Editor Now press ⊞ WINDOWS + R to open the run dialog and type in it Msconfig followed by ENTER. Once the System Configuration window opens go to the Startup tab. In the Startup tab, look for any strange-looking .EXE or .VBS programs, select each one and click Disable. Close the Window. Once again open the run dialog and type inside %TEMP% and press ENTER in order to open the Windows temp folder. Inside this folder delete everything. Next in the File explorer go to C:\Users\[username]\AppData\Roaming\Microsoft\Windows\Start Menu\Programs\Startup Look for any strange-looking .EXE or .VBS files and delete them.
Read More
How to Fix Windows 10 Error 0x8000ffff

Error Code 0x8000ffff - What is it?

Error Code 0x8000ffff is an error that is often experienced while attempting to install updates on a Windows machine. It has been found in Windows 10, although the error has been present in the Windows operating systems dating back to Windows Vista.

Common symptoms include:

  • Inability to download updates for the operating system
  • Inability to successfully run updates for the operating system through to completion

There are several basic Windows tools that can be used to attempt to resolve Error Code 0x8000ffff on your machine. While some of these tools may be familiar for basic users, others may require advanced competency in order to be used correctly. If you are unsure of your ability to complete the methods listed below in order to resolve this error code on your system, you may need to get in touch with a computer repair technician who is competent in dealing with Windows Update repairs.

Solution

Restoro box imageError Causes

The most common cause of Error Code 0x8000ffff is that there is a problem within one of the system files or the registry entries on the computer. There are a number of reasons why a device could have an error in these places, from conflicting software commands to updates that were not installed correctly, to bugs within the system, to viruses or malware that have corrupted the necessary files.

Further Information and Manual Repair

There are several common ways that users can attempt to resolve the appearance of Error Code 0x8000ffff on their Windows devices. If you are not sure that you can follow these steps through to completion, you would be well advised to get in touch with a qualified computer repair technician to help you to finish out the repair process.

Here are the best methods to resolve Error Code 0x8000ffff on your Windows machine:

Method One:  Restart Your Computer

It may sound obvious, but one of the most effective ways to resolve Error Code 0x8000ffff on your machine is to simply reboot your computer. In some cases, the error shows up because there are processes that the system believes are still running when they really aren’t. Restarting your machine also allows your system to apply any previous changes that have been made and to mark any installations that have been undertaken as being complete.

Reattempt your update installations after you have restarted your computer to see if you are able to finish them out successfully.

Method Two:  Run the Windows Registry Repair Tool

The Windows Registry Repair tool is an asset that can make it easy for your system to scan for potential problems in the registry and notify you as to their status. In many cases, the Registry Repair tool can fix the problems that it finds all on its own, although in some cases, you may receive a message that states an error was found that could not be resolved through the program.

The simplest way to access the Windows Registry Repair tool is to do a search for it within the search bar in the Start menu. Once you begin to run the Registry Repair tool, it can take a while to complete its scan, so be prepared to wait for some time once you start it.

Once the tool has completed its scan of your system, it’s always a good idea to reboot your computer so that all of the changes that have been made to the system can be applied successfully to the operating system.

Method Three:  Run the Windows Fix It Tool

Another great tool to help in the resolution is the Windows Fix It tool. You can download it directly from the Microsoft website. Once you run it, it will complete a scan of your system to find any potential hang-ups and to attempt to resolve them. After you run the scan, it is a good idea to reboot your computer to allow all changes to be recognized and applied properly.

Method Four: Use An Automated Tool

If you wish to always have at your disposal a utility tool to fix these Windows 10 and other related issues when they do arise, download and install a powerful automated tool.
Read More
Fix Display driver failed to start Error
Recently, a number of users reported an error when they tried to open graphic-intensive apps like video games. According to users, when they tried to open an app, they get the “Display driver failed to start” error instead. Thus, if you encounter the same error, then you’ve come to the right place as this post will guide you on how exactly you can fix it. Here’s the full content of the error message:
“Display driver failed to start; using Microsoft Basic Display Driver instead. Check Windows Update for a newer display driver.”
This kind of error could be due to several factors. It is possible that it could be a result of a corrupted or outdated graphics driver. Aside from that, it could also be due to some issues with the system settings. Worry not though for there are potential fixes that can help you fix the problem. But before you troubleshoot the problem, you need to update your Windows 10 computer first and if it didn’t help fix the problem, then here are the potential fixes that should help resolve the “Display driver failed to start” error.

Option 1 – Try to restart the Graphics driver

Although Windows 10 can recover the graphics driver on its own when it crashes, there are times when it fails to do its job. To restart the graphics driver in your computer, simply tap the Win + Ctrl + Shift + B key combination. After that, the graphics driver will be back in less than a second.

Option 2 – Try running the Hardware and Devices troubleshooter

Running the built-in hardware and devices troubleshooter can also help you in fixing the “Display driver failed to start” error.
  • The first thing you need to do is click on Start and then on the gear-like icon to pull up the window for Settings.
  • After opening Settings, look for the Update and Security option and select it.
  • From there, go to the Troubleshoot option located on the left-hand side of the list.
  • Next, select Keyboard from the list and open the Troubleshooter and run it. Once it is doing its job, wait for it to complete the process and then restart the system.
  • After the system restarts, check if the problem’s now fixed. If not, refer to the next option given below.

Option 3 – Try to update or rollback the Graphics driver

You can try to update your Graphics card driver using the Device Manager in your computer to resolve the “Display driver failed to start” error or you can also go directly to the website of your graphics card manufacturers like NVIDIA, Intel, or AMD and go to the section called Drivers then check if there’s a new available update – if there is, download and install it. To update your Graphics driver via Device Manager, refer to these steps:
  • First, boot your computer into Safe Mode.
  • After that, tap the Win + R keys to launch Run.
  • Type in devmgmt.msc into the box and tap Enter or click OK to open the Device Manager.
  • After that, a list of device drivers will be displayed. From there, look for the Display Adapters and click on them.
  • After that, right-click on each entry under the Display Adapters and select the “Uninstall Device” option from the menu.
  • Now restart your computer.
  • After restarting your computer, go to the Settings app and Check for Updates in the Windows Update section.

Option 4 – Try setting your system for maximum performance

If the first three options didn’t fix the error, you can try setting your computer for maximum performance since Windows 10 allows you to choose the effects you want to activate your system and you can do this by adjusting the performance ratio. Adjusting the performance ratio can be done via a certain setting in your computer – and this setting should be set to “Maximum Performance” to resolve the error.
  • In the Windows Search bar, type in “performance” and from the search results that appear, select the “Adjust the appearance and performance of Windows” option.
  • Next, a mini window will appear and from there, click on the radio button that says, “Adjust for best performance”.
  • Once done, click on the Apply and OK buttons to save the changes made. This should resolve the problem.
Read More
1 2 3 171
Logo
Copyright © 2023, ErrorTools. All Rights Reserved
Trademark: Microsoft Windows logos are registered trademarks of Microsoft. Disclaimer: ErrorTools.com is not affiliated with Microsoft, nor claims direct affiliation.
The information on this page is provided for information purposes only.
DMCA.com Protection Status