Logo

An intelligent Solution to Repair Outlook PST Mailbox Errors

Outlook PST Mailbox Errors Malfunctions

Can you use an MS-Outlook e-mail account to send and get workplace e-mails on a daily basis? Are you using the exact same Outlook e-mail account for a long time? Are you getting PST Mailbox Errors?

Then you have developed awareness and knowledge about Outlook PST Errors. Ms-outlook essentially stores the email items in a PST record. This includes all attachments, contacts, calendar items, your e-mails and records.

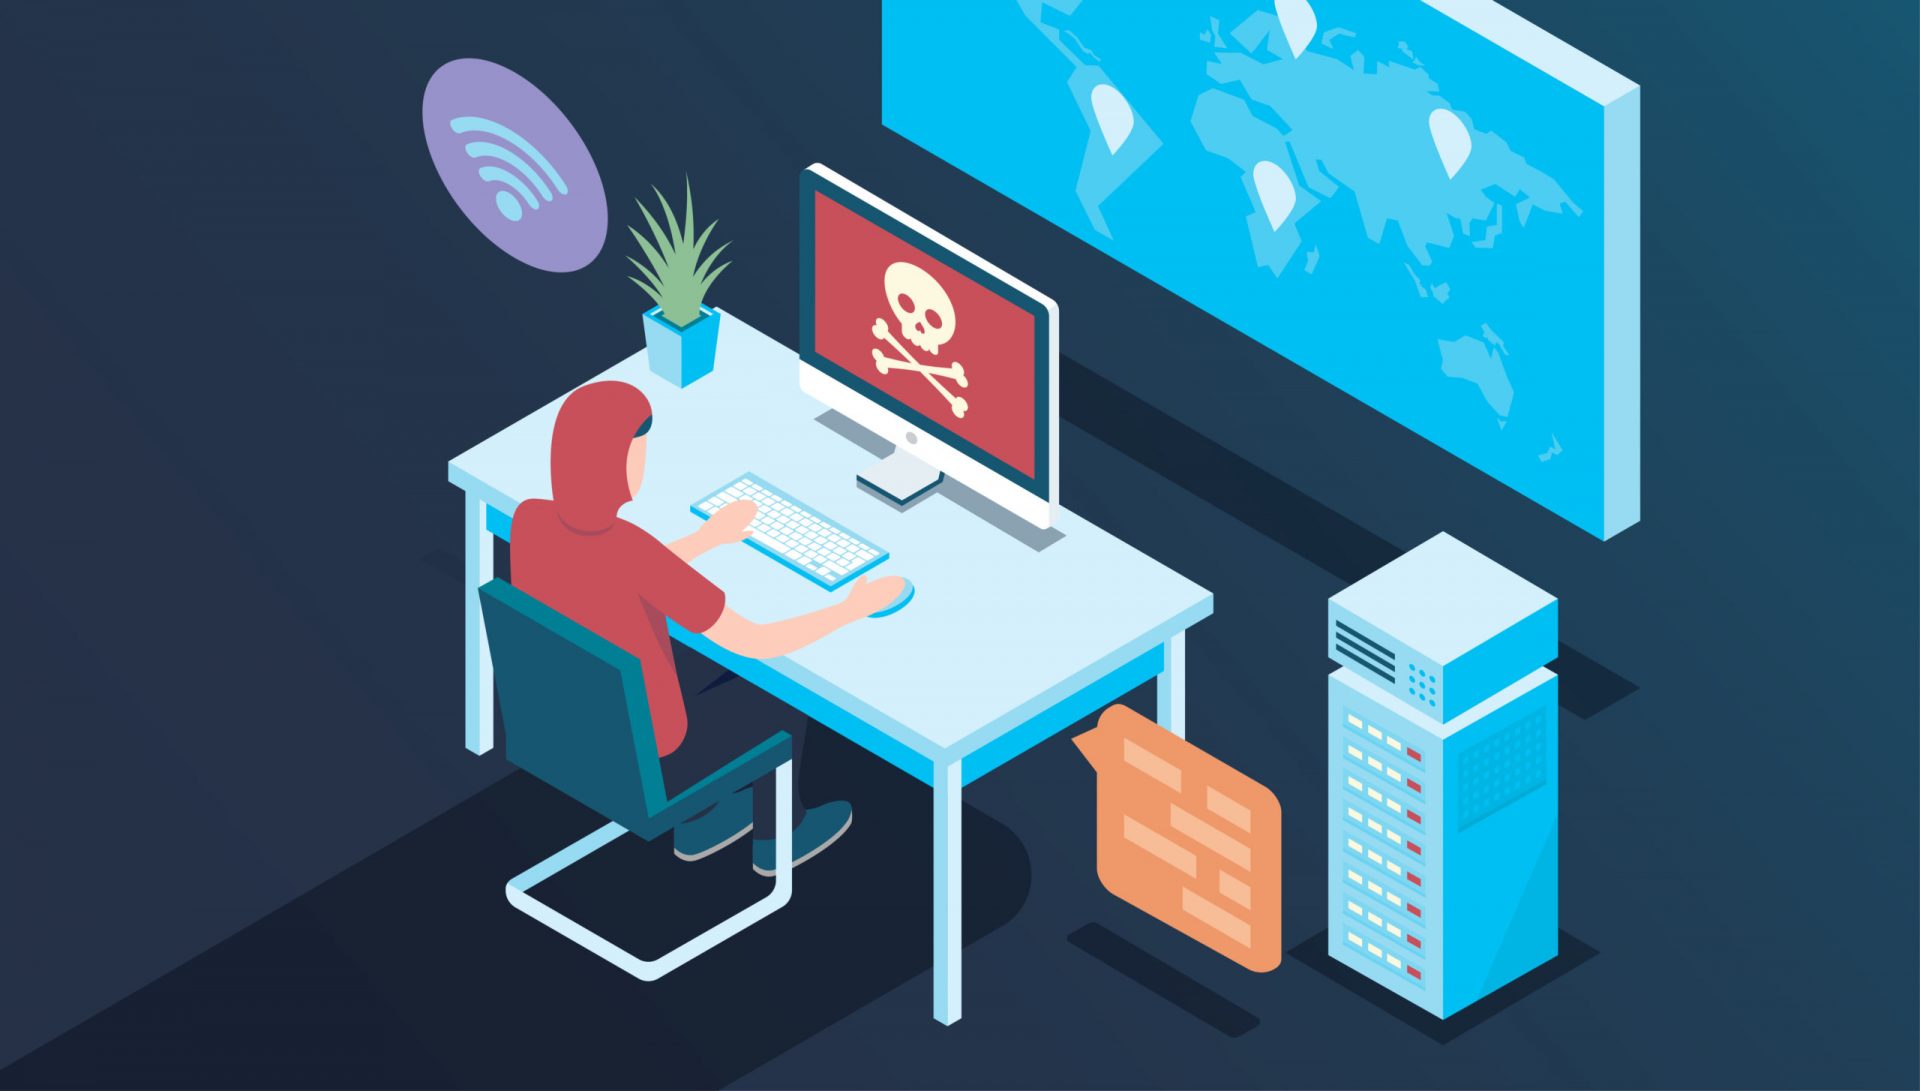
You might encounter various kinds of Outlook Inbox error messages exhibited on the display in extended formats eg. 0x80040600 0x8004060c or 0x80040116.

All all these are Outlook mailbox malfunctions that stop the Outlook program from executing jobs correctly and thus restricting your capacity to gain access to your e-mail account, see attachments, contacts, and calendar items that are significant.

Error Causes

There's not a single particular trigger for Outlook email malfunctions. A few causes can trigger these, but, the most frequent are virus contamination, 2 GB limit is exceeded by PST file and broken.

There are no specific signals which will help help you identify but some pointers to look at include the following:-

  • You cannot access certain parts of your Outlook interface
  • Obscure error messages start popping on your screen
  • You can’t add new contacts or change entry data in your calendar

Further Information and Manual Repair

When you experience these signs related to PST Inbox errors, it is advisable to repair the problem immediately to ensure it does not cause inconvenience for you and hampers your communication via Outlook emails. Remember this error not only inconveniences you but also hinders proper communication between various business partners.

Determining the ultimate reason for distinct Outlook email malfunctions could be tricky, time-consuming, and might need specialized knowledge to nail it down with regards to fixing the Outlook mailbox malfunctions.

In case you are not a specialist, working out and fixing this problem is an uphill process. To simplify this process, obtain and install an Outlook PST Repair Tool!

This is an intelligent solution to fix all kinds of Outlook errors. You do not have to go deeper into the technical details of the problem.

The Outlook PST Repair tool does it for you. An inbox repair tool identifies and also repairs all sorts of MS Outlook errors in seconds. It is easy to use, highly functional, safe and efficient.

By installing an Outlook repair tool, Outlook errors can be easily removed from your computer and keep the errors from happening again. It also fixes damaged PST files and damaged e-mails can help regain data.

Whatever you should do is to begin:

  1. Click here to download the inbox repair tool
  2. Install the software on your system
  3. Run it and click restore to resolve Inbox errors

Do You Need Help with Your Device?

Our Team of Experts May Help
Troubleshoot.Tech Experts are There for You!
Replace damaged files
Restore performance
Free disk space
Remove Malware
Protects WEB browser
Remove Viruses
Stop PC freezing
GET HELP
Troubleshoot.Tech experts work with all versions of Microsoft Windows including Windows 11, with Android, Mac, and more.

Share this article:

You might also like

NVIDIA driver keeps crashing in Windows
As you know, NVIDIA is one of the topmost graphics cards used and it has been that way for several years already. And in those years, the company has managed to release the best cards on the market. However, there are still times when some things fail and don’t work as expected due to some NVIDIA driver issues. As of late, one of the issues users reported about NVIDIA drivers is that it keeps on crashing on a daily basis. It gets to the point where they aren’t able to play games anymore while some users experience lag and rendering issues. In addition, some users also reported that their computer display tends to freeze sometimes, and then things would seem to go back to normal but only for a short span of time as the crash seems to happen every 10 minutes. This can be extremely annoying as you won’t be able to use your computer properly. If you are one of these users, worry not for there are several ways you can try to resolve the problem in your Windows 10 computer. Make sure to carefully follow the options given below.

Option 1 – Try checking if the NVIDIA graphics card is enabled

Although the problem is quite massive, the fix could be as simple as enabling the NVIDIA graphics card if it turns out to be disabled. There might be some strange reason why your graphics card disables itself. Thus, the best and first option you can try is to check if the NVIDIA graphics card is enabled or not. To do so, follow these steps:
  • Tap the Win + R keys to open the Run dialog box.
  • Then type “devmgmt.msc” in the field and hit Enter to open the Device Manager.
  • After opening the Device Manager, look for the Nvidia graphics card option among the list of device drivers. Once you found it, check if it is enabled or not. If it’s not enabled, you should see a gray arrow pointing downwards. Right-click on the card and select Enabled.
  • Next, right-click on the graphics card once more and click on the Update Driver Software option and then click on the “Search automatically for updated driver software” option.

Option 2 – Try to choose Maximum Performance and disable Vsync

If the first option didn’t work out for you, then you might want to try turning off Vsync and adjust the performance to the maximum. Refer to these steps to disable Vsync and adjust performance to the maximum.
  • The first thing you have to do is right-click on your desktop and select the NVIDIA Control Panel among the options.
  • After opening the NVIDIA Control Panel, select Manage 3D Settings.
  • After that, set Vsync to off, and then in the Power Management Mode, set it to Maximum Performance. That should fix the problem.

Option 3 – Try updating the drivers from the official site of NVIDIA

If both the first and second given options didn’t work, you can also try updating the drivers from the official NVIDIA website. And in case you don’t know the type of Nvidia graphics card that your computer is on, follow the steps below:
  • Tap the Win + R keys to open the Run dialog box.
  • Next type in “dxdiag” in the field and click OK or hit Enter to open the DirectX Diagnostic Tool.
  • From there, you can see what type of Nvidia graphics card that your system is on.
  • Take note of your graphics card information and then look for the best drivers for your operating system. Once you’ve downloaded and installed the file, restart your PC.
Read More
A Quick Guide to Resolving Uncdms.dll Error Code

Uncdms.dll Error Code - What is it?

Uncdms.dll is a Dynamic Link Library file and a crucial part of the Windows Desktop Search Software. It is used to search emails, documents, photos, videos, and folders instantly. However, the Uncdms.dll error pops on the screen, when the Windows Desktop Search Software fails to start. The error message is displayed in one of the following formats:
  • “Uncdms.dll cannot be found.”
  • “Windowssearch.exe – cannot find the component. This application has failed to start because uncdms.dll was not found. Reinstalling the application may fix the problem.”
  • “The file uncdms.dll is missing.”

Solution

Restoro box imageError Causes

Uncdms.dll error code may pop on your screen due to multiple reasons. These usually include but are not limited to:
  • Viral infection
  • Issues with Windows Desktop Search
  • Registry corruption
  • Uncdms.dll accidentally deleted during program un-installation

Further Information and Manual Repair

If you experience an Uncdms.dll error code on your system, fix it right away. This error is easy to resolve. You don’t have to be technically sound to resolve the uncdms.dll error code. Try the methods listed below to resolve without any hassle:

Method 1 - Check Your Recycle Bin and Restore the Deleted Uncdms.dll File

Since DLL files are shared files, there is a possibility that you accidentally deleted them while uninstalling some other program. To fix the issue, simply go to the recycle bin and look for the file. If you locate it, reinstall it. If you can’t, then it is advisable to download the Uncdms.dll file from a trusted DLL file website.

Method 2 - Uninstall and Then Re-install Windows Desktop Search

If the error code is related to issues with the Window Desktop Search application, then simply uninstall this software and re-install to resolve. To do this, click the start button, go to the control panel and then add/ remove programs. Now choose Windows Desktop Search from the list of programs and click Remove. After that, reboot your PC to activate changes. Now download the software and follow the same process and reinstall the Windows Desktop Search program on your PC. To activate changes, reboot. This will hopefully resolve the issue.

Method 3 - Update Windows

As this file is included in the service pack, try updating the Windows Utility to resolve the Uncdms.dll error code. To get started, click start and then go to the control panel, now choose Windows update. Follow the instructions to install Active X and then click install to update Windows Utility. Restart your system to bring the changes into effect.

Method 4 - Scan for Viruses and Repair the Registry

Whether the underlying cause of the Uncdms.dll error code is viral infection or registry corruption, it is advisable to download Restoro. It is an advanced and multi-functional PC Repair Tool integrated with 6 powerful utilities including antivirus and a registry cleaner. It scans and removes all types of viruses. The registry cleaning utility works simultaneously and removes all the unnecessary files corrupting the registry including cookies, temporary files, internet history, and junk files, and repairs it in seconds, thereby resolving the Uncdms.dll error immediately. Click here to download Restoro - PC Fixer
Read More
Create Custom Views in Event Viewer
The Event Viewer in the Windows operating system is used to troubleshoot any computer issues. It is one of the most useful tools that keep logs of both security and system events. It also monitors for both software and hardware problems in the computer. This tool is the only one with amazing features that maintain logs about everything that’s going on in the computer system. It keeps track of all the information to the point where going over them will take a lot of time. Luckily, the Event Viewer tool now allows users to create custom views where you can set the filters and sort the data recorded to limit the information details to only what you’re interested in seeing. For instance, if you want to troubleshoot with one hard drive, you can just create a special custom view to display only the hard drive warnings in the security logs. This will save you hassle and time. Take note that the logs in the Event Viewer are divided into two main categories namely the Window logs and the Application and Services logs. You can just set the filter to the logs by their event id, specific date, and many other events when you have to troubleshoot some problem in your computer. So if you are trying to troubleshoot a problem in your Windows 10 computer and you’re checking the Event Viewer, read on as this post will guide you in creating custom event views in the Event Viewer. To get started, refer to the instructions given below. Step 1: Go to the Start menu and in the search box, type “event viewer” and then click on Event Viewer from the search results to open it. Step 2: After opening Event Viewer, click on Custom Views located in the left pane of the window. Step 3: Next, click on the Administrative events under the Custom View to create special log views. Step 4: Then on the right side of the window, click on Create Custom View to open the Create Custom View window. Step 5: There is a logged drop-down list under Filter. From there, you have the option to choose an appropriate predefined time or use a custom time range for your Custom log views. Step 6: After that, select an appropriate event level for your custom view. You have fine entry-level options to choose from such as critical event level, error, warning, information and verbose.
  • Critical – select this if you want to see the events that require your immediate attention in the custom view.
  • Error – select this if you want your Event Viewer to display the events that are less critical but hints at the problems.
  • Warning – select this event-level if you want to see the event with the potential problem but may not bound to happen.
  • Verbose – select this if you want to see detailed information about all the events.
Step 7: After you’ve selected the event level, you now have to select how you want the events to be filtered. They can either be filtered By the log or By the source.
  • By the log – you can select two options called Windows log and, Application and Service logs. The Windows logs allow you to filter the logs created during events like setup, security, applications, and system events. While the Application and Service logs filter the log created by the installed applications in your system.
  • By the source – select this if you want your Custom View to search for information in event sources. It allows you to view events in detail for various applications and devices.
Note: You have the option to further customize the event logs with more filters like Event IDs, task category, keywords, User, and Computer. Using these additional filters, you can choose to filter the events in the special views by specifying event id numbers in the Event IDs, entering predefined Windows words in the Keyword, specify the user accounts in the User field, as well as choose the system from the server to maintain logs in the Computer field. Step 8: Once you’re done customizing the log filter, click on OK to apply the changes made. Step 9: After that, a Save Filter should be displayed in the Custom View window. Just enter the Custom View name and select the Event Viewer folder where you want to save the Custom view. The folder name should be Custom View by default. And if you want, you can also create your own folder if you want your custom views to be visible to all the system users. Step 10: Next, check all the Users box located in the lower corner of the window and then click the OK button after you’re done. You should now see the customized filter you just created on the left side of the window. Just click on it to check your filtered events in the center of the Event Viewer window. And for you to save the custom view logs, simply right-click on the Custom views you created and then click on Save All Events in the Custom View As from the drop-down menu. Then put a name on the file and select the appropriate location where you want to save the logs and click on the Save button. Note that the log file is saved with the “.EVTX” file extension and when you double click on it, it will open the file in the Event Viewer.
Read More
Fix Your system requires SMB2 or higher Error
SMB which stands for “Server Message Block”, is a protocol used for file sharing. It provides the Read and Writes operating on network devices. Thus, it is why it is widely used when accessing a server-based in Linux. Its latest version is the SMB2 which follows after SMB1. The SMB2 contains more fixes to vulnerabilities that were found in SMB1. The predecessor was vulnerable since it served as a gateway to various modern ransomware which is why Microsoft disabled it by default starting with Windows 10 v1709. When you try to share a file, you will get the following error message:
“Microsoft Windows Network: You can’t connect to the file share because it is not secure. This share requires the obsolete SMB1 protocol, which is unsafe and could expose your system to attack. Your system requires SMB2 or higher.”
In this post, you will be guided on how to check if the SMB2.0 version can be installed on your Windows 10 computer. To get started, follow the steps below. Step 1: Tap the Win + X keys to open the Device Manager. Step 2: After that, click on the Windows PowerShell (Admin) option. Step 3: In the Windows PowerShell window, type the following command and hit Enter:
Get-SmbServerConfiguration | Select EnableSMB2Protocol
Note: After entering the command, you will see the following content on your screen which means that your Windows 10 computer is now capable of running the SMB2 protocol Now all that’s left for you to do is to enable the SMB 2 protocol on your Windows computer by enabling the SMB 1 protocol first and then upgrading it to SMB 2 afterward. Refer to the steps below for more details. Step 1: Tap the Win + I keys to open the Settings app. Step 2: Then type in “control panel” in the search area and click on Control Panel from the search results. Step 3: After opening Control Panel, click on Programs. From there, select the “Turn Windows features on or off” option under the larger menu of Programs and Features. Step 4: After that, Windows Features will appear on your screen. And from there, make sure that you select SMB 1.0/CIFS File Sharing Support and then click on OK. Step 5: Now let it install all the required files and then restart your computer to apply the changes made successfully. After your computer has restarted, the SMB 2 protocol should now be supported on your Windows 10 computer. Note: On the other hand, you can also enter the following command in the Windows PowerShell window. Just make sure you have admin rights to enable it.
Set-SmbServerConfiguration –EnableSMB2Protocol $true
Read More
Fix Boot Configuration Data error 0xc0000185
This post will guide you in fixing a particular problem where your Windows 10 computer does not even let you turn it on and it appears as soon as it starts to boot the operating system and it displays an error message that says, “The Boot Configuration Data for your PC is missing or contains errors, Error code 0xc0000185”. On the other hand, it may also display a different error message saying, “The operating system couldn’t be loaded because a required file is missing or contains errors”. There are various suggestions you can try to resolve this error. You could check the physical status of your hardware or rebuild the Boot Configuration Data, use the Automatic Startup Repair or System Restore, or better yet, reset your Windows 10 computer. Since your computer will not boot, you will have to either try to get into the Advanced Startup Options screen, boot Windows 10 in Safe Mode, or use a bootable Windows 10 media to boot your computer.

Option 1 – Try to rebuild the BCD files

The first thing you can do to resolve the issue is to Rebuild Boot Configuration Data or BCD files.
  • You can start by booting into the installation environment for Windows 10 from an installation media.
  • After that, click on Repair your computer and on the blue screen, select Troubleshoot and then select the Advanced options menu.
  • From there, select Command Prompt and once you open it, enter each one of the commands given below by sequence.
    • bootrec /FixMbr
    • bootrec /FixBoot
    • bootrec /ScanOS
    • bootrec /RebuildBcd
  • Once you’re done executing the commands given above, type “exit” to close the Command Prompt window and then restart your computer and see if it fixed error code 0xc000014c.

Option 2 – Try to run Automatic Startup Repair

In this option, you need to boot your computer into the Advanced Startup Options and from there, run the Automatic Startup Repair and then wait until the process is completed.

Option 3 – Try running System Restore in Advanced Startup Options

Since you probably can’t boot into your Windows 10 computer, you can try to run System Restore again in the Advanced Startup Options.
  • Boot your computer into the Advanced Startup Options screen.
  • From there, you will see some options to troubleshoot when you can’t log in to Windows in the usual way.
  • Now select Troubleshoot > Advanced Options > Command Prompt.
  • After that, type “rstrui” and hit Enter to execute the command which will start the System Restore process.

Option 4 – Try to perform repair install by creating a Windows 10 installation media

  • Click this link and then click the Download Tool Now button.
  • Next, click the “Use the tool to create installation media (USB flash drive, DVD, or ISO file)…” option and follow the next given instructions on the screen.
  • Now select the ISO file option in step 5.
  • After that, you should now have an ISO file.
  • Next, go to the location where you’ve downloaded the ISO file.
  • Then right-click on the Windows 10 ISO file and select the Open with option and then select File Explorer.
  • Now click on “setup.exe” and follow the next instructions that appear on the screen. When asked, you have to select either Nothing (clean install) or Keep personal files only option. Take note that you must not select the “Keep personal files, apps, and Windows settings since it doesn’t really work.

Option 5 – Try to physically check the hardware

You should also check the physical status of the hardware in your computer. You can clean the dust off the hardware components like the Network Card of the computer. You might want to use a small blower or you could also use a soft cloth and run the components gently. Make sure that you don’t damage any parts with moisture or cause harm to any circuits while you carry out this task.
Read More
Hide game activity and set privacy on Steam
Steam is a game store behemoth that offers more titles than any other game store online, take that along with the fact that steam was one of the first online dedicated stores for games and you can guess that many people have a steam account, buy and play games on it. It is a platform where you can meet new people in games and add them as friends on steam so you can spend some time together. But happens if you want to have friends on Steam but you would like to hide your game activity? Or even if you want to go fully private on Steam so no one can find you so you can play whatever you want without paying and judging eyes? Luckily Valve appreciates your privacy and offers ways to do exactly this. Keep on reading on how to set up your privacy settings in Steam.

Hiding Steam game activity

  • Launch Steam on your PC.
  • Go to the top bar of Steam and click on your name.
  • Select Profile from the context menu.
  • Click on the Edit Profile button present at the right section of the window.
  • Next, click on the My Privacy Settings button.
  • Now, the Privacy Settings page will be opened.
  • Scroll down and go to the My Profile section.
  • Open the drop-down list given next to the Game Details and select the Private option.
  • Now, check if this process is working or not. For this, right-click anywhere on the blank space in the Steam screen > choose the Copy Page URL option.
  • Then, open a browser and paste the copied page URL in the address bar and check whether your Steam game activity is hidden or not.

Making profile private

  • Launch Steam > click on your name > select Profile from the menu list.
  • Click on the Edit Profile > My Privacy Settings button.
  • Go to the My Profile and open the dropdown menu.
  • Click on the Private option.
  • Now, the changes will be saved automatically.
If you would like to read more helpful articles and tips about various software and hardware visit errortools.com daily.
Read More
Could not start Diagnostic Policy Service
If you are trying to run a Windows Service like the Diagnostic Policy Service and encounter an error instead that says, “Windows could not start the Diagnostic Policy Service”, worry not for this post will guide you on what you can do of the Diagnostic Policy Service is not running in your Windows 10 computer. As you know, the Diagnostic Policy Service enables problem detection, troubleshooting, and resolution for Windows components on your Windows operating system. When you encounter this kind of problem, you will also see the “Access is denied” error message. This occurs when the “MpsSvc” process does not have the permissions needed for the Registry keys. This kind of problem happens when the TrustedInstaller account is missing the permissions for a Registry key and so to fix this issue, you need to take full control and ownership of the Registry keys. You need to create a System Restore point first before you get started. This way, you can always undo the changes you’re about to make in case anything goes wrong. Once you’re done creating a System Restore point, refer to the following instructions to fix the “Windows could not start the Diagnostic Policy Service” error. Step 1: Tap the Win + R key combination to open the Run utility. Step 2: Type in “Regedit” in the field and tap Enter to open the Registry Editor. Step 3: After opening the Registry Editor, navigate to this registry path:
HKEY_LOCAL_MACHINESYSTEMCurrentControlSetServicesDPSParameters
Step 4: After that, look for the “Parameters” registry key and select Permissions. Step 5: Now select your account under Group or user names. Step 6: Next, make sure that the “Full Control” and “Read” boxes are both checked, and then click on the Apply and OK buttons to save the changes. Step 7: Afterwards, navigate to this registry key: HKEY_LOCAL_MACHINESYSTEMCurrentControlSetControlWDIConfig Step 8: From there, look for the Config key and right-click on it and select Permissions and then click on Add and type “NT Service/DPS in the box and click OK. Step 9: Now select “DPS” and check the Full control box, click OK and exit the Registry Editor. Step 10: Reboot your computer and check if the error is now fixed.
Read More
Fix fatal error C0000034 applying update
Fatal error C0000034 happens during the installation of the Windows update and if you are one of the unlucky users who sadly run into this, keep reading as we will provide solutions to this error and how to get around it. Start from point 1 to the bottom and hopefully you will have your PC back into working order in no time.
  1. Run Windows Update troubleshooter

    Usually, a built-in Windows troubleshooter can solve issues painlessly and fast, my advice is to try this as the first option, it is a simple and clean solution worth trying and in 90% it solves the issue all by itself.
  2. Do a clean boot

    Using task manager, remove all nonessential applications and services from starting up, reboot your computer, and once it is cleanly booted try re-running the update process again, if the issue was running the application this time everything will work since the problematic application is not running.
  3. Reset Windows update components to the default

    This solution requires you to use the Reset Windows Update Agent Tool to reset Windows Update components to default or use this PowerShell script to reset Windows Update Client. You can also manually reset each Windows Update component to default and then re-run the update.
  4. Disable firewall and antivirus

    Altho not likely it is still a possibility that some firewalls and antivirus can detect windows updates as malicious software and cut them off. If everything else failed, disable the firewall and your PC protection and when it is fully disabled try updating.
  5. Do automatic startup repair

    This should be the last thing to do but if everything else failed, do it. Perform Windows 10 Startup Repair. Once the startup repair completes successfully, you can re-run the update. The update should install without errors.
Read More
Windows Upgrade/Activation error 0xc03f6506
There are a lot of home users that often get a computer that comes installed with the Windows 10 Home. And since Windows 10 Pro offers more features and utilities compared to Windows 10 Home, a lot of users also prefer to upgrade their Windows 10 Home computers to Windows 10 Pro. However, while doing so, a number of users reported that they encountered error 0xc03f6506 and they were not able to proceed with the upgrade. If you are one of these users, when you encounter error 0xc03f6506, you will see the following error message on your screen:
“The last product key you entered can’t be used on this copy of Windows (0xc03f6506).”
This particular error tends to occur when you go on to activate Windows 10 although it can also appear during the upgrade process. In such cases, you will see the following error message:
“Unable to upgrade your edition, We can’t upgrade your edition of Windows. Try upgrading your edition of Windows again. (0xc03f6506).”
To fix the Activation Error Code 0xc03f6506 in Windows 10, use the options provided below as references but before you proceed, make sure that you create a System Restore point first.

Option 1 – Try to use the Registry Editor

If you have already upgraded from Windows 10 Home to Windows 10 Pro and you’re having trouble with its Activation, then you might want to apply some registry tweaks to fix the problem. How? Refer to these steps:
  • Tap the Win + R key combination to open the Run dialog box.
  • Then type “Regedit” in the field and click OK or tap Enter to open the Registry Editor.
  • Next, navigate to this registry key: ComputerHKEY_LOCAL_MACHINESOFTWAREMicrosoftWindows NTCurrentVersion
  • From there, look for a DWORD named “EditionID” and once you found it, double click on it and change its Value data to Windows 10 Professional.
  • After that, look for another DWORD named “ProductName” and double click on it to change its Value data to Windows 10 Professional.
  • Once you’re done, restart your computer to apply the changes made successfully.

Option 2 – Try to use Command Prompt

If the registry tweaks you applied didn’t fix the Activation error, then you can try using Command Prompt instead. Note that you can use this option in both scenarios pointed out above.
  • First, you have to insert a bootable drive of the Windows10 installer.
  • Next, tap the Win + X keys and select Command Prompt (Admin) from the menu.
  • After opening Command Prompt as admin, navigate to the root location of the bootable drive inside the Command Prompt command line.
  • Once you’re already there, type the following command and tap Enter:
setup.exe /auto upgrade /pkey <YOUR WINDOWS 10 PRO EDITION PRODUCT KEY>
After entering the command, check if it was able to fix the Windows Upgrade or Activation error 0xc03f6506. If not, refer to the next given option below.

Option 3 – Try to disable the Network Adapter

Just like the second option, you can also use this option for both the given scenarios above.
  • Tap the Win + X keys and select Network Connections from the menu.
  • This will open the settings for your network and on the left side panel, click on the “Change adapter settings” link. This will open Control Panel.
  • From there, click on the network your computer is connected to, and then right-click on the Network Adapter that you are using and select Disable.
  • After disabling the Network Adapter, try to switch to the edition of your copy of Windows 10 again and see if the problem is now fixed and don’t forget to double click on the disabled Network Adapter to get back on the Network.
Read More
How to Fix 0xc000001d Error

What Is 0xc000001d Error?

The 0xc000001d error is a common yet critical error that can occur when Windows is damaged or fails to work as a result of either missing system files or corrupt system components. This error can be extremely dangerous to Windows as it can inflict major damage to data and component files.

Error Causes

A 0xc000001d error code can occur because of a number of reasons, of which corrupt registry files are the most common, and about 94% of the time, this results in the error. However, virus infection or an adware or spyware invasion can also result in this error. Outdated drivers and missing DLL files can also be critical and will lead to this error causing major damage to computer files. Contrary to popular belief, incomplete installation and unfinished uninstalls can also because of this error. Other causes include improper shutting down of computers and improper hardware or software deletion.

Solution

Restoro box imageFurther Information and Manual Repair

Because of this 0xc000001d error code, Windows can fail in starting some processes and the system’s performance can significantly slow down. In some cases, Windows has problems starting up and the system can freeze. Lastly, this error code can even result in the Blue screen of death error message, just like other critical Windows errors. If any of the above problems and symptoms occur in your PC, then you should immediately seek to resolve this problem. In order to resolve this 0xc000001d error code or repair the corrupted and damaged Windows files, you will need a 0xc000001d repair tool. There is more than one method of treating this kind of error code, and here is how you can manually do it:
  • Start the computer and log in as administrator
  • Go to the start button and select All Programs. Go to Accessories, System Tools, and then System Restore
  • Click on System Restore and in a new window, select the ‘Restore my computer to an earlier time’ option and click Next
  • On the new confirmation window that appears, click Next
  • Restart your computer after the restoration has been completed
Another way to manually repair this 0xc000001d error code is to:
  • Manually edit the Windows registry
  • Update all the drivers for the device
Read More
1 2 3 171
Logo
Copyright © 2023, ErrorTools. All Rights Reserved
Trademark: Microsoft Windows logos are registered trademarks of Microsoft. Disclaimer: ErrorTools.com is not affiliated with Microsoft, nor claims direct affiliation.
The information on this page is provided for information purposes only.
DMCA.com Protection Status