You probably heard about switches for LAN but not a lot of people heard about KVM switches. So what exactly is KVM switch?
If we look at the name, it is a shortcut for Keyboard, Video & Mouse and the original idea was to have multiple computers but one keyboard, mouse, and monitor. These peripherals would be connected to the KVM switch and other computers could all use one set of these on the fly when needed.
The technology behind the switch is a little interesting since it will actively fake signals to other computers that are not using peripherals. Once they are switched to them the transition is smooth and not noticeable. In old days these switches were more important than today since on every mouse or keyboard disconnection you had to reboot the computer, and although today that is not the case CPU will still detect disconnection and on the next connection it will run through the ID of the device and try to use the existing driver and if peripheral was connected in other USB port, it will install the same driver but connect it to the new USB port.
This type of reconnection can slow down work and place unnecessary load on the CPU so that is why KVM will fake connection in order to make switching externals on the computer smooth and in nick of a time.
Modern KVM switch
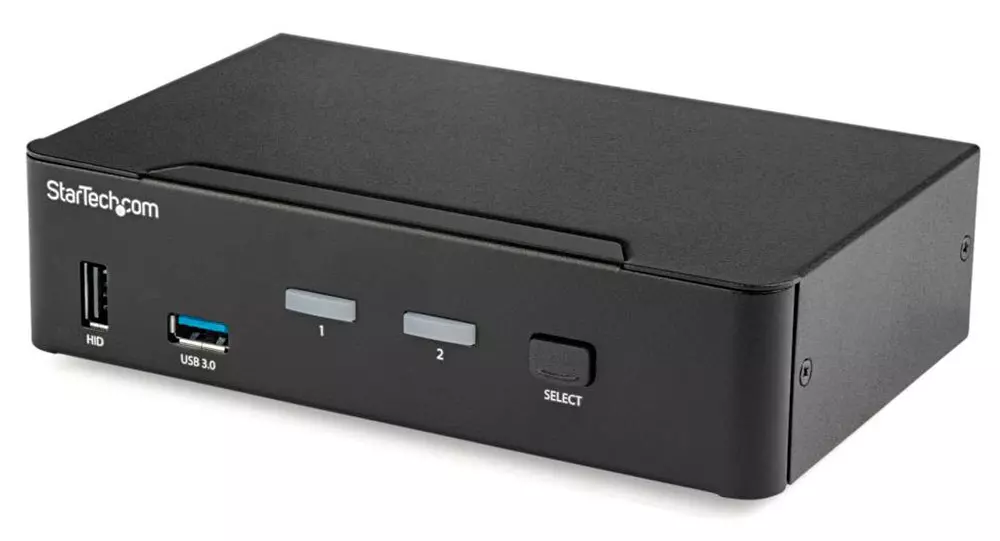
These days modern KVM switches will offer you more options than just being able to switch between keyboard, mouse, and monitor. Modern switches now offer Lan, audio, and many more various options.
There are also different kinds of switches offering you only one option, like for example just a Video switch that will let you use one monitor on three computers and many more other specialized options.
Software switches
So far we talked about Hardware switches, a real device being able to take peripherals into it and switch computers on the fly. On the other line, we have software switch solutions that will have specific software installed on all computers and have it run at all times, and switching between them will be through specific software.
There are two very good and main advantages of using software solutions instead of a hardware one. First, of course, is the price, since the most popular Synergy is an open-source solution, completely free of charge. The second big advantage is that software switch is not limited to how many computers can you use. Hardware switches tend to go to a large number like 16 but if you have a large cluster of computers over a LAN, let's say 30 then the box solution might be difficult.
On the other hand software solution will switch only keyboard and mouse since each other computer will have to have some screen on it in order to work. Both solutions have their strong advantages and disadvantages and it is up to you to choose one that best suits you.
Conclusion
If you are multitasking with a lot of computers or just need your peripherals from time to time to connect to another machine then the KVM switch is something that you might find the use of. Just be aware that if you go for some cheap switch you might experience some lag on your peripherals, but if that is not a concern you can get hardware one for as low as $50 USD.
 Since this requires registry tweak, please follow given solution step by step
 Like in Windows 10, Windows 11 will also support God mode to be enabled and used. For those readers that do know what God mode is, let me explain it in simple terms. God mode is the icon on the desktop that once clicked will open and let you adjust every option in the control panel and some hidden features for Windows inside one application.
There are a lot of advantages to having this one-click fast access to features, especially if you are a power user. Luckily creating such an awesome icon and enabling God mode is very easy to accomplish, all you have to do is:
Like in Windows 10, Windows 11 will also support God mode to be enabled and used. For those readers that do know what God mode is, let me explain it in simple terms. God mode is the icon on the desktop that once clicked will open and let you adjust every option in the control panel and some hidden features for Windows inside one application.
There are a lot of advantages to having this one-click fast access to features, especially if you are a power user. Luckily creating such an awesome icon and enabling God mode is very easy to accomplish, all you have to do is:
 With its Rift model, Oculus set itself as a big player in VR. Now the company is slowly bowing out of the dedicated, tethered VR headset with its latest Quest 2 designed to primarily be a standalone headset.
In case you do not know, tethered headset means that the headset itself is connected to your PC and is using its power to drive your VR experience.
Now technical specifications of Quest 2 are pretty OK and it can drive stuff pretty decently and if you want you can purchase the dedicated cable to connect it to your PC for the full experience of games requiring more capable hardware.
Oculus Quest 2 is the cheapest headset on this list and with its stable performance, is highly recommended.
With its Rift model, Oculus set itself as a big player in VR. Now the company is slowly bowing out of the dedicated, tethered VR headset with its latest Quest 2 designed to primarily be a standalone headset.
In case you do not know, tethered headset means that the headset itself is connected to your PC and is using its power to drive your VR experience.
Now technical specifications of Quest 2 are pretty OK and it can drive stuff pretty decently and if you want you can purchase the dedicated cable to connect it to your PC for the full experience of games requiring more capable hardware.
Oculus Quest 2 is the cheapest headset on this list and with its stable performance, is highly recommended.
 Although the headset itself is nothing revolutionary or special its controllers are. They can track individual finger movements, making games (that take advantage of them) much more immersive than the standard trigger grips on other controllers.
The Index's higher refresh rate makes for smoother action, as well, which is another nice bonus. If you already have an HTC Vive or Vive Cosmos Elite, and their base stations (not the regular Cosmos), you can buy only the controllers.
Although the headset itself is nothing revolutionary or special its controllers are. They can track individual finger movements, making games (that take advantage of them) much more immersive than the standard trigger grips on other controllers.
The Index's higher refresh rate makes for smoother action, as well, which is another nice bonus. If you already have an HTC Vive or Vive Cosmos Elite, and their base stations (not the regular Cosmos), you can buy only the controllers.
 The PlayStation VR is compelling thanks to Sony backing its development, plus the PlayStation 4's affordability and availability compared with gaming PCs. All you need is the headset, a PlayStation 4, and a PlayStation Camera (now included with most PlayStation VR bundles).
Not really the best of the bunch but still one of the top ones for console gaming. Sony is working on a new PlayStation VR system for the PlayStation 5, with redesigned controllers. The new headset hasn't been revealed yet, but the company has released a preview of the new controllers.
The PlayStation VR is compelling thanks to Sony backing its development, plus the PlayStation 4's affordability and availability compared with gaming PCs. All you need is the headset, a PlayStation 4, and a PlayStation Camera (now included with most PlayStation VR bundles).
Not really the best of the bunch but still one of the top ones for console gaming. Sony is working on a new PlayStation VR system for the PlayStation 5, with redesigned controllers. The new headset hasn't been revealed yet, but the company has released a preview of the new controllers.
 HP headset is one which you get if you want the best image quality in VR headset, sadly controllers did not follow the same quality of headset itself. But this is still a pretty decent headset overall and worth the purchase.
 HTC's Vive Cosmos is the upgraded version of the Vive. It features a higher resolution and replaces the external base stations with outward-facing cameras for motion tracking. It's a comprehensive package for whole-room VR.
HTC recently released the Vive Pro 2, a high-end VR headset targeting both enterprise users and consumers. This new headset features a 2,448-by-2,448 resolution display for each eye, making it the highest-resolution headset currently available. It's also more expensive than the Cosmos Elite.
Sadly one thing that is bringing this headset down is the price.
HTC's Vive Cosmos is the upgraded version of the Vive. It features a higher resolution and replaces the external base stations with outward-facing cameras for motion tracking. It's a comprehensive package for whole-room VR.
HTC recently released the Vive Pro 2, a high-end VR headset targeting both enterprise users and consumers. This new headset features a 2,448-by-2,448 resolution display for each eye, making it the highest-resolution headset currently available. It's also more expensive than the Cosmos Elite.
Sadly one thing that is bringing this headset down is the price.  The first step is to right-click anywhere on the taskbar (in empty space) and choose Taskbar settings
Once the taskbar settings are opened, find Widgets and click on the switch on the far right to turn it off, immediately no more information will be shown on the taskbar and it will be free again. And that is all there is to it.
The first step is to right-click anywhere on the taskbar (in empty space) and choose Taskbar settings
Once the taskbar settings are opened, find Widgets and click on the switch on the far right to turn it off, immediately no more information will be shown on the taskbar and it will be free again. And that is all there is to it.