
Being a streamer altho popular is a very demanding call, there is a lot of technical knowledge involved and one of this knowledge is setting your web camera equipment. On the internet, you can find how to install certain devices and register them in Windows but with little to no information on how to set everything for streaming. In this article, we will try to address as many of this as we can so you can start using your camera right away.
In the package of your Logitech C922 Pro Stream Webcam, you should have the camera itself with a USB hookup, tripod, and user manual. Tripod, of course, is meant to stabilize the camera for recording using high zoom values so visual shaking of the picture is eliminated.
The camera itself captures natural light without any distortion in full HD and if placed on top of the monitor it can accommodate the field of view to capture two people. Also when in a low-light room, autofocus will correct light and it will sharpen an image in order to compensate for lack of light. The camera also features a dual microphone for clarity of sound.
Of course, the first thing when the camera is unpacked is to assemble it. Basically, there are two ways for the camera to be assembled:
The next section will cover both assemblings
The Logitech C922 Pro Stream Webcam can be used to capture up-close images or video from the top of any computer monitor or TV.
To set up your Logitech C922 Webcam on top of a monitor or TV:
After you have securely mounted the C922 to your monitor or TV, it’s ready to be plugged in and used with any recording application on your computer.
You can set up your Logitech C922 Pro Stream Webcam to record a 78-degree view of a room for presentations or live streams by attaching it to the tripod.
To set up your Logitech C922 Webcam with a tripod:
Once you have assembled your Logitech C922 Pro Stream Webcam on your tripod, plug it into your computer and load up your favorite recording application.
Altho this camera is designed and built to be used in a live stream environment it can also be used to record video offline to a file. In this next segment, we will explore further applications in which the camera is meant to be used.
The Logitech C922 Pro Stream Webcam allows content creators to share content in high definition with thousands of viewers in real-time. Stream full 1080p at 30 frames per second and 720p at 60 frames per second live on platforms such as Twitch or YouTube.
The Logitech C922 Pro Stream Webcam can be used with desktop recording software to create professional videos or snapshots. After you’ve finished recording, you can edit specific spots in the video and add custom presentation details.
XSplit Broadcaster offers live stream support for several platforms, which include Facebook Live, YouTube Live, and Twitch. After you hook up your webcam and create profiles for each platform, you can begin a live stream with XSplit Broadcaster.
OBS live streaming application offers high-quality audio and video performance and video capturing in real-time. This application offers full control over every detail and it is a very good choice for both cases.

SysPlayer is a potentially unwanted ad-supported media application from Goobzo.com. It can display targeted ads, hijack browser search results, and can display pop-up ads. This player gathers information about your visited websites, the number of clicks on each website, and cookie information containing sensitive data, that it occasionally sends back to the server.
Multiple Anti-virus programs detect SysPlayer as malicious or potentially unwanted as of the time of publication of this video. It has been associated in bundles with iWebar, which is also flagged by many AVs.
SysPlayer is an extremely lightweight free Media Player with built-in codecs, which supports the most popular video and audio formats, as well as DVD, audio CD, Webcams, and other devices. It lets you play your video files, and watch images.
PuzzleGamesDaily is a Browser extension developed by Mindspark. This extension monitors user activity such as website visits, clicked links and other web-related tasks that It later uses to display targeted ads.
When installed it changed the default home page, search engine and new tab page to MyWay.com, and while browsing the internet with this extension active you will see additional pop-up ads, injected (unwanted) ads, and sponsored links during your browsing sessions.
From the Terms of Use: You hereby acknowledge and agree that by using an MS Product you may be exposed to Content that may be offensive, indecent or objectionable in your community […] MS Products are exposed to various security issues, and should be regarded as insecure. By accepting this Agreement, you acknowledge and accept that the MS Products and any information you download or offer to share by means of an MS Product, may be exposed to unauthorized access, interception, corruption, damage, or misuse, and should be regarded as insecure. You accept all responsibility for such security risks and any damage resulting therefrom.
This extension has been marked as a Browser Hijacker by several anti-virus scanners and has been flagged for optional removal. It is not considered malicious but many users wish to remove it due to the above reasons.
 Coursera was one of the pioneers when it comes to college education online. When it started all courses were free and offered certificates if the taker has done tasks with a passing grade. Today not everything is free but still, there are tons of free courses that can help you to learn something new and to advance in your work or hobby.
Google is using the Coursera platform to deliver its courses to the audience and besides google a lot of academic professors from Princeton, Stanford, John Hopkins and many more are presently offering their course material.
Coursera was one of the pioneers when it comes to college education online. When it started all courses were free and offered certificates if the taker has done tasks with a passing grade. Today not everything is free but still, there are tons of free courses that can help you to learn something new and to advance in your work or hobby.
Google is using the Coursera platform to deliver its courses to the audience and besides google a lot of academic professors from Princeton, Stanford, John Hopkins and many more are presently offering their course material.
 edX has evolved from MITx, MIT’s free initiative to place some free academic lectures from its classrooms free into the world. Since it was rebranded into edX it started including other big university names like Berkeley, University of Texas System, Harvard, and many more.
Since its infant days, edX has expanded and included many areas that it offers coursework from arts to science. Certificated today are mostly not free but course videos are, so if you care to learn and not wave certificates around this is a great place to do it.
edX has evolved from MITx, MIT’s free initiative to place some free academic lectures from its classrooms free into the world. Since it was rebranded into edX it started including other big university names like Berkeley, University of Texas System, Harvard, and many more.
Since its infant days, edX has expanded and included many areas that it offers coursework from arts to science. Certificated today are mostly not free but course videos are, so if you care to learn and not wave certificates around this is a great place to do it.
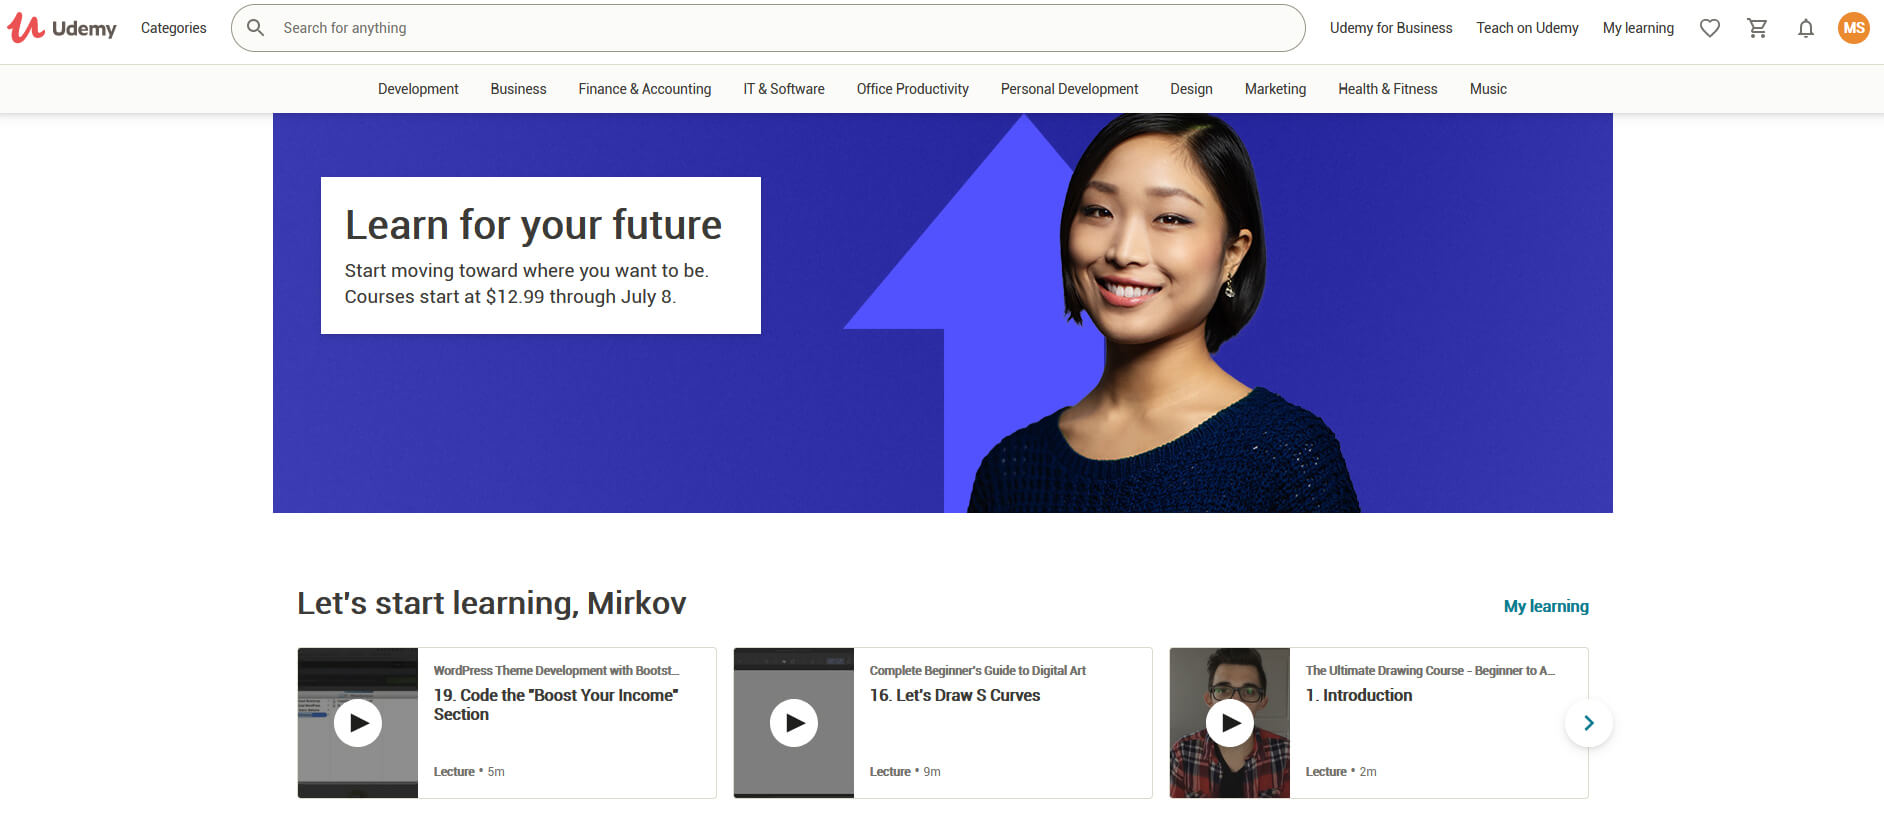 Udemy has a little different approach to course material than previously mentioned websites. Teachers on Udemy are mostly people that are working in a given field. Programmers will teach programming, fitness instructors will teach training, etc.
There are vas variety of topics even on lifestyle, hobbies even gaming to more serious ones like software developing hardware, etc.
There are free courses but mostly are one-time purchases with unlimited access to course material and with frequent discounts udemy might be a good place to look if you can find anything interesting.
Udemy has a little different approach to course material than previously mentioned websites. Teachers on Udemy are mostly people that are working in a given field. Programmers will teach programming, fitness instructors will teach training, etc.
There are vas variety of topics even on lifestyle, hobbies even gaming to more serious ones like software developing hardware, etc.
There are free courses but mostly are one-time purchases with unlimited access to course material and with frequent discounts udemy might be a good place to look if you can find anything interesting.
 Alison is kind of Udemy if we are talking about course material and who is teaching, the difference however is that it has more free content and it is one of the rare websites on this list that has Language courses.
Courses vary from beginner level to more advanced ones.
Alison is kind of Udemy if we are talking about course material and who is teaching, the difference however is that it has more free content and it is one of the rare websites on this list that has Language courses.
Courses vary from beginner level to more advanced ones.
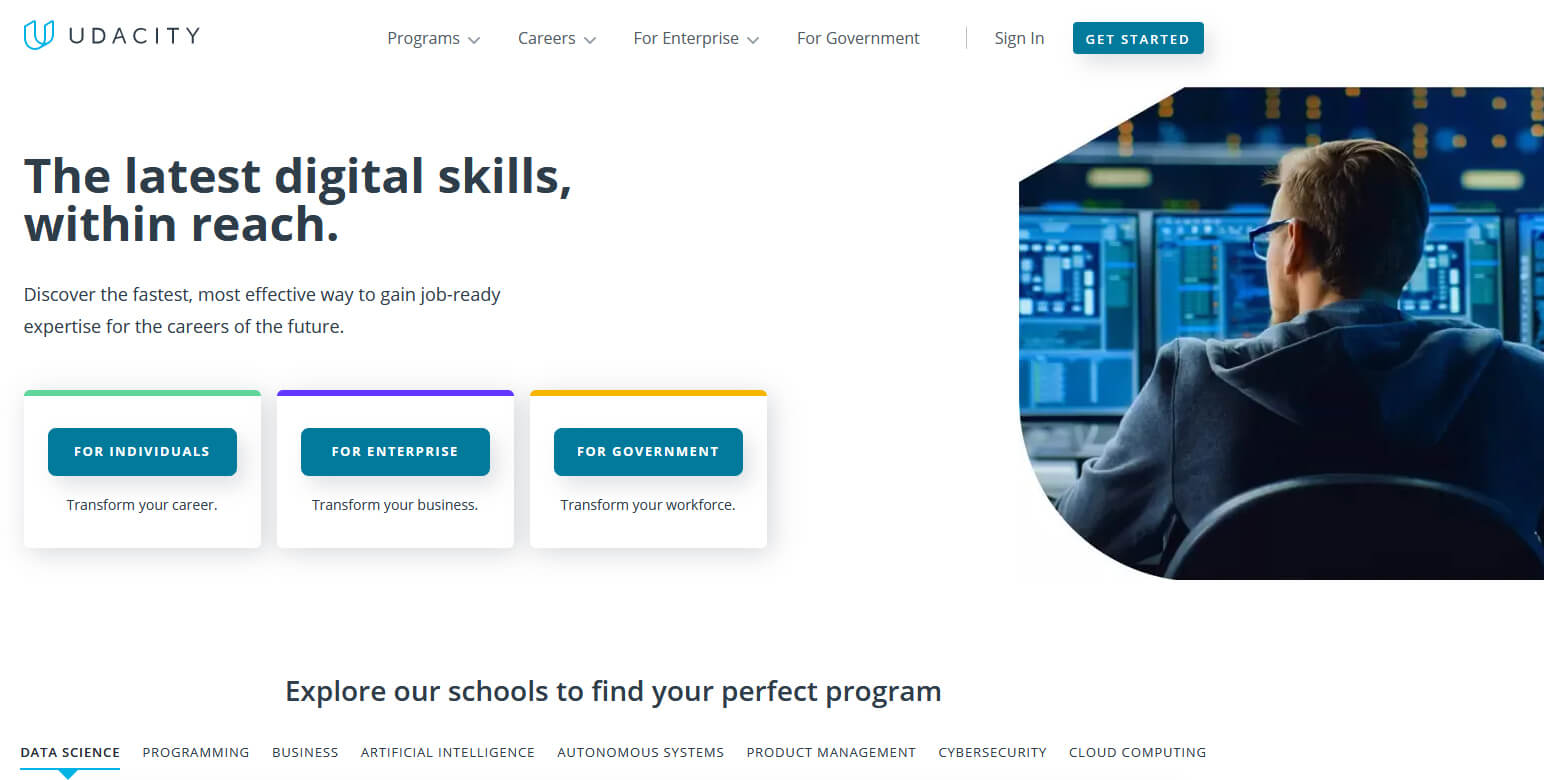 Udacity was also one of the earlier websites to offer free courses, in today’s world it still has free material but there is also paying one.
The big difference from other competitors is that Udacity focuses mostly on programming, data science, and web development and it is very strong in this field. There are no courses about art. Music or similar, mostly IT stuff is covered here.
If this is something that interests you, make a free account and give it a go.
Udacity was also one of the earlier websites to offer free courses, in today’s world it still has free material but there is also paying one.
The big difference from other competitors is that Udacity focuses mostly on programming, data science, and web development and it is very strong in this field. There are no courses about art. Music or similar, mostly IT stuff is covered here.
If this is something that interests you, make a free account and give it a go.
 Codecademy is a website mainly focused on teaching you how to code. Pro plan is there but there are a lot of basic and free courses on the mentioned subject.
The curriculum is really wide covering Python, R, Java, JavaScript, SQL, Ruby, C#, C++, Swift, PHP, HTML, CSS and more so I am sure that if you are interested in coding this would be a pretty good place to find things.
Besides pure language coding courses site offers also, Cybersecurity, Web design, Data science, web development, Game Development, Mobile Development, and many more courses on provided subjects.
Codecademy is a website mainly focused on teaching you how to code. Pro plan is there but there are a lot of basic and free courses on the mentioned subject.
The curriculum is really wide covering Python, R, Java, JavaScript, SQL, Ruby, C#, C++, Swift, PHP, HTML, CSS and more so I am sure that if you are interested in coding this would be a pretty good place to find things.
Besides pure language coding courses site offers also, Cybersecurity, Web design, Data science, web development, Game Development, Mobile Development, and many more courses on provided subjects.
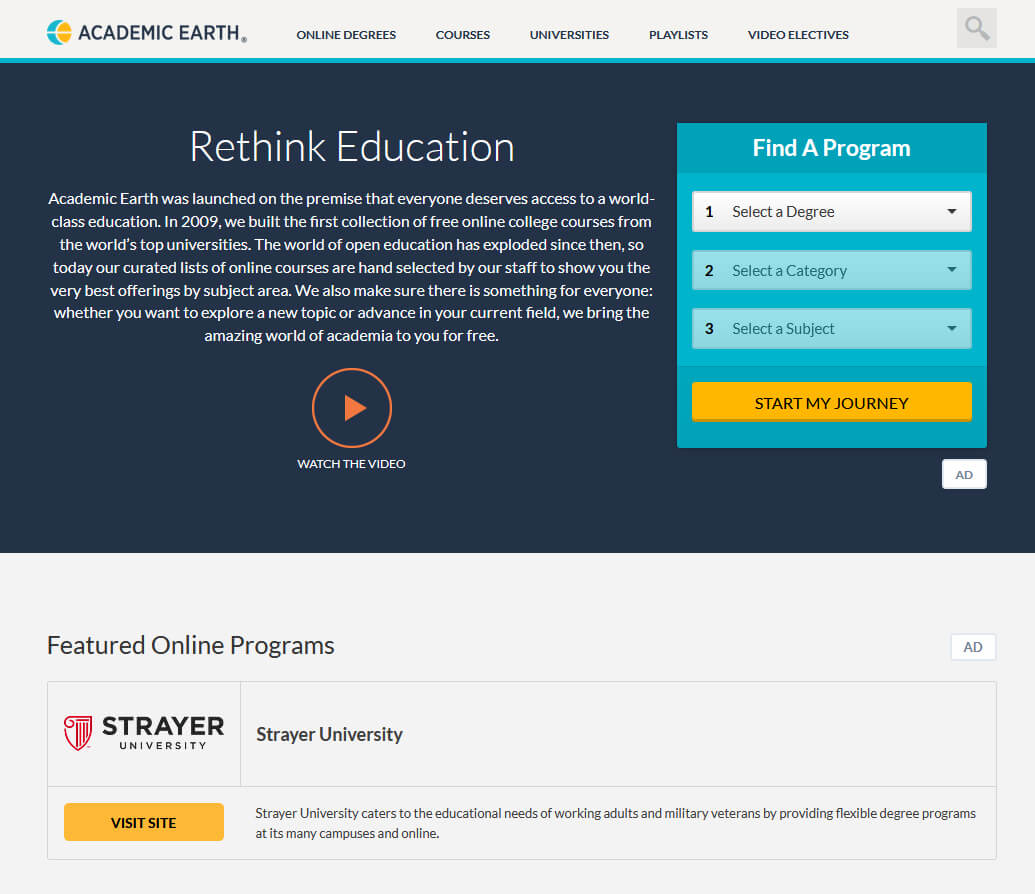 Academic Earth has been built with one simple premise: Everyone deserves access to education.
Lead by this kind of mindset on Academic Earth you will find well, academic courses similar to ones found on edX and Coursera, but from mentioned sites here all courses are free and you will find only academic ones, there are no entrepreneur or expert courses here, just pure academic ones.
If you wish to see and learn something the way it is taught in Harvard, Berkeley, MIT, etc this is the place for you.
Academic Earth has been built with one simple premise: Everyone deserves access to education.
Lead by this kind of mindset on Academic Earth you will find well, academic courses similar to ones found on edX and Coursera, but from mentioned sites here all courses are free and you will find only academic ones, there are no entrepreneur or expert courses here, just pure academic ones.
If you wish to see and learn something the way it is taught in Harvard, Berkeley, MIT, etc this is the place for you.
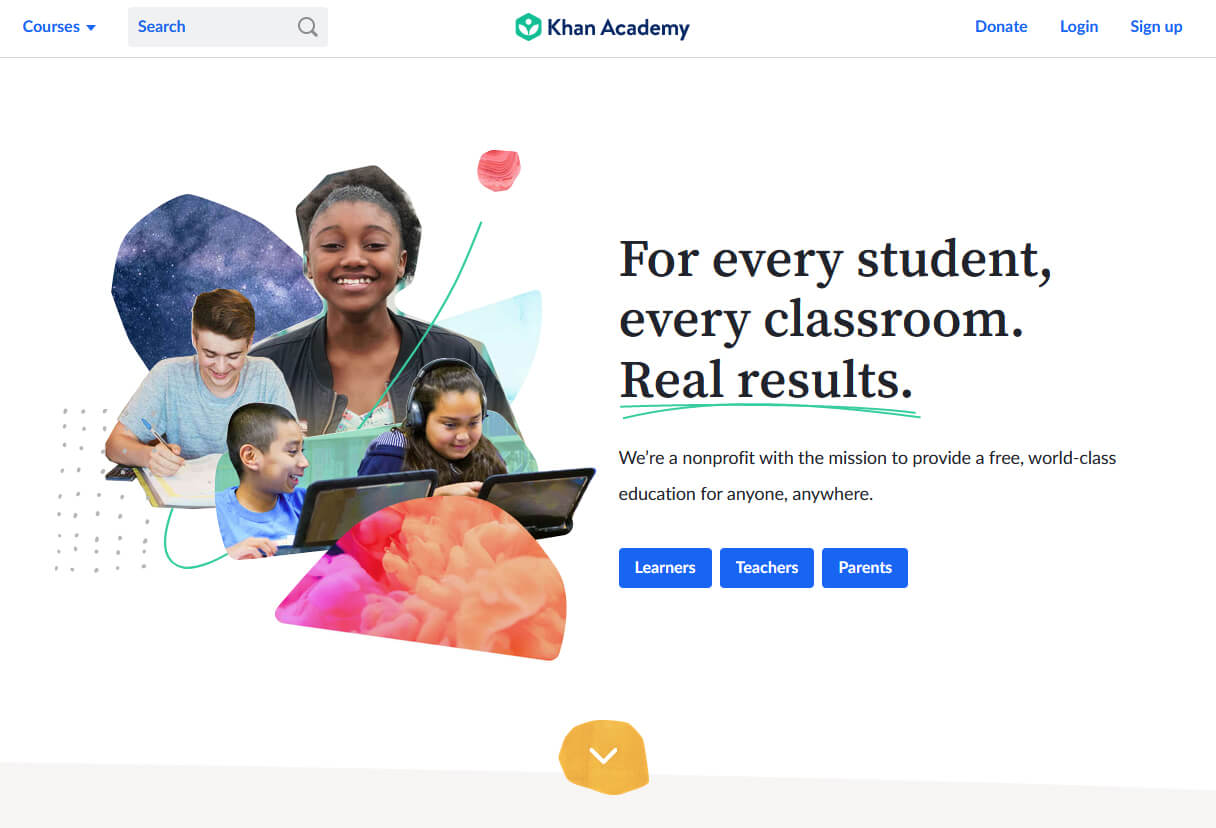 Khan academy is completely free and it is offering courses matching certain grades for children. It is offering courses for all 8 years of elementary school, math courses for high school and college with some coursework on topics like science, arts & humanities, reading, life skills, etc.
Despite not being on the same level as some university courses presented on other mentioned websites Khan Academy is a good place to learn a lot of basic skills that you could build upon later.
Khan academy is completely free and it is offering courses matching certain grades for children. It is offering courses for all 8 years of elementary school, math courses for high school and college with some coursework on topics like science, arts & humanities, reading, life skills, etc.
Despite not being on the same level as some university courses presented on other mentioned websites Khan Academy is a good place to learn a lot of basic skills that you could build upon later.
 10 worst computer viruses in history
Many are upgrading their OS to Windows 10, however, it’s not always smooth sailing because users have been reportedly experiencing different bugs including Black Screen after a successful update.
One common issue in installing Windows 10 is the appearance of a black screen after installation. This usually occurs when the user restarts the computer. Initially, there will be a black screen only appearing on the monitor. There are also cases where a mouse cursor is present, while some cases have no cursor at all.
Not only that, it seemed that you’ve lost all your desktop icons when experiencing this bug.
 Error Causes
Just like the other bugs experienced by Windows 10 users, booting to a black screen has reasons. Before you even try to look for the solution, you first have to determine the cause of the error, in this case, the error would be black screen when booting.
Before you even think of upgrading your OS to Windows 10, you need to know that there are specific system requirements and specifications to be able to successfully update your operating system.
There are more system requirements in order to use other certain Windows 10 features, but we’ll focus on solving your black screen problem in this article.
IMPORTANT NOTE: While it’s possible that you’ll be able to find the solution for your black screen during Windows 10 update, contacting the service of a professional technician or using an automated tool is advisable if you’re not confident in performing the methods to be discussed.
There’s a chance that you’ll get an error prompt saying, “installation cannot be completed in safe mode.” If this happens, simply press Shift + F10. This command will redirect you to the Command Prompt. You just open Device Manager by keying in devmgmt.msc then disable the display adapters, now check if you’ll be able to successfully boot in normal mode.
This process will normally allow you to complete the Windows 10 installation, if that’s the case you can just update the display adapter drivers from the manufacturer’s website. Restart your computer and see if this solves the problem.
Do take note, however, that the Roll Back Driver option is not available if there was no previous version installed.
Since one common cause of black screen during a Windows 10 update is the external devices you use in your computer, you might want to consider these steps as well.
Some Windows 10 users had success in solving their black screen problem by disabling the fast startup.