What is Runtime Error 339?
Runtime Error 339 is a common error code format that appears when a computer overloads with too much data.
However, in some cases, it may occur due to the missing registry keys, DLL files, or during installation. It may lead some programs to shut down all of a sudden and may also corrupt files on the system.
Solution
Download Available to Completely Repair Runtime Error 339
 Error Causes
This error code is alarming as it is a critical sign of an unstable system followed by improper maintenance of the computer. The potential risks associated with the Runtime Error 339 include:
- System startup issues
- Slow PC performance
- System crash and failure
- System file corruption
Therefore, to avoid these risks and system failure, it is advisable to fix the runtime error 339 immediately.
Further Information and Manual Repair
If you have a Runtime Error 339 issue on your computer, here is a great way how you can fix it right away:
Scan For Viruses
Improper maintenance of the computer indicates that your system might be exposed to viruses and malware. Viruses can modify the
Windows registry and lead to Runtime Error 339. Therefore, first, it is important to scan for viruses on your PC.
Identify Software that Causes Errors
Scanning will help you identify software that produces this error on your PC. Once you identify them, either uninstall them or update the program.
To uninstall the program, go to the Control Panel and then click on the Add/Remove program if you have Windows XP, if not then click on the Programs and Features item. Now delete the program from your system.
Obtain the Latest Version of the Installer and Re-install the Deleted Program
Once you get your hands on the latest version of the installer, run it on your system by following the on-screen instructions. Install the program.
There is also another way to fix Runtime Error 339 and that is by downloading the Runtime Error tool.
Use a Professional Runtime Error Fixer Tool
To fix the error you can also use a professional Runtime Error fixer tool to scan for viruses on your PC. It is available for
free download here.
Download the tool and install it on your computer. Simply scan your PC after installation. Click the repair button once the scan is complete. This tool fixes problems in just a few minutes.

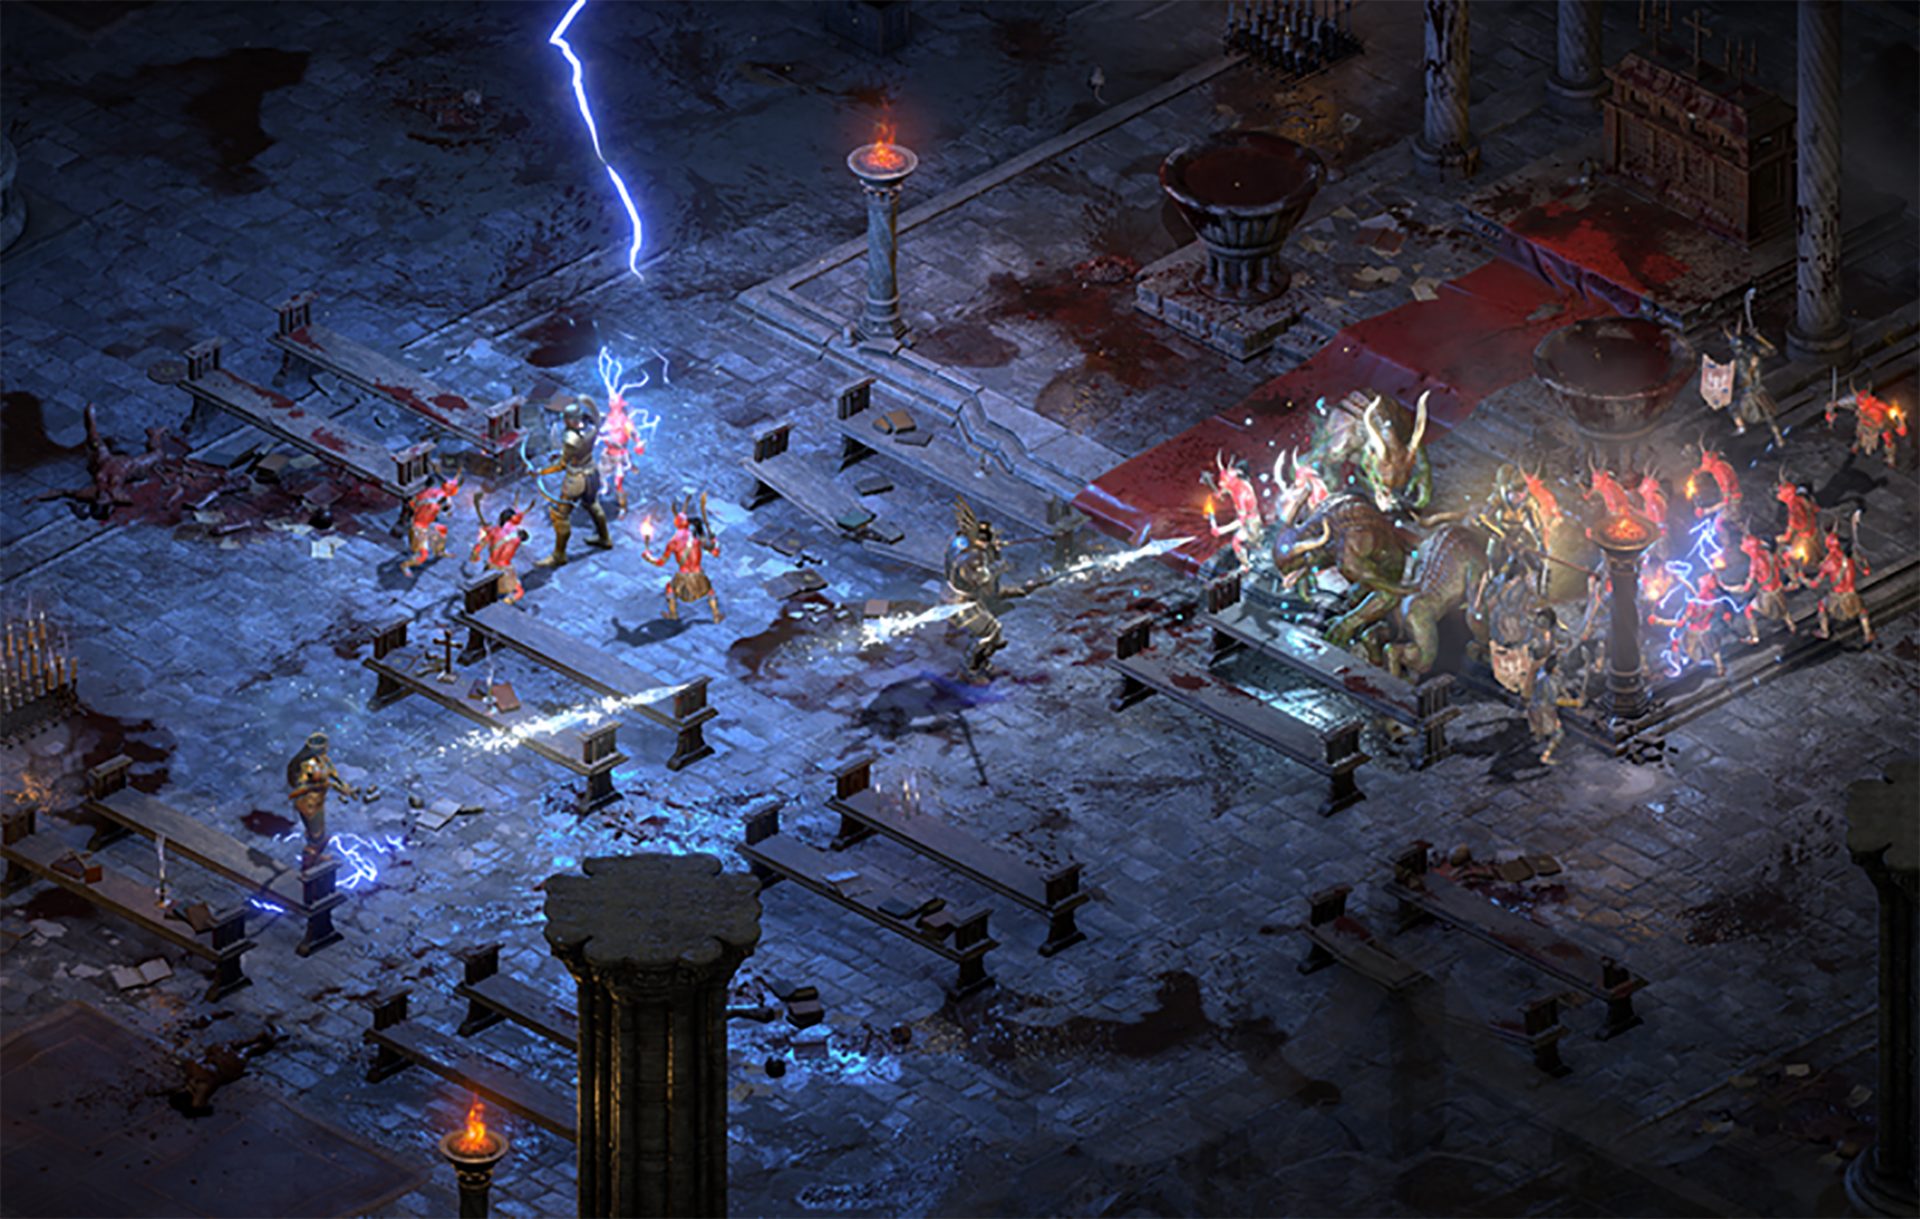 Speaking of old players of old Diablo 2, they can transfer their old characters into remaster and continue playing them within this new great HD environment. There are some steps and requirements but we are here to help and transferred characters will bring full stash, inventory, and equipped items with them.
 Well, you can and it is not complicated as well. Follow this easy guide to see how can you get someone’s account up and running with some of your games.
 Microsoft has not published a solution to this issue, but users point out two potential problems. The first is a security mechanism based on disk virtualization, which is supposed to slow down the performance of SSDs.
The second, in turn, is related to the place of installation of Windows 11 – users indicate that if the performance test is performed on a medium with no files associated with the system, its performance results are similar to the parameters given by the manufacturer.
Transfer speeds were to be slightly improved with the latest Windows 11 update 22000.348. However, users are still waiting for a solution to the problem that significantly reduces the efficiency of SSD media.
Microsoft has not published a solution to this issue, but users point out two potential problems. The first is a security mechanism based on disk virtualization, which is supposed to slow down the performance of SSDs.
The second, in turn, is related to the place of installation of Windows 11 – users indicate that if the performance test is performed on a medium with no files associated with the system, its performance results are similar to the parameters given by the manufacturer.
Transfer speeds were to be slightly improved with the latest Windows 11 update 22000.348. However, users are still waiting for a solution to the problem that significantly reduces the efficiency of SSD media.
 Check cables