The Disk Management tool in Windows 10 is a built-in tool that contains a user interface used to manage disk partitions to administrators of the computer. There are lots of instances when you have to change the size of the hard disk partition or reduce the size and so on. This is where the Disk Management tool comes in. It’s useful as the command line interface can be quite confusing and risky for some users. However, there are cases when this tool stops working. A proof of this the reports submitted recently by some Windows 10 users. Based on the reports, the Disk Management does not load or respond. If you are having the same problem, read on as this post will give you some suggestions on what you can do to resolve the problem.
System File Checker or SFC is a built-in command utility that helps in restoring corrupted files as well as missing files. It replaces bad and corrupted system files with good system files that might be causing some issues with the Disk Management tool. To run the SFC command, follow the steps given below.
The command will start a system scan which will take a few whiles before it finishes. Once it’s done, you could get the following results:
Aside from the System File Checker, the DISM tool can also help you resolve the issue with the Disk Management tool. It helps in restoring the health of your computer.
If both the System File Checker and DISM tool didn’t work, you can use command-line tools like diskpart and fsutil. These command-line tools are powerful but you need to be careful especially if you’re not that familiar with using them. However, it’s recommended that you have somebody who knows if you’re really inexperienced with this kind of stuff.

“The dynamic library dll failed to load.” “Failed to load dll library.”This kind of error can occur when your Windows operating system fails to locate the DLL library which the system needs to access during startup. It can also occur when the DLL file is not in a directory specified in the path or when the DLL file is corrupted or has gone missing. Moreover, you can also encounter this error if the DLL file is infected with some malware. Whatever the case is, here are some suggestions you have to check out to resolve the problem.
“The file magcore.dll is missing” “MagCore.dll cannot be found” "Cannot find [PATH]magcore.dll" “This application has failed to start because MagCore.dll was not found. Reinstalling the application may fix the error.”
 Error Causes
Error Code 0x80070032 is a command that most often relates to codes or commands that have not been entered correctly or do not apply to the given program. It can also appear when mail folders in Windows Mail are not able to sync in the way that they should between the local device and the servers owned by Microsoft.
Common symptoms include:
The primary methods used to address Error Code 0x80070032 are fairly basic and easy to complete. Most users should be able to complete these methods on their own and they do not require a lot of time to do. However, if you don’t feel like you have the experience, skills, or knowledge necessary to complete the steps listed below, consider getting in touch with a qualified Windows repair technician to assist you.
Error CausesThere are three basic methods that users can try in order to resolve Error Code 0x80070032 on their machine. These are fairly simple and easy to complete. However, if the methods below aren’t successful in resolving the error code or if you do not feel confident in your ability to use them, get in touch with a certified Windows repair professional to assist you.
If you believe that you are seeing the error due to entering a command that didn’t work, use Method One first. If you believe it is due to a mail syncing error, use Methods Two or Three.
Here are the top methods for addressing Error Code 0x80070032:
If you believe that you are experiencing Error Code 0x80070032 because of a command that you have entered, the best solution is to reinstall the program in which you were entering the command. You may also want to try updating your program, if able, before reinstalling it. Remember to restart the computer before reattempting to enter in the command that caused the error.
For many users, Error Code 0x80070032 appears because of a bug in one of the versions of Windows 10. If you believe that this is the case, open up your Windows Updates and check to see if there are any updates that you can install.
For users who are only seeing Error Code 0x80070032 because of the bug mentioned above, Windows released an update that should address the error code on its own. If your computer is fully updated, the error may be resolved on its own. Always remember to restart your computer after installing updates so that the necessary changes can take effect.
If the above methods did not resolve the problem successfully, you can switch to local access to your Windows Mail, rather than relying on Microsoft access. To do so, complete the following steps:
Once this is done, you can switch back to your Microsoft account, which should reset your syncing ability. Follow these steps to switch back:
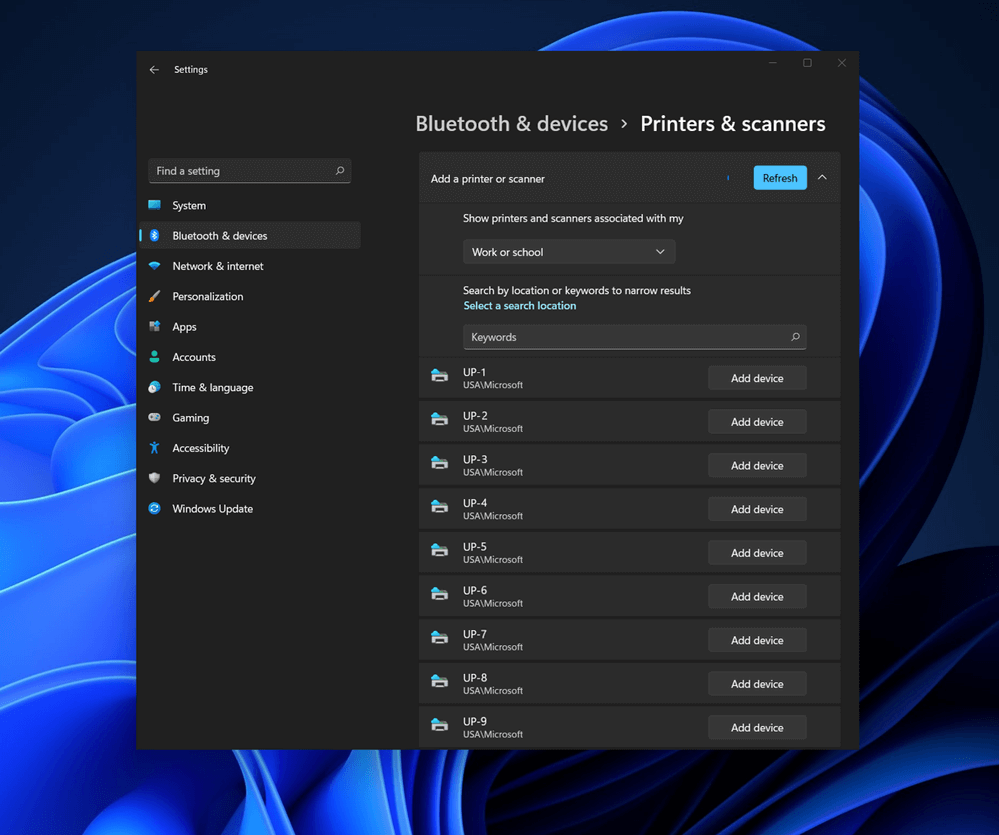 Bluetooth perhaps is slowly becoming an outdated feature but sometimes you can really used it and need it.
By default, in Windows 11 Bluetooth is turned OFF so if you need it, you will need to turn it ON first. Luckily turning it ON is easy and we will guide you through the process
Bluetooth perhaps is slowly becoming an outdated feature but sometimes you can really used it and need it.
By default, in Windows 11 Bluetooth is turned OFF so if you need it, you will need to turn it ON first. Luckily turning it ON is easy and we will guide you through the process
“We’ve set your PC back to the way it was right before you started installing Windows 10. 0x8007002C-0x400D The installation failed in the SECOND_BOOT phase with an error during MIGRATE-DATA operation”This kind of Windows upgrade error indicates that some of the files needed for the installation are locked out for some reason and that Windows was not able to migrate them to a new version. It could be that your computer does not have sufficient space for those files. Thus, no matter how many times you try to upgrade your computer, you always end up going back to the previous version of Windows. To fix the “0x8007002C – 0x400D, The installation failed in the SECOND_BOOT phase with an error during MIGRATE-DATA operation” error, here are some suggestions that might help:
net stop wuauserv net stop bits rename c:windowsSoftwareDistribution SoftwareDistribution.bak
net start wuauserv net start bitsSince the folder has already been flushed, it will be populated afresh the instant your restart your computer and open Windows Update.
The 0x800ccc90 is a common Outlook Express error. This error occurs when Outlook Express fails to connect to the mail server that handles incoming and outgoing emails.
The error is usually displayed as:
“There was a problem logging onto your mail server. Your User Name was rejected.”
Though this error does not pose any security threats to your PC if it is not fixed immediately, it may limit your ability to send and receive emails on your Outlook email address.
The error 0x800ccc90 is usually triggered by the following causes:
If you come across the error 0x800ccc90, then don’t you worry! You don’t have to hire a professional to resolve this issue. In fact, you can fix it all by yourself. Here are some DIY solutions to repair this problem.
However, if you are still unable to resolve the problem, then this means the PST files are corrupt and damaged and there is no problem from the server's end. When this happens, then the best way to resolve this problem is to download a PST repair tool.
We suggest downloading the PST repair tool from a trusted website.
After downloading it, run and scan it on your PC to detect errors. You will have to be patient because scanning may take a couple of minutes. Once the scanning is complete, click on repair to resolve the problem.
So, next time when you are unable to send or receive emails on your Outlook Express and you see the 0x800ccc90 error message, then try using the solutions given above to resolve the error right away.