PrivateSearchPlus is a browser extension that redirects all your searches through yonto. This way the extension claims you are browsing privately.
From the author: Search the web without tracking your search history or any personally identifiable information
Access quickly to popular websites with icons sliding from this homepage is easy speedy and accessed ..Google Search, Yahoo, Aol, Facebook, Amazon, eBay, and more from all world without login
However, PrivateSearchPlus monitors your browsing activity, the websites you visit, the links you click, and stores personal information that is later sent to server ads. This extension changes your default search engine to Yonto, it displays additional unwanted ads, may display pop-up ads, and hijacks your home page. Several anti-virus scanners have classified this extension as a Browser Hijacker and are therefore not recommended to keep on your computer.
About Browser Hijackers
Browser hijacking is actually a type of unwanted program, commonly a web browser add-on or extension, which causes modifications in web browser’s settings. There are several reasons why you might have a browser hijack; but commercial, marketing, and advertising are the main purposes for their creation. In general, hijackers are made for the benefit of internet hackers often through income generation from forced ad clicks and site visits. Nonetheless, it’s not that innocent. Your web safety is compromised and it is also very irritating. Browser hijackers could also allow other vicious programs without your knowledge to further damage your computer.
How to know if your browser has been hijacked
When your web browser is hijacked, the following might happen: your browser’s homepage is suddenly different; you see new unwanted favorites or bookmarks added, usually directed to advertisement-filled or pornography websites; the default browser settings have been changed, and/or your default search engine is altered; you see unsolicited new toolbars added; you notice numerous ads show up on your web browsers or display screen; webpages load slowly and at times incomplete; Inability to navigate to particular sites, especially antivirus and also other security software websites.
So how does a browser hijacker infect a computer?
Browser hijackers might use drive-by downloads or file-sharing websites or an e-mail attachment in order to reach a targeted computer. They could also come from add-on applications, also referred to as browser helper objects (BHO), web browser extensions, or toolbars. Other times you may have unintentionally accepted a browser hijacker as part of a software program bundle (usually freeware or shareware). Some of the most well-known hijackers are EasySearchPlus, Babylon Toolbar, Conduit Search, OneWebSearch, Sweet Page, and CoolWebSearch.
The presence of any browser hijacker malware on your system might drastically diminish the web browsing experience, monitor your internet activities that lead to major privacy concerns, produce system stability problems and ultimately cause your PC to slow down or to a nearly unusable state.
Browser Hijacker Malware – Removal
Some browser hijacking could be quite easily stopped by finding and eliminating the corresponding malware program from your control panel. Sadly, many of the software programs used to hijack an internet browser are intentionally created to be hard to detect or remove. Inexperienced PC users shouldn’t ever try for the manual form of removal methods, as it demands thorough computer knowledge to do repairs on the computer registry and HOSTS file.
What to Do if Virus Stops You From Downloading Or Installing Anything?
Malware can cause all sorts of damage once they invade your PC, ranging from stealing your personal details to erasing data files on your computer. Certain malware types alter internet browser settings by adding a proxy server or modify the computer’s DNS configuration settings. In these instances, you will be unable to visit certain or all websites, and therefore unable to download or install the necessary security software to get rid of the computer virus. So what to do if malware keeps you from downloading or installing Safebytes Anti-Malware? There are some options you can try to get around with this particular problem.
Install in Safe Mode with Networking
If the malware is set to load at Windows startup, then booting in Safe Mode should avoid it. Since only the minimal applications and services start-up in “Safe Mode”, there are rarely any reasons for issues to take place. You will need to do the following to eliminate malware in Safe mode.
1) Press the F8 key repeatedly as soon as your PC boots, however, before the big Windows logo appears. This will conjure up the Advanced Boot Options menu.
2) Use the arrow keys to choose Safe Mode with Networking and press ENTER.
3) Once this mode loads, you should have the internet. Now, make use of your web browser to download and install Safebytes.
4) After installation, run a complete scan and let the software program get rid of the threats it detects.
Obtain the antivirus program using an alternate web browser
Web-based viruses could be environment-specific, aiming for a specific browser or attacking particular versions of the browser. The best way to overcome this problem is to pick a browser that is well known for its security measures. Firefox contains built-in Phishing and Malware Protection to help keep you secure online.
Create a portable USB antivirus for eliminating malware
Another method is to download and transfer an antivirus application from a clean computer to run a scan on the affected computer. Follow these steps to employ a flash drive to fix your corrupted computer.
1) Download Safebytes Anti-Malware or Microsoft Windows Defender Offline onto a clean computer.
2) Plug the Thumb drive into the uninfected computer.
3) Double click on the downloaded file to open the installation wizard.
4) Choose a thumb drive as the place when the wizard asks you where you wish to install the software. Do as instructed on the screen to finish off the installation process.
5) Now, plug the pen drive into the infected system.
6) Double-click the anti-malware program EXE file on the thumb drive.
7) Press the “Scan” button to run a full computer scan and remove malware automatically.
A Look at the Best Anti-Malware Program
To help protect your computer from various internet-based threats, it is very important to install an anti-malware program on your computer system. However, with so many anti-malware companies in the market, these days it is tough to decide which one you should obtain for your personal computer. A few are very good ones, some are ok types, while some are just fake anti-malware programs that can ruin your PC themselves! You have to pick a product that has got a good reputation and detects not only computer viruses but other sorts of malware as well. While considering the reliable applications, Safebytes Anti-Malware is certainly the strongly recommended one.
SafeBytes is a highly effective, real-time anti-spyware application that is created to assist regular computer users in safeguarding their computers from malicious internet threats. With its cutting-edge technology, this software will allow you to get rid of several types of malware like computer viruses, PUPs, trojans, worms, adware, ransomware, and browser hijackers.
SafeBytes anti-malware takes computer protection to a totally new level with its advanced features. Some of them are given as below:
Real-Time Protection: SafeBytes provides an entirely hands-free live protection that is set to check, prevent and get rid of all computer threats at its very first encounter. It will continuously monitor your computer for hacker activity and also gives users advanced firewall protection.
Anti-Malware Protection: Safebytes is based on the best virus engine within the industry. These engines can detect and eliminate threats even during the initial phases of a malware outbreak.
Web Security: SafeBytes checks the links present on a webpage for possible threats and notifies you whether the website is safe to view or not, through its unique safety rating system.
“Fast Scan” Abilities: Safebytes Anti-Malware, using its enhanced scanning engine, offers extremely fast scanning which can promptly target any active online threat.
Light-weight: SafeBytes is a lightweight and easy-to-use anti-virus and antimalware solution. As it uses very low computer resources, this tool leaves the computer power exactly where it belongs to: with you actually.
24/7 Live Expert Support: For any technical questions or product support, you may get 24/7 professional assistance via chat and e-mail.
Technical Details and Manual Removal (Advanced Users)
If you wish to manually remove PrivateSearchPlus without the use of an automated tool, it may be possible to do so by removing the program from the Windows Add/Remove Programs menu, or in cases of browser extensions, going to the browsers AddOn/Extension manager and removing it. You will likely also want to reset your browser.
To ensure the complete removal, manually check your hard drive and registry for all of the following and remove or reset the values accordingly. Please note that this is for advanced users only and may be difficult, with incorrect file removal causing additional PC errors. In addition, some malware is capable of replicating or preventing deletion. Doing this in Safe Mode is advised.
The following files, folders, and registry entries are created or modified by PrivateSearchPlus
Registry:
HKEY_LOCAL_MACHINESOFTWAREsupWPM
HKEY_LOCAL_MACHINESYSTEMCurrentControlSetServicesWpm
HKEY_CURRENT_USERSoftwareMicrosoftInternet ExplorerMain Default_Page_URL
HKEY_LOCAL_MachineSoftwareClasses[PUP.Private Search Plus]
HKEY_CURRENT_USERSoftwareMicrosoftWindowsCurrentVersionUninstall[PUP.Private Search Plus]


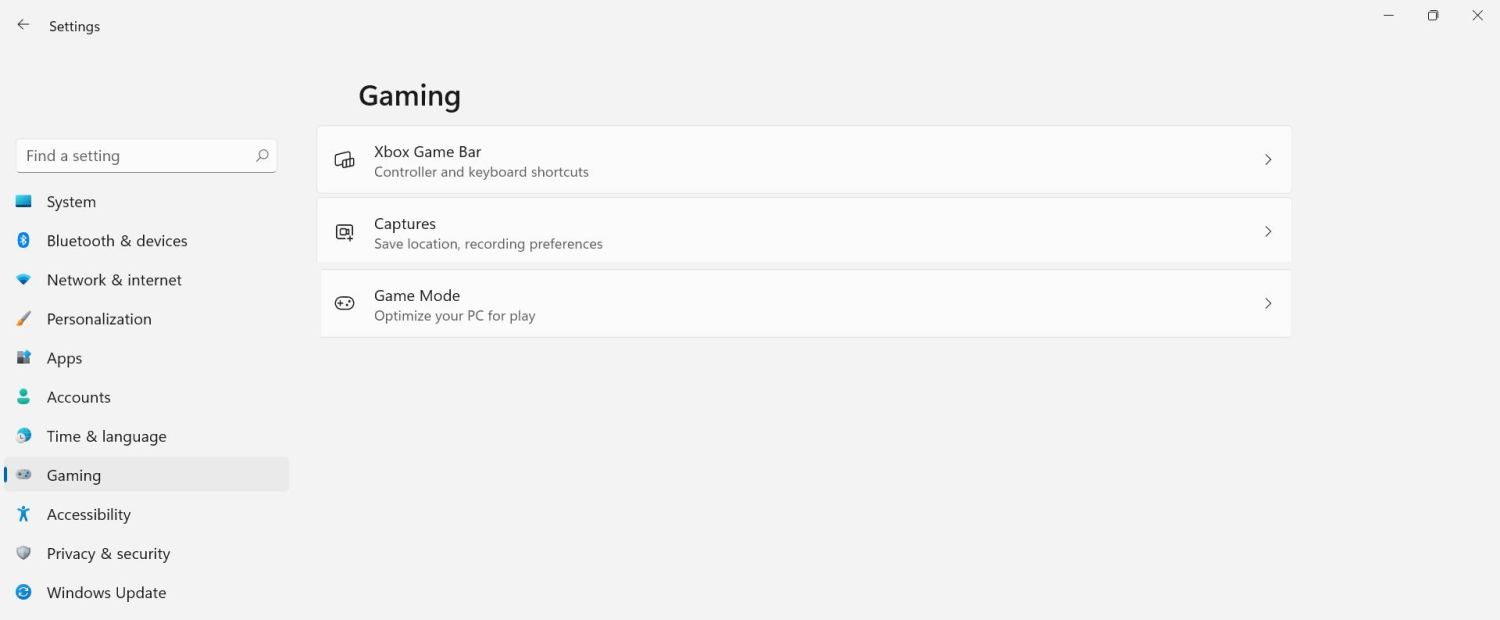 The game mode is active at all times and usually, everything works great but in some instances, it can sadly cause some performance issues. If you are one of these unlucky people where game mode is not working as supposed to do, don’t panic, we have a quick guide for you on how to turn it off.
 Once the menu appears, click on Command Prompt (admin)
 Once the command prompt with administrator privileges comes on-screen type in it following string:
 This command will force Windows to show all devices in the device manager including old ones that are not used anymore, but since their drivers are still installed, devices will show up.
When you type command press ENTER.
Once again press WINDOWS + X to show the hidden menu but this time choose the device manager
This command will force Windows to show all devices in the device manager including old ones that are not used anymore, but since their drivers are still installed, devices will show up.
When you type command press ENTER.
Once again press WINDOWS + X to show the hidden menu but this time choose the device manager
 The device manager will open, go to view > snow hidden devices in order to show unused devices.

 Right-click on the device and click on uninstall device to remove it completely from your system.
 Please always be careful when removing devices so you do not remove the device which is being used by mistake and always double-check that you are removing something that you used to have on your system. This method will show all hidden devices even ones that are hidden but crucial to the system working properly.