
Stop 0x0000000A - What is it?
Stop 0x000000A is a type of blue screen of death error associated with Windows XP. It occurs either during or after the installation of Windows XP. In other cases, the stop 0x000000A error may occur when the device driver uses an incorrect memory address, causing an IRQ conflict. The Stop 0x000000A error message means that a process or a driver attempted to access a memory section without permission. The stop error message is displayed in the following format:Stop: 0x0000000A (parameter1, parameter2, parameter3, parameter4) IRQL_NOT_LESS_OR_EQUAL *** Address x has base at x - filename
Solution
 Error Causes
The stop 0x000000A error is triggered due to multiple reasons. These include:
- Faulty hardware
- The poor device driver installation
- Incompatible device driver
- Viruses and malware attack
- Disk fragmentation
Further Information and Manual Repair
To resolve the Stop 0x000000A error on your PC, here are some solutions that you can try:1. Roll Back Drivers
To do this, click on the start button and go to the control panel. Then double click the system icon and locate the ‘System Properties’ window. After that click on the ‘hardware’ tab and then click the ‘Device Manager’ button. Here locate the device that you recently updated which could be causing the IRQ conflict. Now double click the device recently updated and click the driver tab. Then click on the ‘Roll Back Driver' button. Wait for the process to finish and then simply reboot your system.2. Specify the Hardware Abstraction Layer (HAL)
Another method to resolve the Stop 0x000000A error on your system is to specify the hardware abstraction layer (HAL). This can be done during Windows XP installation startup. Simply press the F5 button on your keyboard while the “Setup is inspecting your computer’s hardware configuration’. When prompted, make sure that you specify the correct computer type and HAL (the Hardware Abstraction Layer). Most computers use a single processor, if your computer also has a single processor then simply select ‘Standard PC HAL’ computer type from the menu. Now reboot your PC and then reinstall the Windows XP operating system. If the error is still not resolved then try turning off features in CMOS settings3. Turn off Features in CMOS Settings
Turn off all the following features in the CMOS settings:- All caching, including L2, BIOS, internal/external, and write back caching on disk controllers
- Plug and Play
- All shadowing
- Any BIOS-based virus protection feature
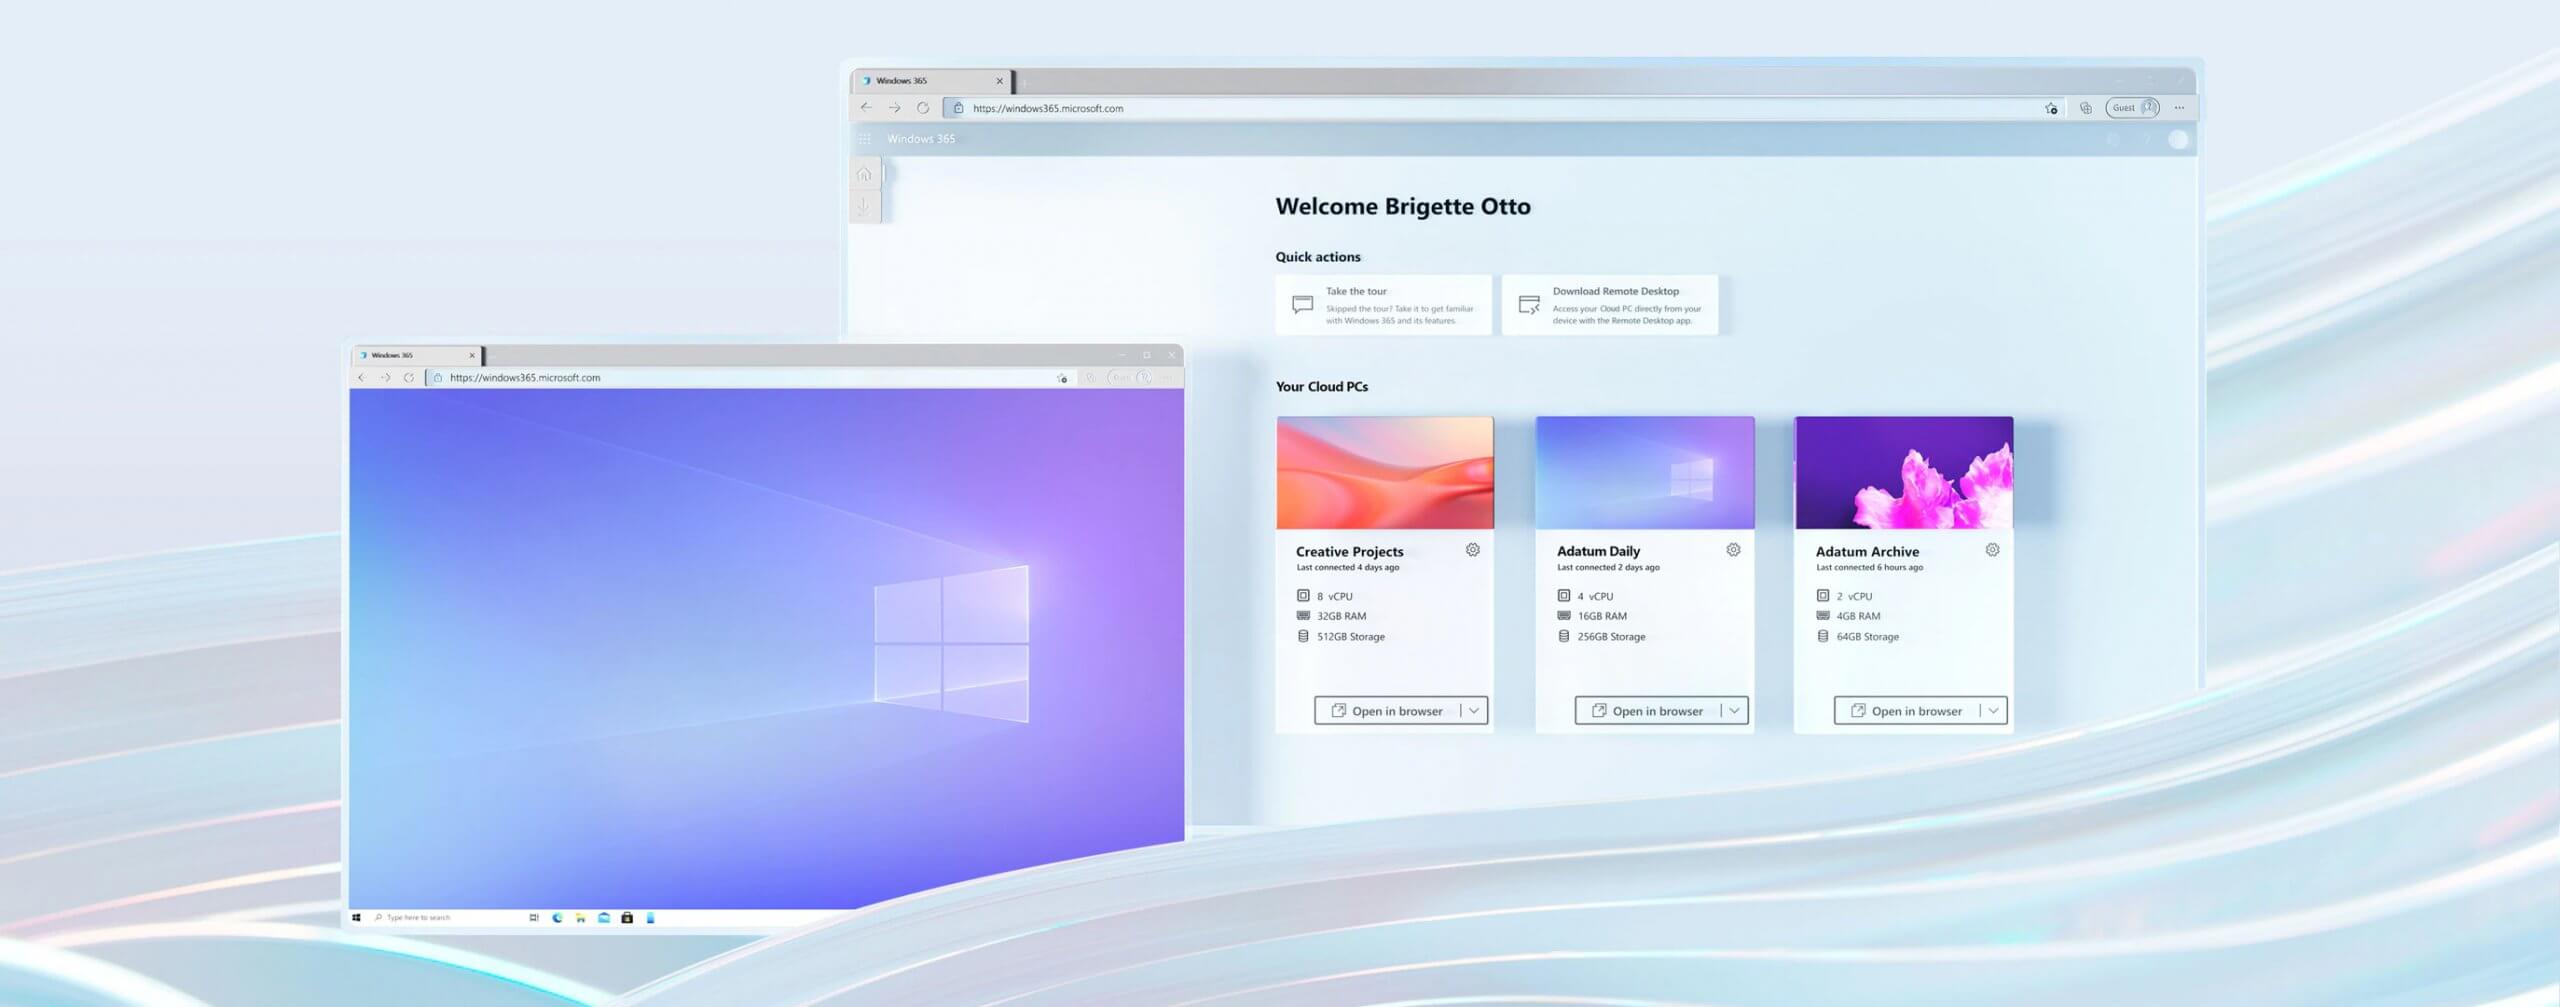 Microsoft has announced Windows 365, a new cloud-based operating system aimed mainly at businesses of all sizes.
Just after Windows 11 announcement and presentation, we are seeing another Windows announcement from Microsoft. Dive into the following text in order to find out what exactly is new Windows 365, its role in today's IT world, and do you need it?
Microsoft has announced Windows 365, a new cloud-based operating system aimed mainly at businesses of all sizes.
Just after Windows 11 announcement and presentation, we are seeing another Windows announcement from Microsoft. Dive into the following text in order to find out what exactly is new Windows 365, its role in today's IT world, and do you need it?
