Referenced Memory at - What is it?
0x Referenced Memory at 0x is an error code that occurs when the random memory addresses conflict.
This error causes running programs or browsers to crash. Referenced memory at error code is considered as a service violation error. It is displayed as the following:
“The instruction at 0xf77041d24 referenced memory at 0×00000000. The memory could not be read.”
Solution
 Error Causes
The ‘referenced memory at’ errors is either triggered by:
- Hardware failure
- Problems with the RAM and the registry
Hardware failure may result if the driver is not installed properly. The problems in the RAM indicate registry issues that occur due to data overload in the hard disk and poor PC maintenance.
The registry saves all the information and activities you perform on your system on the hard disk.
This includes the junk files, temporary files, invalid registry entries, and files of both installed and uninstalled programs. These files accumulate and take over a lot of RAM space.
Also, the referenced memory at error can be considered to be a form of memory leak where unknown third-party software can take up the memory space that has been reserved for a particular program.
For example, if you have toolbars and add-ons installed in your browser, it can also lead to invalid registry storage in the registry.
If you don’t clean the registry, these unnecessary files can overload your data and lead to hard disk/RAM damage and corruption triggering obscure error messages like referenced memory at error.
Further Information and Manual Repair
Referenced memory is a critical error; if not resolved it can lead to serious PC damages like a system failure. To avoid this, it is advisable to fix it right away.
Here are a couple of ways to repair this issue on your system:
Cause: Hardware Failure
Solution: If the referenced memory at error is generated due to hardware failure then to resolve this error you must reinstall the driver that has caused the error to appear.
Let’s say if the error pops up because of the printer driver, reinstall it. For re-installation of the driver, simply go to the control panel and click on the Device Manager option.
Once you click it you will see a detailed page with a list of devices.
Now click on the printer (the problematic driver in this situation) to reinstall the driver software. Double click on it to open the properties dialog box and then click the driver tab and update the driver. Once you have updated the driver, try using the printer. Check if it works.
If it works and the referenced memory at the error code does not appear on the screen, this means the problem was with the hardware. However, if the error still pops up then this means the problem is deeper. It’s related to the registry.
Cause: Problems with the RAM and the registry
Solution: If the problem is with the RAM and the registry, then it is advisable to download Restoro.
Restoro is a new, next-generation, and highly functional registry cleaner.
It detects and removes all the registry issues, unnecessary and obsolete files saved in the hard disk taking up a lot of RAM space. It clears the RAM and cleans up the disk.
Furthermore, it repairs the damaged files, fragmented disk, and the corrupt registry in seconds enabling you to resume the program that you were running before the error occurred.
Restoro has a user-friendly interface and easy navigation.
To run and operate this system you don’t need any kind of technical expertise. In just a few clicks you can resolve the critical referenced memory at error on your PC.
It is compatible with all Windows versions
Click here to download and install Restoro on your PC and fix the referenced memory error code now.

 When the personalization setting opens go-to color tab on left and scroll down until you find 2 checkboxes under "show accent color on the following surfaces:"
 check ones you wish to apply the effect to and you are done. Now your START menu and/or title bars are using the color scheme of your choice.
  Probably tired of even trying to hide it, Steam has released that this year's big Steam Winter sale is officially starting on December 22nd, 2021, and closing on January 5th, 2022. So if you have someone to buy a gift or just want to drop a few great games in your library at a low price this is the time when you should do it.
 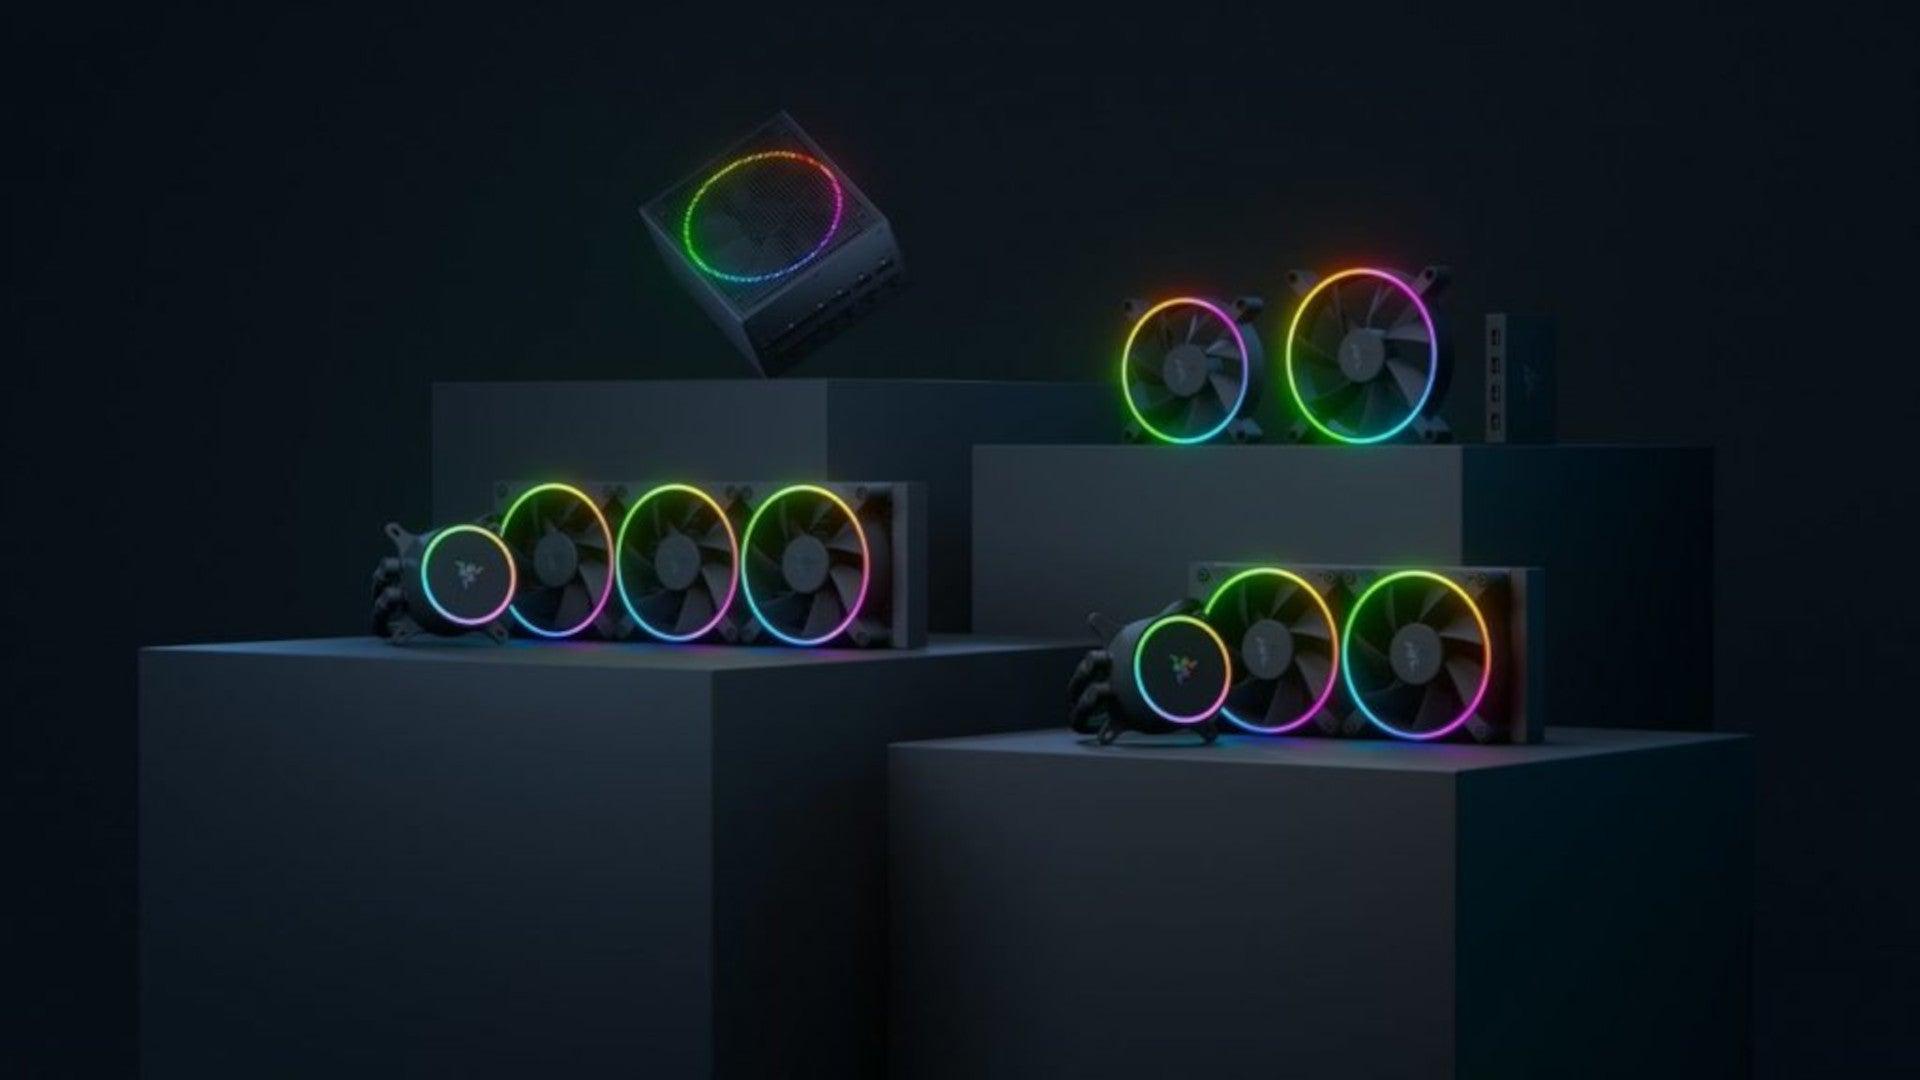 Razer is a well-known brand among PC gamers and users, it started as a peripheral manufacturer focused on keyboards and mouse but after years passed Razer expanded its inventory offerings. It soon started offering headphones and lately has branched into wider product lines like gaming chairs and protection masks.
It is not a big surprise that Razer is expanding into other branches of the PC industry. This time, however, it has revealed not one but three new hardware for your PC. Case fans, all in one liquid cooler and power supply.
There are not many details about the products themselves but one thing is one hundred percent confirmed, they come with Razer Chroma, all of them, even the fans.
Razer is a well-known brand among PC gamers and users, it started as a peripheral manufacturer focused on keyboards and mouse but after years passed Razer expanded its inventory offerings. It soon started offering headphones and lately has branched into wider product lines like gaming chairs and protection masks.
It is not a big surprise that Razer is expanding into other branches of the PC industry. This time, however, it has revealed not one but three new hardware for your PC. Case fans, all in one liquid cooler and power supply.
There are not many details about the products themselves but one thing is one hundred percent confirmed, they come with Razer Chroma, all of them, even the fans.
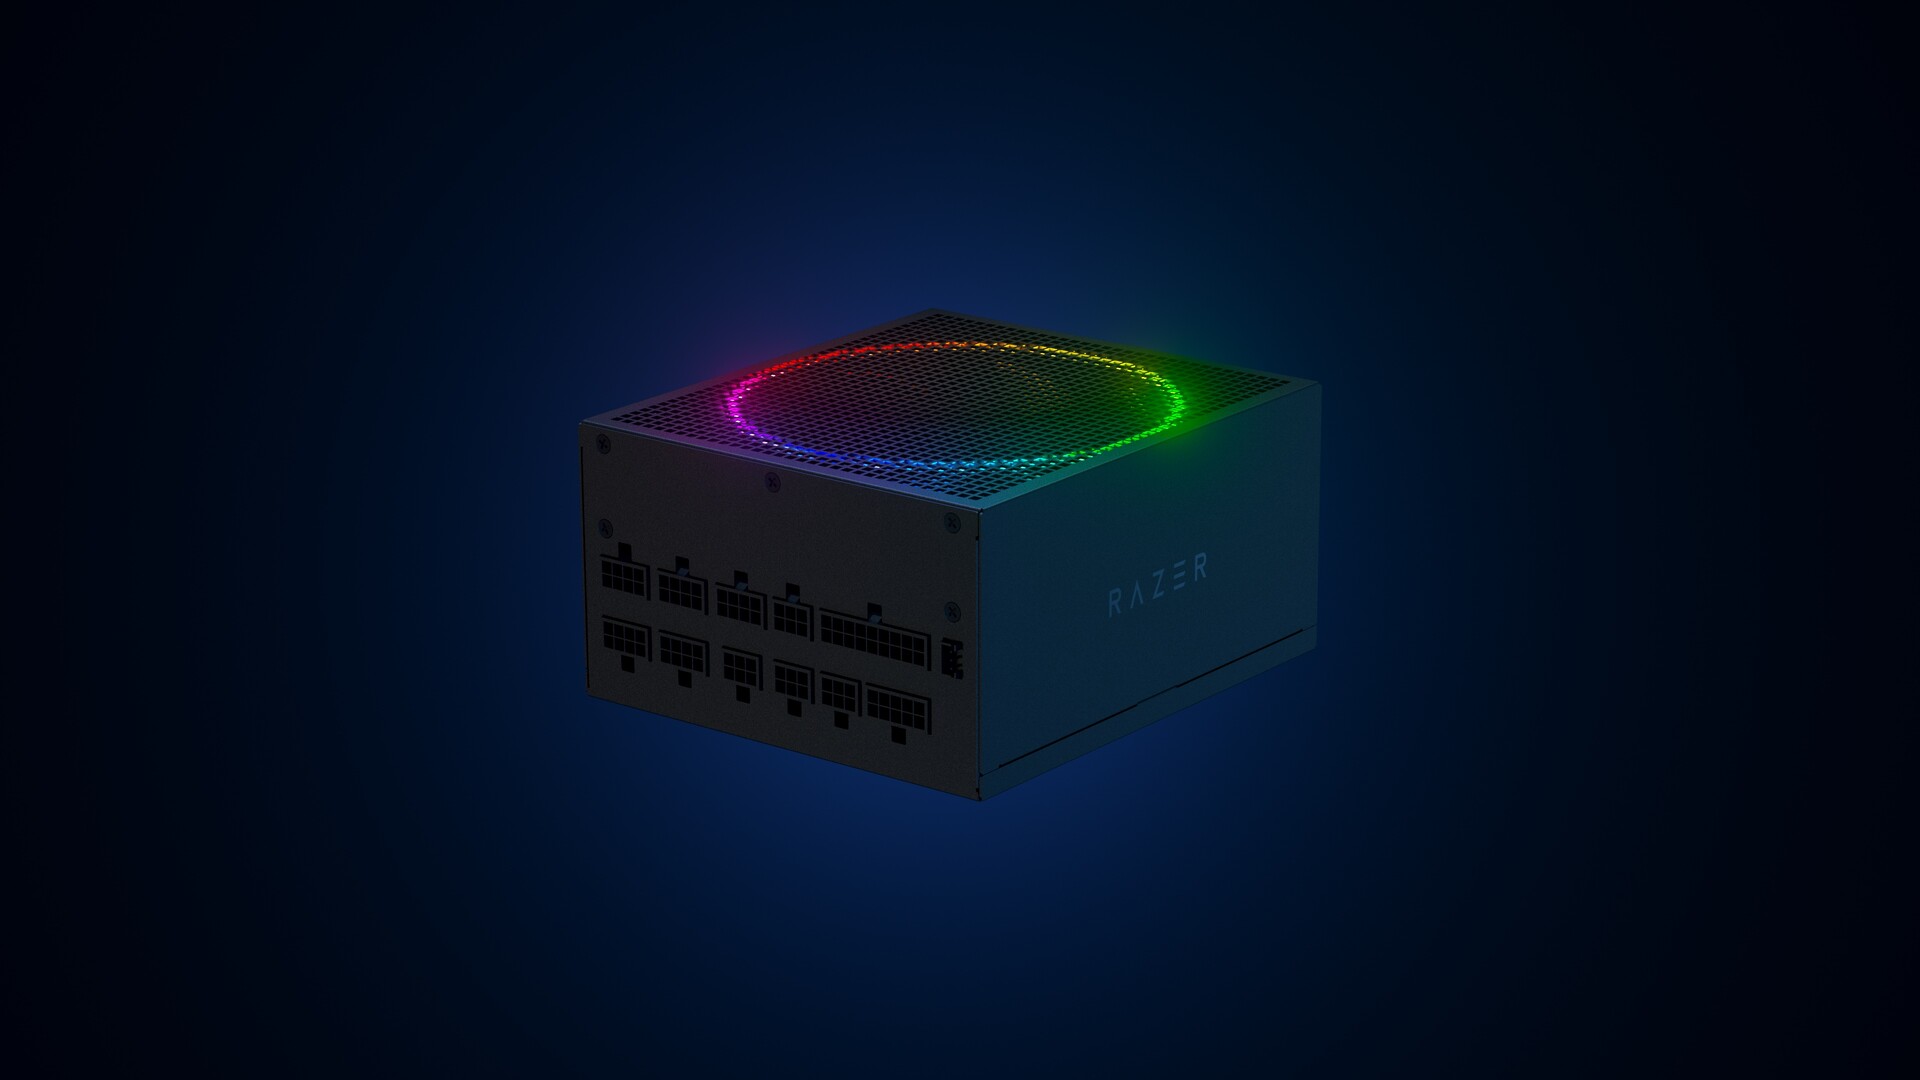 Most interesting for me personally is Razers Katana, the power supply unit. It is a modular power supply ranging from 750W to 1200W with the additional option of Titanium rated one with an impressive 1600W of power. Power supply will start shipping in early 2022 and at the time of writing this article no price range has been released.
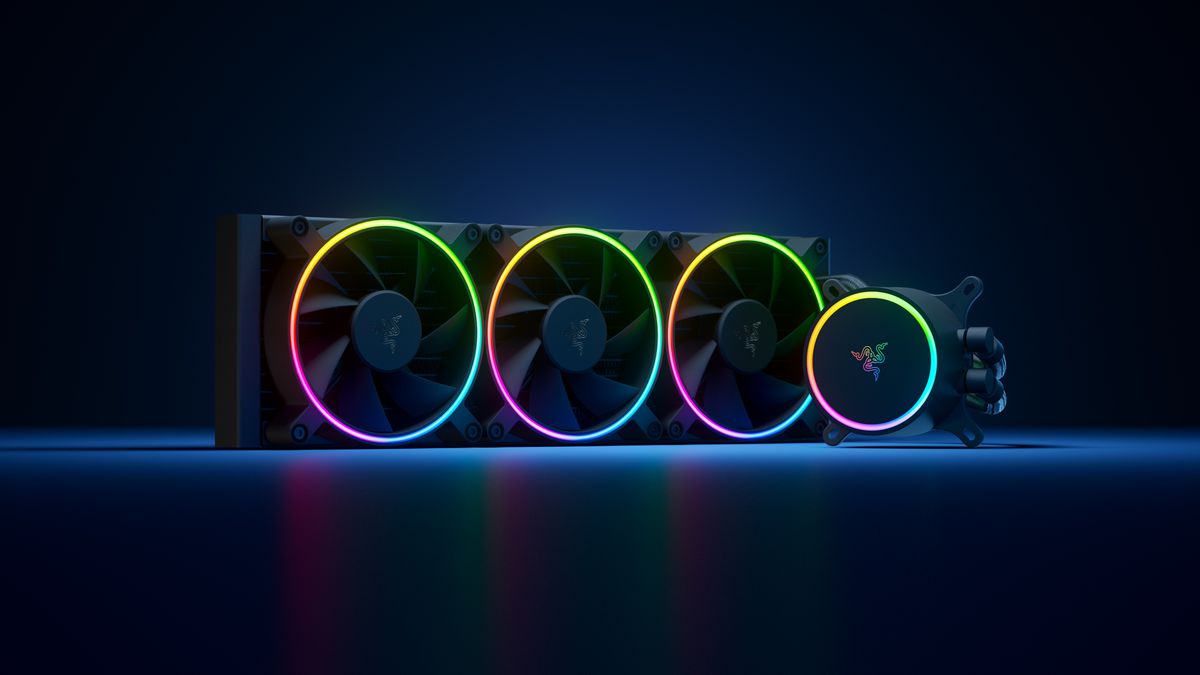 Hanbo liquid cooler will feature an optimized intake design so it can ensure greater heat transfer and fluid dynamic for improved reliability and silent operation. Radiator comes in 240mm size with two fans and a larger one of 360mm with three fans. The pump will be able to rotate in any direction of full 360 degrees so it can fit in any case. Hanbo will be released in November this year but no pricing has been released so far.
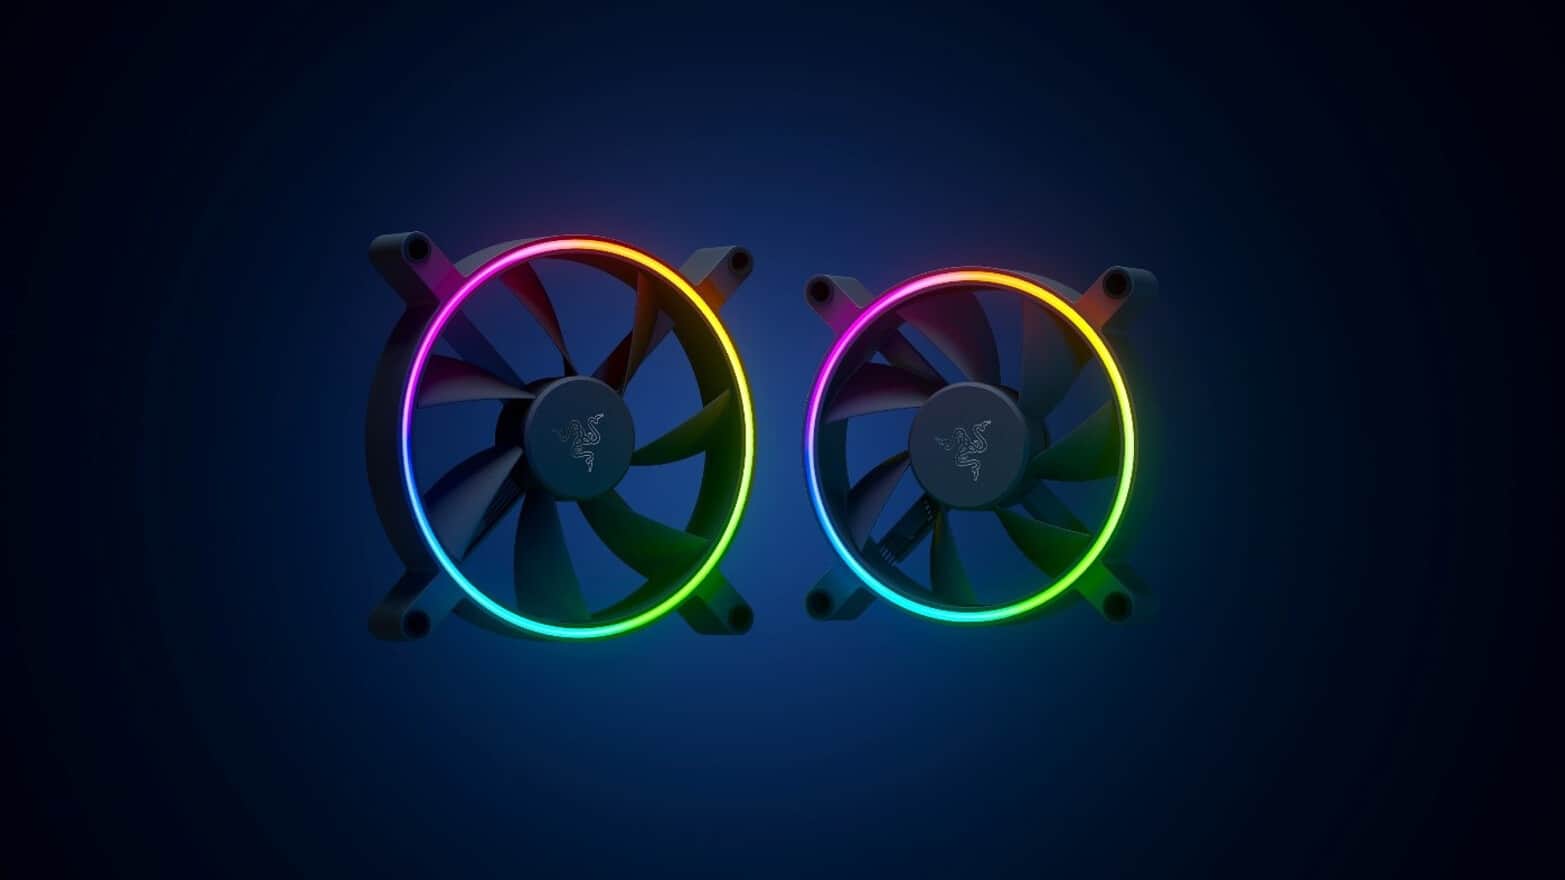 Kunai fans will boast high static pressure performance with lowered noise. They will go as far as 2200rpm for the 120mm version where the 140mm version will go up to 1600rpm. They will come with addressable LEDs and up to eight fans will be able to be connected to Razer’s PWM fan controller that will come with a magnet at the back for easy attachment to any steel part of PC casing.
PWM will use Razer’s Synapse software to customize pulse width modulation in order to improve airflow and noise. PWM will be priced at $49.99 in the Razer Store and it is available for preorder. Fans are priced at $44.99 for one 120mm or $129.99 for a three-pack of 120mm. One 140mm will go for $49.99 and a three-pack will be $129.99.
Kunai fans will boast high static pressure performance with lowered noise. They will go as far as 2200rpm for the 120mm version where the 140mm version will go up to 1600rpm. They will come with addressable LEDs and up to eight fans will be able to be connected to Razer’s PWM fan controller that will come with a magnet at the back for easy attachment to any steel part of PC casing.
PWM will use Razer’s Synapse software to customize pulse width modulation in order to improve airflow and noise. PWM will be priced at $49.99 in the Razer Store and it is available for preorder. Fans are priced at $44.99 for one 120mm or $129.99 for a three-pack of 120mm. One 140mm will go for $49.99 and a three-pack will be $129.99. 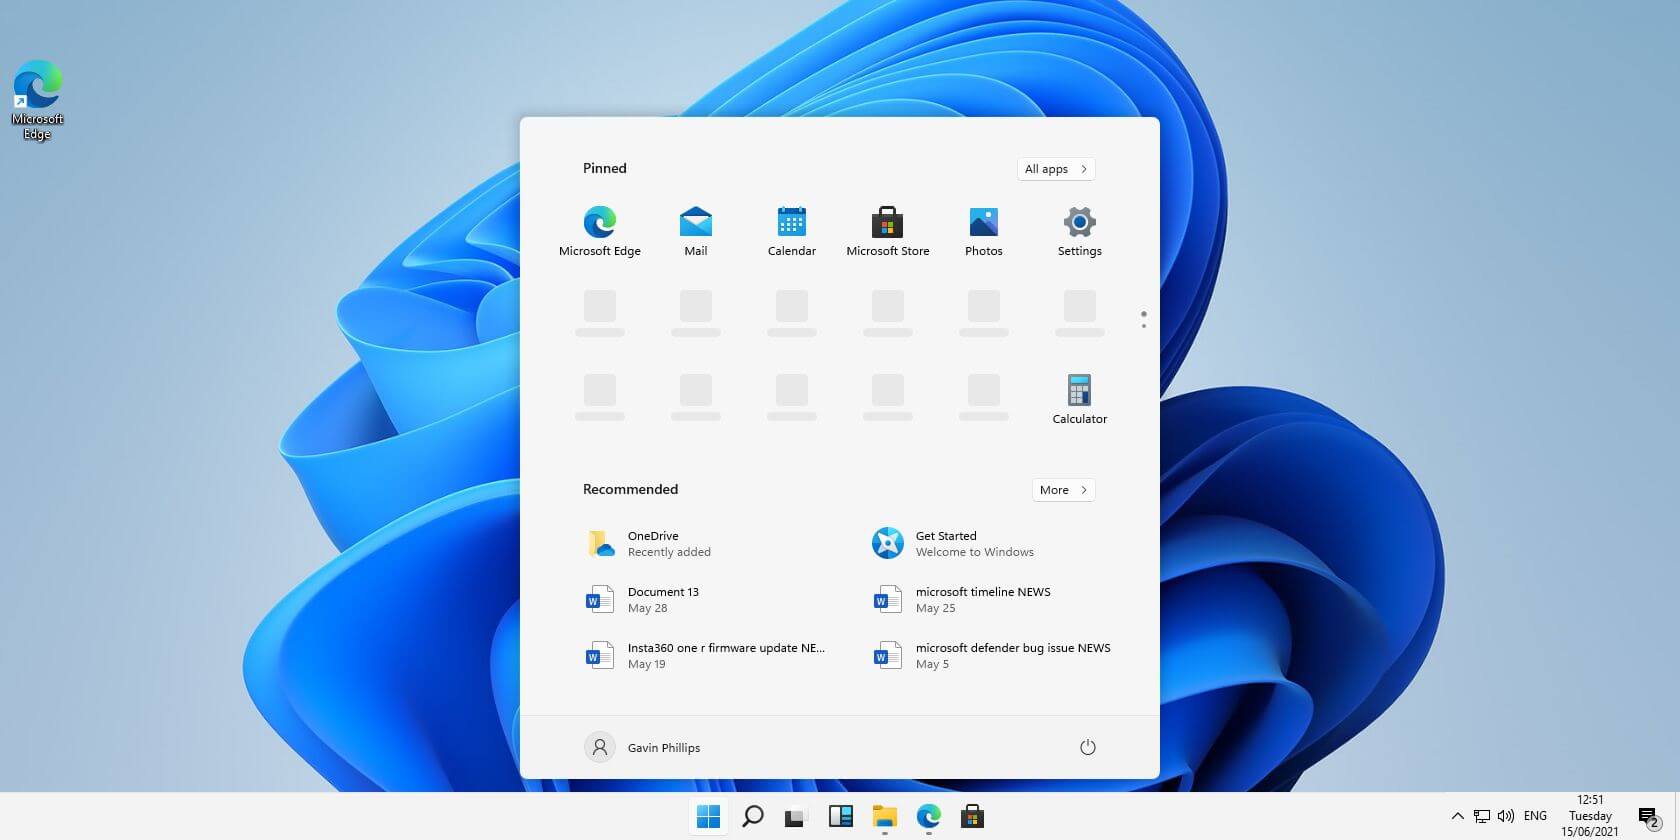 Windows 11 comes with glass and transparency effects by default once it is installed. The transparency effect looks really good but if in any case, you do not like them, you can easily turn them off very easily
 Once disguised it will wait patiently for a user's click and once that happens it will replicate itself and further infect the system. This rapid spread can lead to stolen personal data, some system hick-ups, and other system-related issues.
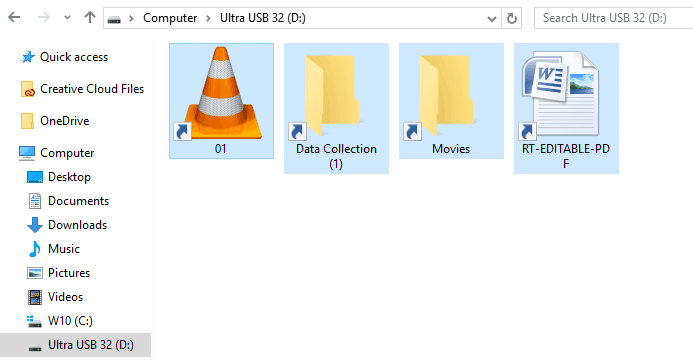
This malware mainly affects physical file transfer devices like for example and most USB drives, hard drives, and SD memory cards and it can easily transfer itself to the computer.
The advantage of this shortcut virus comparing it to others is that it is mostly undetected by a vast variety of antivirus software. So running just anti-virus software maybe not be enough to remove it from your system. Luckily for all unfortunate users that have caught this annoyance, it can be easily removed fully manually in a short time.
Once disguised it will wait patiently for a user's click and once that happens it will replicate itself and further infect the system. This rapid spread can lead to stolen personal data, some system hick-ups, and other system-related issues.
This malware mainly affects physical file transfer devices like for example and most USB drives, hard drives, and SD memory cards and it can easily transfer itself to the computer.
The advantage of this shortcut virus comparing it to others is that it is mostly undetected by a vast variety of antivirus software. So running just anti-virus software maybe not be enough to remove it from your system. Luckily for all unfortunate users that have caught this annoyance, it can be easily removed fully manually in a short time.