Libvlc.dll Error Code - What is it?
Libvlc.dll error is a type of DLL file error. Libvlc.dll is a type of Dynamic Link Library file associated with 3rd party software developed by the Videolan Team for the Windows OS.
Libvlc.dll file contains small programs similar to EXE executable files which allow multiple software programs to share the same functionality. It helps load and run certain programs developed by Videolan Team on your system.
The Libvlc.dll error pops up when the file fails to load and run your desired program. This error is usually triggered during program installation while a Libvlc.dll related software is running on the PC or during Windows start-up or shut down.
Libvlc.dll error code may appear on your Windows computer in any of the following formats:
"Libvlc.dll not found."
"The file libvlc.dll is missing."
"Cannot register libvlc.dll."
"Cannot find C:WindowsSystem32\libvlc.dll."
"Libvlc.dll Access Violation."
"Cannot start Third-Party Software. A required component is missing: libvlc.dll. Please install Third-Party Software again."
"This application failed to start because libvlc.dll was not found. Re-installing the application may fix this problem."
Though Libvlc.dll error is not a fatal error code but nonetheless it is advisable to resolve it immediately to avoid any inconvenience.
Solution
 Error Causes
Libvlc.dll error code may occur due to several reasons including but not limited to:
- Corrupt Libvlc.dll registry entry
- Malware infection
- Hardware failure
- Deleted or missing Libvlc.dll file
- Another program overwrote the required version of Libvlc.dll
Further Information and Manual Repair
Here are some of the best and easy-to-work-around methods that you can try to resolve Libvlc DLL error on your system in minutes. Let’s get started:
Method 1: Re-install the Deleted Libvlc.dll file
Since DLL are shared files, sometimes the error code may pop up if it is deleted accidentally while uninstalling a program that is also run by the same file.
In such a situation, to resolve the Libvlc.dll error all you have to do is re-install the deleted file by going into the recycle bin. If you find it reinstall, but if you don’t then simply download Libvlc.dll file from a reliable DLL file website and install. Hopefully this will resolve the issue.
Alternatively, you can re-install VLC which should come with a complete copy of the libvlc.dll.
However, if the error code still persists, then try other methods given below.
Method 2: Restore Points - Undo the Recent Changes
Another way to resolve Libvlc dll error is to restore your Windows system to an earlier point.
System Restore can return your PC system files and programs back to a time when everything was working absolutely fine. This can help you avoid hours of troubleshooting headaches.
This can be easily done by going to the start menu. In the search box type System Restore and press enter. Now click System Restore and enter administrator password if prompted. Follow the steps in the Wizard to choose a restore point and then reboot to activate changes.
Method 3: Repair the Registry
The Libvlc dll error can be triggered by invalid registry entries. To resolve, simply download Restoro. This is a user-friendly and multi-functional PC Fixer embedded with a powerful registry cleaner. It removes all the invalid files, repairs the damaged DLL files, and cleans the registry in seconds.
Click here to download Restoro and resolve Libvlc dll error today!

 Well if anyone told me just a few years ago that I will see the day when Microsoft releases a new OS based on Linux I would be very amused, but that day has come. Mariner is the newest OS out of nowhere.
Microsoft’s new Linux Distro, dubbed Common Base Linux (CBL)-Mariner, isn’t the type of distro you’d want to install directly on any old machine. It’s primarily meant for cloud infrastructure and edge products. Specifically Microsoft’s Cloud and Edge products.
But if you are curious, it’s possible to run. Juan Manuel Rey, a Microsoft Senior Program Manager for Azure VMware, recently published a guide to ISO CBL-Mariner image. With that, you can easily get it up and running. And you can build CBL-Mariner on an Ubuntu 18.04 desktop. So you can try it out since it is free.
You can get it from here: https://github.com/microsoft/CBL-Mariner
It is obvious that Microsoft aims to set itself as a leader in enterprise server environments with this move and it is very likely that it may succeed or at least give a good shake to its competitors, mainly red hat and Suse which are two dominant distros in that field.
Many believe that they can win over by providing regular updates and package delivery via their already established system and that feature could be a turning point for some.
In any case, time will tell and we shall see.
Well if anyone told me just a few years ago that I will see the day when Microsoft releases a new OS based on Linux I would be very amused, but that day has come. Mariner is the newest OS out of nowhere.
Microsoft’s new Linux Distro, dubbed Common Base Linux (CBL)-Mariner, isn’t the type of distro you’d want to install directly on any old machine. It’s primarily meant for cloud infrastructure and edge products. Specifically Microsoft’s Cloud and Edge products.
But if you are curious, it’s possible to run. Juan Manuel Rey, a Microsoft Senior Program Manager for Azure VMware, recently published a guide to ISO CBL-Mariner image. With that, you can easily get it up and running. And you can build CBL-Mariner on an Ubuntu 18.04 desktop. So you can try it out since it is free.
You can get it from here: https://github.com/microsoft/CBL-Mariner
It is obvious that Microsoft aims to set itself as a leader in enterprise server environments with this move and it is very likely that it may succeed or at least give a good shake to its competitors, mainly red hat and Suse which are two dominant distros in that field.
Many believe that they can win over by providing regular updates and package delivery via their already established system and that feature could be a turning point for some.
In any case, time will tell and we shall see.  I going to admit right here that I am a big fan of Cooler Master PC cases, I like them and they are always one of the things that I consider when building a new PC, overall I like their ideas and quality so personal for me it was quite a surprise to see that they are one that is making a new generation gaming chair.
Now truth to be told Orb X is not your typical gaming chair as you can clearly see from the pictures. The chair itself will come in two colors: white or black and RGB lighting looks to be prominently featured throughout.
I going to admit right here that I am a big fan of Cooler Master PC cases, I like them and they are always one of the things that I consider when building a new PC, overall I like their ideas and quality so personal for me it was quite a surprise to see that they are one that is making a new generation gaming chair.
Now truth to be told Orb X is not your typical gaming chair as you can clearly see from the pictures. The chair itself will come in two colors: white or black and RGB lighting looks to be prominently featured throughout.
 The chair itself is advertised as both meant and aimed for professional and gaming crowds but I believe the gaming crowd is in general more interested in this hardware piece.
Hardware is enclosed in a fully motorized shuttle dome which aims to maximize your privacy, it supports a single 49inch display or three 27inch monitors along with surround speakers if you do not wish to use headphones.
The chair itself is advertised as both meant and aimed for professional and gaming crowds but I believe the gaming crowd is in general more interested in this hardware piece.
Hardware is enclosed in a fully motorized shuttle dome which aims to maximize your privacy, it supports a single 49inch display or three 27inch monitors along with surround speakers if you do not wish to use headphones.
 It offers an adjustable headrest, lumbar support, and footrest so you can spend some time in it and be comfortable. Controls on the chair itself allow you to raise or lower the dome for easier getting in and out of it.
Orb X also has a compartment in its backside, it folds out and has a sliding tray designed to hold your PC or console. Everything is enclosed so wiring is not the issue.
Overall Orb X seems really like the computer chair of the future, Cooler Master expects to release the Orb X by December 2021, priced around $12,000-$14,000.
It offers an adjustable headrest, lumbar support, and footrest so you can spend some time in it and be comfortable. Controls on the chair itself allow you to raise or lower the dome for easier getting in and out of it.
Orb X also has a compartment in its backside, it folds out and has a sliding tray designed to hold your PC or console. Everything is enclosed so wiring is not the issue.
Overall Orb X seems really like the computer chair of the future, Cooler Master expects to release the Orb X by December 2021, priced around $12,000-$14,000. 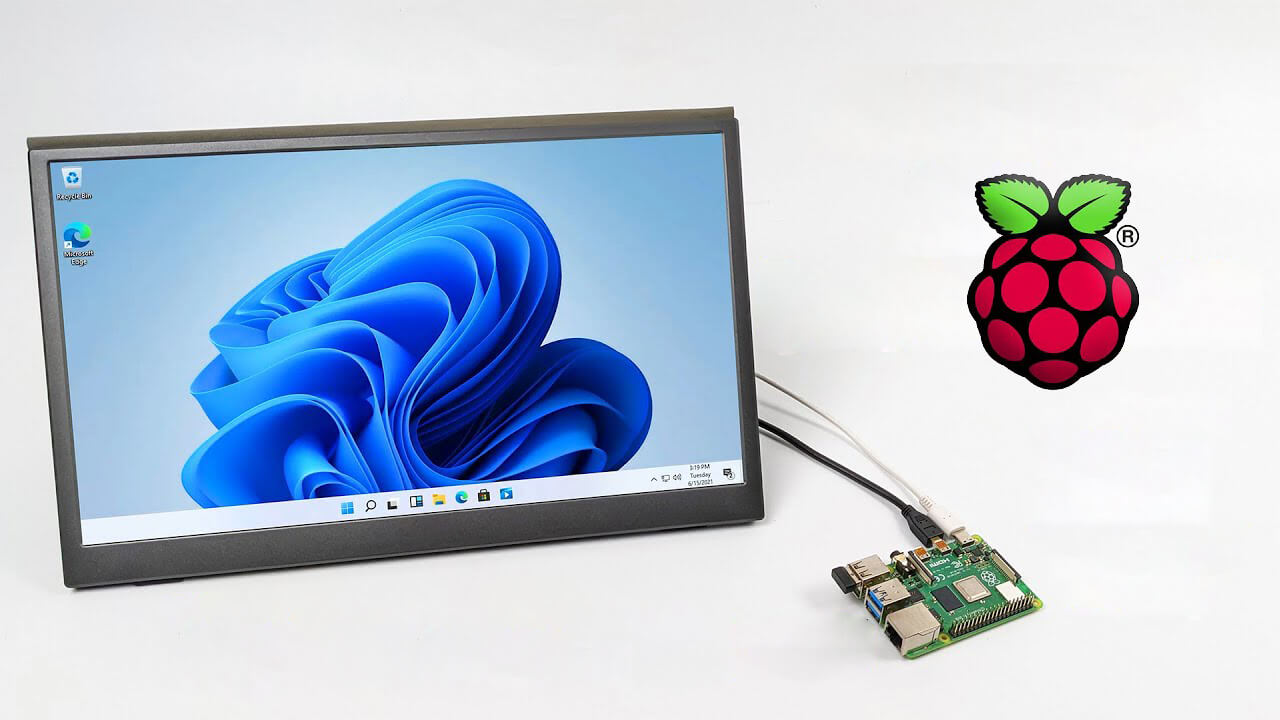 Raspberry Pi 4 and things you need for Windows 11 installation
 Many Linux users if not all of them can run their distros from a USB drive but did you know you can run Windows 10 from a USB drive as well?
Microsoft has introduced all the way back to Windows 8 one feature called Windows To Go and it kept it in Windows 8.1 and in Windows 10 as well.
This feature is intended as a convenient way for workers to carry their corporate environments with them, but having your own copy of Windows on a thumb drive could be handy for backup purposes, too, or if you frequently use public machines that lack your preferences/applications or that have a restricted OS.
Many Linux users if not all of them can run their distros from a USB drive but did you know you can run Windows 10 from a USB drive as well?
Microsoft has introduced all the way back to Windows 8 one feature called Windows To Go and it kept it in Windows 8.1 and in Windows 10 as well.
This feature is intended as a convenient way for workers to carry their corporate environments with them, but having your own copy of Windows on a thumb drive could be handy for backup purposes, too, or if you frequently use public machines that lack your preferences/applications or that have a restricted OS.