Code 18 - What is it?
Code 18 is a typical Device Manager error code that occurs when the device driver is damaged. Device Manager is an important tool that allows Windows PC users to have an overall look at the connected hardware.
Furthermore, it also allows diagnostic testing. It is vital too and errors associated with the Device Manager such as error code 18 should and must be resolved quickly.
Error code 18 is usually presented in the following formats:
“The drivers for this device are not installed. (Code 18)”
Or
“Reinstall the drivers for this device.”
Solution
 Error Causes
Error code 18 may be triggered due to several reasons such as:
- Outdated drivers
- Corrupted drivers
- Improperly configured drivers
Error code 18 may cause a great deal of inconvenience. It may hamper your ability to use certain devices on your PC.
For example, if code 18 pops up due to a corrupted or improperly configured keyboard driver, then it may hamper your ability to use your keyboard and work on your PC.
Further Information and Manual Repair
The good news is that Device Manager error codes like error code 18 are easy to resolve. Below are some of the easiest and effective methods to repair error code 18 on your PC. Try one of these methods to repair error code 18 in no time:
Method 1 - Uninstall and Reinstall Device Drivers
One of the easiest ways to repair error code 18 and to ensure that this error doesn’t pop up on your PC again is to uninstall the problematic driver. For this, simply:
- Go to the start menu
- Type Device Manager and press enter
- Now click on the device whose driver you want to uninstall.
- Press right-click and then click on uninstall. Windows will prompt you to confirm the removal of the driver.
- Click OK to confirm and then reboot your PC to activate changes.
- Now scan for new hardware and follow the same process to reinstall the uninstalled device driver.
Method 2 - Update Drivers Automatically
Finding problematic drivers and then updating them individually can be frustrating and a time-consuming process. It can take a lot of time to perform updates and resolve the error code on your PC.
If you have projects to work on with pressing deadlines, then updating drivers on your PC separately can cause you a great deal of inconvenience and waste your precious time.
However, to avoid this situation, we advise you to set your drivers to update automatically. Automatic update installation requires only a few seconds.
And to update drivers automatically, it is recommended you download DriverFIX.
As the name suggests, this software is designed to assist programmers to upgrade device drivers automatically. In just a few clicks, you can update all your outdated drivers and repair error code 18.
DriverFIX is easy to use and an advanced program that is smoothly integrated with an intelligent programming system. This system identifies and detects all the problematic drivers on your PC and then updates each driver automatically to their latest versions.
It continues to update drivers regularly ensuring that you never come across device driver problems on your system.
Click here to download DriverFIX and repair error code 18 today!

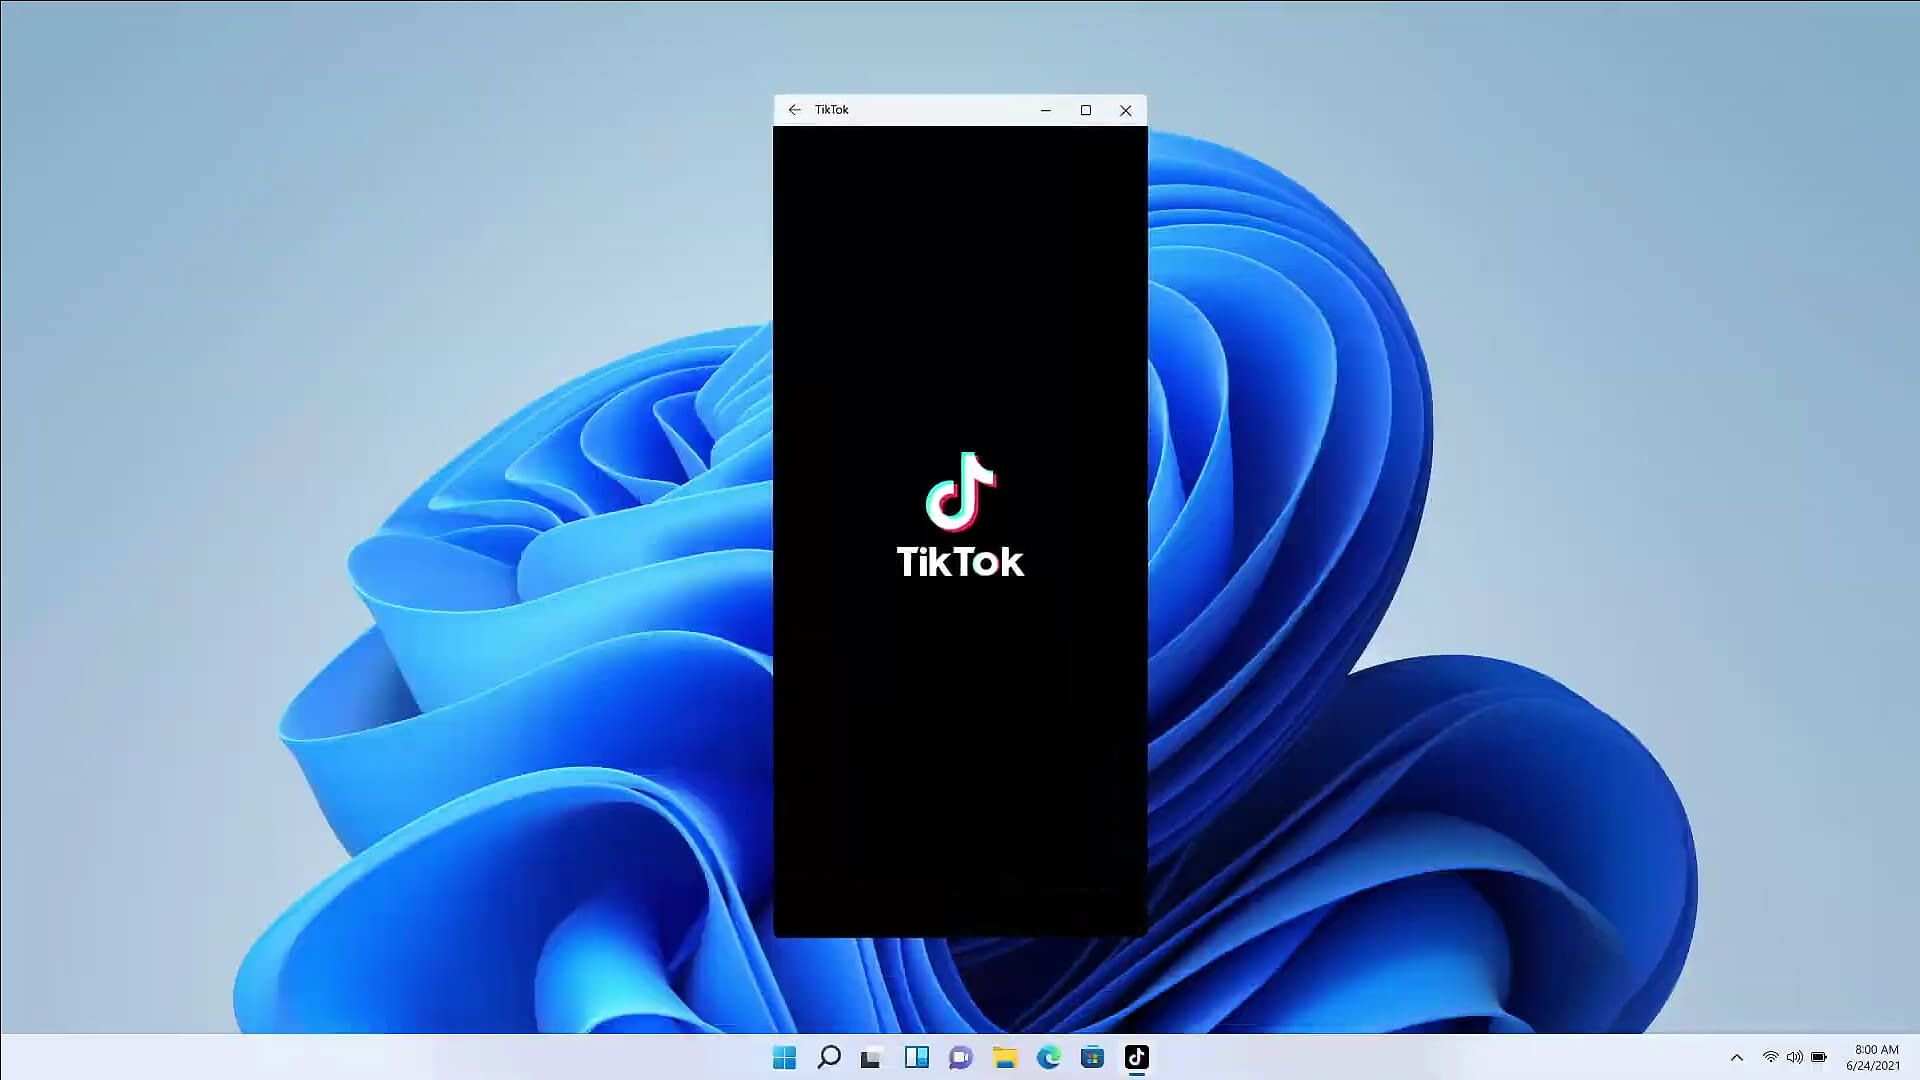 The euphoria around Windows 11 is not dying and reveal that Android apps will work natively inside Windows 11 has raised many emotions and questions.
So, Microsoft has announced that Android apps will run natively inside Windows 11 OS and that they will reside alongside your other installed ones as icons, etc.
It is no secret that many users have been using emulation software to run Android apps inside Windows so far, so what is the difference?
The euphoria around Windows 11 is not dying and reveal that Android apps will work natively inside Windows 11 has raised many emotions and questions.
So, Microsoft has announced that Android apps will run natively inside Windows 11 OS and that they will reside alongside your other installed ones as icons, etc.
It is no secret that many users have been using emulation software to run Android apps inside Windows so far, so what is the difference?
