Device drivers are needed in order for the hardware and software to communicate in an operating system. Some of these drivers are digitally signed. These kinds of drivers are drivers that are signed by their issuing authority in a way that the end-user or any third party won’t be able to modify them. And there are times when you encounter an error that says, “Windows requires a digitally signed driver” when you try to install or update device drivers.
Driver Signing is the process of associating a digital signature with a driver package. Digital signatures are used in Windows device installations to verify the identity of the vendor providing the driver packages as well as to verify the integrity of the driver packages.
All the drivers you usually install on your PC from Windows Update, Original Equipment Manufacturers, or some other third-party driver download software and so on must be verified digitally by Microsoft through the digital signature. A digital signature is an electronic security mark that verifies the publisher for the driver and all the relevant information related to it. That’s why Windows won’t run a driver if it isn’t certified by Microsoft, be it a 32-bit or 64-bit system – this is called the Driver Signature Enforcement.
The only Kernel-mode drivers that Windows 10 will load are the ones that are digitally signed by the Dev Portal. However, the changes only affect the new installations of the operating system with Secure Boot on while the non-upgraded fresh installations would require drivers that are signed by Microsoft.
The “Windows requires a digitally signed driver” error indicates that the driver you are trying to update or install hasn’t been signed digitally by the issuing authority, preventing you from installing or updating it. To resolve this issue, you can try to update the drivers directly from the manufacturer’s site. You could also disable driver signing via Group Policy Editor.
The reason why you’re getting the “Windows requires a digitally signed driver” error in the first place is that you might have downloaded the drivers from external media. It could also be that the drivers didn’t update for some time now and the issuing authority changed its policies. Thus, you can try to update the drivers straight from the manufacturer’s website and install them. If this option didn’t work, then you’ll have to disable the driver signing or its recognition in Windows 10. Keep in mind that doing so is not advisable if you have to use the concerned driver.
“This setting determines how the system responds when a user tries to install device driver files that are not digitally signed. It establishes the least secure response permitted on the systems of users in the group. Users can use the System in Control Panel to select a more secure setting, but when this setting is enabled, the system does not implement any setting less secure than the one the setting established.
When you enable this setting, use the drop-down box to specify the desired response.
“Ignore” directs the system to proceed with the installation even if it includes unsigned files.
“Warn” notifies the user that files are not digitally signed and lets the user decide whether to stop or to proceed with the installation and whether to permit unsigned files to be installed. “Warn” is the default.
“Block” directs the system to refuse to install unsigned files. As a result, the installation stops, and none of the files in the driver package are installed.
To change driver file security without specifying a setting, use System in Control Panel. Right-click My Computer, click Properties, click the Hardware tab, and then click the Driver Signing button.”

 What exactly is GitHub?
 Intel says that the remedy to the issue for these games is the scroll lock fix which can be done so by enabling Legacy Game Compatibility mode from the BIOS of your motherboard. When running the said games, you can press scroll lock to park the E-cores on Intel's Alder Lake Desktop CPUs to get rid of DRM issues.
Certain motherboard manufacturers such as MSI and Gigabyte have made this even easier through software tools with which you don't have to access the BIOS. All you need to do is select a button in the tool which works on both Windows 11 and Windows 10 operating systems and you will enable compatibility mode.
Intel says that the remedy to the issue for these games is the scroll lock fix which can be done so by enabling Legacy Game Compatibility mode from the BIOS of your motherboard. When running the said games, you can press scroll lock to park the E-cores on Intel's Alder Lake Desktop CPUs to get rid of DRM issues.
Certain motherboard manufacturers such as MSI and Gigabyte have made this even easier through software tools with which you don't have to access the BIOS. All you need to do is select a button in the tool which works on both Windows 11 and Windows 10 operating systems and you will enable compatibility mode. If you are following the latest gaming trends and spend a lot of time on social media, watching streams, etc. you might be under impression that gaming as a hobby is very expensive. If you plan to play the latest games on a very large screen in their highest setting that might be true but if you do not care about that you can still play games and spend much less money on them.

That being said we are here to share with you some tips and tactics on how to play good games with minimum money spent.
Buying a game on its launch date is maybe the worst and most expensive thing you can do. Games have their highest price on launch day but sadly with the current state of the industry, they are in their worst state as well. Games eventually became better over time after patches are released but so does their price drops after the hype has calmed down. So if you really must have some specific game on its launch day, go for it but know that by doing so you are getting the worst version of the game for its higher price.
All services today have a wishlist, very good and money-saving tactic is to wishlist interesting titles and wait for them to be on the sale. Services will usually have the option of sending you an email once your wishlist titles are on sale so you will be notified once they do. A good tactic as well is to wait for large sales like for example summer, winter, easter sales, or many other seasonal ones.
Some online stores are offering free games from time to time and some are always offering some titles as gifts in order to get customers to their platform. EPIC has become famous for gifting some great titles over the past years completely for free and there are a lot of free-to-play games on each platform that you can play.
Having a new computer is great but if your budget is tight you might consider getting your PC as a second hand instead of the new one. Hardcore games will switch components more frequently than your typical users and usually the components will be sold cheaper and be more affordable.
Many games today are available on many platforms not only just on your typical PC. Same titles are available on your mobile phones, tablets, and even on your Android TV. Many titles will not even require the latest technology or monster of a computer in order to run them. You can also lower game settings and play many games on lower hardware if you do not mind not having top graphics settings.
If you are very tight on budget but want to enjoy new games in their full glory there is always the option to play games via a cloud streaming service, it is not exactly a mega cheap option since it has a monthly fee but it is cheaper than some high-end gaming computer. If you combine this with the game pass you can enjoy the latest games with high-quality settings and pay it on a monthly basis.

A solid reason to switch to Mac from Windows PC is Mac OS. Based on Linux, offers more stability and better security than Windows but you will not be able to find a vast array of applications on it.
Even when Mac OS X (the first big one) was first introduced, it looked and felt like ages beyond Windows (Microsoft just recently made a slick and modern design with Windows 11). Under the hood, it turned out that the operating system itself is stable and incredibly fast & responsive. If you value stability and easiness of use, Mac OS is the Operating system for you.
This one is easy, if you are already invested in apple devices like iPhone and iPad, having an apple computer is one step forward into the apple ecosystem and one more step into easy sharing of documents and data between devices.
Calendars, emails, photos, videos, documents, and many more can easily be shared and synched between devices with a single apple ID making workflows much easier than on other operating systems.
Developers all around the world say that developing on Mac is much better and smoother than on PC, this has probably to do something with OS being based on Linux but whatever the case is, it is much smoother and it just feels better. Apple laptops are often the go-to choice of developers for a reason.
Also if you are in the development business for applications and services aimed at iPhone or iPod then there is no really another way than to be into the apple ecosystem and own apple hardware.
A lot of professional-grade software exists for both the Windows platform and Mac OS but there is some software that exists exclusively for Apple hardware like Final Cut Pro or Logic Pro. Both applications are used by professionals and are industry-standard software.
Logic pro is used by industrial audio specialists all around the world and is used in professional studios. Final Cut Pro is also used worldwide by video editors and if you are specializing in any of these two fields Mac seems like a very reasonable platform since the software can not be found on Windows. These two are examples, there are other similar applications that are only available on Mac OS
Apple hardware is made of high-quality materials and components and it is proven over time that it lasts longer than usual. There are iPhones out there that have 13 years and they are still working, G3 and G4 Macs that are still functional.
When buying Apple products they will outlive other ones if treated properly so in the end you could be saving money by purchasing them.
Another driver device error message you might encounter is error code 41.“The drivers for this device are not installed. (Code 28)”
 Bad or good news, depending on your view comes from RIOT for their game Valorant. It seems that Riot has decided to enforce Windows 11 TPM 2.0 feature into Valorant running on Windows 11 and there is a rumor that it will be de facto standard and that it will move to Valorant in general no matter on which system it runs.
Furthermore, there is a rumor circling around that other developers are also talking about implementing TPM 2.0 requirements so they can harvest advanced security features of Windows 11 in order to prevent hacks and other cheats in their games.
This is an interesting point to stand on, on one side, sure, advanced features that will prevent cheating and hacking is a great thing. On other hand denying access to many computers that do not support TPM 2.0 and removing them from the game can be a permanent loss of customers and therefore loss of money. It is a risk to be sure and I am not really sure that alienating gamers is a good choice for long-term income, especially when you will be able to install Windows 11 on an unsupported PC as stated by Microsoft.
We will all see how this Riot decision will reflect on their business, as not a big Valorant player myself I am not impacted too much with this decision, but it will be interesting to see if others will indeed go with this trend or they will decide to wait a while until much more PC’s are upgraded.
Bad or good news, depending on your view comes from RIOT for their game Valorant. It seems that Riot has decided to enforce Windows 11 TPM 2.0 feature into Valorant running on Windows 11 and there is a rumor that it will be de facto standard and that it will move to Valorant in general no matter on which system it runs.
Furthermore, there is a rumor circling around that other developers are also talking about implementing TPM 2.0 requirements so they can harvest advanced security features of Windows 11 in order to prevent hacks and other cheats in their games.
This is an interesting point to stand on, on one side, sure, advanced features that will prevent cheating and hacking is a great thing. On other hand denying access to many computers that do not support TPM 2.0 and removing them from the game can be a permanent loss of customers and therefore loss of money. It is a risk to be sure and I am not really sure that alienating gamers is a good choice for long-term income, especially when you will be able to install Windows 11 on an unsupported PC as stated by Microsoft.
We will all see how this Riot decision will reflect on their business, as not a big Valorant player myself I am not impacted too much with this decision, but it will be interesting to see if others will indeed go with this trend or they will decide to wait a while until much more PC’s are upgraded. 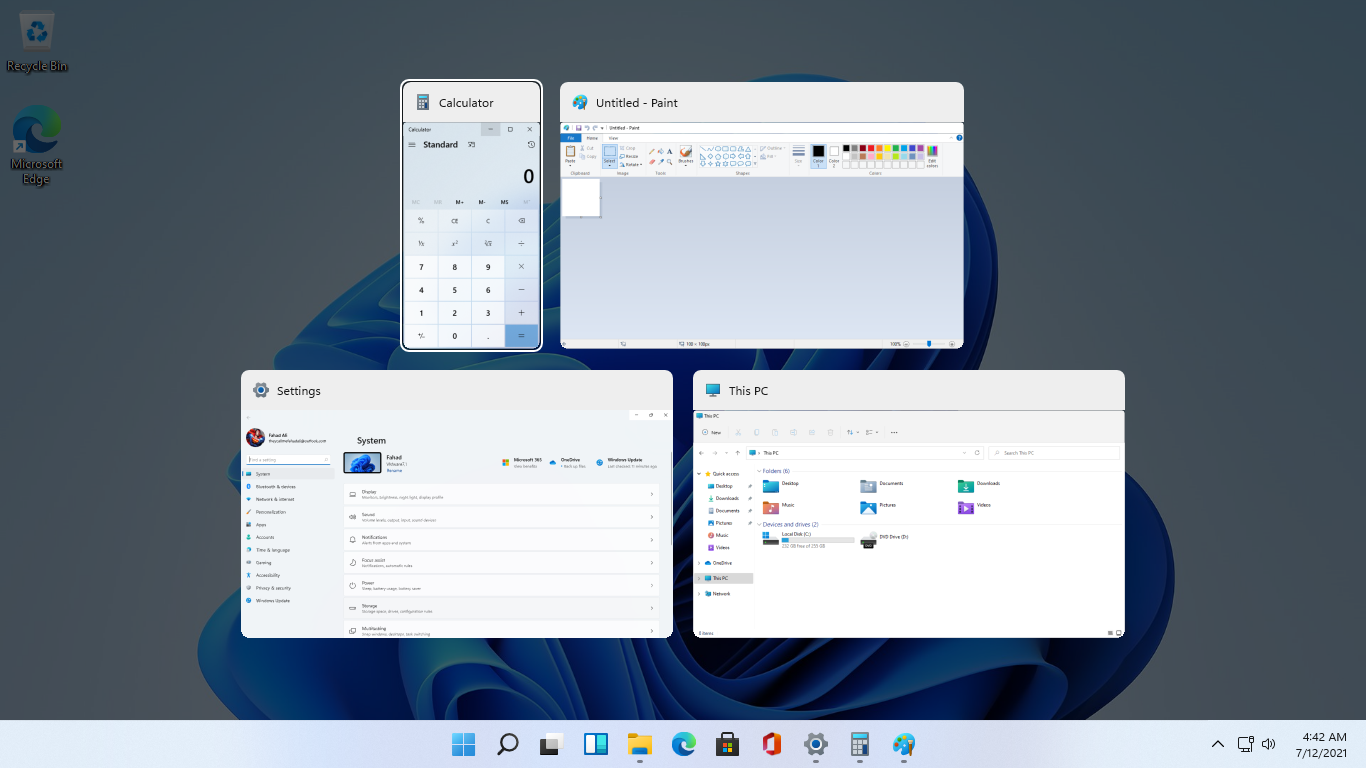 As in previous Windows 10, inside Windows 11 also when you press the ALT + TAB key combination you will get a preview of all running applications along with all Browser tabs so you can go through them and pick the one you want to switch to.
Alto, I personally am a big fan of alt-tabbing, I must admit that I am not a big fan of having multiple browsers tabs on screen when I do press key combo. Luckily there is a very easy way to turn this feature off.
Turning browsers tabs thumbnails off
As in previous Windows 10, inside Windows 11 also when you press the ALT + TAB key combination you will get a preview of all running applications along with all Browser tabs so you can go through them and pick the one you want to switch to.
Alto, I personally am a big fan of alt-tabbing, I must admit that I am not a big fan of having multiple browsers tabs on screen when I do press key combo. Luckily there is a very easy way to turn this feature off.
Turning browsers tabs thumbnails off
Name: facture_4739149_08.26.2018.exe SHA256:8655f8599b0892d55efc13fea404b520858d01812251b1d25dcf0afb4684dce9 Size: 5.3 MBAfter dropping its malicious payload, this crypto-malware connects the infected computer to a remote server where it downloads more malicious files and places them on system folders. It then applies a data gathering module used to gather data about the user and the computer. The malicious files that were downloaded earlier along with the data obtained are used for another module called stealth protection. This allows PyLocky ransomware to execute its attack without detection from any security or antivirus programs installed in the system. It also modifies some registry keys and entries in the Windows Registry such as:
“Please be advised: All your files, pictures document and data has been encrypted with Military Grade Encryption RSA ABS-256. Your information is not lost. But Encrypted. In order for you to restore your files, you have to purchase a Decrypter. Follow these steps to restore your files. 1* Download the Tor Browser. ( Just type in google “Download Tor“ 2‘ Browse to URL: http://4wcgqlckaazungm.onion/index.php 3* Purchase the Decryptor to restore your files. It is very simple. If you don’t believe that we can restore your files, then you can restore 1 file of image format for free. Be aware the time is ticking. Price will be doubled every 96 hours so use it wisely. Your unique ID : CAUTION: Please do not try to modify or delete any encrypted file as it will be hard to restore it. SUPPORT: You can contact support to help decrypt your files for you. Click on support at http://4wcgqlckaazungm.onion/index.php”
%TEMP% %WINDIR%System32Tasks %APPDATA%MicrosoftWindowsTemplates %USERPROFILE%Downloads %USERPROFILE%Desktop
HKEY_CURRENT_USERControl PanelDesktop HKEY_USERS.DEFAULTControl PanelDesktop HKEY_LOCAL_MACHINESoftwareMicrosoftWindowsCurrentVersionRun HKEY_CURRENT_USERSoftwareMicrosoftWindowsCurrentVersionRun HKEY_LOCAL_MACHINESoftwareMicrosoftWindowsCurrentVersionRunOnce HKEY_CURRENT_USERSoftwareMicrosoftWindowsCurrentVersionRunOnce
 Error Causes