
If you are having trouble using the Epic Games Launcher, here are some troubleshooting steps that usually fix common problems.
Check the Epic Games server status
Check the Epic Games Server Status page to make sure all systems are operational. If the Epic Games Launcher is affected by an outage or system-wide issue, your issue may be fixed when the outage is resolved.Clear your launcher’s webcache
Clearing the webcache often resolves display issues that may prevent you from using the launcher. Follow these steps to clear your webcache:Windows
-
Exit the Epic Games Launcher by right-clicking the system tray icon in the bottom-right corner, and then clicking Exit.
-
Press Windows key + R, type “%localappdata%”, and then press Enter to open a File Explorer window.
-
Open the Epic Games Launcher folder.
-
Open the Saved folder.
-
Click the webcache folder, and then delete it.
- Restart your computer, and then relaunch the Epic Games Launcher.
Mac
- Exit the Epic Games Launcher.
- Open Finder.
- Click on Go then Go to Folder...
- Type ~/Library/Caches/com.epicgames.EpicGamesLauncher and press Enter.
- Drag the webcache folder to the Trash.
- Press control and click on Trash.
- Click on Empty Trash.
- Relaunch the Epic Games Launcher.
Run the launcher as an administrator
Running the launcher as an administrator elevates its permissions so it can avoid problems with downloading games, for example. Follow these steps to run the launcher as an administrator:- Right-click your Epic Games Launcher shortcut.
- Click Run as Administrator.
Update graphics card drivers
Making sure the player is using the latest graphics card drivers may resolve the launcher crashing. Review this article for steps on how to do update their graphics drivers.Reinstall the Epic Games Launcher
Note: The following process will remove all of your installed games.
On Windows:
Run system file checker then reinstall the Epic Games Launcher.- Close the Epic Games launcher by right-clicking the system tray icon in the bottom right corner and then clicking Exit.
- Click Start.
- Type "cmd", right-click Command Prompt, and then click Run as administrator.
- In the window that opens, type "sfc /scannow", and then press Enter. This may take a little while.
- Restart your computer.
- Click Start.
- Type "Add or Remove Programs", and then press Enter.
- Select Epic Games Launcher from the list of programs.
- Click Uninstall.
- Go to www.epicgames.com and click Get Epic Games in the top right corner to download the latest installer.
On Mac:
- Close the Epic Games Launcher.
- Verify there are no processes associated with the Epic Games Launcher by checking Activity Monitor.
- Open the Applications folder.
- Click and drag the Epic Games Launcher application to the Trash.
- Verify all the following directories no longer have any Epic Games Launcher folders or files:
- ~/Library/Application Support
- ~/Library/Caches
- ~/Library/Preferences
- ~/Library/Logs
- ~/Library/Cookies
- Go to www.epicgames.com and click Get Epic Games in the top right corner to download the latest installer.
Launcher freezing on macOS 10.15.1 or earlier
If your launcher is freezing on macOS 10.15.1 or earlier, follow the steps above to reinstall the Epic Games Launcher on your Mac.Verify system requirements
Make sure your computer meets the system requirements to run the Epic Games Launcher using this article here. The system requirements for the Epic Games Launcher are here.Blinking Epic Games Launcher icon on the taskbar
If you can't start the Epic Games Launcher and see a blinking icon on your taskbar, use these steps to try and fix this:- Right-click your Epic Games Launcher shortcut.
- Click Properties.
- Select Normal Window from the drop-down menu next to Run.

- Click the Compatibility tab.
- Uncheck any boxes, and then click Apply then OK.
- Click Start, then type "Graphics Settings" and press Enter.
- Select Classic app from the drop-down under Graphics performance preference.
- Click Browse.
- Navigate to the Epic Games Launcher installation directory. By default, this is C:/Program Files (x86)/Epic Games/Launcher/Portal/Binaries/Win64.
- Click the EpicGamesLauncher.exe file, and then click Add.
- Click Options.
- Select Power Saving.
- Click Save.
- Relaunch the Epic Games Launcher.


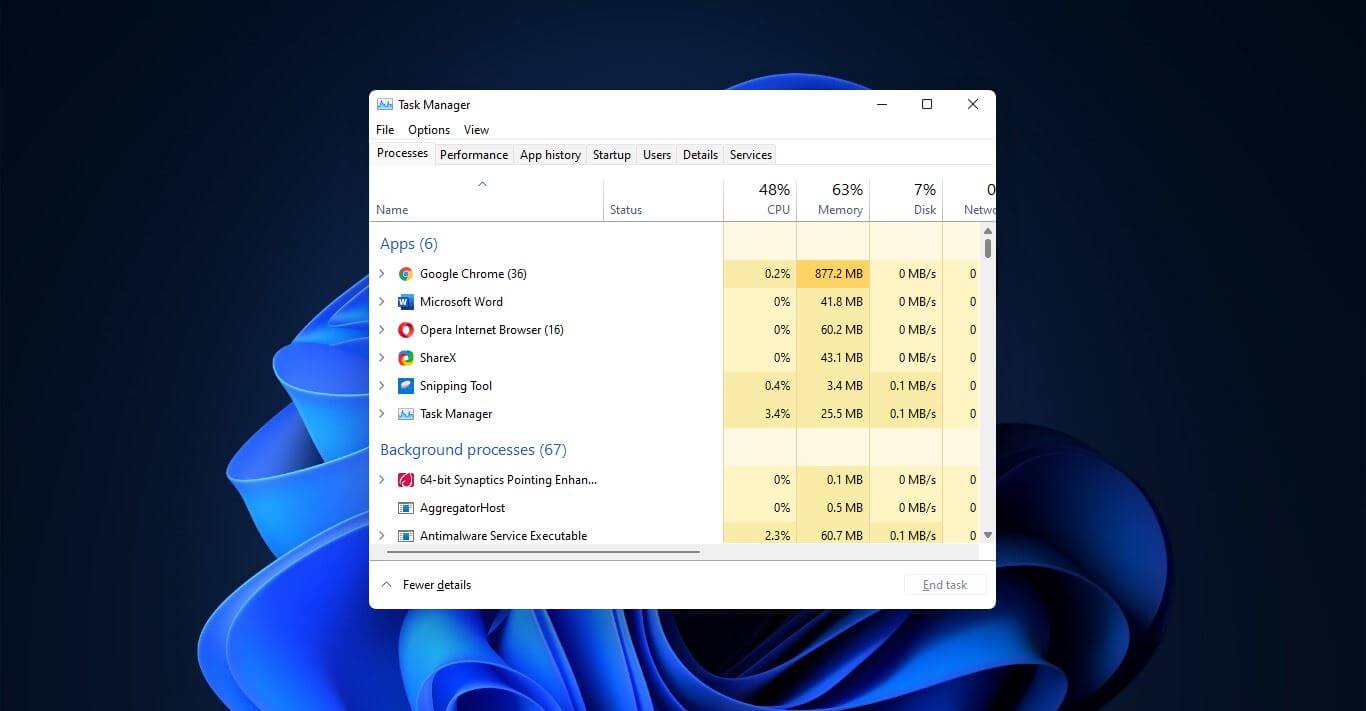 Option to right-click on the taskbar and launch task manager is gone but do not worry there are other same and simple ways you can launch it.
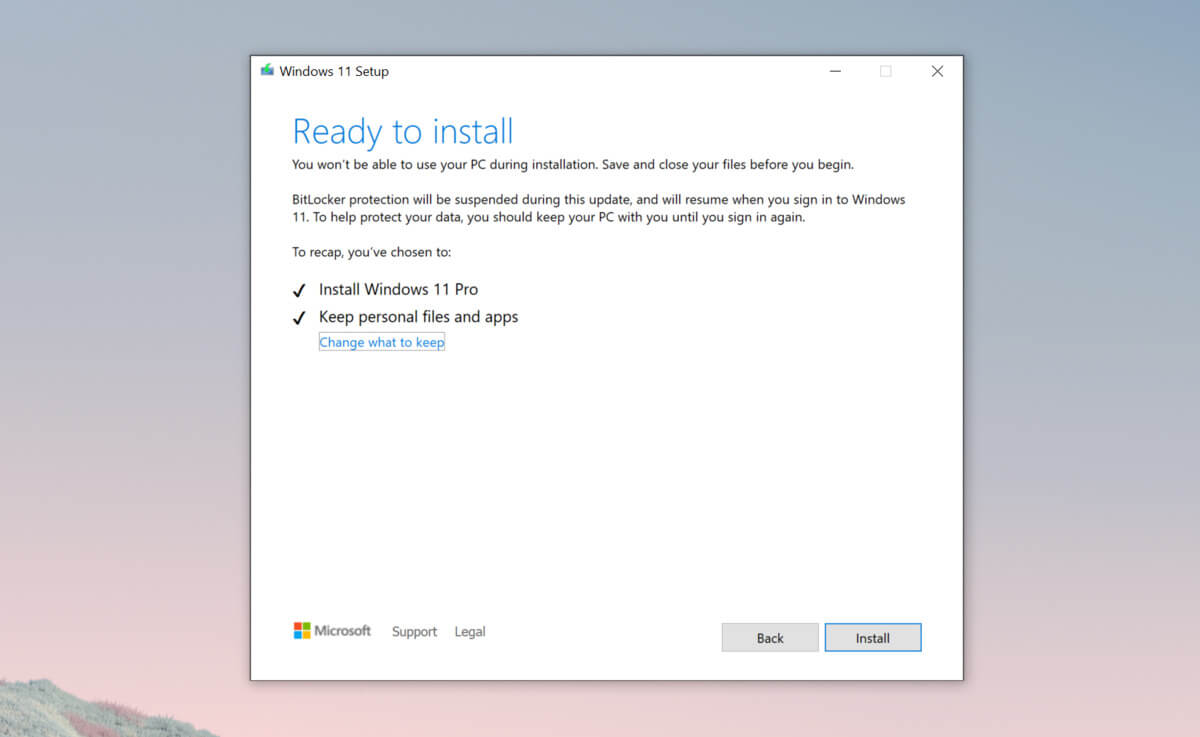 Bypass TPM with changing installation media