Recently Logitech has released a new line of ergonomic mouse products on market, strangely shaped and lifted on a vertical axis Logitech claims that these devices will fix your issues and ease your hand pains for prolonged use of the computer.

The first time I saw this mouse I was not really impressed with its looks and somehow I thought it will not feel good. This all changed when I actually started using it, surprisingly altho strange in looks it does feel much more natural and much less stressful on hand. Also, it felt like I have used it before, personally, I did not need any adjustment period in order to use it fully.
All of that being said I will admit that using it for gaming is still not an option for me, someone might find it ok, especially if they play some games that do not need to be responsive like strategies or similar but for RTS and FPS I will still stick to the typically shaped mouse. This might be just a habit for me but somehow I feel more responsive with the typical mouse, but for anything else, this is the mouse that will keep your hands stress-free.
Now in order to get the mouse to be really recommended it needs to have some good technical specifications as well, looks are not all. The less important detail is that the mouse comes in 3 different colors: Black, white and pink, and its technical specifications are:
Specs & Details
Dimensions
Height: 71 mmWidth: 70 mmDepth: 108 mmWeight: 125 g
Technical Specifications
Sensor technology
- Sensor type: Logitech Advanced Optical Tracking
- Dpi range: 400-4000 dpi (Fully adjustable with 100DPI increments)
- Nominal value: 1000 dpi
Buttons
- Number of buttons: 6 (Left/Right-click, Back/Forward, Middle button, Scroll-wheel with a middle click)
Battery
- Battery type: 1x AA battery (included)
- Battery life: up to 24- months Battery life may vary based on user and computing conditions.
Connection type support
- Logi Bolt USB receiver (included)
- Bluetooth® Low Energy Technology
Wireless range
- 10-m wireless range
Personally, I would recommend this mouse for anyone who does work in front of the computer during the whole workday since it really does loosen grip and strain on hands.

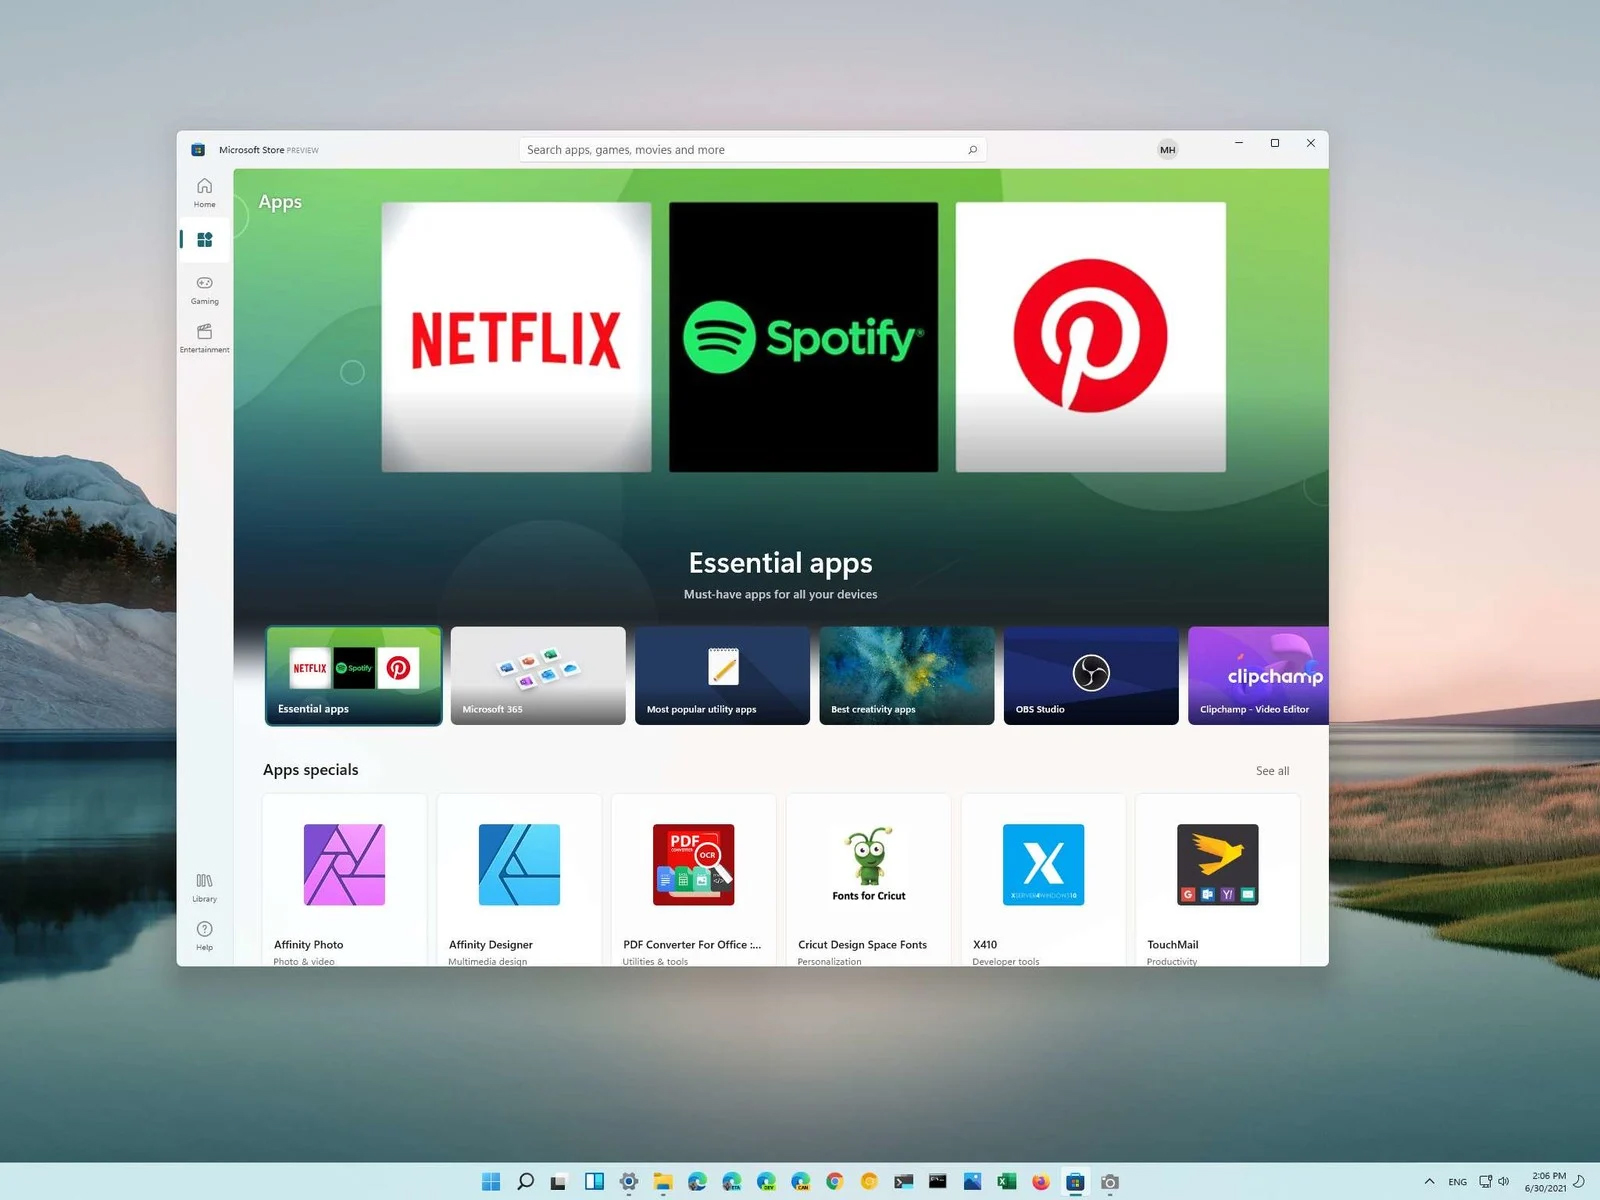 You can prevent starting of app installations files if they have not come from the MS store inside Windows 11.
This can make your PC more secure because all apps in the store will have to be digitally signed and overall it can provide you with more control over what will be installed.
Follow the guide below to find out how can you easily turn this feature ON.
You can prevent starting of app installations files if they have not come from the MS store inside Windows 11.
This can make your PC more secure because all apps in the store will have to be digitally signed and overall it can provide you with more control over what will be installed.
Follow the guide below to find out how can you easily turn this feature ON.