Error Code 48 – What is it?
Error Code 48 is a device driver error code that users can encounter on any Windows 2000 operating system and later versions.
It occurs when the connected peripheral device cannot be run as the Windows operating system’s driver required to install the programs for peripheral devices has either been corrupted or is incompatible with the system.
It prompts the user with the following message on the screen:
The software for this device has been blocked from starting because it is known to have problems with Windows. Contact the hardware vendor for a new driver. (Code 48)
Solution
 Error Causes
Like most other Windows error codes, error code 48 is triggered by the following factors.
- Corrupted system registry files
- Presence of viruses in the device
- The device driver is out-of-date
If this error code is not rectified, it could give birth to other driver device errors such as
error code 52.
Further Information and Manual Repair
Method 1 – Run a complete scan for malware and spyware
Identifying and removing the viruses in the system registry and in the connected devices is the easiest method to fix the corrupted registry files.
Viruses such as spyware and malware infect the registry entries and eat up the files that lead to incomplete or missing data. This creates problems for installing external devices as the driver required to install them is not complete.
Method 2 – Use System Restore
You can also use system restore to eliminate the problem. Here is how you can use it:
- Log in using an Administrator account
- Click ‘Start’ button and select All Programs > Accessories > System Tools > System Restore
- Click ‘Restore my computer to an earlier time’ and click ‘Next’
- Select the last Windows to restore point from the ‘On this list, click a restore point’ list, and click ‘Next’
- Click ‘Next’ on the confirmation window to proceed
- Restart your PC after restoration is complete
By restoring the system via the last saved system checkpoint, you can obtain undamaged Windows system registry files that can help resolve the error code.
Method 3 – Manually uninstall and reinstall the device driver
Since Error Code 48 is due to a missing or an out-of-date device driver, uninstalling and then reinstalling the device driver can help solve the error.
You can do this by firstly logging in as Administrator and opening Device Manager. Select the device that is causing the problem and double click it; make sure that the peripheral is connected properly to the PC.
Upon opening, click on the ‘Driver’ tab and then select ‘Update Driver’. Make sure to refer to the system documentation that you received with your PC or computer to check for the motherboard details and driver specifics.
Method 4 – Use software to automatically download the driver
Manually uninstalling and reinstalling the driver will do the trick; however, it may be time-consuming especially when you would have to resort to your hardware user manual.
Therefore, using a program such as Driver
FIX can save you a lot of time and frustration in having your device work properly on your computer.
Driver
FIX, with its user-friendly approach to help you fix your PC issues, comes with an integrated database that detects which drivers you need to reconfigure within just a few seconds and downloads it automatically.
It further ensures that your drivers are installed in their entirety leaving no room for any incomplete files to remain that create Error Code 48.
It also has the added advantage of being able to backup and restores your files should there be the slightest possibility of system file damage. Driver
FIX is the answer to fixing your PC error codes accurately and quickly.
Click here to download Driver
FIX to fix Error Code 48 quickly and effectively!

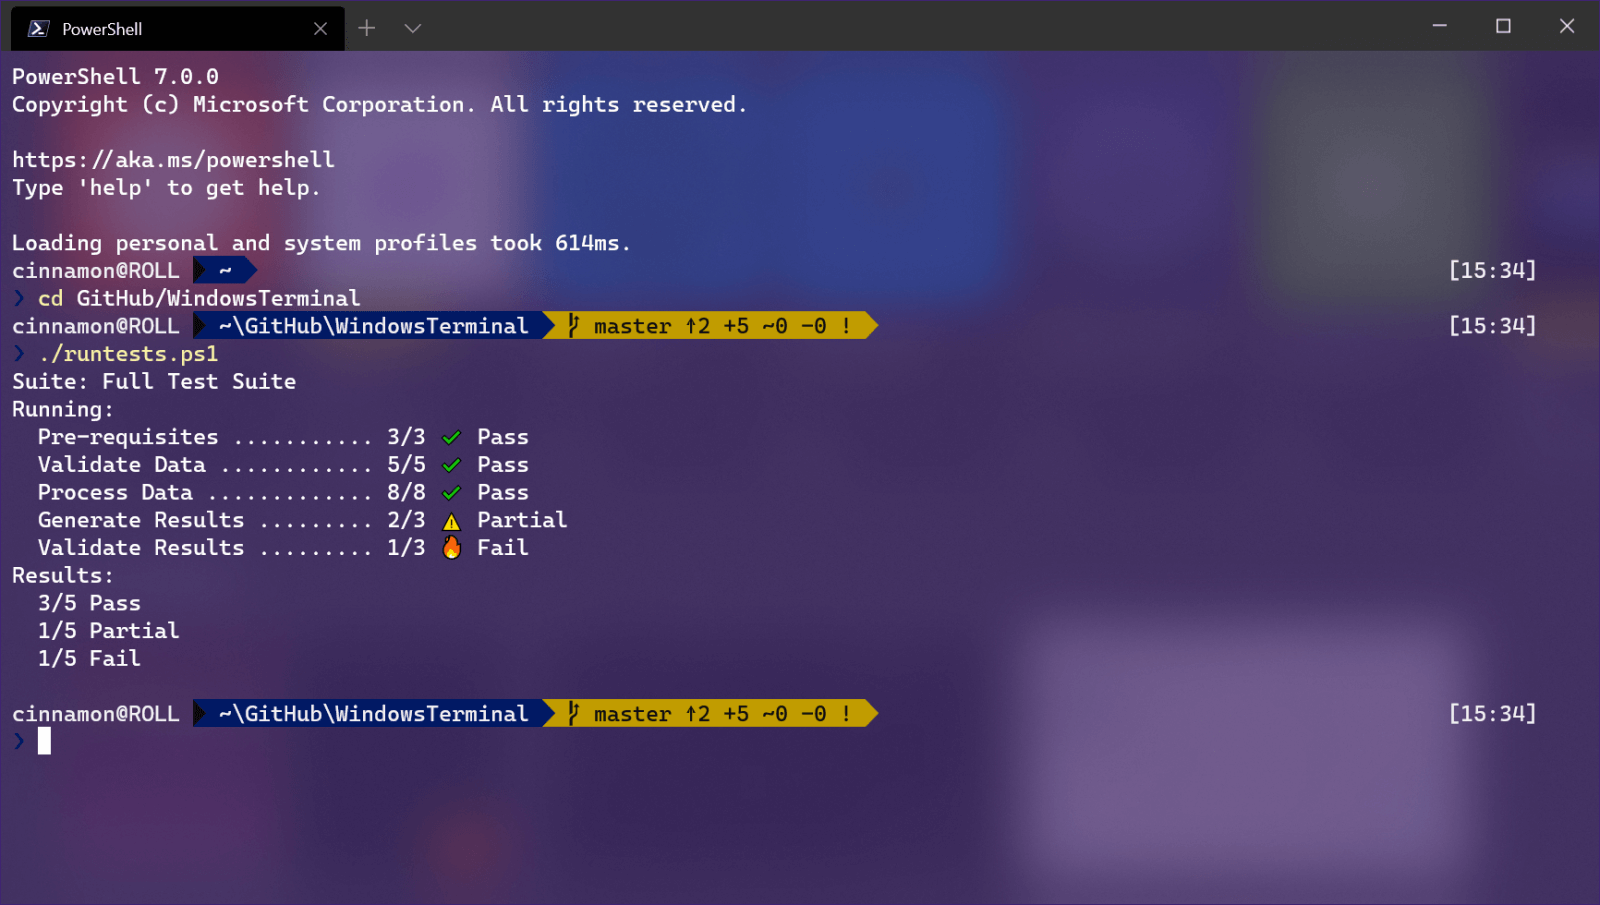 Windows Terminal is a new free Microsoft terminal sort of application. When you open either Power Shell or Command Prompt in Windows they will be opened in different windows, and if you want several of each you will have several windows of each on your screen.
Windows Terminal fixes this by opening each of the Instances of Command Prompt and Power Shell as separate tabs inside itself making it much easier to manage multiple instances of named applications.
You can also run both Power Shell and Command prompt tabs in the same Windows Terminal. Luckily running command prompt and power shell in different tabs is not the only thing you can do. Windows Terminal lets you choose your own theme, it has emoji support, GPU rendering, split panes, and many more customizable options.
Windows 11 will have Terminal as the default command-line environment for opening Power Shell or Command prompt, even Windows Subsystem for Linux (WSL)
Windows Terminal is a new free Microsoft terminal sort of application. When you open either Power Shell or Command Prompt in Windows they will be opened in different windows, and if you want several of each you will have several windows of each on your screen.
Windows Terminal fixes this by opening each of the Instances of Command Prompt and Power Shell as separate tabs inside itself making it much easier to manage multiple instances of named applications.
You can also run both Power Shell and Command prompt tabs in the same Windows Terminal. Luckily running command prompt and power shell in different tabs is not the only thing you can do. Windows Terminal lets you choose your own theme, it has emoji support, GPU rendering, split panes, and many more customizable options.
Windows 11 will have Terminal as the default command-line environment for opening Power Shell or Command prompt, even Windows Subsystem for Linux (WSL)
 In run dialog type RegEdit and press ENTER
 In registry editor find HKEY_LOCAL_MACHINE\SYSTEM\CurrentControlSet\Services\LanmanServer\Parameters
Right-click on Parameters> New> DWORD 32
Name it IRPStackSize and change the value to 32
Save and reboot your computer.
In registry editor find HKEY_LOCAL_MACHINE\SYSTEM\CurrentControlSet\Services\LanmanServer\Parameters
Right-click on Parameters> New> DWORD 32
Name it IRPStackSize and change the value to 32
Save and reboot your computer. Sadly receiving this blue screen does not really explain which of the three cases is the correct one and causing the unwanted issue.
That being said, this article will not offer you a direct solution this time, it will be more like a guide on what to check and to do in order to remove this error, reason for this is the nature of the error itself.
If your computer is booting properly and you can enter Windows without issues the first thing you can try is going into power options and set it to high performance, if you are on a laptop set high performance both ways, when plugged and when on battery. Power performance settings can reflect on some hardware and can cause mayhem. After setting reboot the computer and see if the error repeats itself.
If the error persists go to the device manager and see if there is hardware that has any kind of warning beside it. If there is, update the driver or remove the driver of the device to see if this fixes the issue.
If all of the previous two things fail there is another thing you could try. Turn off your computer and disconnect all hardware except the most basic one. Now, this may take a long period of time but boot your computer and then repeat this process but each time add a new piece of hardware to eliminate and find which one is causing the issue. When found try to see if it is repairable through driver updates or get a new device.
Sadly receiving this blue screen does not really explain which of the three cases is the correct one and causing the unwanted issue.
That being said, this article will not offer you a direct solution this time, it will be more like a guide on what to check and to do in order to remove this error, reason for this is the nature of the error itself.
If your computer is booting properly and you can enter Windows without issues the first thing you can try is going into power options and set it to high performance, if you are on a laptop set high performance both ways, when plugged and when on battery. Power performance settings can reflect on some hardware and can cause mayhem. After setting reboot the computer and see if the error repeats itself.
If the error persists go to the device manager and see if there is hardware that has any kind of warning beside it. If there is, update the driver or remove the driver of the device to see if this fixes the issue.
If all of the previous two things fail there is another thing you could try. Turn off your computer and disconnect all hardware except the most basic one. Now, this may take a long period of time but boot your computer and then repeat this process but each time add a new piece of hardware to eliminate and find which one is causing the issue. When found try to see if it is repairable through driver updates or get a new device.