
Disk Write Error in Steam is thrown at you while you try to download or update the game in your library. If you are an unfortunate user of Steam that has encountered this error do not sweat, the error is usually tied to permission in windows or file corruption and not to hardware issues and can be easily resolved.
In this guide, we will go through solutions for this specific error and it is advisable to go through solutions as they are presented since they go from the easiest and most common issues.

Restart PC and Steam
The easiest and quickest way of resolving this issue is just a simple restart of the Steam client. Just completely quit Steam and they run it again, if this has not solved the issue try rebooting your PC. In most cases, this can solve the issue since this error is known to be introduced with some communication issues with OS (Windows)
Set Write permissions
Disk write permissions could also cause this error because if by any chance the Steam library folder has been set or changed to the read-only client would be unable to write anything in it. To easily solve this issue completely exit the Steam client and rerun it as administrator. Just right-click on it and select Run as Administrator. If this has solved your issue run Steam always as an administrator.
To run always as an administrator right click on the steam executable, go to properties, and inside properties go to the compatibility tab. In the compatibility tab check run as administrator and click on OK.
Clear download cache
If for any reason cache has become corrupted there is a big chance that this might be an issue why there is a disk drive error in Steam. To clear download, cache goes into your client, and on top drow down menu click on steam. Find and open settings and inside go to the downloads tab. Locate a clear download cache and immediately you will be prompted to restart Steam. After restart, you will be asked to login into steam and the issue with disk write should be gone.
Repair library folder
Library folder issues can also be the source of disk write annoyance so let's repair them. Click steam in the top left and go to the settings. Locate and click on Downloads and then go to Steam library folders. You will be here shown all disk drivers you are using for steam games and all of the games that are downloaded.
Select the game you are getting errors with and click on three dots on the far right. From the menu choose the repair folder option. Take note that the more games you have installed, the more time the repair process will need.
Change download server
Sometimes the issue is not at your end at all, servers can experience problems and outrages and this can directly reflect at your end with a disk write error. If any of the previous solutions have not resolved the issue this is the next logical step to try. If the server is facing issues then changing the download server will resolve the issue at your end.
Click on settings in the top drop-down menu and then click on the Steam library folder. Find the downloads page and then click on download region, Choose another server than one nearest to your location since that's what will Steam choose by default.


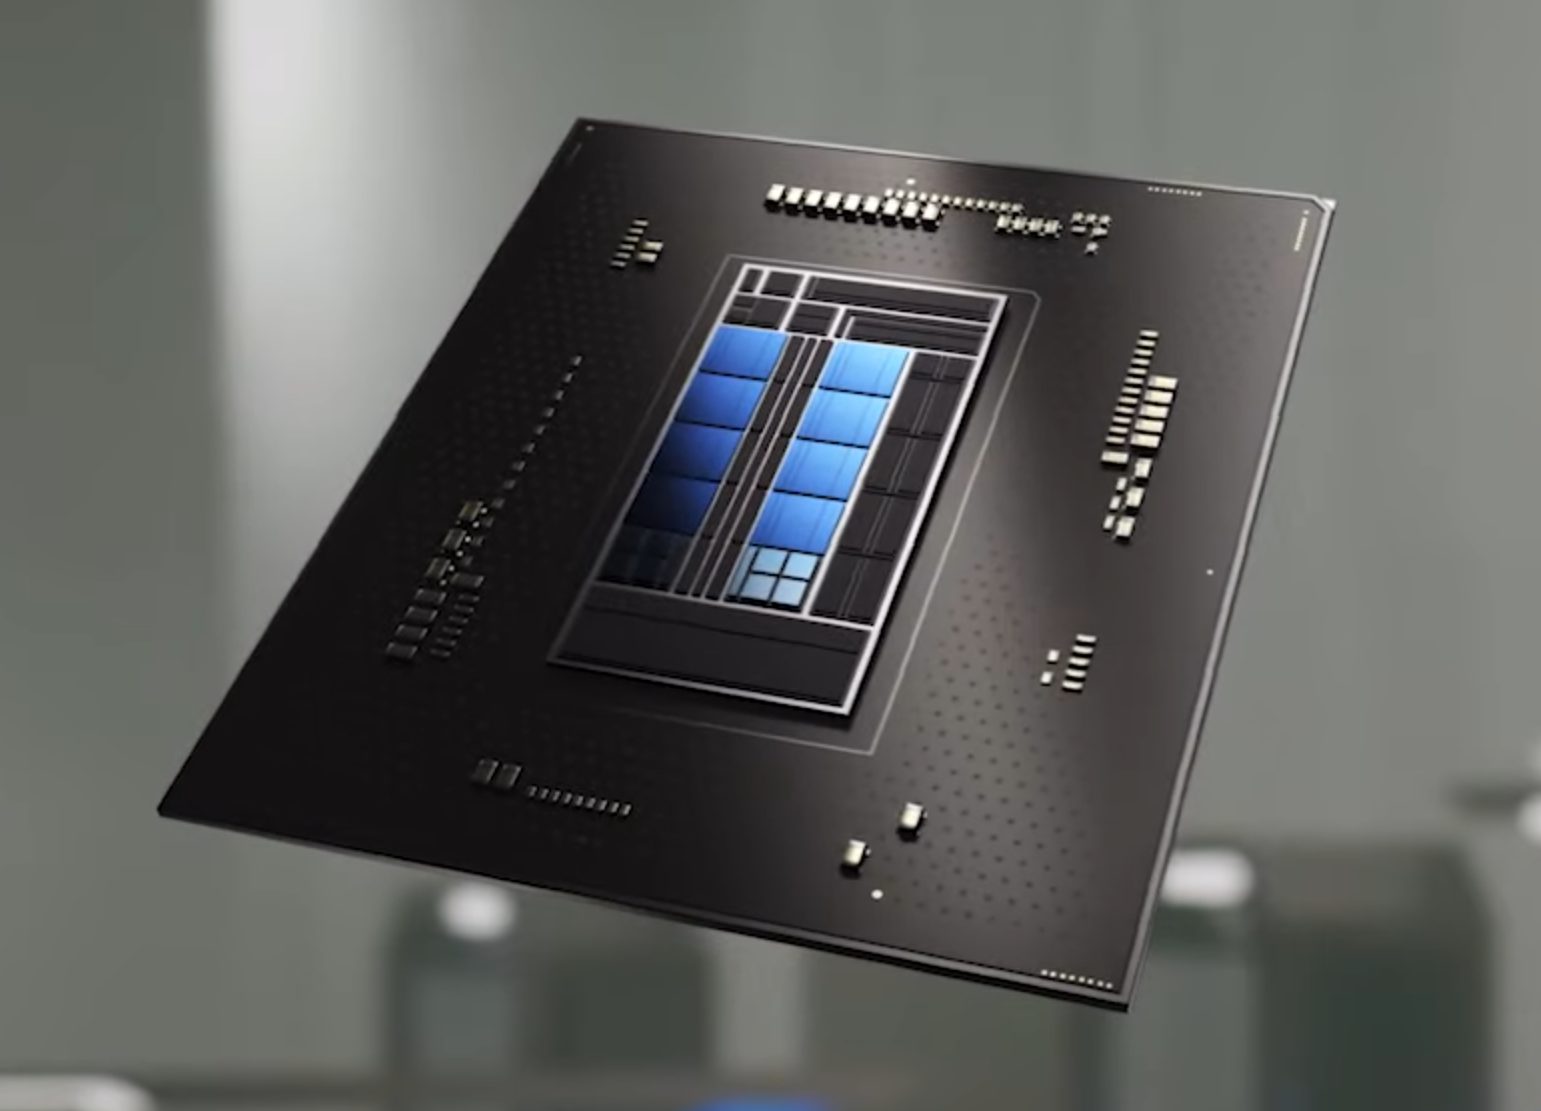 Now before you go on the bandwagon on bashing Intel itself take note that it is not Intel’s fault at all. The issue that arises is mostly due to DRM software and how it works. As you might know or not, Alder Lake has two sets of cores, standard performance cores, and power cores, and with Intel’s Thread Director on-chip right cores will be used for the right tasks, and here lies the issue.
DRM software might detect Thread Director as something suspicious and malicious, and then cut access to the game because of this. Intel, of course, has reached DRM manufacturers and places documentation about how software should be developed with this hybrid technology in mind.
Of course, newer games will be updated if needed and everything will work fine, also games on GOG will work fine because of GOG’s policy of no DRM store but some older ones might be left in limbo. They could work fine but DRM might be triggered and prevent them from loading, usually, game developer itself removes DRM protection after some time but that is not really always the case and there is a chance that some games might simply just not work on Alder Lake CPU only because of DRM protection.
Now before you go on the bandwagon on bashing Intel itself take note that it is not Intel’s fault at all. The issue that arises is mostly due to DRM software and how it works. As you might know or not, Alder Lake has two sets of cores, standard performance cores, and power cores, and with Intel’s Thread Director on-chip right cores will be used for the right tasks, and here lies the issue.
DRM software might detect Thread Director as something suspicious and malicious, and then cut access to the game because of this. Intel, of course, has reached DRM manufacturers and places documentation about how software should be developed with this hybrid technology in mind.
Of course, newer games will be updated if needed and everything will work fine, also games on GOG will work fine because of GOG’s policy of no DRM store but some older ones might be left in limbo. They could work fine but DRM might be triggered and prevent them from loading, usually, game developer itself removes DRM protection after some time but that is not really always the case and there is a chance that some games might simply just not work on Alder Lake CPU only because of DRM protection.
 Razer had some strange dives into stuff not really aimed at gamers and the gaming community overall like its Zephir smart mask and now it is venturing into the area of smartwatches teaming up with Fossil. I am not clear if this initiative was set in motion by Razer or Fossil and I really do not know why limited production numbers. Officially named RAZER X FOSSIL GEN 6 SMARTWATCH, this watch comes with the official following text on Razer's page: