PuzzleGamesDaily is a Browser extension developed by Mindspark. This extension monitors user activity such as website visits, clicked links and other web-related tasks that It later uses to display targeted ads.
When installed it changed the default home page, search engine and new tab page to MyWay.com, and while browsing the internet with this extension active you will see additional pop-up ads, injected (unwanted) ads, and sponsored links during your browsing sessions.
From the Terms of Use: You hereby acknowledge and agree that by using an MS Product you may be exposed to Content that may be offensive, indecent or objectionable in your community […]
MS Products are exposed to various security issues, and should be regarded as insecure. By accepting this Agreement, you acknowledge and accept that the MS Products and any information you download or offer to share by means of an MS Product, may be exposed to unauthorized access, interception, corruption, damage, or misuse, and should be regarded as insecure. You accept all responsibility for such security risks and any damage resulting therefrom.
This extension has been marked as a Browser Hijacker by several anti-virus scanners and has been flagged for optional removal. It is not considered malicious but many users wish to remove it due to the above reasons.
About Browser Hijackers
Browser hijacking is regarded as the internet’s constant danger that targets internet browsers. It’s a type of malware program that directs the web browser requests to some other suspicious internet sites. Browser hijacker malware is created for many different reasons. Often, it will force users to particular sites which are aiming to boost their advertising campaign income. Many people believe that these websites are legitimate and harmless but that is not true. Nearly every browser hijacker pose an existent threat to your online safety and it’s vital to categorize them under privacy risks. Browser hijackers could also permit other destructive programs without your knowledge to further damage your computer.
Major signs that your internet browser has been hijacked
There are many signs that indicate your web browser is highjacked: the browser’s home-page is modified; bookmark and new tab are likewise modified; the main web browser settings is modified and unwanted or insecure sites is put into the trusted sites listing; you are getting browser toolbars you have never found before; you observe numerous ads show up on your web browsers or display screen; your browser has instability problems or displays frequent errors; Inability to navigate to certain sites, especially anti-malware and also other computer security software webpages.
So how exactly does a browser hijacker infect a computer?
Browser hijackers attack computers through malicious e-mail attachments, downloaded infected documents or by checking out infected sites. They can be included with toolbars, BHO, add-ons, plugins, or browser extensions. Browser hijackers sneak to your computer in addition to free software application downloads that you unwittingly install along with the original. An example of some infamous browser hijacker includes Babylon, Anyprotect, Conduit, SweetPage, DefaultTab, RocketTab, and Delta Search, but the names are regularly changing.
Browser hijackers could record user keystrokes to gather potentially important information leading to privacy concerns, cause instability on systems, significantly disrupt the user experience, and eventually slow down the computer to a stage where it will become unusable.
Removal
Some hijackers can be easily removed by uninstalling the free software they were included with or by deleting any extension you’ve recently added to your PC. Yet, certain hijackers are far more difficult to discover or get rid of since it could get itself associated with certain crucial computer files that enable it to operate as a necessary operating system process. Inexperienced PC users shouldn’t ever attempt for the manual form of removal, since it needs detailed computer knowledge to carry out fixes on the system registry and HOSTS file.
Anti-malware application is very effective with regards to catching and removing browser hijackers that regular anti-virus software has overlooked. Among the best tools for fixing browser hijacker malware is SafeBytes Anti-Malware. It assists you eliminate any pre-existing malicious software on your system and provides you real-time monitoring and protection from new threats.[/section][/vc_column_text][/vc_column][/vc_row][vc_row][vc_column][vc_column_text][section header="How One Can Eliminate Malware that is Blocking Websites or Preventing Downloads"]Malware could cause several different types of damage to PCs, networks, and data. Some malware sits in between your computer and the net connection and blocks some or all websites that you would like to visit. It might also prevent you from adding anything on your computer, particularly anti-malware applications. If you’re reading this article, you may have infected by malware that prevents you from downloading a computer security program such as Safebytes Antimalware on your PC. Refer to the instructions below to eliminate malware through alternative ways.
Install the antivirus in Safe Mode
The Windows OS has a special mode known as “Safe Mode” in which just the minimum required programs and services are loaded. If the malicious software is set to load automatically when PC boots, switching into this mode could prevent it from doing so. To enter into Safe Mode or Safe Mode with Networking, press F8 while the PC is starting up or run MSCONFIG and look for the “Safe Boot” options under the “Boot” tab. After you restart into Safe Mode with Networking, you may download, install, as well as update anti-malware program from there. After installation, run the malware scanner to remove most standard infections.
Switch to a different web browser
Certain malware may target vulnerabilities of a particular web browser that block the downloading process. If you are not able to download the security program using Internet Explorer, it means virus could be targeting IE’s vulnerabilities. Here, you need to switch over to another web browser like Chrome or Firefox to download Safebytes Anti-malware software.
Create a portable antivirus for eliminating viruses
Another option is to store and run an antivirus program entirely from a Flash drive. To run anti-malware using a flash drive, follow these simple steps:
1) On a clean computer, install Safebytes Anti-Malware.
2) Mount the pen-drive onto the same computer.
3) Double-click the Setup icon of the antivirus software package to run the Installation Wizard.
4) Pick thumb drive as the place when the wizard asks you exactly where you wish to install the application. Follow the on-screen instructions to complete the installation process.
5) Now, transfer the thumb drive to the infected PC.
6) Double-click the anti-malware program EXE file on the USB flash drive.
7) Simply click “Scan Now” to run a complete scan on the infected computer for viruses.
A Look at the Best AntiMalware Program
If you’re looking to install anti-malware software for your computer, there are plenty of tools on the market to consider nonetheless, you cannot trust blindly anyone, regardless of whether it is a free or paid program. Some of them are great, some are decent, and some will destroy your computer themselves! When looking for an anti-malware program, purchase one that offers dependable, efficient, and complete protection against all known viruses and malware. When considering the trustworthy software programs, Safebytes Anti-Malware is certainly the highly recommended one.
SafeBytes is a powerful, real-time antivirus application that is designed to assist the average computer end user in safeguarding their PC from malicious threats. Using its cutting-edge technology, this software can help you eliminate several types of malware which includes computer viruses, trojans, PUPs, worms, ransomware, adware and browser hijackers.
SafeBytes anti-malware takes PC protection to a totally new level with its advanced features. Here are some of the good ones:
Active Protection: SafeBytes provides real-time active monitoring and protection against all of known viruses and malware. They are extremely efficient in screening and removing numerous threats because they’re continuously improved with latest updates and alerts.
Best AntiMalware Protection: Using a critically acclaimed malware engine, SafeBytes offers multilayered protection that is intended to catch and eliminate threats that are hidden deep in your computer’s operating-system.
Fast Multi-threaded Scanning: SafeBytes’s virus scan engine is among the quickest and most efficient in the industry. Its targeted scanning vastly increases the catch rate for viruses that is embedded in various computer files.
Website Filtering: Safebytes assigns all sites a unique safety ranking that helps you to get an idea of whether the website you’re about to visit is safe to view or known to be a phishing site.
Lightweight Tool: SafeBytes gives complete protection from online threats at a fraction of the CPU load because of its enhanced detection engine and algorithms.
24/7 Online Support: Support service is available for 24 x 7 x 365 days via email and chat to answer your concerns.
To sum it up, SafeBytes Anti-Malware is pretty great for securing your computer against all kinds of malware threats. There is no doubt that your computer system will be protected in real-time once you put this tool to use. You will get the very best all-around protection for the money you spend on SafeBytes Anti-Malware subscription, there is no doubt about it.
Technical Details and Manual Removal (Advanced Users)
If you would like to perform the removal of PuzzleGamesDaily manually rather than utilizing an automated software tool, you can follow these measures: Go to the Windows Control Panel, click the “Add or Remove Programs” and there, select the offending program to uninstall. In case of suspicious versions of browser plugins, you can actually remove it via your web browser’s extension manager. You may even want to reset your web browser settings, and also clear your browser cache and cookies.
To make sure of complete removal, find the following registry entries on your computer and remove it or reset the values appropriately. However, this can be a difficult task and only computer professionals can carry out safely. Furthermore, certain malware is capable of replicating or preventing removal. It is advisable that you carry out the removal process in Safe Mode.
Files:
%Documents and Settings%\%UserName%\Application Data\%random%
%AllUsersProfile%\Application Data\.dll
Registry:
HKCU\Software\Microsoft\Windows\CurrentVersion\Run\KB8456137 = %LocalAppData%\KB8456137\KB8456137.exe
HKEY_CLASSES_ROOT\CLSID\28949824-6737-0594-0930-223283753445\InProcServer32 (Default) = \.dll

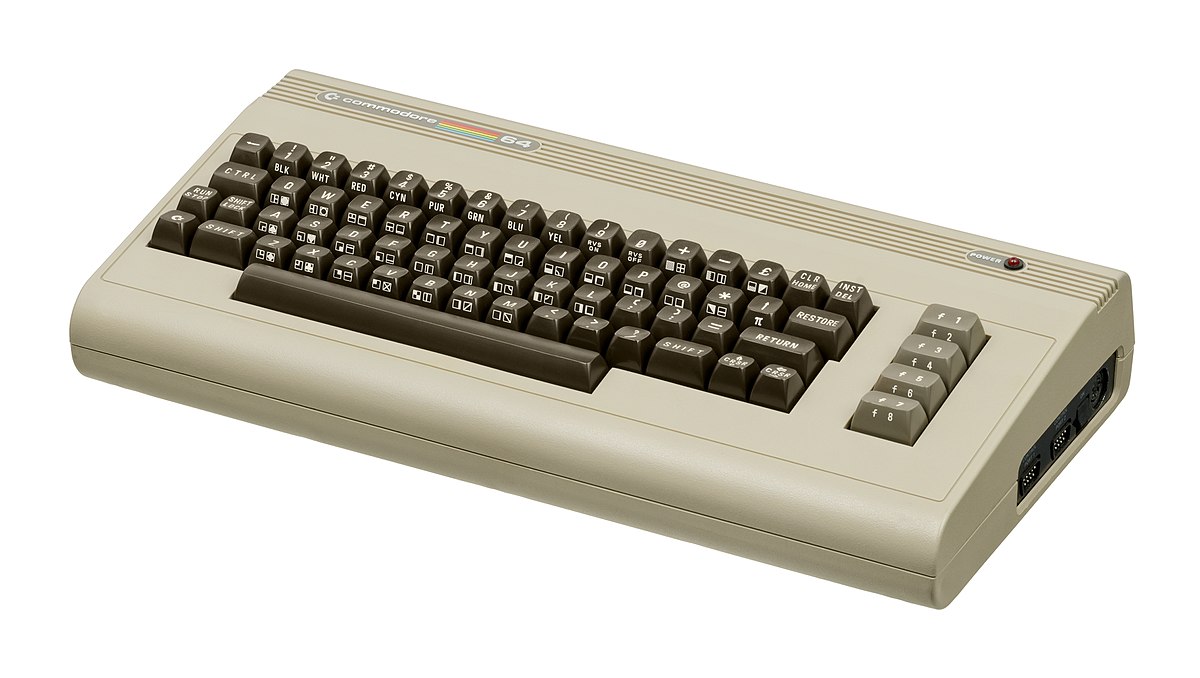 History of Commodore
 With sales booming and the early reliability issues with the hardware addressed, software for the C64 began to grow in size and ambition during 1984. This growth shifted to the primary focus of most US game developers. The two holdouts were Sierra, who largely skipped over the C64 in favor of Apple and PC compatible machines, and Broderbund, who was heavily invested in educational software and developed primarily around the Apple II. In the North American market, the disk format had become nearly universal while cassette and cartridge-based software all but disappeared. So most US-developed games by this point grew large enough to require multi-loading.
At a mid-1984 conference of game developers and experts at Origins Game Fair, Dan Bunten, Sid Meier, and a representative of Avalon Hill said that they were developing games for the C64 first as the most promising market. By 1985, games were an estimated 60 to 70% of Commodore 64 software. Over 35% of SSI's 1986 sales were for the C64, ten points higher than for the Apple II.
Everything was great for Commodore but the industry was moving forward and by the year 1988, PC compatible computers were stated to be the largest and fastest-growing home entertainment systems pushing C64 on to second place. Also, Nintendo’s gaming system has started to take hold in the world with amazing 7 million systems sold in 1988 only.
By the year 1991, many developers exited the gaming market for Commodore 64 home computer system and its popularity started to fall due to lack of software and not so many hardware changes.
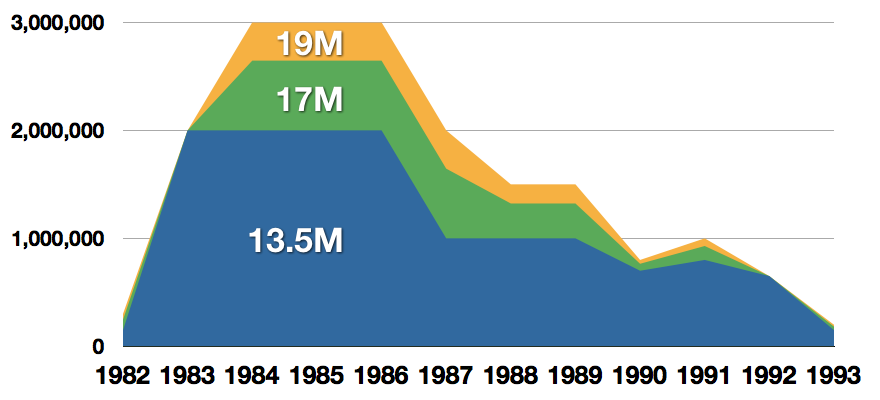 Commodore announced that the C64 would be finally discontinued in 1995.
However, only one month later in April 1994, the company filed for bankruptcy. When Commodore went bankrupt, all production on their inventory, including the C64, was discontinued, thus ending the C64's 11 and a half year production.
 Zak McKracken and the Alien Mindbenders
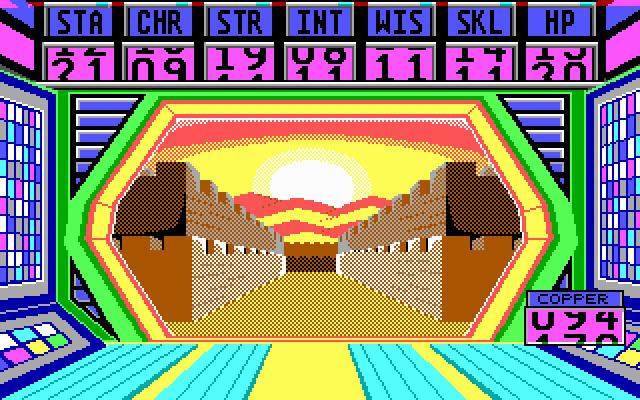
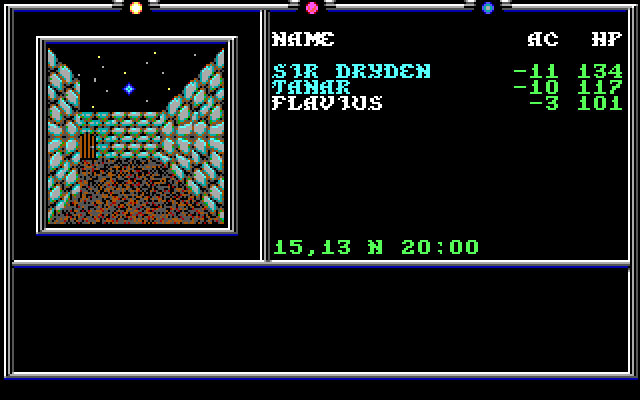
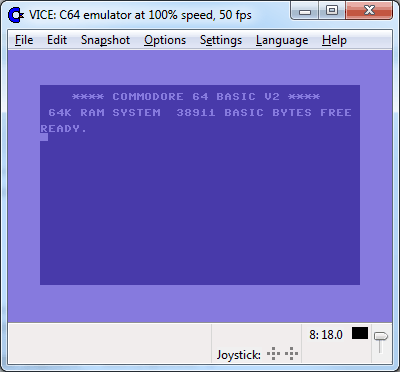 If you are not keen on spending money for reliving and checking games or software of C64 here are some links to help you to at least experience part of it completely free.
Commodore 64
 Same as in previous Windows versions, Windows 11 will also use certain applications as default ones for opening certain file types and file extensions. And yes, same as in previous versions it will come preconfigured for certain file types and associated applications like for example photos for pictures.
Of course, users usually have their own favorite applications for certain file types and much more prefer to open them inside the application of their choice instead of the default one.
We can change the default application like in previous Windows versions but this time there are two ways and overall more control of this process. Windows 11 has settings for choosing default file type applications and default file extension applications giving you more control of this process.


