Whether you’re using Windows Update or upgrading or installing on your Windows 10 computer, you can’t really tell if things will go smoothly as there are times when you might encounter some issues that prevent you from completing the update or upgrade or the installation. One of the errors you can encounter is error 0x80070057. Usually, when you receive this error, it means that one or more arguments are not valid. You can encounter this error in the following cases:
- Windows Update, Upgrade, or Installation
- Windows Backup, The parameter is incorrect
- Partitioning a Disk
- System Image Restore error 0x80070057
- Downloading Windows Store apps
Keep in mind that the troubleshooting steps you need to take will depend on the scenarios you are in. Thus, you need to go over each one of the troubleshooting options given below and make sure to carefully follow each one of them but before you proceed, you have to create a System Restore Point first.
Option 1 – Run the Windows Update Troubleshooter
The first thing you can do to fix error 0x80070057 is by running the Windows Update Troubleshooter. It is a built-in tool in Windows that helps users resolve any issues with Windows Update. All you need to do to run it is go to Settings and then select Troubleshoot from the options. From there, click on Windows Update and then click the “Run the troubleshooter” button.
Option 2 – Use the Registry Editor
If you get the error 0x80070057 during Windows Backup, then you need to make some modifications to the Windows Registry. To do so, follow these steps:
- Tap the Win + R keys to open the Run dialog box.
- Type “Regedit” in the field and hit Enter to open the Registry Editor.
- Next, navigate to the following registry key:
HKEY_LOCAL_MACHINESOFTWAREPoliciesMicrosoftSystem
- Then create a new DWORD value and input “CopyFileBufferedSynchronousIo” as its name and put “1” as its value.
- Close the Registry Editor and restart your computer then check if the error is fixed or not.
Option 3 – Run the DISM tool
Running the DISM Tool helps in repairing the Windows System Image as well as the Windows Component Store in Windows 10. Using this built-in tool, you have various options such as the “/ScanHealth”, “/CheckHealth”, and “/RestoreHealth”.
- Open the Command Prompt with admin privileges.
- Then type in the following commands and make sure to hit Enter right after you type each one of them:
- Dism /Online /Cleanup-Image /CheckHealth
- Dism /Online /Cleanup-Image /ScanHealth
- exe /Online /Cleanup-image /Restorehealth
- Do not close the window if the process takes a while as it will probably take a few minutes to finish.
Note: If it happens that the Windows Update client is broken, you need to run the following command to repair it then restart your PC and click on Update once again.
DISM.exe /Online /Cleanup-Image /RestoreHealth /Source:C:RepairSourceWindows /LimitAccess
Option 4 – Flush the contents of the SoftwareDistribution folder
You have to stop a couple of services such as BITS, Cryptographic, MSI Installer, and Windows Update Services. And to do that, you need to flush the contents in the SoftwareDistribution folder. The Software Distribution folder in the Windows operating system is a folder that can be found in the Windows directory and is used to store files temporarily which might be required to install the Windows Update on your PC. Thus, it is required by the Windows Update and maintained by WUAgent. Aside from that, it also contains all the Windows Update History files and once you delete them, you will most likely lose the Update history. As a result, the next time you run the Windows Update, it may result in a longer detection time.
- Open the WinX Menu.
- From there, open Command Prompt as admin.
- Then type in the following command – don’t forget to hit Enter right after typing each one of them.
net stop wuauserv
net start cryptSvc
net start bits
net start msiserver
- After entering these commands, it will stop the Windows Update Service, Background Intelligent Transfer Service (BITS), Cryptographic, and the MSI Installer
- Next, go to the C:/Windows/SoftwareDistribution folder and get rid of all the folders and files thereby tapping the Ctrl + A keys to select them all and then click on Delete. Note that if the files are in use, you won’t be able to delete them.
Option 5 – Reset Windows Store Cache
- Right-click on the start button and click on Command Prompt (administrator).
- Next, type in the command, “wsreset.exe” and tap Enter. Once you do, the command will clear the cache for the Windows Store app.
Option 6 – Run SFC scan
Running the SFC scan or System File Checker might also help in fixing error 0x80070057.
- Tap Win + R to launch Run.
- Type in cmd in the field and tap Enter.
- After opening Command Prompt, type in sfc /scannow and hit Enter.
The command will start a system scan which will take a few whiles before it finishes. Once it’s done, you could get the following results:
- Windows Resource Protection did not find any integrity violations.
- Windows Resource Protection found corrupt files and successfully repaired them.
- Windows Resource Protection found corrupt files but was unable to fix some of them.


 Once the device window opens, click once on printers and scanners, and on the right window go to the bottom and uncheck Let windows manage my default printer.
 Unchecking that box will let Windows know that we do not wish anymore for him to set our default printers according to their use. Once the checkbox is clear go up to your printer list and click on the printer you wish to use as the default one. I will choose Microsoft Print to PDF as my default printer and click on it. Once the printer is clicked option menu will appear.
 When the option menu appears under the printer name, click on Manage which will take you to the printer management screen. When you are on the manage screen, click on the Set as default button, and you are done.

 GPU shortage and its cause
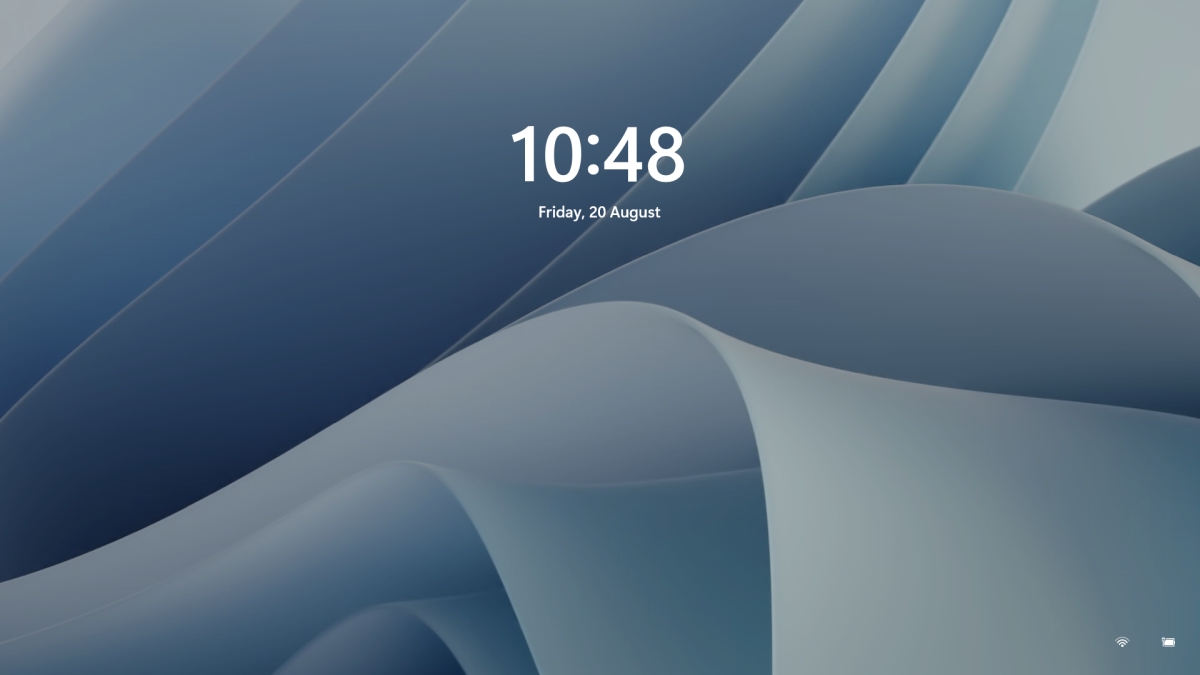 To personalize the lock screen do:
 Well if anyone told me just a few years ago that I will see the day when Microsoft releases a new OS based on Linux I would be very amused, but that day has come. Mariner is the newest OS out of nowhere.
Microsoft’s new Linux Distro, dubbed Common Base Linux (CBL)-Mariner, isn’t the type of distro you’d want to install directly on any old machine. It’s primarily meant for cloud infrastructure and edge products. Specifically Microsoft’s Cloud and Edge products.
But if you are curious, it’s possible to run. Juan Manuel Rey, a Microsoft Senior Program Manager for Azure VMware, recently published a guide to ISO CBL-Mariner image. With that, you can easily get it up and running. And you can build CBL-Mariner on an Ubuntu 18.04 desktop. So you can try it out since it is free.
You can get it from here:
Well if anyone told me just a few years ago that I will see the day when Microsoft releases a new OS based on Linux I would be very amused, but that day has come. Mariner is the newest OS out of nowhere.
Microsoft’s new Linux Distro, dubbed Common Base Linux (CBL)-Mariner, isn’t the type of distro you’d want to install directly on any old machine. It’s primarily meant for cloud infrastructure and edge products. Specifically Microsoft’s Cloud and Edge products.
But if you are curious, it’s possible to run. Juan Manuel Rey, a Microsoft Senior Program Manager for Azure VMware, recently published a guide to ISO CBL-Mariner image. With that, you can easily get it up and running. And you can build CBL-Mariner on an Ubuntu 18.04 desktop. So you can try it out since it is free.
You can get it from here: