
“Error 633: The Modem is already in use or not configured properly.”
Solution
 Error Causes
This error can be triggered due to several reasons such as:
- A software program conflicts with the USB modem
- The modem is not configured properly
- The Telephon.ini file is missing or damaged
- There is some issue with the way Windows is managing the communication (COM) ports on your computer.
Further Information and Manual Repair
If you experience the Modem Error 633 on your PC, you don’t have to panic. Though this error does not pose any major threats like data loss, it may hamper your ability to use the internet therefore it is advisable to resolve the error. Repairing the Modem Error 633 is quite easy. There are a number of ways to fix this error. So, let’s get started:Solution 1: Delete Incompatible Software and Non-Present Modems
- Click on the start menu and go to the ‘Control Panel’. Now choose the option ‘Phone and Modem’.
- Here you will see three tabs, the dialing rules, modems, and advanced. Choose the tab ‘Modems’. As you click on it, you will see modems installed on your PC. To repair the Modem Error 633, select and remove all the incompatible software and modems that are not present and click ‘OK’.
- Now to bring the changes into effect, restart your system with the modem plugged in and try connecting to the internet again.
Solution 2: Change the Communication Ports
If the error occurs because the modem is not properly configured, then this solution is possibly the best way to resolve this error. Here’s what you need to do:- Click on the Start menu and choose My Computer.
- Now click on the option ‘Manage’ to open the Computer Management Window.
- Once it opens, click the option ‘Device Manager and then expand the option modems. Click on Properties, then the Advanced tab, and the Advanced Port Settings button.
- As you click on the Advanced Port Settings, then click on the COM Port Number drop-down box.
- Choose a new Communication Port. However, make sure it is not already in use.
- Once you make changes, click ‘OK’ and then restart your PC.
- Now Open Device Manager again. Open the Modern Properties Window and then Click the Diagnostics tab.
- After that view the command response window to verify if the error is fixed. If yes, then create a new dial-up connection and connect to the internet with ease.
Solution 3: Disable the Startup items
- Another way to resolve Modem Error 633 on your PC is to go to the start menu and type ‘msconfig’ into the search box and then press ‘enter’.
- Open the misconfig.exe program. As you open it, you will see 4 tabs, General, Boot, Service, Start-up, and Tools.
- Now click on the ‘Start-up’, ‘Disable All’, and then press Apply.
- After you press Apply, a window will pop up asking to restart the computer.
- Confirm it and click restart.
- Once the computer restarts now try connecting to the internet again. This will hopefully resolve the Modem Error 633.
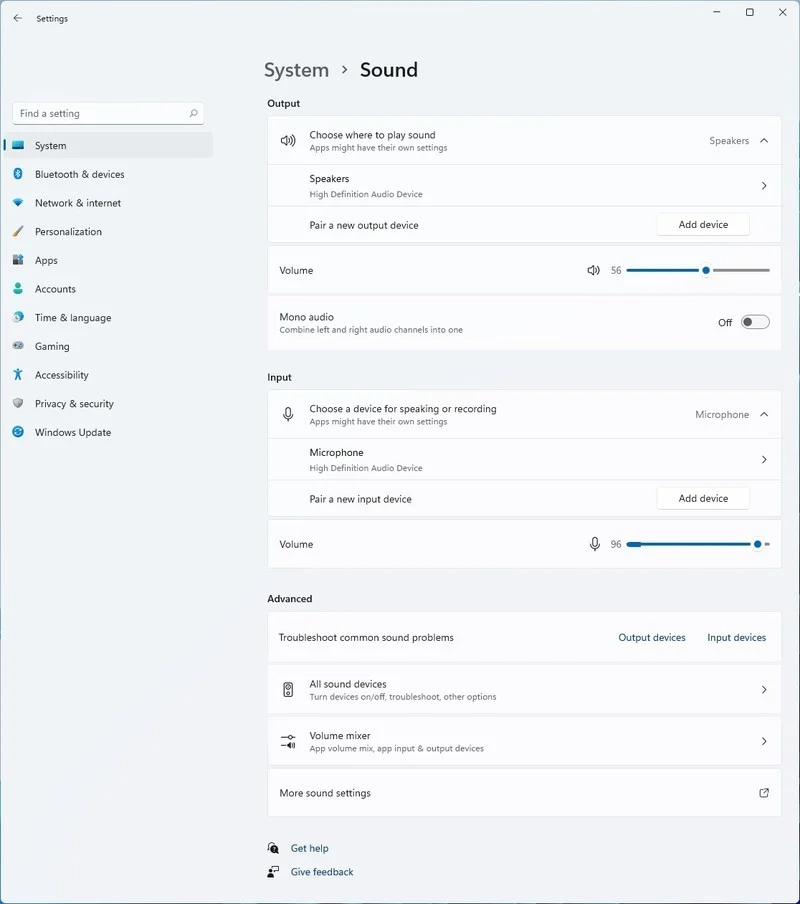 Windows 11 has brought some new features and changed some of the existing ones. One of these changes includes quick switching of audio devices which will play audio.
Audio switching can still be done under the taskbar, it is just a little different and one could say even hidden. Follow this quick guide and you will be switching from your headphones to speakers as an example in a matter of seconds.
Windows 11 has brought some new features and changed some of the existing ones. One of these changes includes quick switching of audio devices which will play audio.
Audio switching can still be done under the taskbar, it is just a little different and one could say even hidden. Follow this quick guide and you will be switching from your headphones to speakers as an example in a matter of seconds.
