Web Shield is a free application that allows you to view insightful analyses about the websites that you visit and specifically how they’re tracking you online. Web Shield cannot determine exactly who is tracking your computer usage. Instead, Web Shield allows a user to see which websites have placed tracking code onto their computer.
This software is ad-supported and displays advertisements in the form of injected banner ads, popups, and context hyperlinks in the user’s web browser. It adds Windows Background services, displays unwanted advertisements, and can modify the browser’s home page.
About Browser Hijackers
Browser hijackers (also called hijackware) are a type of malicious software that modifies web browser settings without the user’s knowledge or permission. These hijacks appear to be increasing at a worrying rate across the world, and it could be really nefarious and sometimes dangerous too. There are lots of reasons why you may experience a browser hijack; but commercial, marketing, and advertising are the main reasons for their creation. The idea is to force users to visit specific sites that are looking to increase their site visitor traffic and generate higher ad income. Nevertheless, it is not that harmless. Your web safety is jeopardized and it is also very irritating. Furthermore, hijackers will make the entire infected system fragile – other destructive malware and viruses would seize these opportunities to intrude into your system very easily.
Browser hijacking signs
Here are some symptoms that indicate you have been hijacked: home-page is modified; you see new unwanted favorites or bookmarks added, typically directed to ad-filled or pornography sites; the default search engine has been changed and the web browser security settings have been cut down without your knowledge; you notice many toolbars on the internet browser; you see lots of pop-up ads on your computer screen; your internet browser has become unstable or starts running slowly; you can’t visit certain websites like home pages of anti-malware software.
How does a PC get infected with a browser hijacker?
Browser hijackers might use drive-by downloads or file-sharing networks or even an email attachment to reach a targeted computer system. They may also originate from any BHO, browser extension, add-on, toolbar, or plug-in with the malicious objectives. Some browser hijackers spread in user’s PC by using a deceptive software distribution strategy called “bundling” (usually through shareware and freeware). A good example of a popular browser hijacker is the most recent Chinese malware named “Fireball”, which has attacked 250 million computers across the world. It acts as a hijacker but could be changed into a fully functioning malware downloader later on.
Browser hijackers will affect the user’s web surfing experience severely, record the websites frequented by users and steal personal information, cause problems in connecting to the net, and eventually create stability issues, causing applications and systems to crash.
Browser hijacker removal
Some browser hijacking could be quite easily reversed by finding and removing the corresponding malware software from your control panel. But, most browser hijackers are difficult to get rid of manually. No matter how much you try to remove it, it can come back over and over. Moreover, manual removal requires you to carry out several time-consuming and intricate actions that are hard to do for novice computer users.
Malware Blocking Access To Safebytes Website And Anti-Malware Downloads - What To Do?
Every malware is bad and the effects of the damage can vary based on the specific type of malicious software. Some malware types alter browser settings by including a proxy server or change the computer’s DNS settings. In these cases, you’ll be unable to visit some or all internet sites, and therefore unable to download or install the required security software to get rid of the malware. If you’re reading this, chances are you’re stuck with a malware infection that is preventing you to download and/or install Safebytes Anti-Malware software on your PC. Even though this type of problem can be tougher to circumvent, there are some steps you can take.
Start your system in Safe Mode
If the malware is set to load at Windows start-up, then booting in Safe Mode should avoid it. Since just the bare minimum programs and services start-up in Safe Mode, there are rarely any reasons for issues to occur. The following are the steps you need to follow to start your computer into the Safe Mode of your Windows XP, Vista, or 7 computers (go to Microsoft website for directions on Windows 8 and 10 computers).
1) Tap the F8 key continuously as soon as your computer boots, but before the large Windows logo or black screen with white texts appears. This would conjure up the “Advanced Boot Options” menu.
2) Make use of the arrow keys to choose Safe Mode with Networking and press ENTER.
3) Once this mode loads, you should have internet access. Now, get the malware removal program you need by using the browser. To install the program, follow the guidelines within the setup wizard.
4) Right after installation, run a complete scan and allow the program to delete the threats it detects.
Switch over to an alternate browser
Some malware only targets particular browsers. If this is your situation, make use of another internet browser as it might circumvent the malware. If you appear to have a trojan attached to Internet Explorer, then switch to a different web browser with built-in safety features, such as Firefox or Chrome, to download your favorite antivirus program – Safebytes.
Install and run anti-virus from your Thumb drive
Here’s yet another solution which is utilizing a portable USB antivirus software that can scan your system for malware without the need for installation. Follow these steps to use a thumb drive to clean your infected computer system.
1) Make use of another virus-free PC to download Safebytes Anti-Malware.
2) Plug in the USB flash drive to a USB port on the uninfected computer.
3) Run the setup program by double-clicking the executable file of the downloaded software, which has a .exe file extension.
4) When asked, choose the location of the pen drive as the place where you want to put the software files. Follow the directions to complete the installation process.
5) Now, transfer the pen drive to the infected PC.
6) Double-click the anti-malware software EXE file on the USB flash drive.
7) Click on “Scan Now” to run a scan on the affected computer for malware.
Review of SafeBytes Anti-Malware
Do you want to download the very best anti-malware software program for your desktop? You can find many applications available that come in free and paid versions for Windows systems. A few of them are great, some are ok types, and some will harm your computer themselves! You need to pick one that is reliable, practical, and has a good reputation for its malware protection. When considering the reliable software programs, Safebytes Anti-Malware is undoubtedly the highly recommended one.
SafeBytes anti-malware is a trusted software that not only secures your PC completely but is also quite user-friendly for people of all ability levels. Through its cutting-edge technology, this software protects your computer against infections caused by different types of malware and other threats, including spyware, adware, trojans horses, worms, computer viruses, keyloggers, ransomware, and potentially unwanted program (PUPs).
SafeBytes anti-malware comes with a plethora of enhanced features that sets it apart from all others. Here are a few popular features present in this program:
World-class AntiMalware Protection: This deep-cleaning anti-malware software program goes much deeper than most antivirus tools to clean out your personal computer. Its critically acclaimed virus engine locates and disables hard to remove malware that hides deep within your PC.
Real-time Active Protection: SafeBytes offers complete and real-time security for your computer system. It’ll regularly monitor your laptop or computer for hacker activity and also provides users with advanced firewall protection.
Web protection: SafeBytes checks and provides a unique safety rating to every website you visit and block access to web pages considered to be phishing sites, thus protecting you from identity theft, or known to contain malware.
Low CPU Usage: SafeBytes is a lightweight and simple-to-use anti-virus and anti-malware solution. Since it uses very little computer resources, this software leaves the computer power exactly where it belongs to: with you actually.
24/7 Guidance: You could get high levels of support 24/7 if you’re using their paid version.
Technical Details and Manual Removal (Advanced Users)
If you’d like to manually get rid of WebShield without the use of an automated tool, it may be actually possible to do so by deleting the program from the Microsoft Windows Add/Remove Programs menu, or in cases of web browser extensions, going to the browsers AddOn/Extension manager and removing it. You’ll probably also want to totally reset your browser to its default settings.
If you choose to manually delete the system files and registry entries, make use of the following list to make sure you know precisely what files to remove before undertaking any actions. Please keep in mind that this is for advanced users only and might be challenging, with incorrect file removal leading to additional system errors. In addition to that, certain malware is capable of replicating or preventing deletion. It is recommended that you do the removal procedure in Safe Mode.
Files:
%ProgramData%webshield
%ALLUSERSPROFILE%Application DataWebShield
%ALLUSERSPROFILE%WebShield
Registry:
[HKEY_LOCAL_MACHINESOFTWAREMicrosoftWindowsCurrentVersionUninstallmweshield]
[HKEY_LOCAL_MACHINESOFTWAREmweshield]
[HKEY_LOCAL_MACHINESYSTEMCurrentControlSetservicesmwescontroller]


 What exactly is TPM?
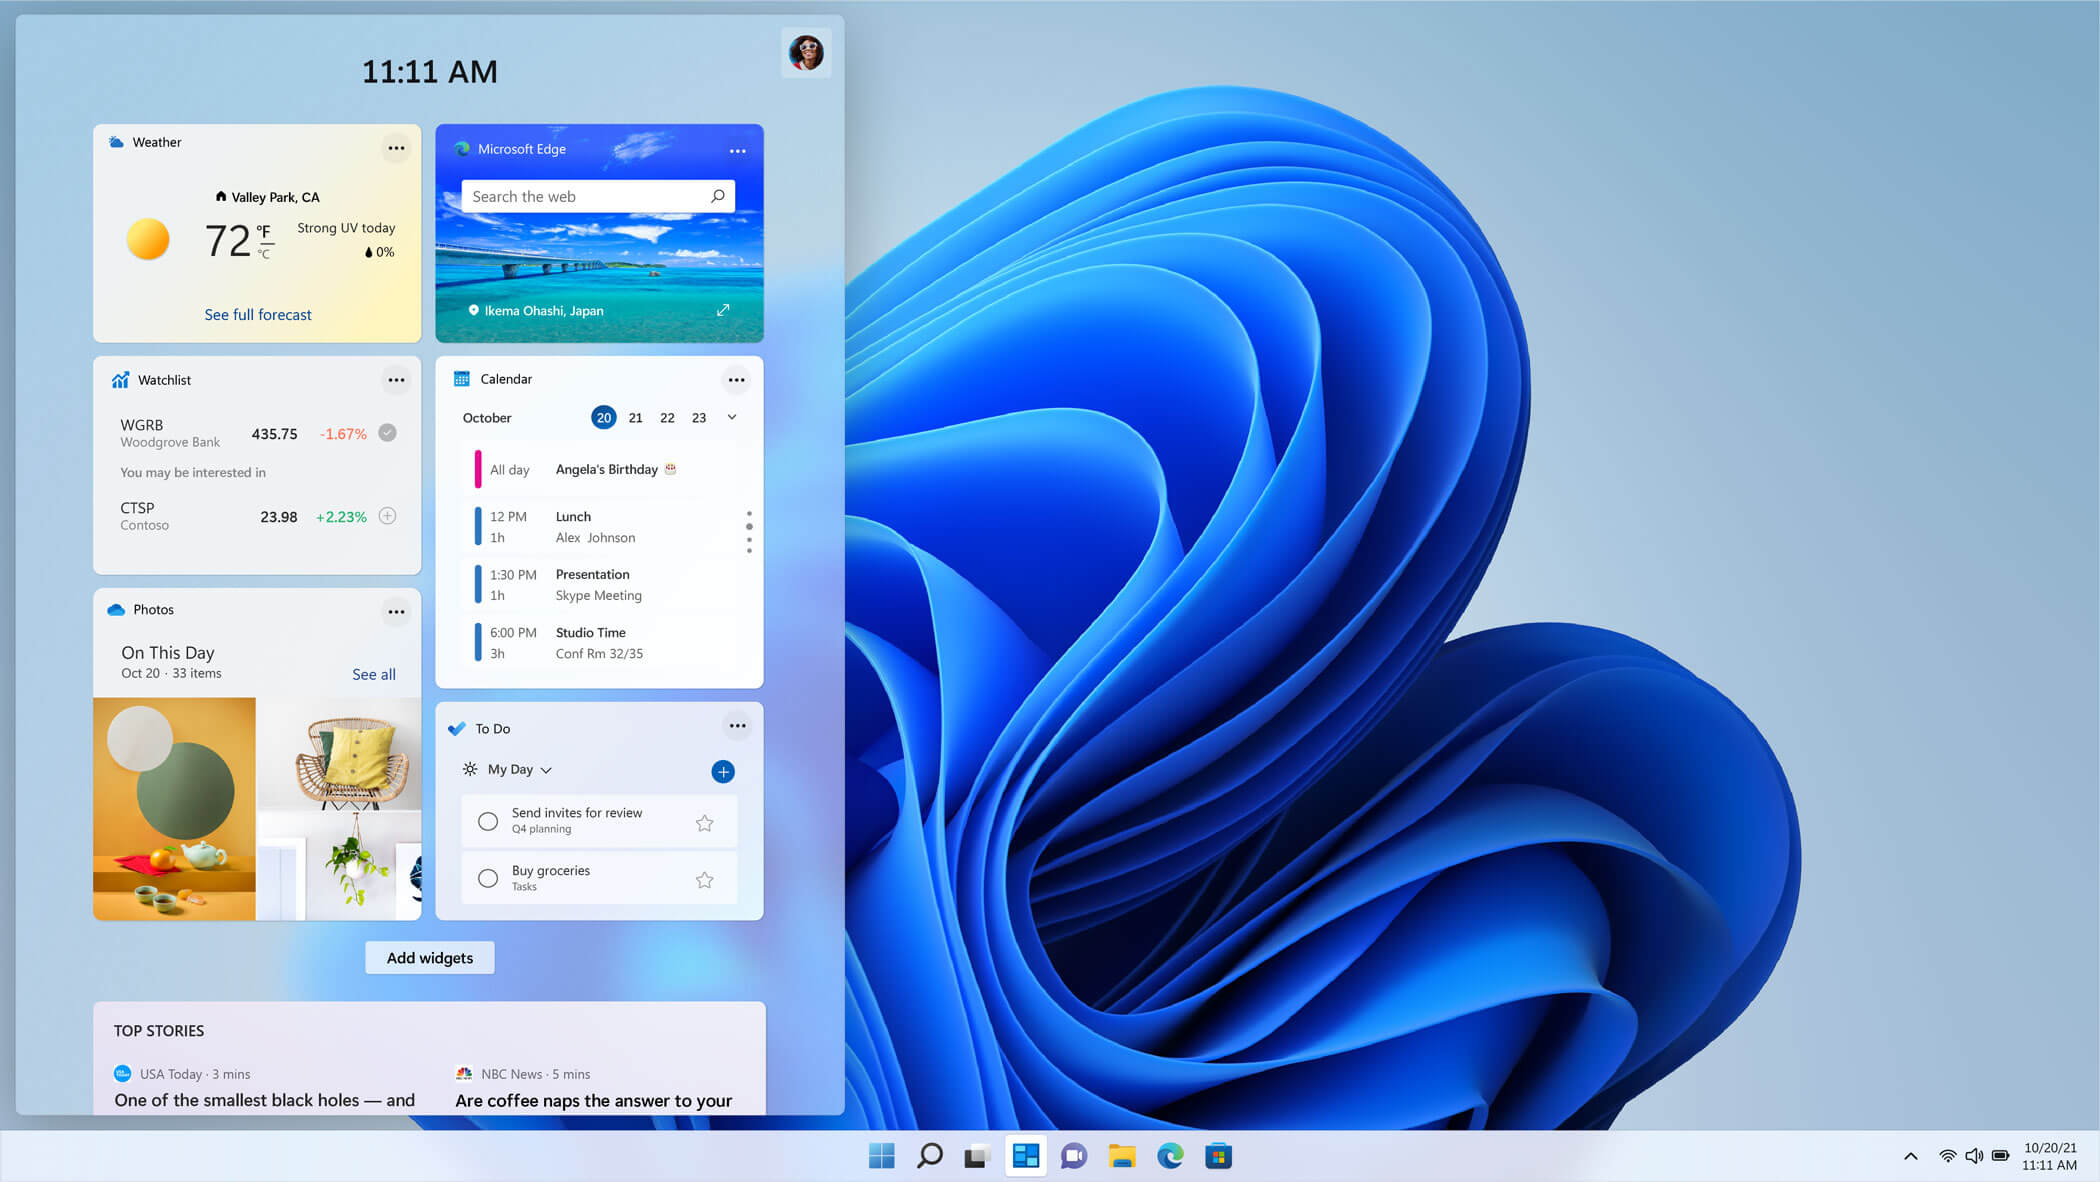 The new widget's menu inside Windows 11 is generally met with a positive attitude but there are still users which prefer not to have it. Luckily for them, Microsoft included a very easy way to turn the widgets menu on or off. Follow this easy guide to see how.
Right-click on the widget button in the taskbar and click on Hide from Taskbar and that’s it
Alternatively, you can also turn it off via the setting app.
Go to the settings app and navigate to Personalization > Taskbar > Taskbar Items and flipping the switch beside Widgets to Off.
Please note that both methods will only hide the button to toggle widgets menu, at the current state there is no really a way to actually turn it off, only hide it and make it not available to bring it up.
The new widget's menu inside Windows 11 is generally met with a positive attitude but there are still users which prefer not to have it. Luckily for them, Microsoft included a very easy way to turn the widgets menu on or off. Follow this easy guide to see how.
Right-click on the widget button in the taskbar and click on Hide from Taskbar and that’s it
Alternatively, you can also turn it off via the setting app.
Go to the settings app and navigate to Personalization > Taskbar > Taskbar Items and flipping the switch beside Widgets to Off.
Please note that both methods will only hide the button to toggle widgets menu, at the current state there is no really a way to actually turn it off, only hide it and make it not available to bring it up. 