Error Code 47 – What is it?
It is a device driver error that users encounter when they use Windows 2000 operating system and its later versions.
The error occurs when the connected peripheral device, upon removal using the ‘Safe Removal Hardware’ program, hangs up a problem within the process. The error prompt you then see is referred to within the operating system as error code 47.
It usually pops up on your computer screen with the following message:
Windows cannot use this hardware device because it has been prepared for "safe removal", but it has not been removed from the computer. (Code 47)
Solution
 Error Causes
There are many factors responsible for the Error Code, the primary ones are listed below:
- An incomplete program installation
- An incomplete program uninstallation
- System recovery from viruses
- Corrupted Windows system registry entries
Further Information and Manual Repair
Error Code 47, like other device driver error codes, is relatively easy to solve. You can fix the error code in the following ways:
Method 1 – Reconnect the device to your computer
Unplugging and plugging the USB cable of the device into the computer is the easiest way to resolve the error.
Doing this will help refresh the system and increase the likelihood of the device driver files loading and function properly.
Method 2 – Restart your PC
Another simple method you can use to solve your PC error code is to simply restart your Windows system.
It may be that the error prompted upon connecting the device you have connected is merely a temporary problem, and upon restart, will resume functioning smoothly.
Method 3 – Manually uninstall then reinstall the device driver
If both of the above-listed methods fail to resolve the problem, you may have to resort to manually uninstalling and then reinstalling the device driver causing the problem.
This would be necessary since the remaining incomplete files due to a partial removal or installation of programs is what contributes to the error code. By uninstall and reinstalling the device driver program, it would lead to the completion of the files.
You can do this by firstly logging in as Administrator and open Device Manager. Select the device that is causing the problem and double click it and make sure that the peripheral is connected properly to the PC.
Upon opening, click on the ‘Driver’ tab and then select ‘Update Driver’. Make sure to refer to the system documentation that you received with your PC or computer to check for the motherboard details and driver specifics.
Method 4 – Use software to automatically download the driver
Manually uninstalling and reinstalling the driver will usually do the trick; however, it may be time-consuming especially when you would have to resort to your hardware user manual.
Therefore, using a program such as DriverFIX can save you a lot of time and frustration in having your device work properly on your computer.
Driver
FIX, with its user-friendly approach to help you fix your PC issues, comes with an integrated database that detects which drivers you need to reconfigure within just a few seconds and downloads it automatically.
It further ensures that your drivers are installed in their entirety leaving no room for any incomplete files to remain that create Error Code 47.
It also has the added advantage of being able to backup and restores your files should there be the slightest possibility of system file damage.
Thus, registry damage can be averted by letting the software roll back the system files to an earlier healthy checkpoint. Driver
FIX is the answer to fixing your PC error codes accurately and quickly.
Click here to download Driver
FIX to fix Error Code 47 quickly and effectively!

 Microsoft sent an email to users on the Dev build channel saying that the company intends to push some builds that don’t represent what consumers will receive with Windows 11 when it officially releases. In other words, these are going to be some rather buggy builds that won’t be too enjoyable to use.
The company recommends users switch from the Dev to the beta channel if they aren’t prepared to deal with the instability.
We’ll have to wait and see just how buggy these builds are, but if Microsoft is actually sending out a warning about them it is very likely that builds will be plagued with issues and maybe even stability problems.
Microsoft sent an email to users on the Dev build channel saying that the company intends to push some builds that don’t represent what consumers will receive with Windows 11 when it officially releases. In other words, these are going to be some rather buggy builds that won’t be too enjoyable to use.
The company recommends users switch from the Dev to the beta channel if they aren’t prepared to deal with the instability.
We’ll have to wait and see just how buggy these builds are, but if Microsoft is actually sending out a warning about them it is very likely that builds will be plagued with issues and maybe even stability problems.

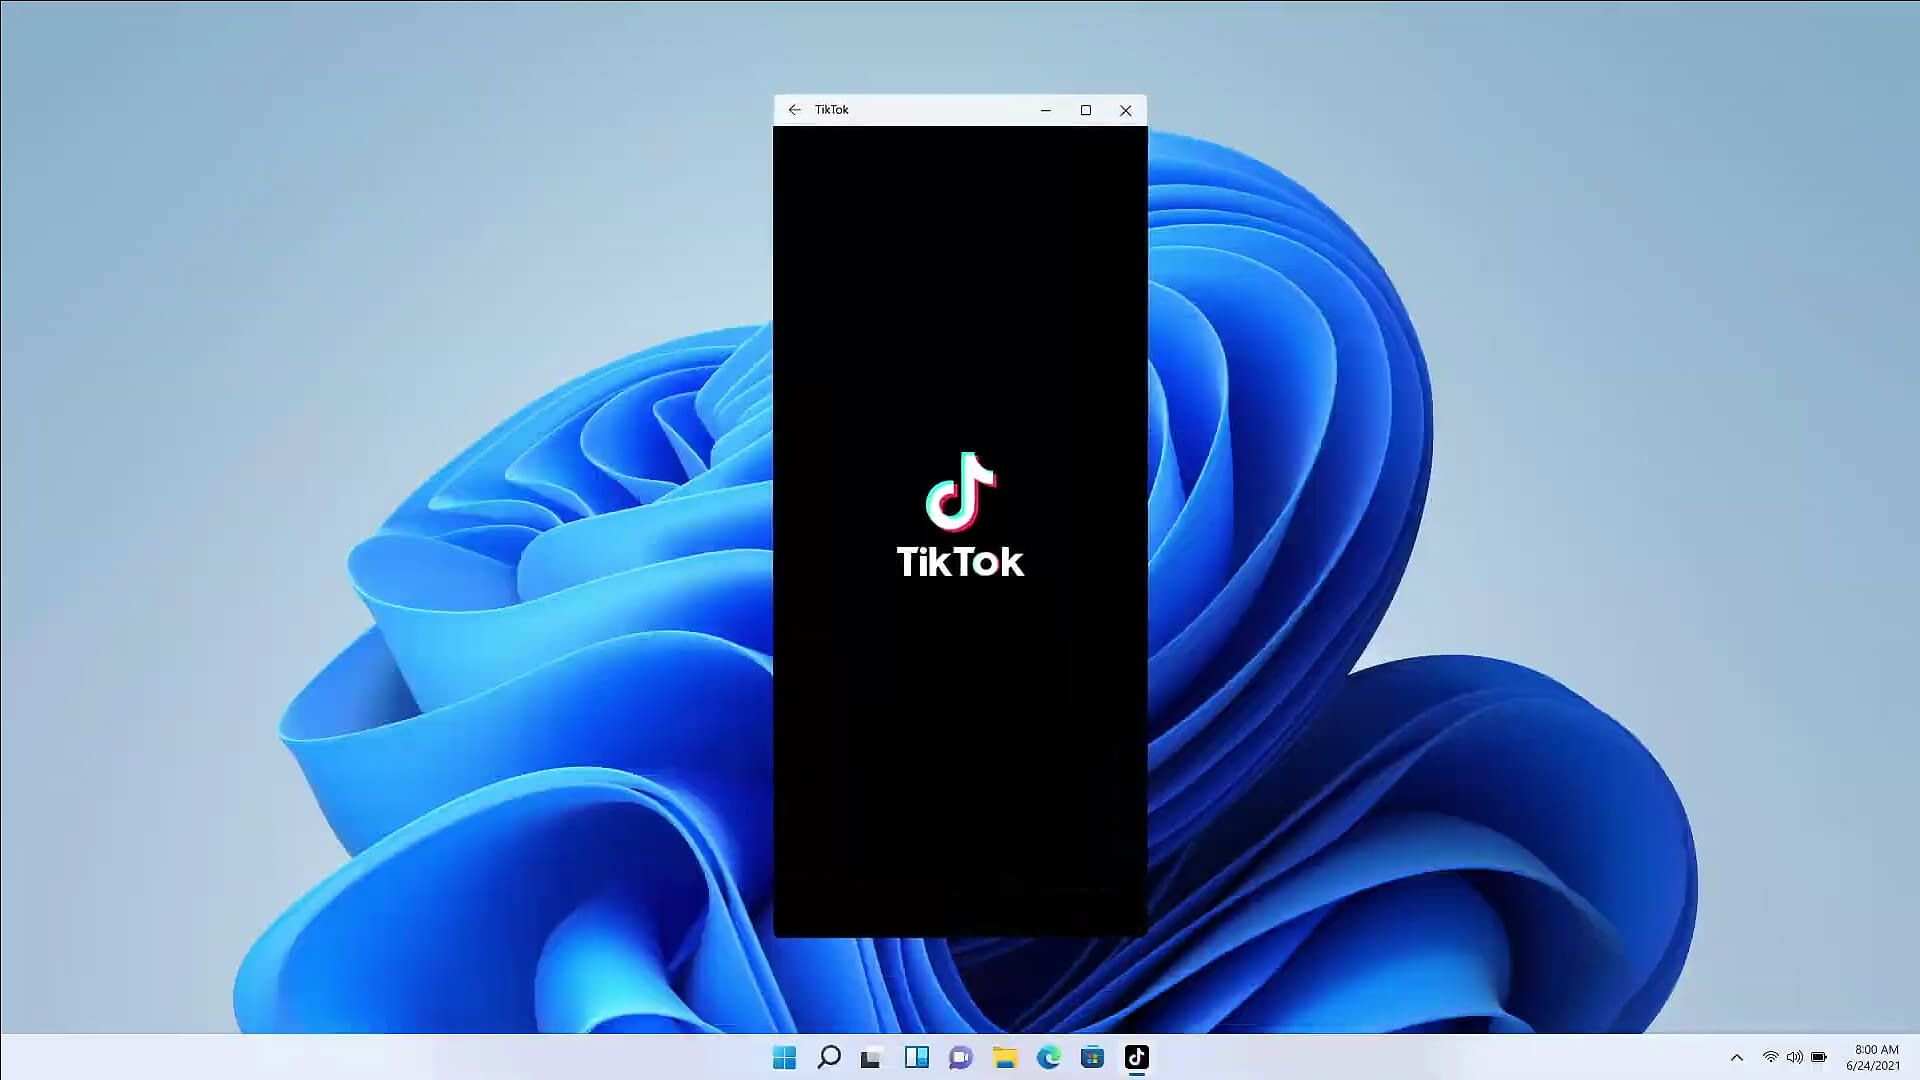 The euphoria around Windows 11 is not dying and reveal that Android apps will work natively inside Windows 11 has raised many emotions and questions.
So, Microsoft has announced that Android apps will run natively inside Windows 11 OS and that they will reside alongside your other installed ones as icons, etc.
It is no secret that many users have been using emulation software to run Android apps inside Windows so far, so what is the difference?
The euphoria around Windows 11 is not dying and reveal that Android apps will work natively inside Windows 11 has raised many emotions and questions.
So, Microsoft has announced that Android apps will run natively inside Windows 11 OS and that they will reside alongside your other installed ones as icons, etc.
It is no secret that many users have been using emulation software to run Android apps inside Windows so far, so what is the difference?