
Error Code 0xc004f034 – What is it?
Error code 0xc004f034 occurs when Windows users are unable to activate their operating system. It affects Windows 8 and Windows 10 users and features common symptoms which include the following:- Inability to activate Windows
- Message box with error code 0xc004f034
Solution
 Error Causes
Error code 0xc004f034 often occurs due to an issue with the Windows product key. This may occur when users enter an invalid product key or use one that is appropriate for use on a different version of Windows. To correct the issue, users will need to use the correct product key for their system or contact an IT professional if their device is connected to a Key Management Service (KMS). Windows users affected by this error code may also need to check their system for viruses or missing system files since these issues can result in error codes on Windows devices.
Further Information and Manual Repair
Manual repair methods enable users to fix problems related to error codes. Though some manual repair methods require the use of Command Prompt and utility tools like the System File Checker, even non-technical Windows users can find success simply by following the instructions provided below.
However, note that some issues can be complex, thus requiring the use of an automated tool or help from a Windows repair technician. Consider these options if the manual repair methods below do not resolve error code 0xc004f034 on your Windows 8 device.
Method One: Enter Valid Windows Product Key
Microsoft currently offers several ways for customers to activate their Windows operating system, the most common of which is the product key. This 25-character code verifies that users have access to an authorized version of Windows.
You may get a valid product key from an authorized dealer, a new PC with Windows, or access a digital copy from a Windows website when you purchase your Windows operating system online. Once you have a valid product key, use it to activate Windows and resolve error code 0xc004f034 in Windows 8. Follow the steps below to access the Product Activation Wizard.
- Step one: Click or tab Start button then select Settings
- Step two: Tap or click PC Settings, then select Activate Windows
- Step three: Type invalid product key
Once a valid product key is used, the Product Activation Wizard should complete the activation process. If you are unable to complete the process, however, and error code 0xc004f034 remains unresolved, click the link or instructions the Product Activation Wizard provides regarding activation via phone or customer support.
Method Two: Run System File Checker
Another option available to Windows 8 users is System File Checker (SFC). This tool enables Windows users to scan and repair corrupted or missing system files. Follow the steps below to access SFC.
- Step one: Go to Start and type Command Prompt or CMD.
- Step two: Run as Administrator
- Step three: Type sfc /scannow ensuring a space is between “sfc” and “/scannow”.
System File Checker will repair any corruptions found on system files within your machine once you successfully follow the instructions provided. The tool will also replace missing files which will lead to better performance on your PC.
When the process is complete, restart your device then check if you are able to activate Windows. If error code 0xc004f034 is still present, you will need to find another solution via repair method three.
Method Three: Scan for Viruses and other Malware
Viruses and other forms of malware are one of the main issues resulting in poor PC performance and Windows error codes. To fix this issue on your PC, scan your machine for signs of these malicious programs. If you do not have anti-malware software and would like to download one from the Internet, ensure the software you choose is effective before attempting to download it.
Once you have powerful antimalware software on your PC, begin a scan for viruses, Trojan horses, and other forms of malware. If the Windows error code occurred due to issues related to malicious programs, you will be able to resolve the issue. If, however, this manual repair method proves ineffective in resolving error code 0xc004f034, download a powerful automated tool or contact a Windows repair technician to assist you.
 If you consider yourself a power user or you value your privacy then firefox is the browser for you. It is open source and is packed with great features like reporting when your email has been used for a known data breach, it stops annoying pop-up notifications, stops browser fingerprinting, and many more. Firefox is also a cross-platform browser making it a great choice if you want to transfer and use your data across multiple devices with one account. The downside of firefox however is its speed, this browser is the slowest on this list, I guess features and advantages took their tool in the speed department, but if that is not a concern for you and you feel like the positives outweigh some slower speed, grab it
  Chrome browser has been a game-changer when it was released and even today some of its features are still great and needed. It is packed with some great features like tab freezing, for example, it is cross-platform meaning that also as firefox you can change data between browsers on different devices. it is a very expandable browser with tons of extensions and its speed performance is very very good. The downside of Chrome are two things sadly, one of them is its hunger for RAM, the browser takes a big chunk of RAM once it is active and on some older computer with limited RAM it performs slowly, another is telemetry which its sending, in other words, other browsers don’t come with the lingering fear that Google’s just a little bit too involved in all of our lives. But if downsides do not trouble you and you have a decent amount of RAM in your system chrome might be the best solution for you, grab it
  Or should I say Microsoft edge 2.0 since this new Edge is completely recoded and rethought, a completely new browser based on chromium. The first version of the edge was an inhouse attempt from Microsoft and it was a disaster, I guess the lesson was learned, and this new edge we have today is a great Browser, it is lightning fast and packed with some great features with one among them standing out I just love, that is the ability to save web pages as applications and truth to be told you have to try this in order to see al great advantages it offers. A very interesting feature is that edge itself wins the speed race from all of the 5 contestants here which is a great surprise. Of course, the downside of annoying Microsoft pushing it to be your default is, well it's Microsoft, as chrome is tied to Google so is edge tied to Microsoft, and the same dreaded feeling that big MS is watching you. If however, you do not concern yourself with these kinds of things, since it is already part of Windows 10, give it a spin and try it, I am sure you will at least love its blazing speed.
 A new kid on the block, relatively unknown Browser Vivaldi offers some great customizable features no other one on this list offers, a very unique and down to each detail customization option, you can literally tweak each and every aspect of this browser making it best customizable and personal browser ever. How it is also based o chromium, every chrome extension works in it naturally. It is very good in speed and constantly updated and developed. The downside, well if you are anything like me, you could spend ages trying to customize it, ages, it has tons of features, and making it really feel and tick as you want can consume a really lot of time. If this thing does not bother you at all, grab Vivaldi
  Last but not least, we have another relic of the old browser age, the Opera browser. Packed with great security and great in-house features like a built-in VPN, built-in ad blocker, built-in crypto wallet, etc this browser seems like a swiss army knife. Opera is full of features and it shows once you start using it. The downside of opera is that its look and feel are specifically tailored to a certain type of user and not everyone will find that appealing or attractive, add some great but hidden and hard to come by features and it may go unnoticed. However, I think you should really give it a go since it definitely deserves more attention than it gets. Grab it
  From the menu choose Command Prompt (administrator)
 When the command prompt is active type the next command in it:
DISM /online /export-driver /destination:C:\DriverBackup
where: C:\DriverBackup is the folder and the hard drive where you want to store your backed-up drivers.
Press ENTER
That's it, you have now successfully backed-up all of your installed Windows drivers.
Now, save all of your drivers on USB and reinstall Windows.
When the command prompt is active type the next command in it:
DISM /online /export-driver /destination:C:\DriverBackup
where: C:\DriverBackup is the folder and the hard drive where you want to store your backed-up drivers.
Press ENTER
That's it, you have now successfully backed-up all of your installed Windows drivers.
Now, save all of your drivers on USB and reinstall Windows.
 From decide, manager right-click on any device Windows has not been able to install appropriate driver and choose update driver
 Coursera was one of the pioneers when it comes to college education online. When it started all courses were free and offered certificates if the taker has done tasks with a passing grade. Today not everything is free but still, there are tons of free courses that can help you to learn something new and to advance in your work or hobby.
Google is using the Coursera platform to deliver its courses to the audience and besides google a lot of academic professors from Princeton, Stanford, John Hopkins and many more are presently offering their course material.
Coursera was one of the pioneers when it comes to college education online. When it started all courses were free and offered certificates if the taker has done tasks with a passing grade. Today not everything is free but still, there are tons of free courses that can help you to learn something new and to advance in your work or hobby.
Google is using the Coursera platform to deliver its courses to the audience and besides google a lot of academic professors from Princeton, Stanford, John Hopkins and many more are presently offering their course material.
 edX has evolved from MITx, MIT’s free initiative to place some free academic lectures from its classrooms free into the world. Since it was rebranded into edX it started including other big university names like Berkeley, University of Texas System, Harvard, and many more.
Since its infant days, edX has expanded and included many areas that it offers coursework from arts to science. Certificated today are mostly not free but course videos are, so if you care to learn and not wave certificates around this is a great place to do it.
edX has evolved from MITx, MIT’s free initiative to place some free academic lectures from its classrooms free into the world. Since it was rebranded into edX it started including other big university names like Berkeley, University of Texas System, Harvard, and many more.
Since its infant days, edX has expanded and included many areas that it offers coursework from arts to science. Certificated today are mostly not free but course videos are, so if you care to learn and not wave certificates around this is a great place to do it.
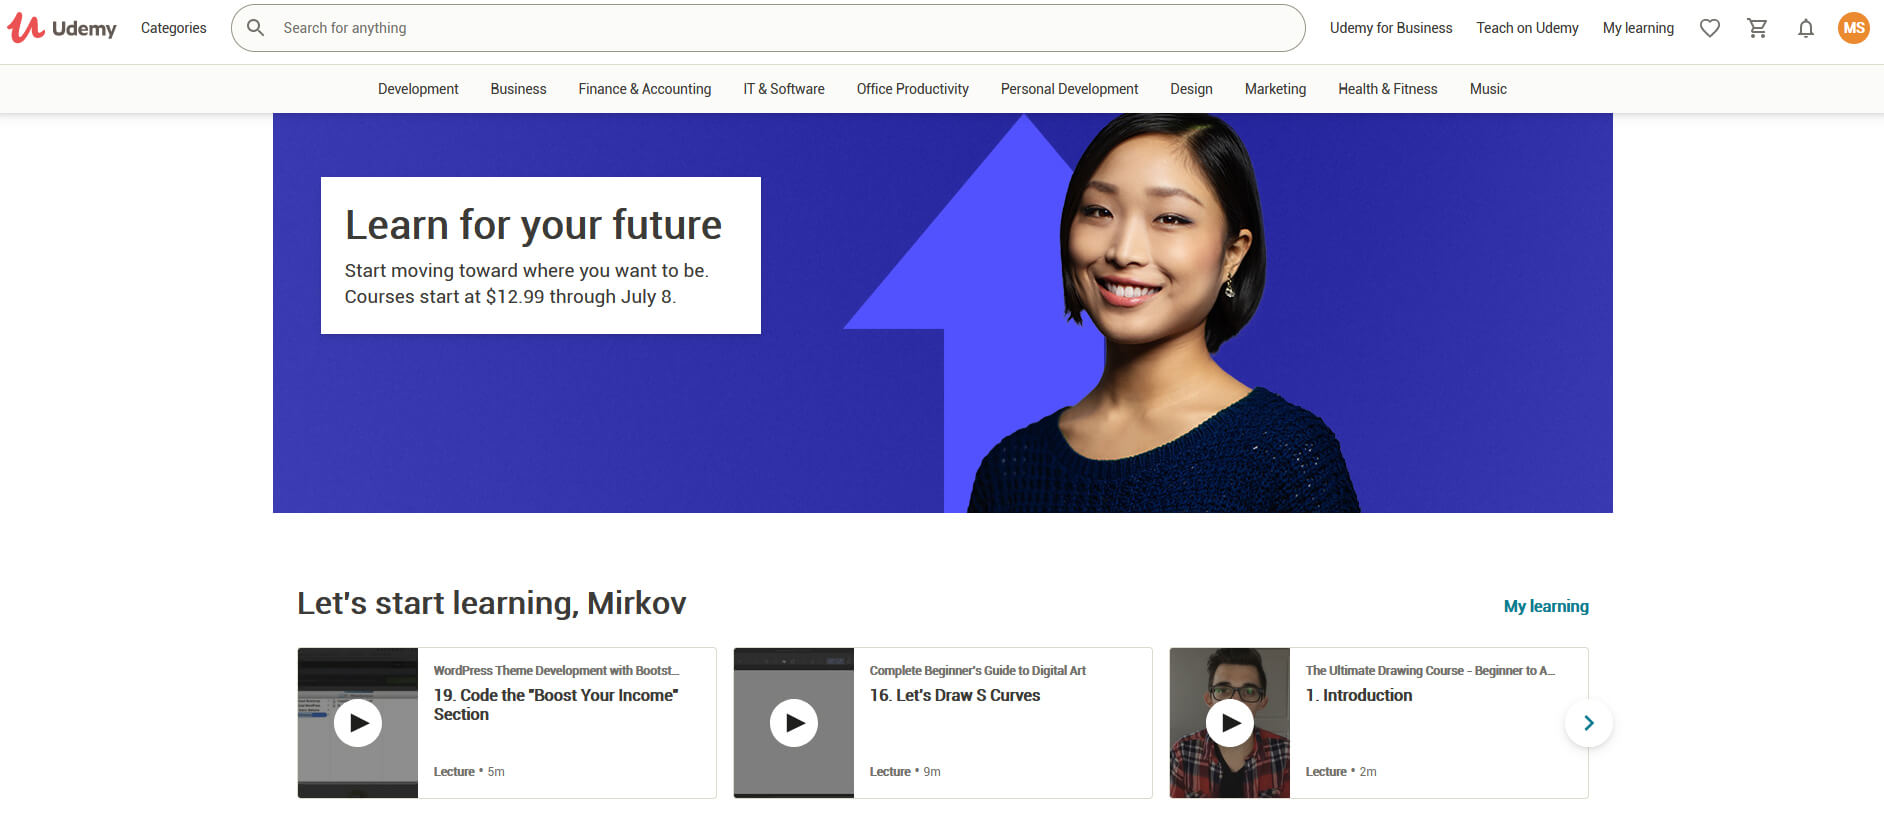 Udemy has a little different approach to course material than previously mentioned websites. Teachers on Udemy are mostly people that are working in a given field. Programmers will teach programming, fitness instructors will teach training, etc.
There are vas variety of topics even on lifestyle, hobbies even gaming to more serious ones like software developing hardware, etc.
There are free courses but mostly are one-time purchases with unlimited access to course material and with frequent discounts udemy might be a good place to look if you can find anything interesting.
Udemy has a little different approach to course material than previously mentioned websites. Teachers on Udemy are mostly people that are working in a given field. Programmers will teach programming, fitness instructors will teach training, etc.
There are vas variety of topics even on lifestyle, hobbies even gaming to more serious ones like software developing hardware, etc.
There are free courses but mostly are one-time purchases with unlimited access to course material and with frequent discounts udemy might be a good place to look if you can find anything interesting.
 Alison is kind of Udemy if we are talking about course material and who is teaching, the difference however is that it has more free content and it is one of the rare websites on this list that has Language courses.
Courses vary from beginner level to more advanced ones.
Alison is kind of Udemy if we are talking about course material and who is teaching, the difference however is that it has more free content and it is one of the rare websites on this list that has Language courses.
Courses vary from beginner level to more advanced ones.
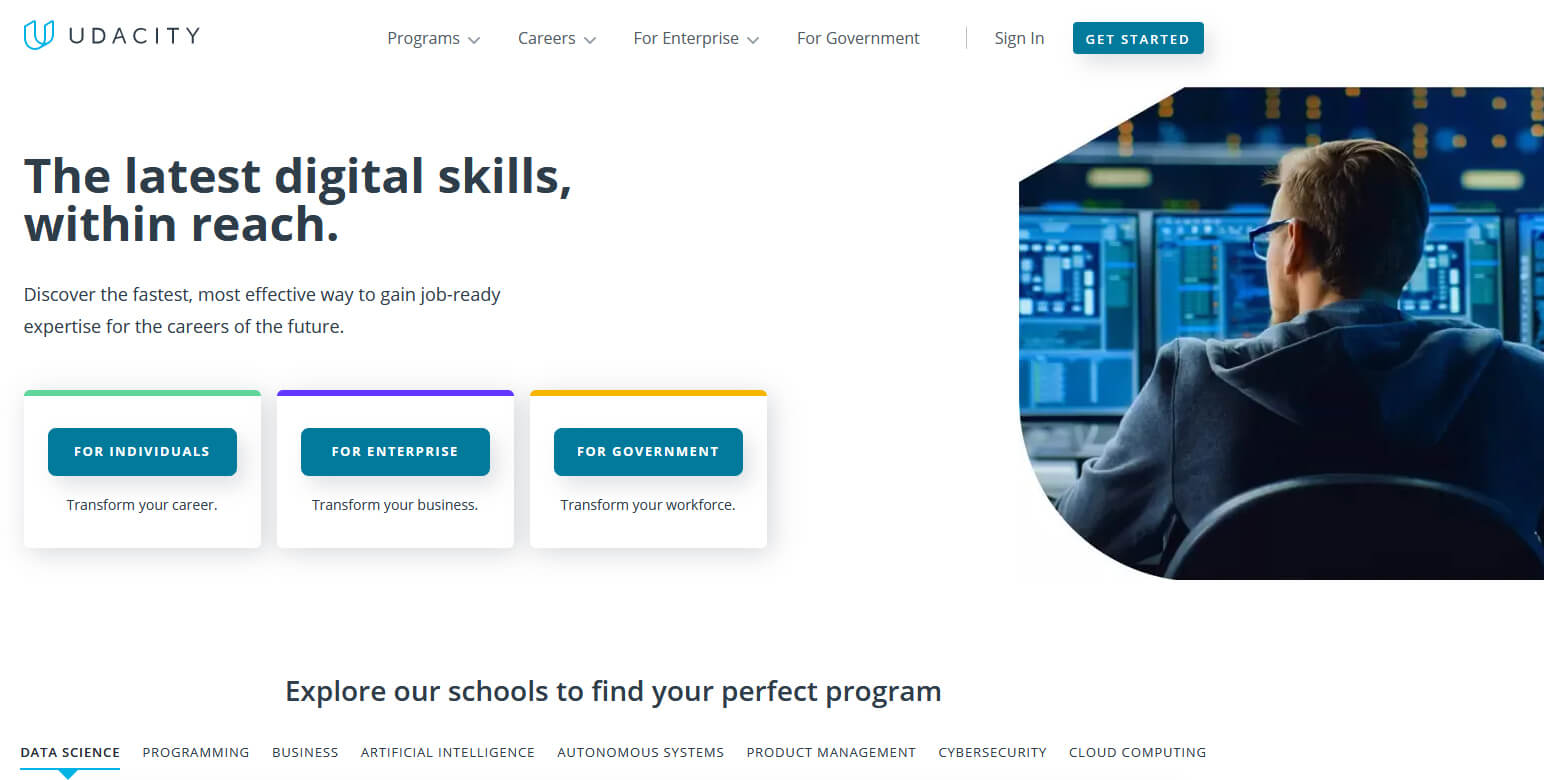 Udacity was also one of the earlier websites to offer free courses, in today’s world it still has free material but there is also paying one.
The big difference from other competitors is that Udacity focuses mostly on programming, data science, and web development and it is very strong in this field. There are no courses about art. Music or similar, mostly IT stuff is covered here.
If this is something that interests you, make a free account and give it a go.
Udacity was also one of the earlier websites to offer free courses, in today’s world it still has free material but there is also paying one.
The big difference from other competitors is that Udacity focuses mostly on programming, data science, and web development and it is very strong in this field. There are no courses about art. Music or similar, mostly IT stuff is covered here.
If this is something that interests you, make a free account and give it a go.
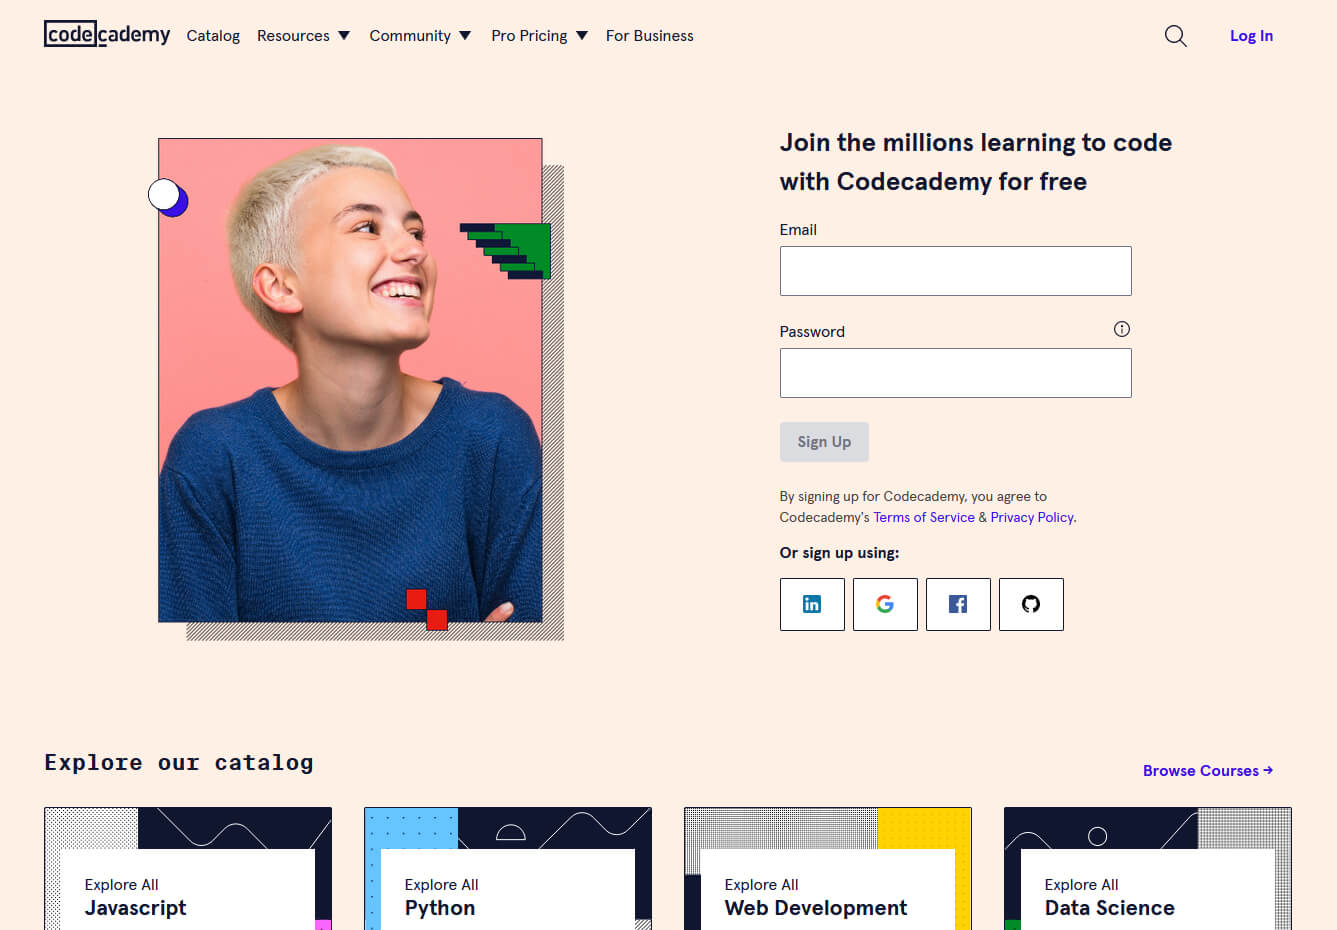 Codecademy is a website mainly focused on teaching you how to code. Pro plan is there but there are a lot of basic and free courses on the mentioned subject.
The curriculum is really wide covering Python, R, Java, JavaScript, SQL, Ruby, C#, C++, Swift, PHP, HTML, CSS and more so I am sure that if you are interested in coding this would be a pretty good place to find things.
Besides pure language coding courses site offers also, Cybersecurity, Web design, Data science, web development, Game Development, Mobile Development, and many more courses on provided subjects.
Codecademy is a website mainly focused on teaching you how to code. Pro plan is there but there are a lot of basic and free courses on the mentioned subject.
The curriculum is really wide covering Python, R, Java, JavaScript, SQL, Ruby, C#, C++, Swift, PHP, HTML, CSS and more so I am sure that if you are interested in coding this would be a pretty good place to find things.
Besides pure language coding courses site offers also, Cybersecurity, Web design, Data science, web development, Game Development, Mobile Development, and many more courses on provided subjects.
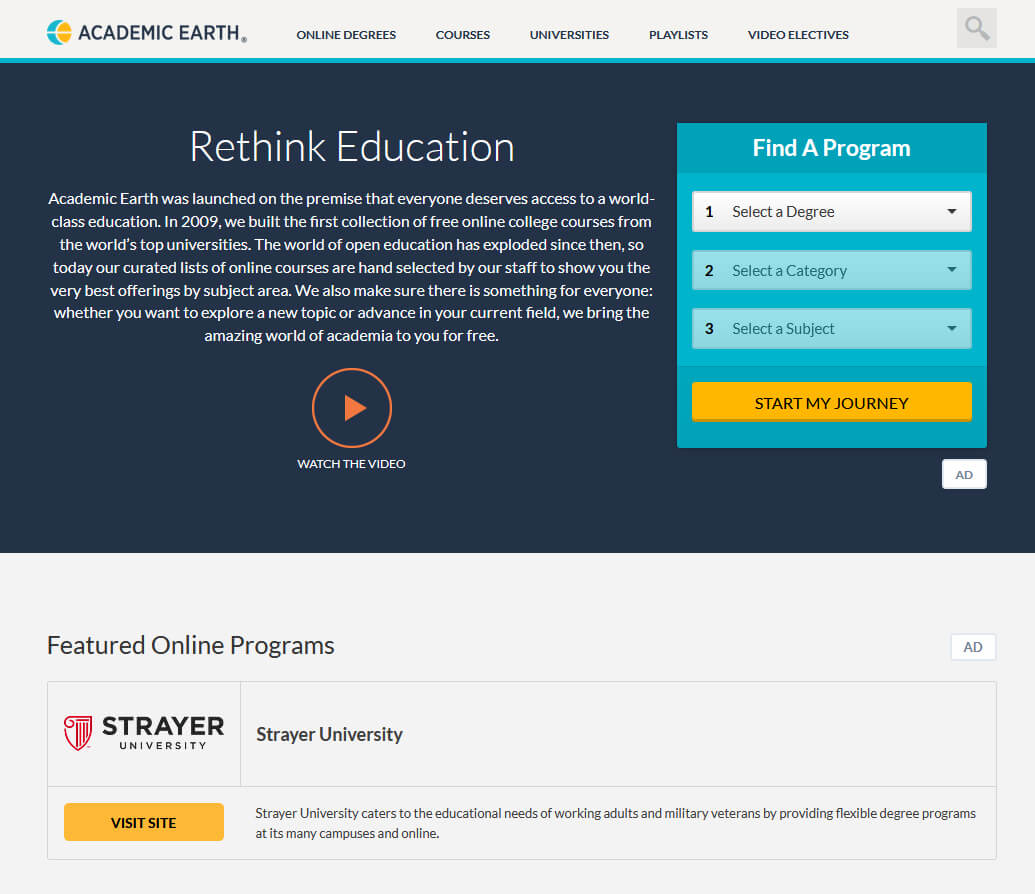 Academic Earth has been built with one simple premise: Everyone deserves access to education.
Lead by this kind of mindset on Academic Earth you will find well, academic courses similar to ones found on edX and Coursera, but from mentioned sites here all courses are free and you will find only academic ones, there are no entrepreneur or expert courses here, just pure academic ones.
If you wish to see and learn something the way it is taught in Harvard, Berkeley, MIT, etc this is the place for you.
Academic Earth has been built with one simple premise: Everyone deserves access to education.
Lead by this kind of mindset on Academic Earth you will find well, academic courses similar to ones found on edX and Coursera, but from mentioned sites here all courses are free and you will find only academic ones, there are no entrepreneur or expert courses here, just pure academic ones.
If you wish to see and learn something the way it is taught in Harvard, Berkeley, MIT, etc this is the place for you.
 Khan academy is completely free and it is offering courses matching certain grades for children. It is offering courses for all 8 years of elementary school, math courses for high school and college with some coursework on topics like science, arts & humanities, reading, life skills, etc.
Despite not being on the same level as some university courses presented on other mentioned websites Khan Academy is a good place to learn a lot of basic skills that you could build upon later.
Khan academy is completely free and it is offering courses matching certain grades for children. It is offering courses for all 8 years of elementary school, math courses for high school and college with some coursework on topics like science, arts & humanities, reading, life skills, etc.
Despite not being on the same level as some university courses presented on other mentioned websites Khan Academy is a good place to learn a lot of basic skills that you could build upon later.


