If you are typing inside the Search bar, Cortana, Taskbar, Windows 10 apps, etc., and then everything seems invisible then read on as this post will guide you in fixing this issue. At first, you might think that something is wrong with your keyboard but it really has nothing to do with it. The problem actually lies with the apps from Microsoft Store. Thus, if you can’t type anything in any of the apps from Microsoft Store in Windows 10, refer to the options given below to fix them.
Option 1 – Ensure that ctfmon.exe is running
Ctfmon.exe is a Microsoft process in Windows 10 that controls the Alternative User Input as well as the Office Language bar. In other words, it enables end-users to control the computer using on-screen keyboard inputs, speech, and even pen for various languages. It would be better if you launch the program once by going to the C:/Windows/system32 folder. Doing so will ensure that whatever API is needed for the keyboard typing to work properly again. You also have to make sure that its startup status is not disabled. In addition, you can also try the following steps, alternatively.
- Open the Task Scheduler.
- Then go to Microsoft > Windows > TextServicesFramework.
- And on the MsCtfMonitor, right-click and enable the task.
- Now restart your computer.
This will ensure that all the text boxes will start to work again. And if the task MsCtfMonitor is missing from the list of tasks, you can import it with the XML file from basics.net. Then download and create a task to run it each time you log in to your PC.
Option 2 – Use the Windows Store Apps Troubleshooter
You might also try running the Windows Store Apps Troubleshooter as it can help in resolving issues with the Windows Store apps. This built-in tool can resolve most of the app-related problems. To use it, go to Settings > Update & Security > Troubleshooting > Windows Store Apps and from there, click the start the troubleshooter button. The Windows Store Apps Troubleshooter will scan the computer for any issues with the Windows store apps and will automatically fix them if it finds any.
Option 3 – Re-register all the Windows 10 UWP apps using PowerShell
- First, make sure to close all the running applications on your computer.
- Next, in the Start search, type in PowerShell and right click on the result, and select the “Run as administrator” option.
- After that, type the following commands to re-register the Windows 10 apps. Make sure to hit Enter on each line:
- reg delete "HKCUSoftwareMicrosoftWindows NTCurrentVersionTileDataModelMigrationTileStore" /va /f
- get-appxpackage -packageType bundle |% {add-appxpackage -register -disabledevelopmentmode ($_.installlocation + "appxmetadataappxbundlemanifest.xml")}
- $bundlefamilies = (get-appxpackage -packagetype Bundle).packagefamilyname
- get-appxpackage -packagetype main |? {-not ($bundlefamilies -contains $_.packagefamilyname)} |% {add-appxpackage -register -disabledevelopmentmode ($_.installlocation + "appxmanifest.xml")}
Option 4 – Try to run the DISM tool
You can also run the DISM Tool as it helps in repairing the Windows System Image as well as the Windows Component Store in Windows 10. Using this built-in tool, you have various options such as the “/ScanHealth”, “/CheckHealth”, and “/RestoreHealth” which could help in fixing the problem.
- Open the Command Prompt with admin privileges.
- Then type in the following commands and make sure to hit Enter right after you type each one of them:
- Dism /Online /Cleanup-Image /CheckHealth
- Dism /Online /Cleanup-Image /ScanHealth
- exe /Online /Cleanup-image /Restorehealth
- Do not close the window if the process takes a while as it will probably take a few minutes to finish.
Option 5 – Run the System File Checker Scan
System File Checker or SFC is a built-in command utility that helps in restoring corrupted files as well as missing files. It replaces bad and corrupted system files to good system files. To run the SFC command, follow the steps given below.
- Tap Win + R to launch Run.
- Type in cmd in the field and tap Enter.
- After opening Command Prompt, type in sfc /scannow
The command will start a system scan which will take a few whiles before it finishes. Once it’s done, you could get the following results:
- Windows Resource Protection did not find any integrity violations.
- Windows Resource Protection found corrupt files and successfully repaired them.
- Windows Resource Protection found corrupt files but was unable to fix some of them.

 Before we move to the article I just want to say that technically there are no random crashes, there is always a reason why the system hangs up, why you received blue screen, annoying restarts out of nowhere and many more PC crashes. In this article, we will explore many possible reasons why something may occur and offer you straight forward solution on how to escape the situation and prevent it from happening again.
Without further delay, let's begin:
Before we move to the article I just want to say that technically there are no random crashes, there is always a reason why the system hangs up, why you received blue screen, annoying restarts out of nowhere and many more PC crashes. In this article, we will explore many possible reasons why something may occur and offer you straight forward solution on how to escape the situation and prevent it from happening again.
Without further delay, let's begin:

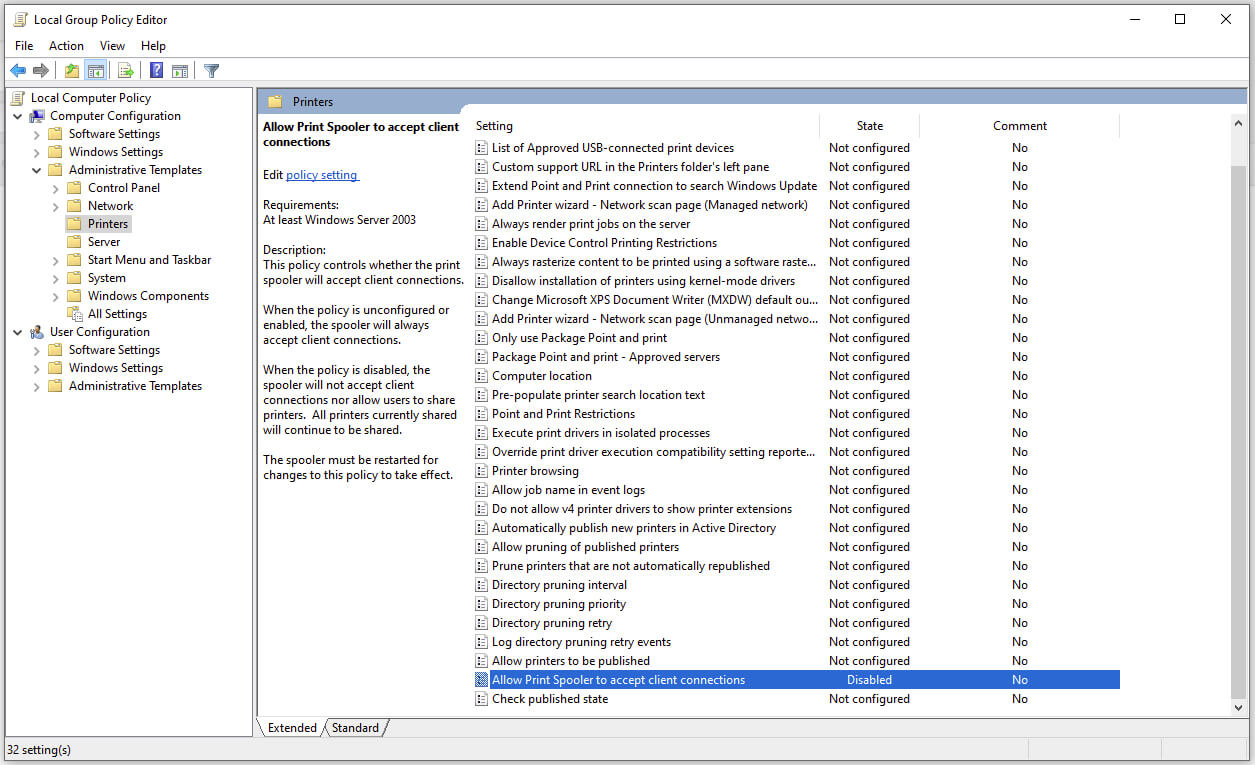 Microsoft is once again advising its customers to disable Windows print spooler after a new vulnerability that allows hackers to execute malicious code on machines has emerged. While a patch fixing the flaw will be released in due course, the most effective workaround currently on the table is to stop and disable the print spooler service entirely.