A black screen error inside Windows 11 is a typical screen turning to solid black without any error message. This can be very annoying since it can randomly appear out of nowhere and it will appear while you are using the computer. Worry not, this is not a serious error and we have several solutions for it, so please keep reading and try them as presented in order.
 Restart graphic driver
This is the first thing to check if the issue is due to software or driver malfunctioning, there is a shortcut for rebooting graphic driver inside Windows 11. Press WINDOWS + CTRL + SHIFT + B to reboot the graphic driver and see if this fixes the issue. A beep sound should be heard during this process and the screen should turn back to normal.
Sometimes the screen can go black due to a faulty connection or cable. If you have it at your hand try a different cable or slightly and gently nudge the existing one to see will screen flicker. If you are on a laptop try gently moving the lid from back to front and pay attention to the screen. If screen flickers or picture returns with this method, cable or connector needs to be replaced.
The black screen can be because the computer is overheating. If this is the case either fan inside is not working properly or there is a lot of dirt and dust that needs to be removed so airflow can be established again for proper cooling. We have an article on errortools.com on how to properly clean your PC but if you are not technical enough maybe the best solution would be to call someone who is or to take the PC to service for cleaning.
Press WINDOWS + P to open projection settings, check to see if PC is set to PC screen only. If any other option is selected change it to PC screen only since this can cause random black screen issues.
If this problem has started to manifest itself during the latest update, go to setting and roll back from the latest update to fix this issue.
The black screen can also be caused by various viruses and malware. IF you have anti-virus software, run a full system scan to check it for malware. If you do not have one, download a free one and run a system scan, we recommend Bitdefender.

 Error Causes
ExpressFiles is a program developed by Express Solutions. A number of Anti-Virus programs have flagged this program as a Potentially Unwanted Application. In many instances, it is bundled with additional programs on installation.
The program claims it offers users easy to search for various currently popular search terms. During our testing, the software never displays any search results, no matter the search words. Upon installation and setup, it defines an auto-start registry entry which makes this program run on each Windows boot for all user logins. A scheduled task is added to Windows Task Scheduler in order to launch the program at various scheduled times. The program defines an exception rule in Windows Firewall, allowing it to connect to the internet without limitations and auto-update itself.
The Get Coupons Fast Toolbar is a Browser Extension for Google Chrome developed by Mindspark Inc. This extension allows quick access to the most popular coupon websites available. While this might look like a good useful idea, keep in mind that it has been classified as a Browser Hijacker by Several anti-virus applications.
When installed this extension will hijack your new tab page, changing it to a customized version of Search.MyWay.com. While active It records user browser activity, this data is later used to better target ads. While browsing the internet with this extension installed you will see additional pop-up ads, sponsored content, and injected ads into your browser search results and pages. GetCouponsFast usually comes bundled with other PUP-s or Browser Hijackers that may harm your computer and it is recommended you remove it from your PC.
“Installing, this may take a few minutes… WslRegisterDistribution failed with error: 0x8007019e/0x8000000d Error: 0x8007019e/0x8000000d The parameter is incorrect. Press any key to continue.”Error code 0x8007019e or 0x8000000d could be due to the absence of supporting Windows 10 features since the error does not even let one use the WSL-based command line. If you are one of the users facing this problem, then you’ve come to the right place as this post will provide you with a couple of suggestions to fix it. There are two options you can check out to fix the problem, but before you do that, you need to make sure that the Windows Subsystem for Linux feature is enabled. The two options include enabling WSL using the “Turn Windows features on or off” option and using the Windows PowerShell.
Error CausesSpending a large amount of time working or gaming in front of the computer can take a toll on your health. And as someone who indeed spends a large amount of time in front of the computer, I would like to share some insights about how can you be happy and healthy at the same time by incorporating some practices and habits.
This is first on the list because it matters the most. A proper sitting chair is essential for back health. If your budget allows it, do yourself a favor and get an anatomic sitting chair or gaming chair with lumbar support. It costs but it is worth it.
As the important chair is, sitting properly is also as important as much. Your spine believe it or not is a very important part of your body and you need to take care of it. Sadly long periods of sitting sessions are bad for muscles around the spine that could reflect on the spine itself. Keep your back straight and keep your head not down nor up, place it in a position like when you are walking so the spine that is going from your head is in line with the spine on your back.
By medical standards, each hour of sitting should be accompanied by a stretch session since sitting itself is placing too much pressure on certain muscles and blood circulation is lowered. Changing leg position and doing just a little stretch each hour can be really beneficial for your health in long run.
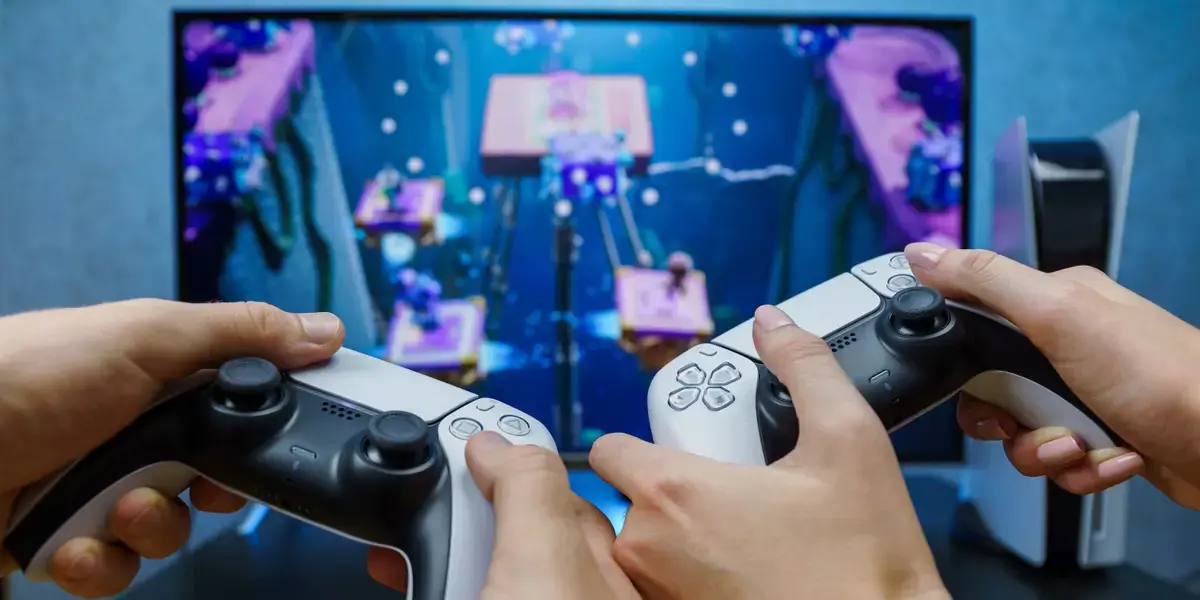
Yes, playing games is fun and most of the time we do not want to stop playing, especially if we are winning but taking breaks is essential for your personal health. Old saying goes that overdoing anything is bad and this applies true even to things that we do for pleasure and relaxation. Take periodic breaks to stretch, stand up and maybe even walk just a little.
During long work hours or long gaming sessions, it is not uncommon that we are so focused on our activity that we forget to take our water intake. Approximately 2liters of water per day is needed for an adult person to function properly during that day and if you spend long times in front of a PC do not forget to drink water.
As enjoyable as it is gaming can make us forget about our daily tasks, do not neglect your life and your tasks. Remember, gaming is only OK if it does not interfere with the daily things that you need to do. Do not postpone going for groceries because of gaming, do not switch shower for another level in the game. Do all of the things you must do first and then sit and game.
Having mental health is as important as having a physical one. Playing games is fun, but playing games with someone is even better, do not forget to socialize and invite some friends so you can share some fun times together. Also, detach yourself from outcomes that will come because of gaming, this is very important for gamers that do a lot of PVP games and get annoyed and angry when they lose or when some other player is talking trash. Remember, gaming is for you to relax and enjoy, not to stress you.
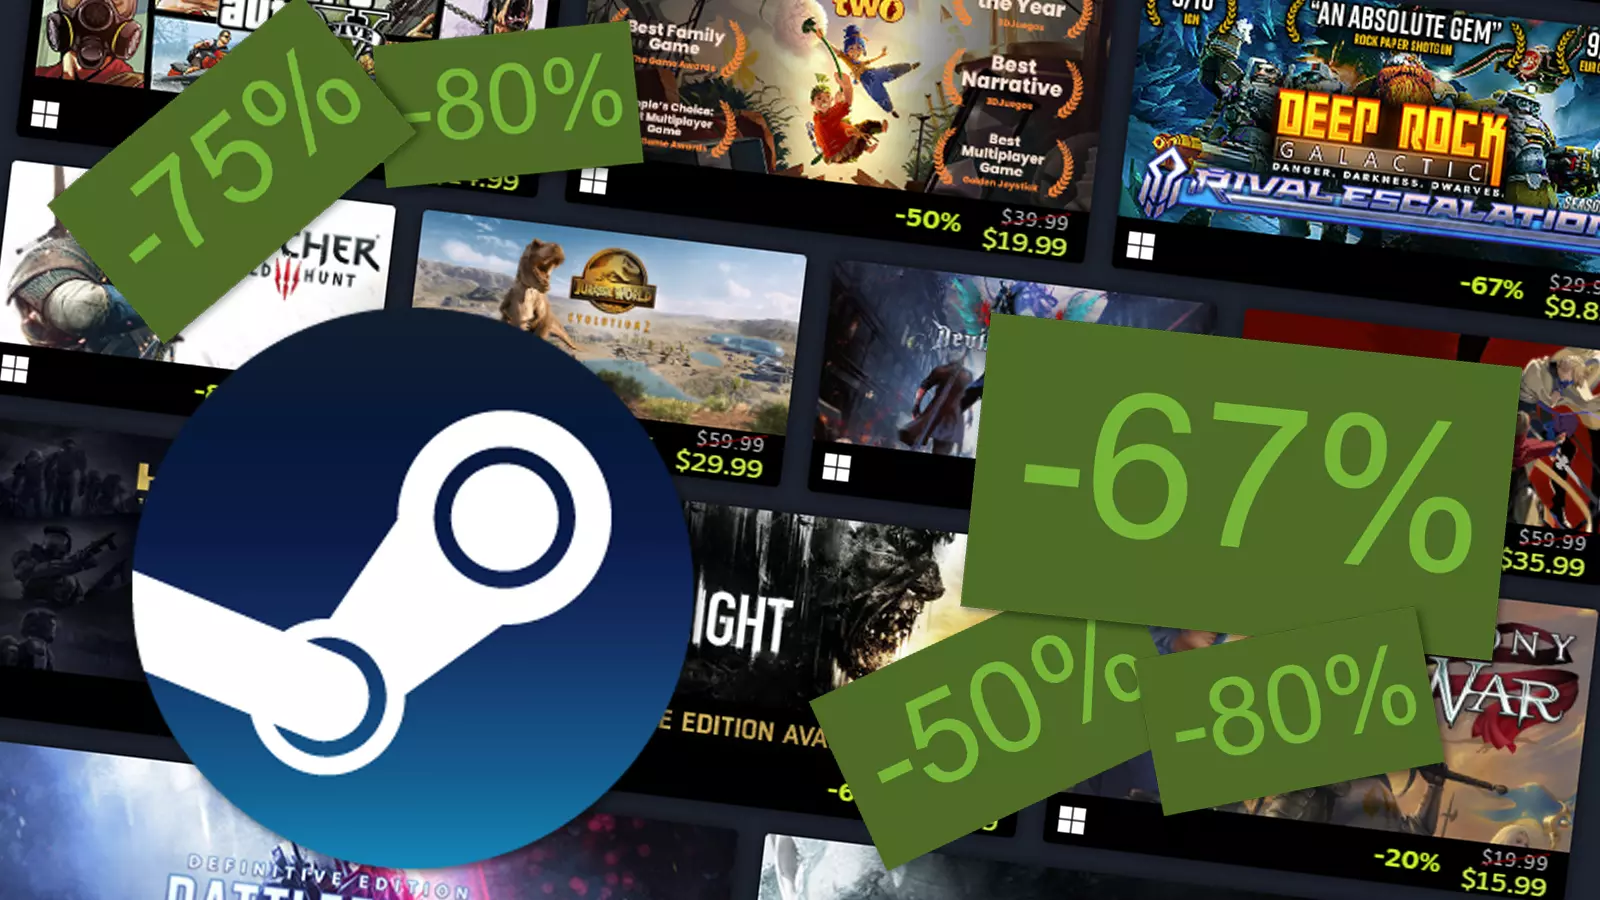
Oh, gamers rejoice, the Steam autumn sale is just around the corner!!!
The sale starts on November 22nd and lasts until November 29th. A great deal for any gamer, especially for ones that have plenty on their wishlist. Speaking of wishlists now would be a good time to place some interesting titles on them so you can be notified about discounts on them.
If you by any chance are unavailable to participate in the Autumn sale, do not worry, Steam winter sale is coming on December 22nd and it will last until January the 5th so you can save for it.
The best tactic for sale is not to jump on the train right away, it is best to wait until a few days, maybe even until the last 2 days since some games can go even lower on discount in the last days of the sale. Also, there might be also some packages that include games you wish to buy but are packed with other ones in a bundle and even with a higher discount.
So get prepared for the upcoming sale and treat yourself to something nice!