Error Code 0x80240016 - What is it?
Error Code 0x80240016 is an error that appears when the Windows Update tool is unable to complete its operation. While it most commonly occurs in Windows 10, versions of this error are also present in past Windows systems, as well. The steps to resolve the error are the same for each of these systems.
Common symptoms include:
- Inability to complete the Windows Update process
- Sluggishness or freezing
- Crashing of your programs
- The message that states “IMAP_LOGINFAILURE”
There are a number of different issues that can cause Error Code 0x80240016, so it is important to follow the steps below to address each of them in turn. While basic users can implement several of the methods, some of the methods may require advanced skills or knowledge.
If needed, always get in touch with a qualified Windows repair professional to assist you in the process of error resolution.
Solution
 Error Causes
Error Code 0x80240016 happens when the system believes that another installation is already occurring on your device while the Windows Update tool is attempting to run the installation of its own updates. While there may not always be an actual installation going on that prohibits Windows Update from running, several programs can leave traces of background activity that prevent Windows from proceeding as necessary.
Malicious software can also cause your system to believe that files are in use, so several of the methods to fix the error can address this particular set of issues.
Further Information and Manual Repair
There are a number of different background issues that can cause Error Code 0x80240016 to appear on your machine. Follow the steps below to address each aspect of the error code, making sure to restart your computer after each attempt. If you have difficulty in completing these steps, contact a qualified technician to assist you.
Here are the top methods to resolve Error Code 0x80240016:
Method One: Use the Troubleshooting Tool in Windows Update
The first step to addressing Error Code 0x80240016 is to open up the Windows Update tool and click on the option to run the Troubleshooting Wizard. This can identify many of the issues associated with the error. If this tool makes any changes, make sure to restart your computer after it finishes.
Method Two: Run the Registry Repair Tool
The registry repair tool can be a great resource for Error Code 0x80240016. Use it to run a scan on all of your registry entries and to repair any that may be extraneous, faulty, or missing. This step may take some time, so be prepared to wait a while for it to finish. Always restart your computer after running the registry repair tool so that any necessary changes can fully take effect and be recognized by your device.
Method Three: Scan Your Computer for Malicious Software
Use the Microsoft Security Essentials tool to perform a scan of your computer to see if any malicious software has changed or corrupted your system files. Once all the files had been scanned and problems have been addressed, you can restart your computer to see if the error has been successfully resolved. You can also download a powerful automated tool to rectify Windows 10 error code 0x80240016.
Method Four: Update Your Drivers and Perform Updates for Your Software and Operating System
Another method that can help to address Error Code 0x80240016 is to open up your driver settings from the control panel and scan to see if any updates are needed. If there are updates waiting to be installed, go ahead and perform those updates first, then restart your computer.
Next, check your Windows Update tool to see if there are any program or system updates that need to be performed. Allowing updates to stack up can cause a number of errors on your system, so it is important to keep your updates in check. Restart your computer after you finish this process.
Method Five: Backup Your Files, Then Reinstall Your Operating System Version
If none of the above methods have completely fixed the problem, you may need to reinstall your operating system. Before doing so, make sure that you have a backup copy of any important programs and files so that you don’t lose anything during the fresh installation.

 Microsoft office has two major packages, an online one, and an offline version. The online version of the course is Office 365 that requires a monthly subscription and it is always regularly updated and maintained. Another version is more of a typical old school application, install it and use it, no constant internet connection is required and no monthly subscription is required, buy once and use it.
The last version of buying it once and use it was Office 2019 and after two years we are going to receive a new version soon. Microsoft has set its release date for October 5th of this year and as always it will feature the current latest version of office applications and one-time purchase.
The new office will support dark mode and other improvements tied to the new Windows 11 and some specific features tied to Office itself.
Microsoft office has two major packages, an online one, and an offline version. The online version of the course is Office 365 that requires a monthly subscription and it is always regularly updated and maintained. Another version is more of a typical old school application, install it and use it, no constant internet connection is required and no monthly subscription is required, buy once and use it.
The last version of buying it once and use it was Office 2019 and after two years we are going to receive a new version soon. Microsoft has set its release date for October 5th of this year and as always it will feature the current latest version of office applications and one-time purchase.
The new office will support dark mode and other improvements tied to the new Windows 11 and some specific features tied to Office itself. 
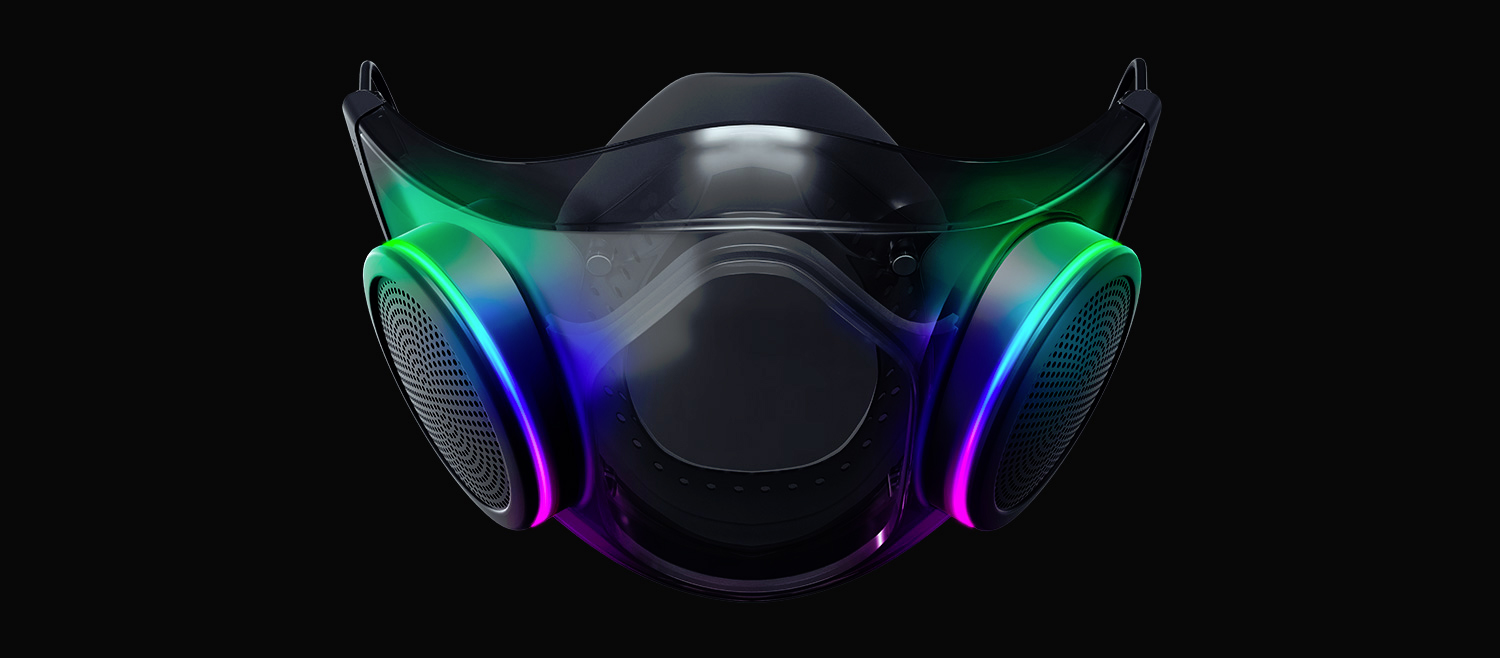 The world today is still sadly under pandemic and by the looks of it, COVID-19 is here to stay, well at least for some time in the near future. Razer seems to think so as well since their upcoming gear is not really what you would expect.
Enter Hazel, a new and upcoming Razer smart mask.
The world today is still sadly under pandemic and by the looks of it, COVID-19 is here to stay, well at least for some time in the near future. Razer seems to think so as well since their upcoming gear is not really what you would expect.
Enter Hazel, a new and upcoming Razer smart mask.