Error Code 0xC1900101, 0x20017 – What is it?
Error code 0xC1900101, 0x20017 in Windows 10 occurs when Windows users attempt to upgrade to Windows 10 but fail to complete the installation process. This Windows error code may occur due to issues with a third-party antivirus program or problems related to a driver or hardware. When this occurs users will receive an error message and their machine will automatically revert to the original operating system on the device. Common symptoms of the error code include the following:
- Error code 0xC1900101-0x20017 message box
- Inability to complete Windows 10 upgrade
Solution
 Error Causes
Like many other error codes affecting Windows 10 users, 0xC1900101-0x20017 may result due to several different reasons. Oftentimes, error code 0xC1900101 -0x20017 affects users who attempt to upgrade their operating system but have incompatible drivers or hardware as well as antivirus or other security systems which prevent the upgrade from occurring. If this error message is not resolved, it could give birth to other error messages such as
error code 0x80070652.
Further Information and Manual Repair
To fix this particular error code affecting Windows 10 devices, you will need to employ at least one manual repair method mentioned within this article. Manual repair methods offer effective solutions as they seek to address the root causes related to Windows error codes. When the manual repair methods are implemented correctly, users are usually able to quickly overcome issues that cause Windows error codes and can thereafter access all the benefits Windows has to offer to its users.
Note, however, that in a few cases where technical skills are required, the need for a Windows repair technician may present itself. In such a case, resort to Windows forums and other resources to access help from a certified Windows professional. Also, consider using an automated tool where necessary.
Method One: Temporarily Disable or Uninstall Third-party Security Software
Some third-party security programs or antivirus software may interfere with the installation process when Windows users attempt to upgrade to Windows 10. To verify if this is the issue causing error code 0xC1900101-0x20017 on your device, temporarily uninstall or disable these applications. You may easily do so by checking the settings of these programs or visiting Settings within the Windows Start Menu.
Once you have disabled these programs on your device, reboot your machine and attempt to update to Windows 10. If the issue was caused by a third-party app, error code 0xC1900101-0x20017 will no longer occur and your machine will successfully upgrade to the version of Windows 10 you attempt to download.
However, in the case where error code 0xC1900101-0x20017 in Windows 10 reoccurs during the installation process, you will need to resort to another manual repair method listed below.
Method Two: Disable Firewall Software
Like method one, this manual repair method can be effective in combating issues related to 0xC1900101-0x20017. This is of course, dependent on whether or not the error code is due to an incompatible security program.
Temporarily disable your firewall by adjusting its settings. Once this step is complete, reboot your machine and attempt to install the latest version of Windows 10. If you are able to complete the process, this means the problem was due to an issue with your firewall. You can then enable the firewall you previously disabled or download another program as its replacement.
If the error code reoccurs, however, consider implementing the next manual repair method on this list.
Method Three: Use Command Prompt to Check for Damaged System Files
Command Prompt can be very effective in helping regular as well as technically skilled users repair issues with their PC. In the case of error code 0xC1900101-0x20017 in Windows 10, access Command Prompt using the following instructions.
- Step one: Right-click Start Menu
- Step two: Select Command Prompt (Admin)
- Step three: Type sfc /scannow
Be sure to enter the command as it is written above, with a space between “sfc” and “/scannow”. Wait until the scan is complete. If there are any errors related to system files, i.e. if any system files are damaged, corrupted, or missing, your machine will begin to fix it. Once the process is complete, reboot your PC then reattempt the Windows 10 upgrade process via Windows Update. If you are successful, it means that you have rectified error code 0xC1900101-0x20017. Otherwise, you may need to contact a Windows repair technician.
Method Four: Download an Automated Tool
If you wish to always have at your disposal a utility tool to fix these Windows 10 and other related issues when they do arise, download and install a powerful automated tool.

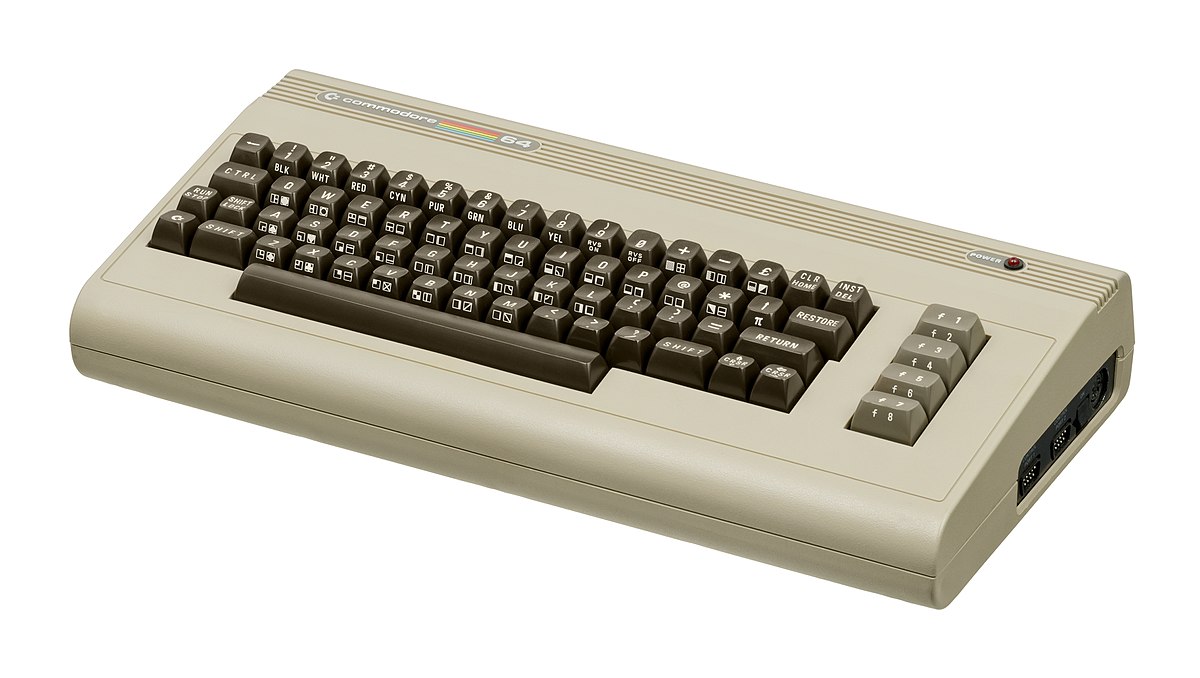 History of Commodore
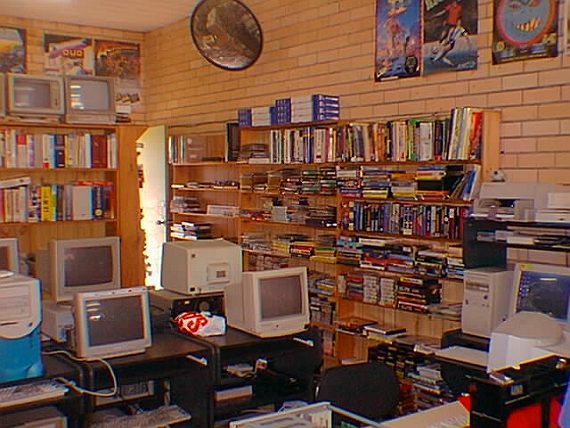 With sales booming and the early reliability issues with the hardware addressed, software for the C64 began to grow in size and ambition during 1984. This growth shifted to the primary focus of most US game developers. The two holdouts were Sierra, who largely skipped over the C64 in favor of Apple and PC compatible machines, and Broderbund, who was heavily invested in educational software and developed primarily around the Apple II. In the North American market, the disk format had become nearly universal while cassette and cartridge-based software all but disappeared. So most US-developed games by this point grew large enough to require multi-loading.
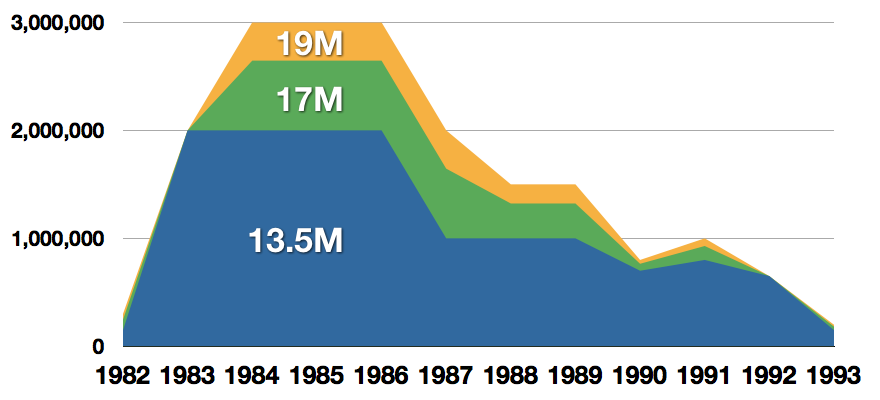
At a mid-1984 conference of game developers and experts at Origins Game Fair, Dan Bunten, Sid Meier, and a representative of Avalon Hill said that they were developing games for the C64 first as the most promising market. By 1985, games were an estimated 60 to 70% of Commodore 64 software. Over 35% of SSI's 1986 sales were for the C64, ten points higher than for the Apple II.
Everything was great for Commodore but the industry was moving forward and by the year 1988, PC compatible computers were stated to be the largest and fastest-growing home entertainment systems pushing C64 on to second place. Also, Nintendo’s gaming system has started to take hold in the world with amazing 7 million systems sold in 1988 only.
By the year 1991, many developers exited the gaming market for Commodore 64 home computer system and its popularity started to fall due to lack of software and not so many hardware changes.
With sales booming and the early reliability issues with the hardware addressed, software for the C64 began to grow in size and ambition during 1984. This growth shifted to the primary focus of most US game developers. The two holdouts were Sierra, who largely skipped over the C64 in favor of Apple and PC compatible machines, and Broderbund, who was heavily invested in educational software and developed primarily around the Apple II. In the North American market, the disk format had become nearly universal while cassette and cartridge-based software all but disappeared. So most US-developed games by this point grew large enough to require multi-loading.
At a mid-1984 conference of game developers and experts at Origins Game Fair, Dan Bunten, Sid Meier, and a representative of Avalon Hill said that they were developing games for the C64 first as the most promising market. By 1985, games were an estimated 60 to 70% of Commodore 64 software. Over 35% of SSI's 1986 sales were for the C64, ten points higher than for the Apple II.
Everything was great for Commodore but the industry was moving forward and by the year 1988, PC compatible computers were stated to be the largest and fastest-growing home entertainment systems pushing C64 on to second place. Also, Nintendo’s gaming system has started to take hold in the world with amazing 7 million systems sold in 1988 only.
By the year 1991, many developers exited the gaming market for Commodore 64 home computer system and its popularity started to fall due to lack of software and not so many hardware changes.
 Commodore announced that the C64 would be finally discontinued in 1995.
However, only one month later in April 1994, the company filed for bankruptcy. When Commodore went bankrupt, all production on their inventory, including the C64, was discontinued, thus ending the C64's 11 and a half year production.
Commodore announced that the C64 would be finally discontinued in 1995.
However, only one month later in April 1994, the company filed for bankruptcy. When Commodore went bankrupt, all production on their inventory, including the C64, was discontinued, thus ending the C64's 11 and a half year production.
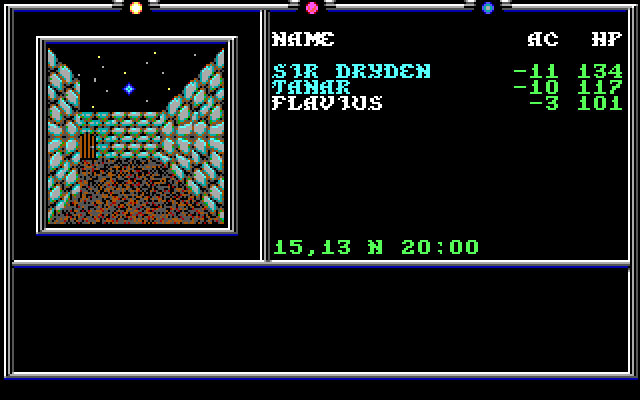
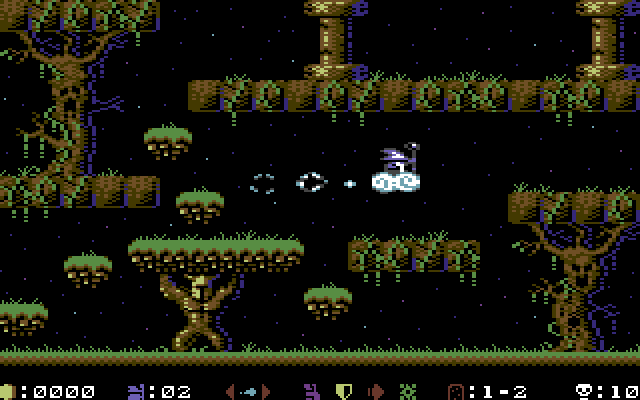 Zak McKracken and the Alien Mindbenders
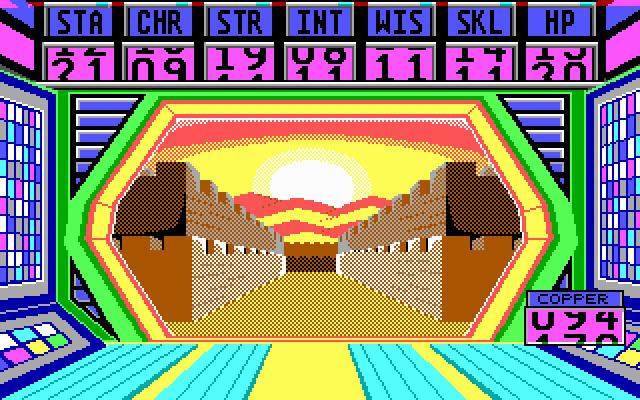
 If you are not keen on spending money for reliving and checking games or software of C64 here are some links to help you to at least experience part of it completely free.
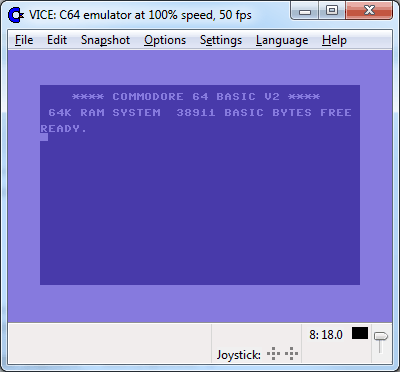
Commodore 64
If you are not keen on spending money for reliving and checking games or software of C64 here are some links to help you to at least experience part of it completely free.
Commodore 64 
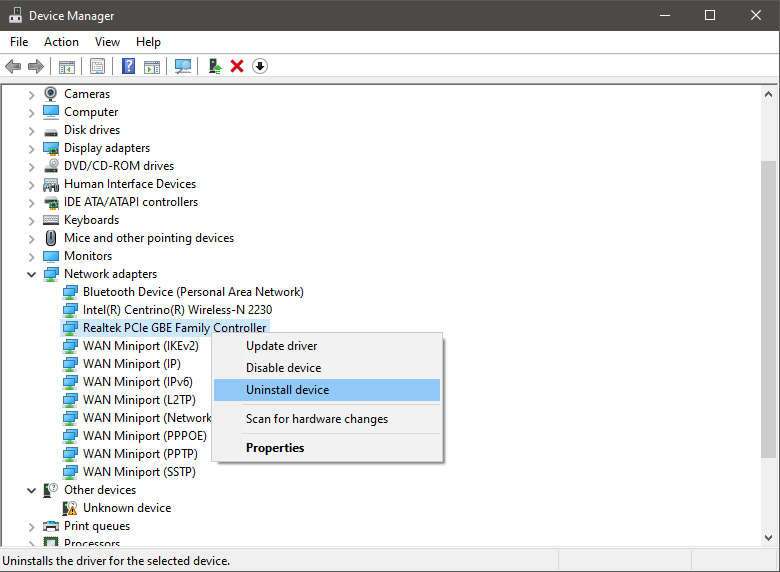
 In the Device Manager expand Network adapters, choose adapter, right-click on it and choose Uninstall.
 Install latest driver or reboot so Windows will install the driver automatically
 In command prompt type next line and press ENTERDEL /F /S /Q /A “C:\Windows\System32\drivers\mfewfpk.sys
Reboot the system
In command prompt type next line and press ENTERDEL /F /S /Q /A “C:\Windows\System32\drivers\mfewfpk.sys
Reboot the system How to switch
 Conclusion