Error Code 0x8007232B (Code 0x8007232B) – What is it?
Error code 0x8007232B (Code 0x8007232B) is an error that occurs when you attempt to activate Windows Server 2008 or Windows Vista.
Common symptoms include:
Attempting to activate Windows 7, Windows 8, or Windows Server 2012 and you receive an error message.
The error message says: “Windows could not be activated. Key management services host could not be located in domain name system, please have your system administrator verify that a KMS is published correctly in DNS”
The error message says “The directory name, file name, or volume label syntax is incorrect”.
Error Causes
Error Code 0x8007232B occurs when you attempt to use media that is volume licensed to install: Windows 8, Windows 7, Windows Vista Enterprise, Windows Vista Business, Windows Server 2012, Windows Server 2008, Windows Server 2008 R2.
This error code also occurs when the activation wizard is unable to connect to a Key Management Service host computer.
Further Information and Manual Repair
Error code 0x8007232B can be seen when you are trying to activate windows, on several different operating systems. This problem can usually be easily corrected, but in the event that it can't, please contact a computer repair technician. When you try to install any of the previously mentioned Windows products, they use a generic product key to install the volume-based license software. If you do have a KMS host computer configuration and see these error codes, that means the correct DNS entries are not being seen on the computer. If there is not a KMS host computer setup, you need to do this setup, otherwise switch to a MAK product key method, and activate the volume license installation that way.
Method One:
Using a Multiple Activation Key as opposed to KMS activation
Click the Start icon, click on All Programs, click on Accessories, right-click on Command prompt.
Click on “Run as administrator”. Type in the password or provide confirmation if prompted for administrator password or confirmation.
When asked for the command prompt, enter in the following and then hit the Enter buuton: slmgr -ipk xxxxx-xxxxx-xxxxx-xxxxx-xxxxx Note: this placeholder represents the MAK product key.
Method Two:
Configure a KMS host server for the clients to activate against.
A KMS host server needs to be configured for the clients to activate against. When there are no KMS host servers configured near you, install and activate a KMS server key. After this, configure a computer on the network to host this KMS software and publish the Domain Name System (DNS) settings.
Method Three:
When the client cannot locate a KMS host on the network for activation:
1. Verify that your computer has the KMS host installed and activated by using a KMS key that is registered in DNS. You will follow these steps to do that:
Click the Start button, click on All Programs, click Accessories, and then right-click on Command Prompt.
Click on Run as Administrator. Type the password or provide confirmation if you are asked for an administrator password or for confirmation.
In the command prompt box, type the following command and press ENTER: nslookup -type=all _vlmcs.tcp>kms.txt
Then open the KMS.txt file generated by this command. The file will contain at least one entry that relays the SRV service location.
2. A KMS host server registers a DNS SRV record once every 24 hours by default. You should check the registry to see if the KMS host server is registering with the DNS. Follow these steps to do so:
Click on Start, type in regedit, and then press Enter.
Locate HKEY_LOCAL_MACHINESOFTWAREMicrosoftWindowsNTCurrentVersionSL and then click on it.
The KMS server does not register in DNS if the DisableDnsPublishing subkey is existing and has a value of 1. If this subkey is missing altogether, create a DWORD value called the DisableDnsPublishing. If the dynamic registration is suitable, the subkey value should be changed to 0. Right-click DisableDnsPublishing, click on Modify, enter 0 into the Value data box, and click OK.
intelppm.sys blue screen of death is linked to an outdated driver, if you received this error do not sweat we have simple solutions for you. Please keep on reading in order to find out what can you do to fix this error.
Update driver
Go to the device manager and manually update old-dated drivers. Note that this will take some time because you will need to update each device manually through the device manager but in the end, it will fix the issue.
Use automated application
Instead of going through each device one by one manually get a dedicated driver fixing device like DRIVERFIX and update all drivers automatically.
Many users would probably agree that the Windows Media Player, in most cases, is a lot better than the Groove. Although it is understandable why the Groove Music app was created, it may be time for Microsoft to bring its focus back on Windows Media Player. Even more, so that some users are experiencing an issue where they were not able to play their playlist in the Windows Media Player on their Windows 10 PCs.
One particular user claimed that when he removed his music from the C drive and transferred them to the C drive for some reason he didn’t state. Right after he did that, any attempts to play songs in the Windows Media Player just don’t seem to work. Transferring music to a different location shouldn’t cause any issue but for some unknown reason, it did. According to security experts, the reason why the Windows Media Player didn’t play the playlist is that it still believes that the songs are still located in the C drive when they’re really not. So the question here is, how can you get the Windows Media Player to recognize the exact and correct location of the songs? Worry not, for this post will show you how exactly you can do that.
Carefully follow each one of the instructions given below to fix the Windows Media Player issue.
Option 1 – Try running the WMP Troubleshooters
In case there are any issues with the Windows Media Player, you can always count on the WMP Troubleshooters to fix the problem for you. These built-in troubleshooters, namely, Windows Media Player Library and Windows Media Player DVD Troubleshooters can help you fix the problem, so run them both and see if you can now play those songs or not.
Option 2 – Try rebuilding the Windows Media Player Database
If the first option didn’t work for you, you might have to rebuild the Windows Media Player database. You can do this by following the steps below.
Tap the Win + R keys at the same time to open the Run dialog box.
After that, copy and paste this command in the field: %userprofile%Local SettingsApplication DataMicrosoftMedia Player
Once you’ve pasted the command, hit Enter then you will see a new File Explorer which is the folder for the Media Player. You will have to delete every item in this folder, except for the folders. Meaning to say, you must only delete the individual contents inside but not the folders.
Now launch the Windows Media Player again and watch as it rebuilds the music library automatically.
Hal.dll error is a type of dynamic link library error that is common in Windows.
Hal.dll is the critical file in all Windows installations and the error occurs when this file cannot be correctly loaded. Hal is the abbreviation for ‘Hardware Abstraction Layer’. Communication between Windows and different PC hardware is facilitated with this file.
The error causes inconvenience and hampers your ability to use the hardware.
The error message is displayed in either one of the following formats:
"Windows could not start because the following file is missing or corrupt: C:Windowssystem32hal.dll. Please re-install a copy of the above file."
"Cannot find WindowsSystem32hal.dll"
"C:WindowsSystem32Hal.dll missing or corrupt: Please re-install a copy of the above file."
Solution
Error Causes
Hal.dll error occurs due to multiple reasons. These include:
BIOS are not configured properly
Damaged hard drive
Hal.dll file is missing, damaged, or corrupt
Viral Infection
Further Information and Manual Repair
To fix and resolve the Hal.dll error code on your system, you don’t always have to hire a professional technician for the job.
Though Hal.dll error is critical but easy to resolve, here are some solutions that you can try to fix it right away even if you don’t have any technical expertise.
1) Restart Your PC
Sometimes this can be a temporary error, so try restarting your PC. If the error is resolved then that’s great. However, if it still persists, then try other solutions.
2) Change the Boot Order
The underlying cause for the Hal.dll error is often not properly configured BIOS; if this is the cause, simply change the boot order of the bootable devices like your hard drive.
The BIOS setup utility is used to change boot order settings. This can be done by restarting your PC. Once you restart, press F2 to enter the setup. Now go to SATA operation and change RAID AHCI to RAID ATA.
Save changes and then exit. By doing so, you will be able to re-configure the BIOS and resolve the error.
3) Use BOOTMGR
Another way to resolve is to update the volume boot code to use BOOTMGR.
To do this, access advanced startup options, open the command prompt and type bootsect command and then press Enter. Run the command and then you’ll get the following message:
C: (\?Volume{37a450c8-2331-11e0-9019-806e6f6e6963})
Successfully updated NTFS filesystem bootcode.
Bootcode was successfully updated on all targeted volumes.
After that close the command prompt. This is most likely to resolve the error.
4) Repair Registry With Restoro.
In case the error is still not fixed, then this means that the problem is bigger than you thought. It may be due to hard drive failure, viral infection, or sometimes because of hal.dll file corruption. In the event of these error causes, it is recommended to download Restoro.
Restoro is an advanced, next-generation, and multi-functional PC repair tool embedded with numerous utilities like a registry cleaner, an antivirus, and a system optimizer. The registry cleaner utility:
Scans for all registry issues
Wipes out the unnecessary files saved in the hard drive like the junk files, cookies, internet history, and temporary files
The antivirus utility scans and removes all malicious software from your PC including viruses, Trojans, malware, adware, and spyware. Simultaneously, it also boosts the speed of your system.
It is safe and efficient PC repair software. It has simple navigation and a user-friendly interface. Whether you are using Windows 7, 8 or Vista, it is compatible with all. It can also be used on Windows XP.
Click here to download Restoro and resolve the Hal.dll error today!
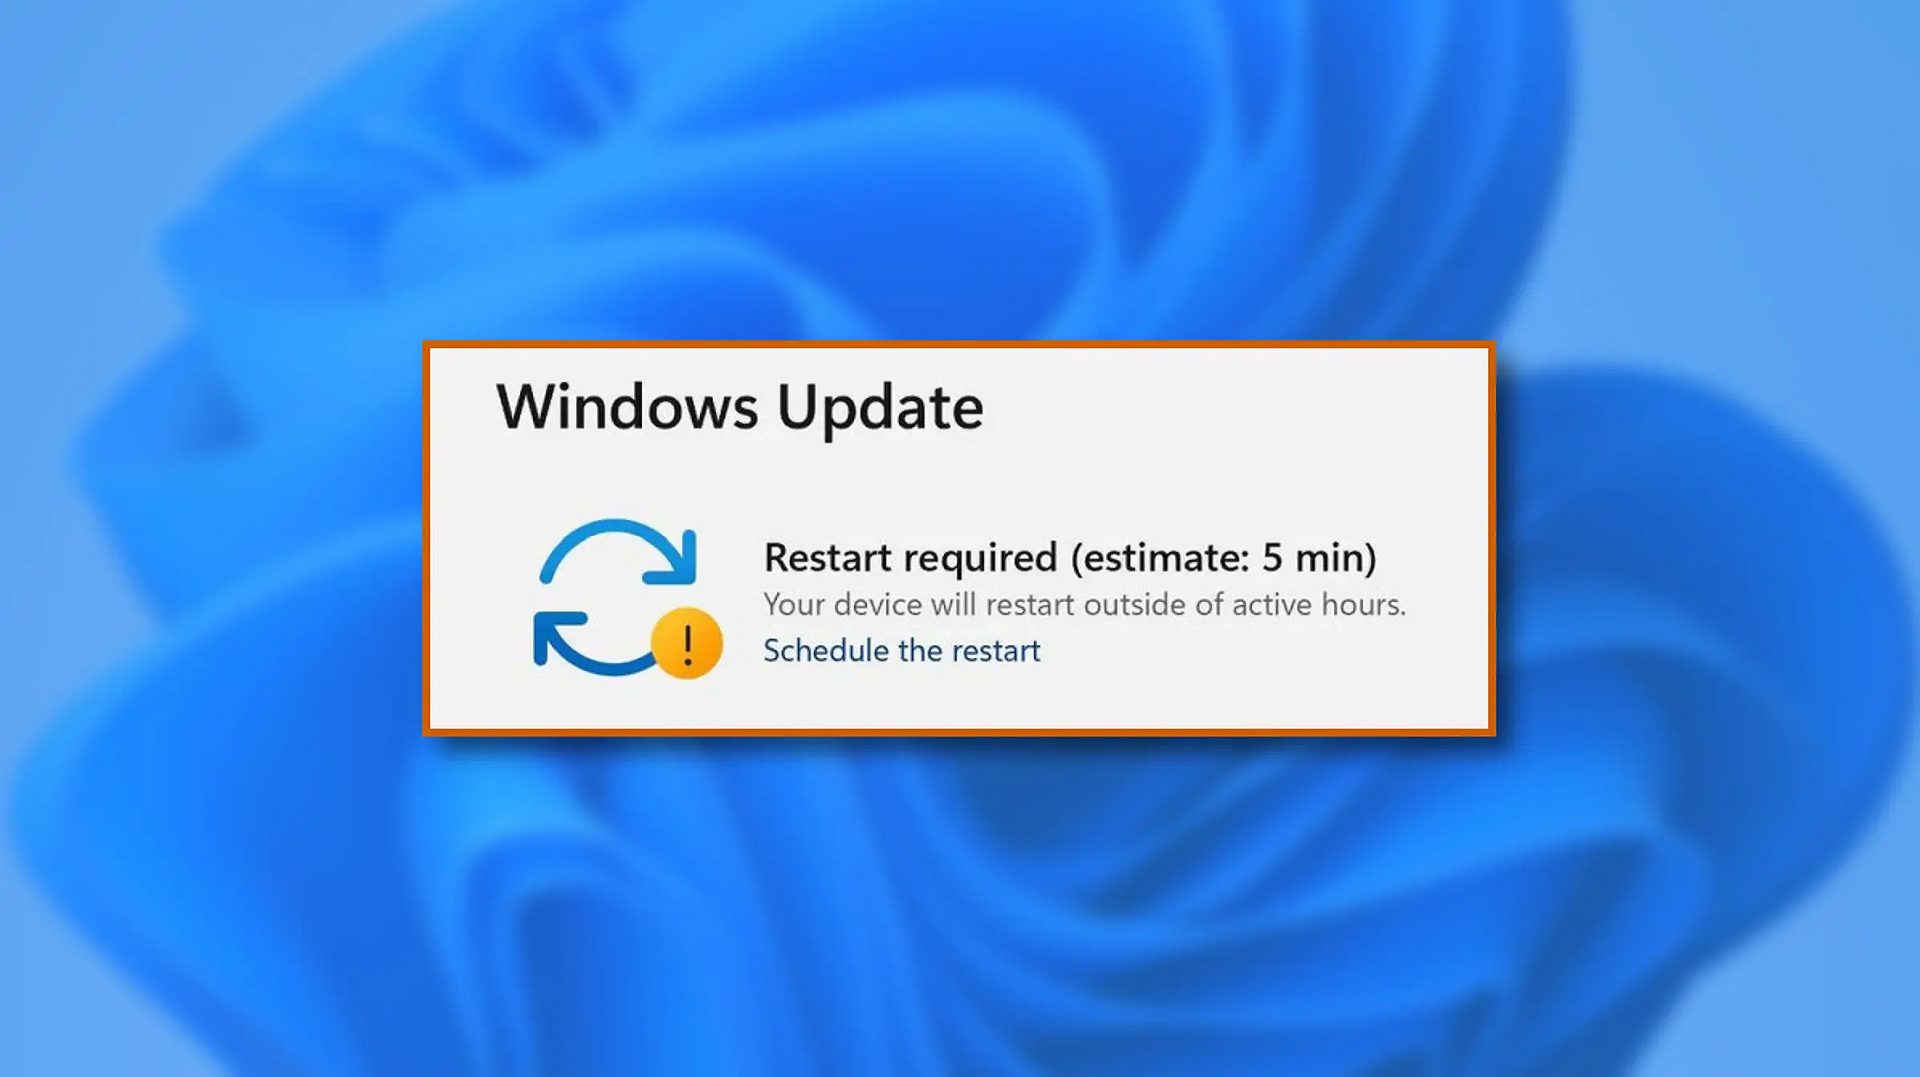
When Windows 11 update is available but you do not wish to restart right away because you are in the middle of using a computer, you can schedule a restart for up to 7 days. It is very easy and we will show you how to do it.
Press ⊞ WINDOWS + I to open settings
Click on Windows Update
At the top, under the Restart required to click on Schedule the Restart
Click the switch under Schedule a Time to turn it ON
Use the Pick a Time and Pick a Day menu to set time and day when you want to update
Go back to one screen and visually confirm that the date is set
Close the settings
The scheduled restart will be confirmed in a message on the Windows Update page.
Modem Error 633 error is a dial-up error that usually occurs when using a USB modem with a Windows computer. The Modem Error 633 error message is displayed as the following:
“Error 633: The Modem is already in use or not configured properly.”
Solution
Error Causes
This error can be triggered due to several reasons such as:
A software program conflicts with the USB modem
The modem is not configured properly
The Telephon.ini file is missing or damaged
There is some issue with the way Windows is managing the communication (COM) ports on your computer.
Further Information and Manual Repair
If you experience the Modem Error 633 on your PC, you don’t have to panic. Though this error does not pose any major threats like data loss, it may hamper your ability to use the internet therefore it is advisable to resolve the error.
Repairing the Modem Error 633 is quite easy. There are a number of ways to fix this error. So, let’s get started:
Solution 1: Delete Incompatible Software and Non-Present Modems
Click on the start menu and go to the ‘Control Panel’. Now choose the option ‘Phone and Modem’.
Here you will see three tabs, the dialing rules, modems, and advanced. Choose the tab ‘Modems’. As you click on it, you will see modems installed on your PC. To repair the Modem Error 633, select and remove all the incompatible software and modems that are not present and click ‘OK’.
Now to bring the changes into effect, restart your system with the modem plugged in and try connecting to the internet again.
Solution 2: Change the Communication Ports
If the error occurs because the modem is not properly configured, then this solution is possibly the best way to resolve this error. Here’s what you need to do:
Click on the Start menu and choose My Computer.
Now click on the option ‘Manage’ to open the Computer Management Window.
Once it opens, click the option ‘Device Manager and then expand the option modems. Click on Properties, then the Advanced tab, and the Advanced Port Settings button.
As you click on the Advanced Port Settings, then click on the COM Port Number drop-down box.
Choose a new Communication Port. However, make sure it is not already in use.
Once you make changes, click ‘OK’ and then restart your PC.
Now Open Device Manager again. Open the Modern Properties Window and then Click the Diagnostics tab.
After that view the command response window to verify if the error is fixed. If yes, then create a new dial-up connection and connect to the internet with ease.
Solution 3: Disable the Startup items
Another way to resolve Modem Error 633 on your PC is to go to the start menu and type ‘msconfig’ into the search box and then press ‘enter’.
Open the misconfig.exe program. As you open it, you will see 4 tabs, General, Boot, Service, Start-up, and Tools.
Now click on the ‘Start-up’, ‘Disable All’, and then press Apply.
After you press Apply, a window will pop up asking to restart the computer.
Confirm it and click restart.
Once the computer restarts now try connecting to the internet again. This will hopefully resolve the Modem Error 633.
Stable Diffusion is a machine learning model developed by Stability AI to generate digital images from natural language descriptions. The model can be used for different tasks like generating image-to-image translations guided by text prompts and upscaling images.
Unlike competing models like DALL-E, Stable Diffusion is open source and does not artificially limit the images it produces. Stable diffusion was trained on a subset of the LAION-Aesthetics V2 data set. It can run on most consumer hardware equipped with a modest GPU and was hailed by PC World as "the next killer app for your PC".
Since Stable Diffusion is run locally and not in the cloud, as mentioned there is no limit to the number of images that you can produce but in order to use it you will have to get down a little dirty with setting your PC environment for it since it is not really an application, it is a command line text based descriptor that will use python to generate your images, so there is no install nor GUI.
In this guide, we will show you how to both install and run Stable Diffusion on your local PC so you can start producing some cool images all by yourself.
Hardware and software requirements
Make no mistake, Stable Diffusion will not run on a potato PC, in order to harvest the power of AI-generated imagery this is what you will need:
A GPU with at least 4GB of VRAM
10GB of hard disk space
Python and libraries (Miniconda3 installer will install everything you need)
The Stable Diffusion files
Git
Any OS (Windows, Linux, macOS)
Installing components
For this tutorial, we are covering the installation and running of Stable Diffusion on Windows PC. The steps presented here are presented in a way that installation can be performed on any operating system but precise instructions will be for Windows OS.
GIT
The first thing to do is to install GIT. It is a tool that will let you easily maintain and install repos from the internet. to install it go to: https://git-scm.com/ and click on download. Follow the instructions for your version of the operating system. If you are a developer you are familiar with GIT and if you already have it installed you can skip this step.
One thing that is important when installing GIT locally is to select to use it via the command line (the second option that says "Git from the command line and also from 3rd-party software").
Miniconda3
Now when we have GIT installed, next thing is to use Miniconda3 to install python and all required libraries that are needed. Get the installer at: https://docs.conda.io/en/latest/miniconda.html
Miniconda3 is basically an easy installer so you do not have to install tons of stuff manually from different websites and sources, it is nicely packaged in the installer that will take care of everything.
Stable Diffusion
After the previous two steps, we are ready now to actually install Stable Diffusion. Go to https://huggingface.co/CompVis/stable-diffusion#model-access and install the latest library (as of the writing of this article currently it is stable-diffusion-v1-4-original, the last one on the right), the library is almost 5GB in size so be prepared for big download.
Once downloaded click on the Windows start button and type in Miniconda3 and click on open. Create a folder and name it how you want on a drive of your choice. For this example, we will install it all in disk C under folder AI_art, follow the instructions below but use your own names and destination instead. Do not close Minicoda3 after typing commands!!!
cd c:/
mkdir AI_art
cd AI_art
Extract GitHub files that you have downloaded into your new folder and get back to Minicoda3 and type the next commands:
Let the whole process finish, some files are large and it might take a while. After the whole process is finished and completed, copy the checkpoint file that you have downloaded into: C:\AI_art\stable-diffusion-main\models\ldm\stable-diffusion-v1
After the file is copied rename it to model.ckpt and you are finished.
Running Stable Diffusion
The created environment is needed in order to actually use Stable Diffusion to create images. Each time you want to use it you will have to run it, so go into Miniconda3, and inside it type:
conda activate ldm
cd C:\AI_art\stable-diffusion-main
after we are inside the folder call the script with the parameters:
python scripts/txt2img.py --prompt "TXT DESCRIPTION OF IMAGE THAT YOU WANT TO CREATE" --plms --n_iter 5 --n_samples 1
and that's it, your image is created and it is located in C:\AI_art\stable-diffusion-main\outputs\txt2img-samples\samples
There is no doubt that the VLC media player is one of the best kinds of media players available today. However, it is not without any issues and one of the common issues encountered by users is VLC’s inability to be updated. And when you try to update VLC, you only get an error message saying, “An error occurred while checking for updates”.
This inability to update VLC can be quite a headache for many users especially the ones who are facing other issues in VLC and has to update it in order to resolve them. So how will you update VLC and fix its issues when you can’t even update it in the first place? Worry not as this post will help you out. Refer to the suggestions laid out below to resolve the issue in updating VLC.
Option 1 – Check if VLC is not being blocked by the Firewall
There are instances when the Firewall like the Windows Defender Firewall blocks VLC for some unknown reason without your knowledge. Thus, you need to allow VLC to get past the Firewall in order for you to fix the issue else you won’t be able to send out a network communication. To do that, follow the steps below.
Tap the Windows key + I to open the Settings app.
Then click on the Update & Security option.
After that, click on Windows Security and click the Open Windows Defender Security Center option. This will open the Windows Defender antivirus and antimalware program.
From there, click on Firewall & network protection.
Next, click on Allow an app through Firewall. You should see a list of programs. Scroll down until you see VLC and make sure that all the boxes are ticked including the Public and Private ones.
Once you’re done, restart your PC and then try updating VLC again.
Just open VLC and select the Help menu and click on Check for Updates.
Option 2 – Try running the VLC media player as an administrator
There are programs designed for Windows 10 that won’t work fully unless some parameters are met. In most cases, starting the program as an admin should resolve the problem, thus, that’s what you have to do to try and fix the “An error occurred while checking for updates” in VLC.
First, right-click on the VLC Media Player desktop icon and then select the “Run as administrator” option or you could also right-click on the icon and click on Properties.
After that, click the Compatibility tab and then tick the box labeled “Run this program as an administrator”.
Next, click the OK button and then open VLC again and try updating it. That should fix the problem.
In case you don’t know, there is a built-in tool in Windows 10, known as Reliability Monitor that provides a day-to-day snapshot of the health of your system. It warns users of any looming issues or disasters before your computer breaks down finally. So obviously, Reliability Monitor is useful, however, there are times when it could behave incorrectly. For instance, it might fail to show you any updates even when they are installed. Thus, if you experience any malfunctions with the Reliability Monitor tool in Windows 10, read on as this post will guide you in updating or working in Windows 10.
To fix the problem with the Reliability Monitor, there are several fixes you can check out. You can try to enable the data collection for Reliability Monitor or reset it, as well as put your computer in a Clean Boot State. For more information, refer to each one of the options given below.
Option 1 – Try to enable the Data Collection for Reliability Monitor
The Reliability Monitor tool uses data provided by the RAC Agent scheduled task and it will start to display a Stability Index rating and specific event information 24 hours after the system installation. The RACAgent scheduled task, by default, runs after the operating system is installed. And if it is disabled, it must be manually enabled from the Task Scheduler snap-in for MMC or Microsoft Management Console. Thus, you need to enable the Data Collection for Reliability Monitor to fix the problem.
Option 2 – Try to reset the Reliability Monitor
The next thing you can do to fix the issue with the Reliability Monitor might want to reset it to resolve the problem. If the Reliability Monitor is already open, you have to close it and open it again. After the reset is done, it may take up to 24 hours for the Reliability Monitor to display results again. This should fix the problem.
Option 3 – Troubleshot the problem in a Clean Boot State
There are some instances that some conflicting programs installed in your computer might be the one that’s causing the Black border issue. To identify which program is causing the problem, you need to put your computer in a Clean Boot State. To do so, follow the steps below.
Log onto your PC as an administrator.
Type in MSConfig in the Start Search to open the System Configuration utility.
From there, go to the General tab and click “Selective startup”.
Clear the “Load Startup items” check box and make sure that the “Load System Services” and “Use Original boot configuration” options are checked.
Next, click the Services tab and select the “Hide All Microsoft Services” check box.
Click Disable all.
Click on Apply/OK and restart your PC. (This will put your PC into a Clean Boot State. And configure Windows to use the usual startup, just simply undo the changes.)
From there, start to isolate the problem by checking which one of the programs you installed recently is the root cause of the problem.
The Error Code 0xC1900208 – 0x4000C is an error that is caused by an installed application or program on your computer that is not compatible with Microsoft Windows 10. The incompatible application prevents you from being able to complete the upgrade to Microsoft Windows 10 and will continue to do so until the issue is resolved.
Common symptoms include:
You receive a dialog box displaying Error Code 0xC1900208 – 0x4000C
You are unable to successfully complete the Microsoft Windows 10 upgrade process.
Solution
Error Causes
Error Code 0xC1900208 – 0x4000C is caused by a non-compatible application or program that is currently installed on your computer, and is not allowing the Microsoft Windows 10 upgrade to finish the installation and update process.
The upgrade is stopped due to an incompatible app or program.
Out of date or no longer supported software can cause this error to occur.
Device drivers that are not up to date or no longer compatible.
The computer might pick up malware along the way and might be preventing the upgrade. If error code 0xC1900208 – 0x4000C is not rectified, you’ll not be able to proceed with your Windows 10 upgrade.
Further Information and Manual Repair
The good news is, error code 0xC1900208 – 0x4000C is a relatively common problem that is usually easily fixed by the user at home, though it can be a little time-consuming. To elude this time-consuming process, use a powerful tool to rectify the issue in no time (TSC). Before making any attempts to repair this error, ensure to perform a compatibility test.
Check the compatibility of applications and programs installed on your computer to locate and remove, or fix the one that is incompatible. (Don't stop at the first one you find, there could be multiple incompatibility issues.)
Check to ensure all programs and software are not outdated or no longer supported, and remove or fix any outdated or unused, unnecessary programs or software. (This is also a great way to free up space and clean your computer up a bit.)
Check to ensure that all of your device drivers are current, up to date, and compatible with Microsoft Windows 10, and replace or update where necessary.
Method 1:
Use the get Microsoft Windows 10 application on your computer to check its compatibility, follow the steps below to run the check.
Look at the taskbar, to the right; you will see an icon for Microsoft Windows 10, right-click the icon. Locate the option in the menu to check the status of your upgrade. This will open an app for getting Microsoft Windows 10.
Next, you will see 3 lines on top of one another on the upper left side, this will open a drop-down menu, once you have this menu open, locate the option to check the compatibility of your computer.
Microsoft Windows will then run a check of your entire computer to check for compatibility with Microsoft Windows 10. Once it has finished its check, a pop-up window will display whether or not your computer will work with Microsoft Windows 10, and will also display a list of any hardware and software that are not compatible with the upgrade.
This may not catch everything and there may still be incompatible programs so the previous steps, though time-consuming may still be necessary.
Method 2:
Once the incompatible applications are discovered, use the control panel to remove/uninstall them. The steps are below:
Locate your computer’s Control Panel.
Choose the option that says “Programs”
From the options available, select the ‘Programs and Features’ link.
Locate the app in the queue or menu.
Right-click and choose the uninstall option.
… another option
You can also locate the app on the ‘app homepage’, right-click and choose the ‘uninstall’ option. If after following these steps the problem is still not corrected, download and install an automated tool for a quick fix.
Still sitting on the fence about upgrading to Windows 11 because you don’t know what to expect? Interestingly, the new edition somehow manages to be both a total revamp and still very similar to its predecessor in many ways. It’s really something to experience for yourself.
We do want to give you a sneak peek, though. So here’s an overview of the biggest changes Windows 11 brings to the table.
What’s different in Windows 11?
1. Visual changes
The first thing anyone will notice after switching to Windows 11 is the striking visual difference. The entire interface is smoother, cleaner and more minimalistic than on Windows 10, even resembling the macOS in some instances. Perhaps the most obvious change in appearance is the Start menu and Taskbar location, which is now at the bottom center. It’s actually very neat, but if you’re someone who loves familiarity, don’t worry, you can move it back to the left.
Centralized Taskbar and Start menu
Moreover, you’ll notice that the Taskbar includes a Microsoft Teams icon by default (which you can, of course, remove) and that Live Tiles are gone. The News and Interests section has also been removed - or, shall we say, replaced. As opposed to Windows 10, news, weather forecasts and other information are now displayed as widgets.
To add to the cleanliness of the UI, Microsoft also enhanced the ‘Snap Layouts’ feature to help you better organize your windows and maximize screen real estate. It’s similar to app grouping on your smartphone. In Windows 10 this feature is slightly restricted, as it requires some manual resizing and dragging. In Windows 11, you can just hover over the minimize/maximize option on a window, select a layout and throw the windows in there.
Snap Layouts
2. New accessibility features
Microsoft has certainly paid attention to accessibility with Windows 10, but Windows 11 takes this to a whole new level.
One of the ways Windows 11 has taken things up a notch is by adding the long-awaited ‘Live Captions’ feature and advanced Narrator options.
Live Captions apply both to media played on your PC as well as your own speech when you’re using the microphone. Keep in mind that, as with almost all kinds of subtitles, you have to be prepared for a potential delay. However, it’s barely noticeable and doesn’t take away from the usefulness of this awesome new feature whatsoever.
As for the Narrator, there are three new voice packs to choose from. Microsoft has tried to put emphasis on a more natural voice than we are used to. So, now you can choose between Aria, Jenny and Guy, who will read pretty much anything off your screen out loud. Aside from this, Microsoft has also expanded the list of braille displays supported by the Narrator feature. For users with anxiety or trouble concentrating, a welcomed addition is the Focus app, which is no longer part of the Clock app. It’s now separate and called ‘Focus Sessions’, automatically triggering the Do Not Disturb mode when activated. It blocks all pop-ups and flashes and lets you work in peace until you’re ready to switch it off.
3. Android apps
Android users may rejoice! Windows 11 supports the use of your favorite applications now.
Microsoft has done this by integrating the Amazon Appstore to the Windows 11 Microsoft Store. From there, you can download your favorite Android apps and use them on your PC in a smartphone-like window.
Unfortunately not too many apps are supported at this time, but Microsoft is working on making the emulation possible for many more. Also, the option is only available in specific regions at this moment - check out if you’re one of the lucky ones.
4. Improved gaming performance
Avid gamers will be happy to hear that Microsoft has put some effort into streamlining Windows 11 for their gaming needs.
To give gamers a supreme visual experience, Windows 11 offers the ‘Auto HDR’ feature. As long as your monitor is HDR-compatible, this feature will automatically adjust the colors, brightness and contrast of games without any input from you.
Another update is DirectStorage, which we were introduced to in Windows 10 already. In Windows 11, it’s been improved to tweak loading times and overall gaming performance efficiency even better. The predisposition for it to work optimally is that your device has an NVMe SSD.
The Xbox Game Bar also helps gamers towards a smoother experience. It allows in-game screenshots, viewing processes that are running (similar to the Task Manager), monitoring the CPU and GPU performance and frame rate, integrating the Xbox App and more. There’s also a number of widgets you can now use with the Game Bar, for example the Spotify widget.
Xbox Game Bar
Another cool addition is the Xbox Game Pass, which unlocks hundreds of games to play on your Xbox App, with new additions coming in every month.
5. Smart App Control
Aside from a sleek new look and better accessibility for all users, Windows 11 also comes with a security power-up. Bear in mind that this feature is only available on clean Windows 11 installs.
Smart App Control (SAC) is an AI-powered new feature designed to protect your PC from potential threats. It blocks untrustworthy apps and adware and helps detect potentially unwanted apps, maintaining your PC’s performance and keeping your system safe.
It comes with an ‘Evaluation’ mode, which you should definitely select when running SAC for the first time. That way, the app monitors your usage and assesses whether you’re a candidate for SAC. Some users need it to be on all the time, for others it might be too distracting. Evaluation mode will turn SAC on or off based on your usage.
Don’t disable SAC again unless you’re absolutely sure you don’t need it, since reenabling it will require a fresh install. We recommend you don’t turn it off, as it is a neat feature protecting your data and files from malware at all times.
Summary
Have we piqued your interest in trying Microsoft’s latest OS? It’s a pretty exciting new iteration, but we’ll let you find out for yourself. We hope you like it!


 When Windows 11 update is available but you do not wish to restart right away because you are in the middle of using a computer, you can schedule a restart for up to 7 days. It is very easy and we will show you how to do it.


