Error Code C19000101 - 2000B is a Blue Screen of Death (BSOD) error encountered by Windows users in an attempt to upgrade their operating system from Windows 7 or Windows 8/8.1 to Windows 10. The system upgrade does not successfully finish and when the installation is resurrected, it fails then reverts back to the original operating system. More and more Windows users come across this error that may have been triggered by a few reasons to be discussed in this article.
 Error Causes
Microsoft users can experience the BSOD error C19000101-2000B due to the following reasons:
In fixing error code C19000101-2000B, you can try doing it manually. Manual repair methods can offer users solutions effectively and efficiently, having to address the root causes and issues in relation to a number of Windows error codes. If properly implemented, these manual repair methods can help Windows users resolve problems at hand immediately. However, there are cases where the help of a Windows professional is necessary. In such instances, it would be best to consult a certified Windows expert or you can also try using a powerful automated tool whenever needed.
To be able to fix error code C19000101-2000B, implement the first method used in resolving error code 0xc000021a, then you can proceed with this first method:
If you are upgrading to Windows 10 using Windows Update, you can perform a manual repair using the next method.
Net stop wuauserv
Net stop bits
Net stop msiserver
Net stop cryptSvc
Net start wuauserv
Net start bits
Net start msiserver
Net start cryptSvc

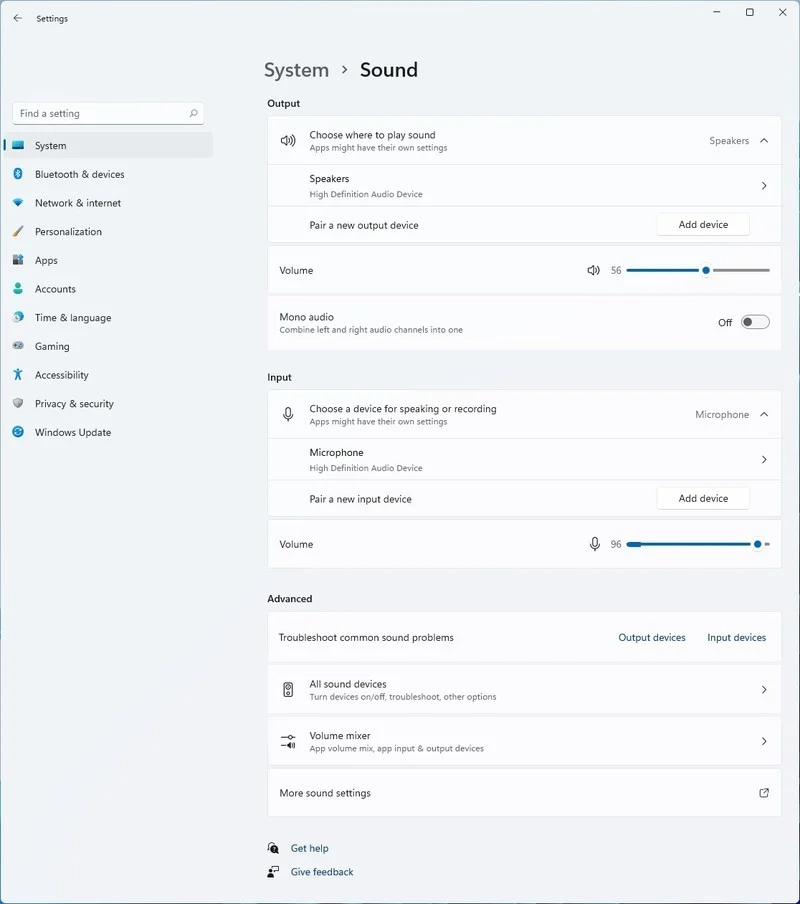 Windows 11 has brought some new features and changed some of the existing ones. One of these changes includes quick switching of audio devices which will play audio.
Audio switching can still be done under the taskbar, it is just a little different and one could say even hidden. Follow this quick guide and you will be switching from your headphones to speakers as an example in a matter of seconds.
Windows 11 has brought some new features and changed some of the existing ones. One of these changes includes quick switching of audio devices which will play audio.
Audio switching can still be done under the taskbar, it is just a little different and one could say even hidden. Follow this quick guide and you will be switching from your headphones to speakers as an example in a matter of seconds.
CHKDSK [volume [[path] filename]] [/F] [/V] [/R] [/X] [/C] [: size]]Note: In the command given above, “[/F]” will try to fix the system errors while “[/R]” will be the one to fix the bad sectors.
Error Causes When File Explorer opens go to VIEW > OPTIONS. Inside options select “Show hidden files, folders, and drives”, uncheck “Hide protected operating system files (Recommended)”, and click APPLY > OK
Go to the recycle bin and check to see if files have managed to show up.
When File Explorer opens go to VIEW > OPTIONS. Inside options select “Show hidden files, folders, and drives”, uncheck “Hide protected operating system files (Recommended)”, and click APPLY > OK
Go to the recycle bin and check to see if files have managed to show up. In the command prompt type in the following: rd /s /q C:\$Recycle.bin
Reboot your system
In the command prompt type in the following: rd /s /q C:\$Recycle.bin
Reboot your system“Unhandled exception has occurred in your application. If you click Continue, the application will ignore this error and attempt to continue. If you click Quit, the application will close immediately.”When this error occurs, your computer may freeze or display other suspicious behavior at times. Either way, there are several options you can check out in this post to resolve this issue, so read on. This kind of error could be caused by several factors. It could be due to your antivirus program or other third-party programs installed on your computer. It is also possible that the installation of the Microsoft .NET framework id corrupted or some of its installation files are corrupted. Thus, to fix the error, there are a few suggestions you need to follow such as:
Error Causes