Error Code 0x80070057 - What is it?
Error 0x80070057 is a typical Windows 7 error code.
It may occur when you try to back up files by using Windows Backup on Windows 7 and the backup fails. The error message is often displayed as the following:
“An internal error has occurred: The parameter is incorrect: (0x80070057)”
Besides this, you may also experience this error message when you format a hard disk drive to install Windows 7.
Solution
 Error Causes
The error 0x8007005 occurs due to multiple reasons. However, the most common causes for this error code include:
- The partition that is reserved for the system is damaged
- Misconfigured registry keys
- Misconfigured decimal symbol settings
Further Information and Manual Repair
Here are some of the best and easy DIY methods to resolve the error 0x80070057 on your PC.
Solution 1: Change the Decimal Symbol Setting
As mentioned above the error 0x80070057 sometimes can be triggered by misconfigured decimal symbol settings. Therefore, try changing the settings to fix the problem. The error is likely to occur if the decimal symbol is not set to ‘.’ (dot).
This is common in languages and locales other than English such as German.
Here’s what you need to do to change the decimal symbol setting:
- First, open the Control Panel, click the clock, then language, and then region.
- Now click the formats tab and go to the additional settings menu.
- Here you will find the decimal symbol field, now type "." (dot) and then click OK twice.
- After that, you must restart your PC to activate the changes.
Solution 2: Create a New Partition and Reinstall Windows 7
If the error 0x80070057 is linked to partition damage, then this method is the best way to resolve it. Here’s what you need to do:
- Insert the Windows 7 DVD and start the installation.
- Select your language preference to install. Here you will see a screen of the Microsoft License Agreement. Click on the I accept option to proceed with the installation process.
Then click next.
- Choose a custom advance option and select the Disk O partition 1 option.
- Once selected, click delete. When you do this you will be prompted if you want to confirm the deletion, click OK to continue.
- Now repeat the same however now select Disk O partition 2.
Delete this partition as well. Now click New to create a new partition. Here define the disk size and then click apply. Please note, the size of the default value is the maximum size of the disk.
After doing so, select disk 0 partition 2 and then click the formatting tab. Once the formatting is complete, click next to continue Now you will be able to complete the installation of Windows 7 on your PC without any problem.
Solution 3: Add a Registry Key Value
If the underlying cause of the error 0x80070057 is a registry issue, then it is serious as such issues can put your PC at serious risks like system failure, crash, and data loss.
To resolve this error and add a registry key value here’s what you need to do:
Go to the start menu and type Regedit.exe in the search bar and then press enter. Locate and click the following registry sub-key:
HKEY_LOCAL_MACHINESOFTWAREPoliciesMicrosoftSystem. Once you locate it, now go to the edit menu and point to new, and then click DWORD Value. After that, type CopyFileBufferedSynchronousIo and press enter again. Right-click now on the text you just typed and then click Modify.
In the Value data box, type 1 and then click ok and exit the registry editor.
This will fix the error on a temporary basis but not permanently. However, a long-term solution is to clean and repair the registry.
Solution 4: Restoro
The registry gets cluttered with unnecessary and redundant files like junk files, cookies, internet history, and bad registry keys. If these are not removed timely, they can damage the registry and corrupt DLL files. It often leads to disk fragmentation (disk partition) too.
To remove these files immediately, clean and restore the registry and repair the corrupt files, it is advisable to download Restoro.
Why Restoro
- This is an advanced and highly functional Registry Cleaner. It is deployed with a cutting-edge and intuitive algorithm that scans your entire PC to detect all registry issues in seconds. It cleans the cluttered disk and restores the registry back to normal.
- It is safe, bug-free, and efficient. This software is easy to use and compatible with all Windows versions.
- In addition to this, it is also deployed with several other powerful utilities like an antivirus that detects all malicious software and removes them right away. It also functions as a system optimizer and boosts the speed of your PC significantly.
Click here to download Restoro and resolve error 0x80070057 now!

 Microsoft’s initial Windows 11 hardware requirements were not really well received by users and they were not really clearly represented from the start making a lot of potential customers slowly drift away from the hype.
It seems that Microsoft has acknowledged this since they have changed their tune about system hardware requirements for the upcoming Windows 11.
It seems that Windows 11 will be able to be officially installed on unsupported computers but with a little inconvenience.
Microsoft’s initial Windows 11 hardware requirements were not really well received by users and they were not really clearly represented from the start making a lot of potential customers slowly drift away from the hype.
It seems that Microsoft has acknowledged this since they have changed their tune about system hardware requirements for the upcoming Windows 11.
It seems that Windows 11 will be able to be officially installed on unsupported computers but with a little inconvenience.
 When the personalization setting opens go-to color tab on left and scroll down until you find 2 checkboxes under "show accent color on the following surfaces:"
 check ones you wish to apply the effect to and you are done. Now your START menu and/or title bars are using the color scheme of your choice.
 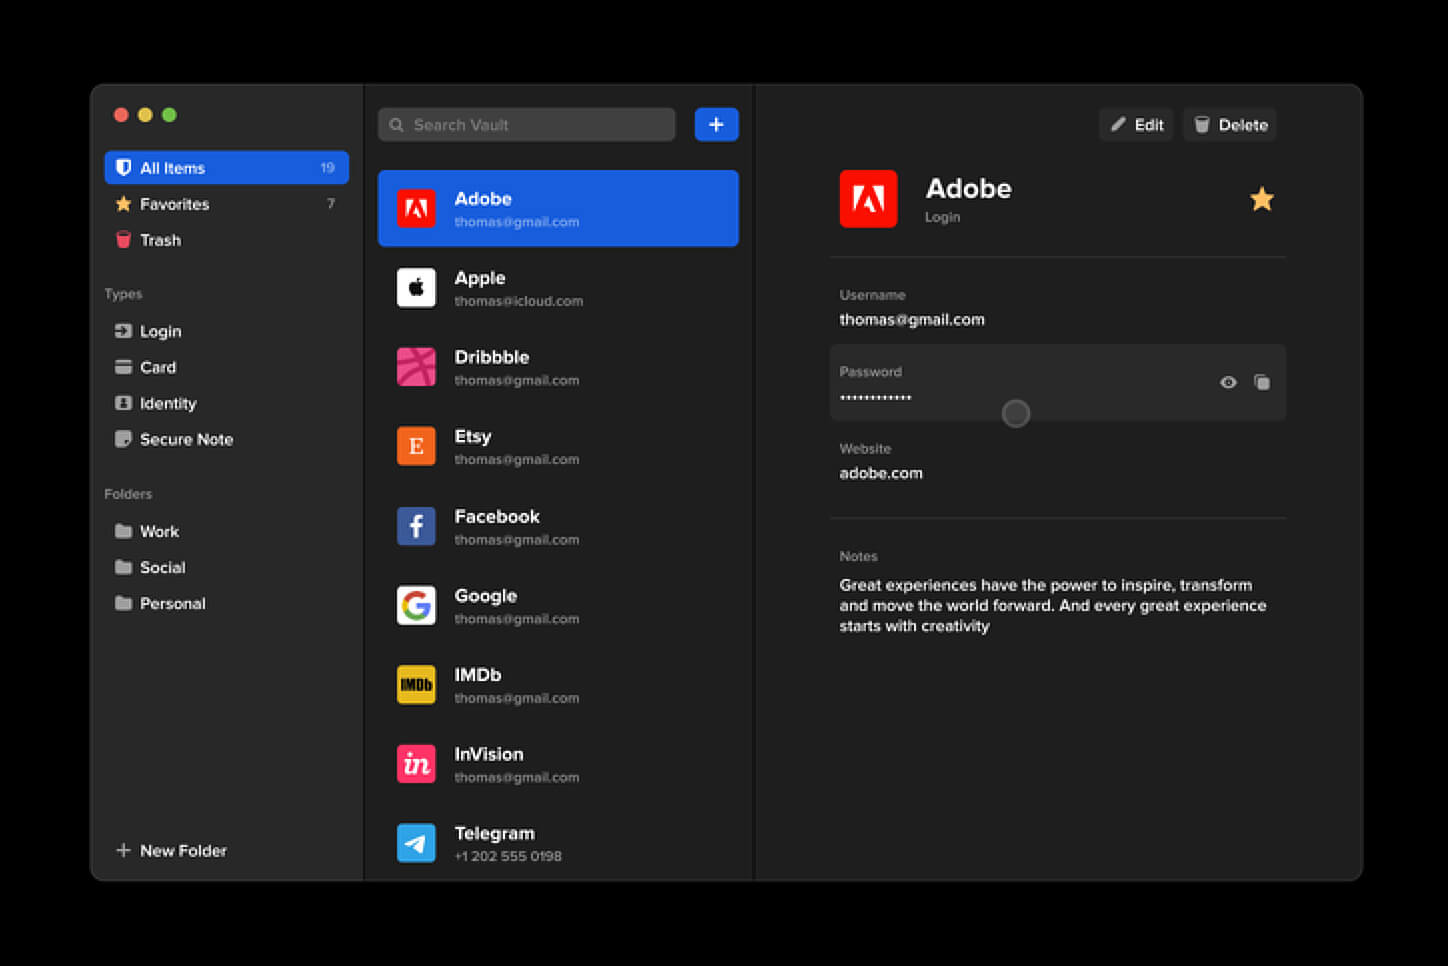 Many times we were talking and writing here on Errortools.com about security, privacy, hacking, identity theft, etc. We tried to raise important security questions and I hope I have managed to at least shed some light and change maybe some bad behaviors for some, helping them embrace better routines about their security on their PC.
In this light, I will today present you with one neat and awesome piece of software, a password manager worth your time and money (if you want premium features): BitWarden.
Many times we were talking and writing here on Errortools.com about security, privacy, hacking, identity theft, etc. We tried to raise important security questions and I hope I have managed to at least shed some light and change maybe some bad behaviors for some, helping them embrace better routines about their security on their PC.
In this light, I will today present you with one neat and awesome piece of software, a password manager worth your time and money (if you want premium features): BitWarden.
 Click on command prompt (admin)
 Type in command prompt following:
 If your disk doesn’t have ample space to accommodate the installation then you should free up some of the space on your disk to make sure the Windows can be installed on it.
You can also reinstall the Windows on another disk that has sufficient space.
If your disk doesn’t have ample space to accommodate the installation then you should free up some of the space on your disk to make sure the Windows can be installed on it.
You can also reinstall the Windows on another disk that has sufficient space.