Error 0x80070057 is a typical Windows 7 error code.
It may occur when you try to back up files by using Windows Backup on Windows 7 and the backup fails. The error message is often displayed as the following:
“An internal error has occurred: The parameter is incorrect: (0x80070057)”
Besides this, you may also experience this error message when you format a hard disk drive to install Windows 7.
 Error Causes
The error 0x8007005 occurs due to multiple reasons. However, the most common causes for this error code include:
Here are some of the best and easy DIY methods to resolve the error 0x80070057 on your PC.
As mentioned above the error 0x80070057 sometimes can be triggered by misconfigured decimal symbol settings. Therefore, try changing the settings to fix the problem. The error is likely to occur if the decimal symbol is not set to ‘.’ (dot).
This is common in languages and locales other than English such as German.
Here’s what you need to do to change the decimal symbol setting:
If the error 0x80070057 is linked to partition damage, then this method is the best way to resolve it. Here’s what you need to do:
Then click next.
Delete this partition as well. Now click New to create a new partition. Here define the disk size and then click apply. Please note, the size of the default value is the maximum size of the disk.
After doing so, select disk 0 partition 2 and then click the formatting tab. Once the formatting is complete, click next to continue Now you will be able to complete the installation of Windows 7 on your PC without any problem.
If the underlying cause of the error 0x80070057 is a registry issue, then it is serious as such issues can put your PC at serious risks like system failure, crash, and data loss.
To resolve this error and add a registry key value here’s what you need to do:
Go to the start menu and type Regedit.exe in the search bar and then press enter. Locate and click the following registry sub-key:
HKEY_LOCAL_MACHINESOFTWAREPoliciesMicrosoftSystem. Once you locate it, now go to the edit menu and point to new, and then click DWORD Value. After that, type CopyFileBufferedSynchronousIo and press enter again. Right-click now on the text you just typed and then click Modify.
In the Value data box, type 1 and then click ok and exit the registry editor.
This will fix the error on a temporary basis but not permanently. However, a long-term solution is to clean and repair the registry.
The registry gets cluttered with unnecessary and redundant files like junk files, cookies, internet history, and bad registry keys. If these are not removed timely, they can damage the registry and corrupt DLL files. It often leads to disk fragmentation (disk partition) too.
To remove these files immediately, clean and restore the registry and repair the corrupt files, it is advisable to download Restoro.
Click here to download Restoro and resolve error 0x80070057 now!

“Microsoft Windows Network: You can’t connect to the file share because it is not secure. This share requires the obsolete SMB1 protocol, which is unsafe and could expose your system to attack. Your system requires SMB2 or higher.”In this post, you will be guided on how to check if the SMB2.0 version can be installed on your Windows 10 computer. To get started, follow the steps below. Step 1: Tap the Win + X keys to open the Device Manager. Step 2: After that, click on the Windows PowerShell (Admin) option. Step 3: In the Windows PowerShell window, type the following command and hit Enter:
Get-SmbServerConfiguration | Select EnableSMB2ProtocolNote: After entering the command, you will see the following content on your screen which means that your Windows 10 computer is now capable of running the SMB2 protocol Now all that’s left for you to do is to enable the SMB 2 protocol on your Windows computer by enabling the SMB 1 protocol first and then upgrading it to SMB 2 afterward. Refer to the steps below for more details. Step 1: Tap the Win + I keys to open the Settings app. Step 2: Then type in “control panel” in the search area and click on Control Panel from the search results. Step 3: After opening Control Panel, click on Programs. From there, select the “Turn Windows features on or off” option under the larger menu of Programs and Features. Step 4: After that, Windows Features will appear on your screen. And from there, make sure that you select SMB 1.0/CIFS File Sharing Support and then click on OK. Step 5: Now let it install all the required files and then restart your computer to apply the changes made successfully. After your computer has restarted, the SMB 2 protocol should now be supported on your Windows 10 computer. Note: On the other hand, you can also enter the following command in the Windows PowerShell window. Just make sure you have admin rights to enable it.
Set-SmbServerConfiguration –EnableSMB2Protocol $true
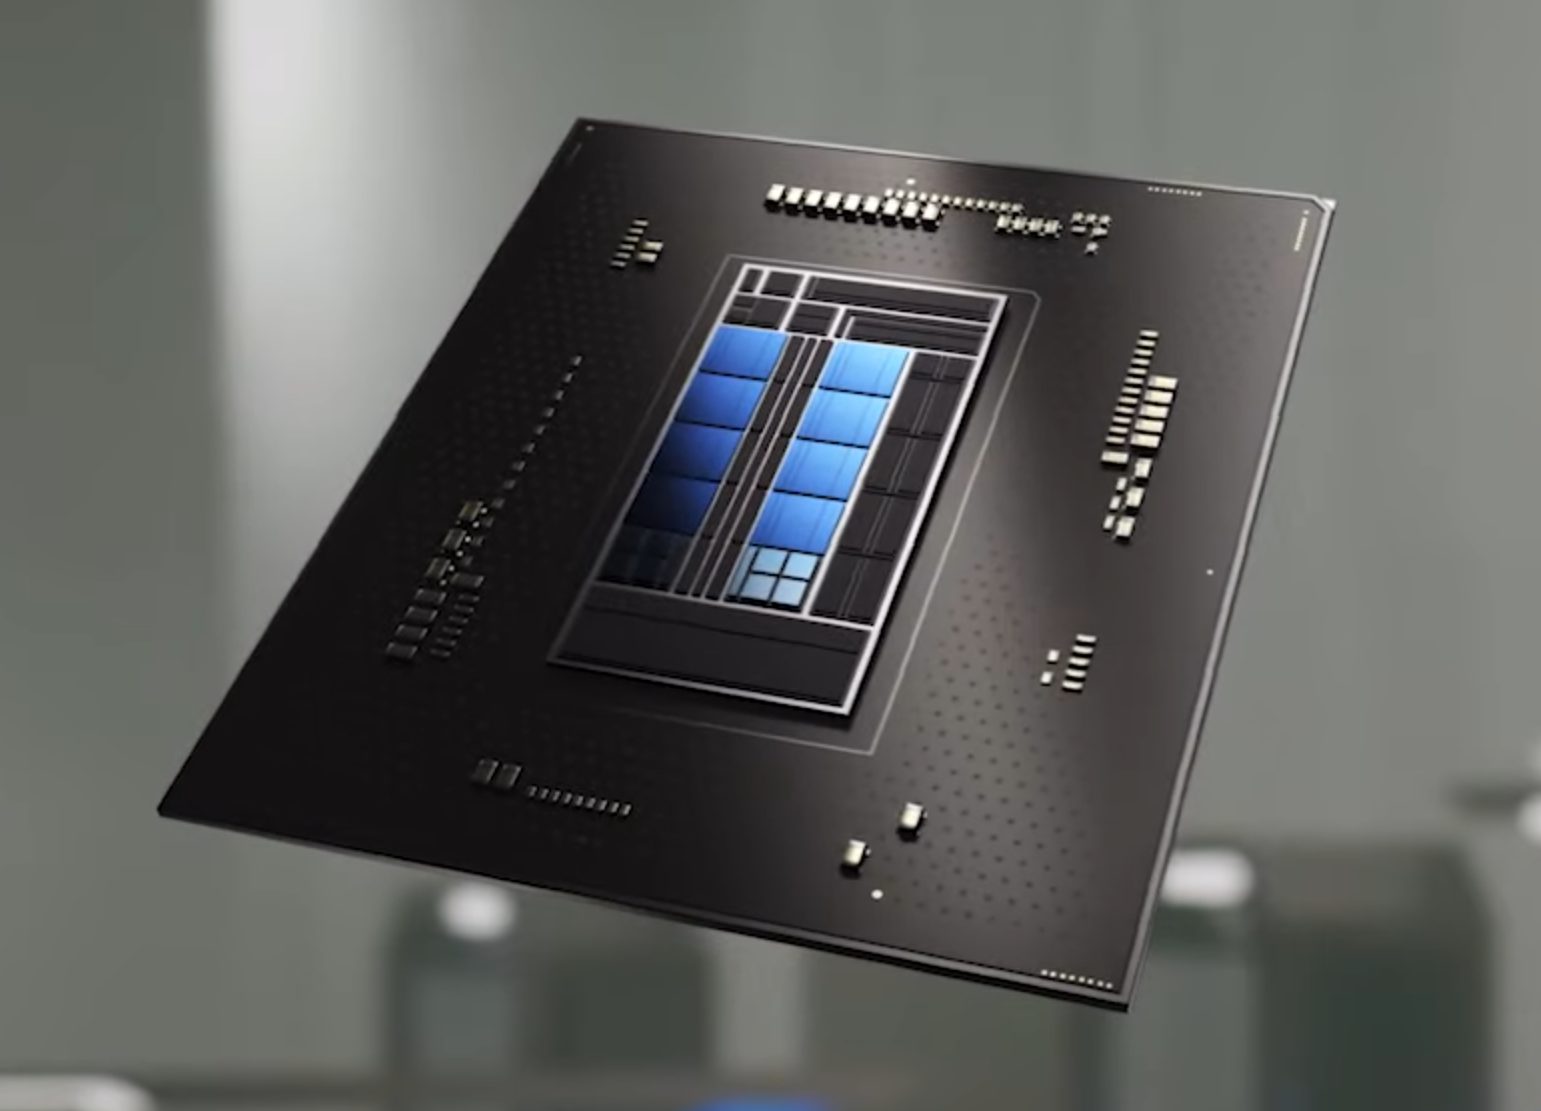 Now before you go on the bandwagon on bashing Intel itself take note that it is not Intel’s fault at all. The issue that arises is mostly due to DRM software and how it works. As you might know or not, Alder Lake has two sets of cores, standard performance cores, and power cores, and with Intel’s Thread Director on-chip right cores will be used for the right tasks, and here lies the issue.
DRM software might detect Thread Director as something suspicious and malicious, and then cut access to the game because of this. Intel, of course, has reached DRM manufacturers and places documentation about how software should be developed with this hybrid technology in mind.
Of course, newer games will be updated if needed and everything will work fine, also games on GOG will work fine because of GOG’s policy of no DRM store but some older ones might be left in limbo. They could work fine but DRM might be triggered and prevent them from loading, usually, game developer itself removes DRM protection after some time but that is not really always the case and there is a chance that some games might simply just not work on Alder Lake CPU only because of DRM protection.
Now before you go on the bandwagon on bashing Intel itself take note that it is not Intel’s fault at all. The issue that arises is mostly due to DRM software and how it works. As you might know or not, Alder Lake has two sets of cores, standard performance cores, and power cores, and with Intel’s Thread Director on-chip right cores will be used for the right tasks, and here lies the issue.
DRM software might detect Thread Director as something suspicious and malicious, and then cut access to the game because of this. Intel, of course, has reached DRM manufacturers and places documentation about how software should be developed with this hybrid technology in mind.
Of course, newer games will be updated if needed and everything will work fine, also games on GOG will work fine because of GOG’s policy of no DRM store but some older ones might be left in limbo. They could work fine but DRM might be triggered and prevent them from loading, usually, game developer itself removes DRM protection after some time but that is not really always the case and there is a chance that some games might simply just not work on Alder Lake CPU only because of DRM protection.
In the Windows ecosystem, MS Surface laptops are among the best laptops on the market, they are regarded as equivalent to Apple MAC laptops but for Windows. Microsoft Fall 2022 Event will be held on October 12th at 10 AM. The event itself will be held right before it kicks off its annual, developer-focused Ignite event in Seattle from that same day through October 14.

This event is the first in-person event that Microsoft has held since the beginning of the pandemic. We expect the launch of the Surface Pro 9 and the Surface Laptop 5, and maybe Surface Studio 3 as well. There are also some rumors about products themselves like choices between an ARM or x86 CPU but nothing is confirmed so far, we can just wait and see.
Error Code 0x8007041d is an error that arises during the Windows 10 Update process. In some cases, this error code can also arise during the Windows 10 Activation process. It is an error code that has been present in multiple versions of the software but usually arises when antivirus or registry issues interfere with the Windows Update or Activation software.
Common symptoms include:
If you are experiencing the Error Code 0x8007041d on your machine, there are several methods that you can use to attempt to resolve the problem. Several of the steps that are most successful for the resolution of this error require familiarity with registry and antivirus tools, so if you are unsure of your ability to complete these steps on your own, contact a qualified computer repair technician to assist you.
Error CausesIn most cases, Error Code 0x8007041d arises when there is a conflict between multiple antivirus or malware tools on the computer, if there is an issue in the Windows registry, or if your Windows Defender software is out of date. During the Windows Update process, the system checks to ensure that there are not any factors that are present that could introduce viruses to the system, so if there are any indicators that could present issues to the software, Error Code 0x8007041d will often arise.
For users who experience Error Code 0x8007041d, there are several steps that can be taken to resolve the issue. If the following methods are not successful for you or if you are unsure of your ability to undertake them on your own, contact a qualified Windows 10 computer technician.
Here are the best ways to attempt to fix Error Code 0x8007041d on your computer:
In some cases, having multiple versions of malware or antivirus software installed on your computer can cause the Windows system to create conflicts between them, which can interfere with your ability to update. During the update process, the system may attempt to determine if there is any malware present, and having multiple kinds of antivirus software present on the same machine may return mixed results.
If you currently are running antivirus software that is separate from Windows Defender, consider removing it from your computer prior to running the update software. This may allow you to successfully complete your update process without conflict. Additional software can be reinstalled after the update is complete, but make sure to keep both sets of software up to date in order to lessen the chances of encountering this error code again during future updates.
If you currently have Windows Defender as your primary antivirus software, check to see whether it is fully up to date. Out of date antivirus software can cause conflicts with the Windows Update process since the update to Windows 10 will not be able to be completed unless the system is free from viruses or malware.
If you are unsure of whether or not your Windows Defender is up to date, open it and run the process to check for updates, then re-attempt to run Windows Update. In some cases, you may want to restart your computer before running the Windows 10 Update process a second time.
Another issue that could cause Error Code 0x8007041d is a problem in the system registry. If you believe that this may be the case, run the Windows Registry Repair Tool on your machine to check for and resolve any issues. This is a fairly simple and straightforward tool to use, but it can help you to resolve any number of problems that may interfere with your ability to update your Windows 10 software.
If you have taken the steps listed above, restart your computer before attempting to proceed with the Windows Update process. If the three methods listed above are not successful in completely resolving Error Code 0x8007041d on your machine or if you are not comfortable in your ability to implement these steps on your own, contact a qualified Windows repair technician who is familiar with the Windows Update process to assist you.
If you wish to always have at your disposal a utility tool to fix these Windows 10 and other related issues when they do arise, download and install a powerful automated tool.
Error Causes Before we move on to the discussion of fixing the underlying causes for error 103, it is important to understand all those programs that are most likely to generate this error. A list of all such programs is outlined below as follows.
What software are you using to keep your information and all your files and memories safe?
None? Yikes. Let’s hope no damage has been done to your data yet then. Because with how the digital world has evolved, your data might be getting leaked and you have no idea.
There’s really no good excuse not to purchase a quality platform for PC protection. Especially since top security solutions are available at such affordable prices nowadays, your wallet would barely even notice it.
At this point, only people who barely use their PCs and have zero sensitive information on them can get away with simply using the built-in Windows 10/11 security software. But we guarantee that those people are extremely hard to find and that you’re not one of them, and here’s why.
Even if you don’t use your computer for things that are very obviously sensitive, such as internet banking, you still have some personal data at risk of being stolen. How so? Well, think about the data you enter into your social media profiles, for example. How devastating would it be if somebody got a hold of any of it? Yep, that’s what we thought.

In the hands of a skilled cybercriminal, your phone number alone could put you at risk of scams, ransomware, identity theft and more. Also think about the stuff you share in texts and social media chats. Think about the websites you visit and how many times you may have accidentally clicked on an ad, which could very well contain malicious software. Those all seem harmless until someone’s actually used them against you.
Now imagine the dangers involved when you actually store truly confidential data on your PC and browsers. Sends shivers down your spine, doesn’t it?
In the case of a successful cyberattack of whatever type (virus, phishing, worms, etc.), there’s so much that is at stake. Businesses/legal persons will suffer from financial loss and damaged reputation, at the very least. Natural persons may be threatened or exploited, get their banking or medical information and even their identity stolen, etc. And that’s just the tip of the iceberg.
These are our biggest reasons for investing in Windows PC protection software:
Obviously, there are a lot more reasons to get your PC secured. But we think you get it. So let’s cut to the chase and take a look at our 6 favorite protection solutions and the wonders they can do for you.
*Note that in this article we’re looking at products primarily suited for households and home offices, some for small businesses. No enterprise solutions will make the list today, but stay tuned for a future article on those.
One of the biggest security product vendors out there, Bitdefender offers several awesome solutions. We want to introduce two of our favorites, Bitdefender Total Security and Bitdefender Internet Security.
Bitdefender Total Security is great for both households and smaller offices. You can choose to protect 5 or 10 devices, and not necessarily just Windows devices. It also works for macOS, Android and iOS. It offers a range of powerful features, such as:
Bitdefender Internet Security shares almost all of these features, but there are a few important differences to note. Unlike Total Security, Internet Security has more options in terms of the number of protected devices: 1, 3, 5 or 10. However it’s only compatible with the Windows platform and it doesn’t offer device optimization tools or anti-theft options. Whether or not this is a deal-breaker depends on your needs alone - we still find it a great security tool.

An award-winning Windows security product, ESET Internet Security is essential on this list. It has an outstanding protection rate of 99.9% and a range of amazing options you’ll definitely want to make use of. It can be installed on up to 10 devices, making it an awesome tool for your household, home office or a small business. It’s also compatible with macOS and Android.
These are ESET Internet Security’s best features:
If you ask us, ESET has it all!

Having a deja vu? Didn’t you just read Total Security and Internet Security somewhere? Oh, that’s right - the first entry on our list! But here we’re talking about Kaspersky, a vendor you’ve also definitely heard about before.
Just like Bitdefender, Kaspersky is another one of those renowned names in the cybersecurity world that always make it to every ‘best of’ list. And for good reason - its products really fulfill their purpose. So let’s take a closer look at the two we chose.
These are the features both Kaspersky Total Security and Kaspersky Internet Security have in common:
The main difference between Kaspersky Total Security and Internet Security is that the former offers more capabilities. These are the features KTS offers that KIS does not:
Both are excellent security tools, though we do prefer KTS a little more because of these additional options.
Of course one of the industry-leading solutions makes the list. Norton 360 Deluxe can protect up to 5 devices, be it Windows, iOS, macOS or Android. It’s worth noting that its features are best developed for Windows. Here’s what you get with Norton 360 Deluxe:
So is there anything aside from these standard protection features that makes it such a favorite among us techies? Let us tell you! Norton added a little bit of spice here with two really powerful capabilities. The Deluxe product offers 50GB of cloud backup and dark web monitoring. The latter means the software notifies you if any of your personal information is found on the dark web, which helps protect you against identity theft.

Don’t be misled by the name of this product. Antivirus software may have started as protection against viruses only, but it’s developed quite a lot. The name simply stuck. All that to say that McAfee Antivirus - another award-winning security solution - protects you against several different threats.
The basic and essential plan allow 1 and 5 devices respectively, while McAfee+ Premium and Advanced work on an unlimited number of devices. The latter two also offer more capabilities, as you can imagine. Here’s what you can expect from all of them:
Unlike the previous products, McAfee Antivirus does not offer parental controls. Otherwise it’s a pretty strong and comprehensive protection tool and might just be the right choice for you!
Last but definitely not least, we’ve got Maximum Security by Trend Micro. And yes, you guessed it, Trend Micro is also an award winner in terms of cybersecurity. Its products have been recognized as industry-leading security solutions by AV-Test since 2003. Among all its fantastic solutions, our favorite for households or small offices is Maximum Security.
You can use Trend Micro Maximum Security to protect 3-5 devices for a year or two years before needing to renew your license. Aside from Windows, it’s compatible with iOS, Android, Mac and Chromebook devices. Here’s what you can expect from this protection software:
It’s truly one of the most effective platforms out there dedicated to protecting your digital life. Using this product, ransomware, identity thieves and malicious websites don’t stand a chance.
If you’ve made it all the way here, congratulations, you’ve made the right choice: to invest in securing your valuable data! Now the question is: which one of these 6 awesome antivirus/antimalware products to select?
The paradox of choice is a very real thing - we feel you. As mentioned, it comes down to what your specific needs are. So before you go ahead and purchase your security software, make sure to explore all options.
And if you really can’t handle the decision-making anxiety, feel free to reach out. We’ll happily assist you in finding the right product to keep your digital life secure!
The Error Code 0x802400d most often occurs when users attempt to use the Windows Update tool on their computers to move from one version of the software to another. In some cases, this error is more likely to appear on your computer during the process if you have not performed regular updates to the software as they have been available.
Common symptoms include:
While it can take additional time to deal with the issues that cause Error Code 0x802400d to appear on your computer, there are several steps that you can take to address the problem. These are fairly simple to perform and do not require advanced knowledge of the system to employ.
Error CausesThe most basic cause for Error Code 0x802400d is that there is a file or a process that is causing the update process to hiccup. In many cases, this error appears when a user attempts to begin the process of updating their computer if they have several stacked updates to perform. Computers that are several updates behind where they should be will display this error more often than computers that are kept on a schedule of recommended updates.
While there are multiple reasons why the Error Code 0x802400d may appear on your computer during the Windows Update process, there are several methods that can be used to attempt to resolve the problem on your own. These are generally easy to do and do not require advanced techniques. However, if you do not feel comfortable addressing the issue on your own, contact a qualified Windows repair technician.
Here are some of the best methods that users can employ to resolve Error Code 0x802400d:
There are a number of different processes, files, and settings that could cause Error Code 0x802400d to appear on your computer during the Windows 10 Update process. For this reason, the most efficient way to determine what the culprit is for your specific issue is to download and use the System Update Readiness function.
This tool is available directly from Windows. Although there are other tools available on the Internet that claim to be able to fix the problem, these can contain viruses and malware, so be cautious if you decide to employ these instead. There are also several versions of the tool on the Windows website, so be sure to download the version that matches the operating system and version of your computer.
Once you have downloaded the Readiness tool from the Windows website, allow it to run a scan on your system. At a minimum, this process will take about fifteen minutes to complete. Although you will see a progress bar at the bottom of the window, it does not always update effectively. Some users have reported that the update appears to stop when it is two-thirds complete. Continue to let the scan run if this happens, rather than canceling it out. Even if the progress bar doesn’t update, the scan is still running.
If you have recently installed new software on your machine, it can sometimes cause problems with the update process. The best way to resolve this issue is to remove or uninstall the software, run the update process again, and then reinstall the software once the Windows system has been successfully updated.
If the above methods are not successful in resolving Error Code 0x802400d from your machine and you are still unable to complete the Windows 10 Update process or if you are not confident in your ability to complete these steps successfully on your own, get in touch with a qualified computer repair technician who is familiar with the issues surrounding Windows 10 in particular. Microsoft offers certifications for Windows repair technicians, so look for a professional who has the experience, skills, and knowledge necessary to adequately address Error Code 0x802400d on your machine.
If you wish to always have at your disposal a utility tool to fix these Windows 10 and other related issues when they do arise, download and install a powerful automated tool.
Error Causes