Code 0x80070070 – 0x50011 – What is it?
If you’ve recently tried installing Windows 10, you might have encountered error code 0x80070070 – 0x50011 or its alternatives (error code 0x80070070 – 0x50012 and 0x80070070 – 0x60000). Whatever formats this error code presents itself in, it's usually accompanied by a barrage of other errors, as underscored on Microsoft’s official site. If you’ve encountered this error code, it simply means that your computer system might not have the required or required space to install the upgrade.
Likely, if you’ve experienced error code 0x80070070 – 0x50011, it’ll likely appear in the formats highlighted below:
- 0x80070070 – 0x50011
- 0x80070070 – 0x50012
- 0x80070070 – 0x60000
Solution
 Error Causes
At present, this Windows 10 upgrade error is triggered or caused by various factors:
- Lack of computer resources or space
- Virus/malware infestation
- A clogged registry
Further Information and Manual Repair
Whilst new, not much information has been propagated regarding this error. However, there are some manual / practical steps you can take to have your Windows 10 upgrade up and running. Since the primary aspect of solving this problem is to make space on your computer system, here are some ways in which you can do so manually.
Method 1: Get more space
- Check the current space on your computer
Before making attempts to create space on your computer, it’s vital that you check to decipher how much free space you have available.
- Make use of Disk Clean-up
Since there’s a free service available on your computer to create space, why not use it and save time? If the Disk Cleanup tool is employed regularly, this will free up hard drive space and optimize your computer to work better.
- Remove unwanted desktop apps
There are several apps lying around on your computer that you simply don’t use, uninstall those and make space to elude error code 0x80070070 – 0x50011 or its alternatives (Code 0x80070070 – 0x50012, Code 0x80070070 – 0x60000)
If you have lots of photos, media, documents (files), videos, etc, that you don’t use or will only need in the future, try cloud storage. You’ll still have those files within your possession but just not in a physical location. However, they’re still accessible. Another suggestion: If you use programs such as One Drive or Google Drive for desktop, limit your use to only the online application.
If you’re not able to implement the above steps to clear some space to accommodate your Windows 10 upgrade due to error code 0x80070070 – 0x50011, acquire more storage. This can be expanded by incorporating storage devices such as USB flash drives, CDs, cloud storage, and SD Cards.
Method 2: Scan your computer for virus/malware
If you regularly download stuff, especially software on the Internet from ‘not so secured’ sites, you might have picked up something. You might have downloaded malware or virus (along with other legit programs).
To resolve this issue, it’s advised and very important that you download a powerful antivirus and perform a complete scan of your computer system. After you’ve detected and removed the suspected malware/virus, you’ll then be able to eliminate error code 0x80070070 – 0x50011 and resume with your Windows 10 upgrade.
Method 3: Clean up your computer’s registry
If you do not clean your computer’s registry often, it could become congested or clogged by .XML files, junk files, and cookies. To resolve this problem, clean your registry by using a powerful and user-friendly tool to clean up the problem.
Click here to download Restoro.
 Once File Explorer is up and running right-click on the hard drive you wish to run disk cleanup on and click on properties.
 Properties Windows will open on the general tab, on that tab you have disk cleanup on the lower right part of properties, click on it.
 Wait for Windows to gather information about your hard drive and files on it. After it is finished you will be greeted with the next screen:
 Here you can thick and mark which items you would like to get rid of and which ones you would like to keep. Note that you can freely tick all of them and remove them since removing these files will not break WIndows in any way. make your choices and click on ok. You can also click on Clean up system files to run system files cleaner and get rid of junk there, you will not be able to choose any options there, Windows will alone clean up what is not needed.
 Windows will then go to the accounts settings page. Within that page, click on the Family & other users to open the setting for the chosen section on right. On the right settings, screen navigate to the lower section and click once with the left button on add someone else to this PC
 When add someone else to this PC is clicked, pop up window will appear which will ask you to provide the persons email address and later on the password of his/her Microsoft account, after the required information is provided you are done, a new user has been added and he can use his Microsoft credentials on the login screen to use this computer.
 This will open yet another pop-up giving you the option to create a Microsoft account for this person, to use a phone number instead of a Microsoft account, or to create a new email address for the user. Any of these options will create a new user for this computer with provided credentials but there is the last option at bottom of the pop-up which will allow you to create a local user only without a Microsoft account. This user will be able to use this computer, will not be able to transfer his document through various devices like he/she would if using a valid Microsoft account but it could use the computer and personalize it fully to his/her liking.
 Once the link is clicked, you will be presented with a floating window requiring you to input needed information in order for the account to be created. You will need to provide username, password, and answers to 3 security questions.
 Once all information has been provided, click on next and your new non-Microsoft local user has been created. Now when you click on Family & other users you will see that Windows has added a new user with the provided name to this computer. If you wish, you can add another user in the same manner, following the previous steps. Microsoft Windows does not have a limit for how many users can be on one computer so feel free to create as many as you like.
 Click on Change account type.
 Under account type, you will have the option to promote this user to an administrator if you wish or you can leave it as a standard user.
 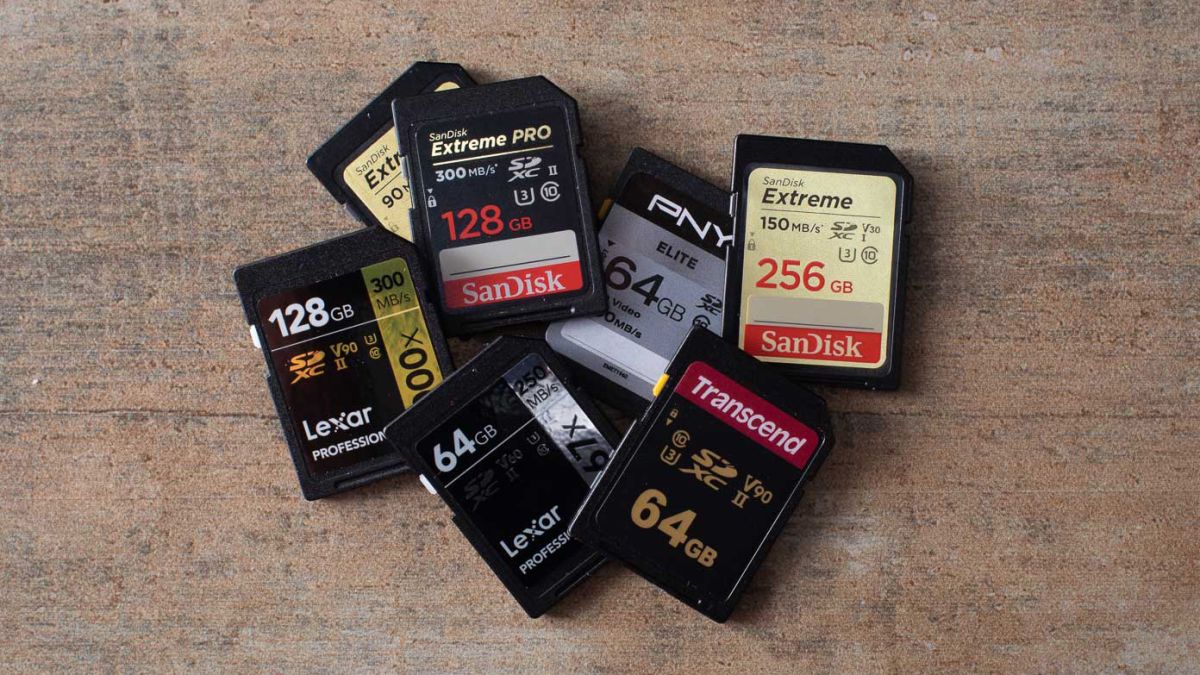 Fear not because we had this issue and tried several things in order to overcome the problem and after some time here is a list of what can you do if you are facing this exact issue. The list is written from most simple solutions to more complex ones and it is advisable to follow it as presented. That being said, let's dive into solving the problem.