If you use Microsoft-developed programs, then you might experience this error code on your PC. It indicates programming limitations. This error, Error 1713 may pop up during the installation of 2007 or 2010 Microsoft Office Suite. The error message appears in the format stated below:
“Error 1713: Microsoft Office has encountered a problem and needs to close. We are sorry for the inconvenience.”
Common symptoms for error 1713 include system crashes, system freeze and sometimes you may feel your Windows running sluggishly.
 Error Causes
Error 1713 may be triggered due to many reasons. However, common causes for this error occurrence include:
No matter, what the cause of this error is, it is advisable to resolve it immediately without any delays. This error may pose serious threats to your PC is not repaired timely and also cause you a great deal of inconvenience limiting you from using Microsoft software programs.
Here are some of the best and easy DIY methods that you can try to resolve this issue. To work around these methods you don’t have to be a technical whiz or a computer programmer.
Let’s get started:
During any program deletion, you may have accidentally deleted Microsoft related files because of which you may be experiencing error 1713 on your PC.
In such an event, the best way to resolve is to undo recent system changes. To do this, use Windows System Restore Utility. This is inbuilt in Windows.
To access System Restore Utility, simply press start and type System Restore in the search box and press enter. Now follow the steps in the Wizard to choose a restore point. Once you select, reboot your PC to activate changes.
One of the many causes of error 1713 is hardware failure. Hardware failure indicates driver issues. To resolve the problem it is advisable to delete the outdated drivers and update new versions on your PC.
Malware can also trigger such error codes on your system and corrupt important files. Therefore remove malware immediately from your PC by running an antivirus. Antivirus will detect and delete all malicious programs in no time.
Broken entries, junk files, and invalid registry keys corrupt the registry thereby generating error codes. To resolve you first need to clean the registry and repair it. For this download Restoro. It is a PC Fixer deployed with a registry cleaner. The registry cleaner removes all bad entries stored in the registry, cleans it and repairs the damaged files in just a few clicks.
Click here to download Restoro.

“Try that again, Something happened at our end, Waiting a bit might help, The error code is 0x80131500 in case you need it.”To fix this error, you can try changing your internet connection, toggle the date & time settings, change DNS, create a new user account, run the Microsoft Store Apps troubleshooter or reset the Microsoft Store as well re-register it using Windows PowerShell.
powershell -ExecutionPolicy Unrestricted Add-AppxPackage -DisableDevelopmentMode -Register $Env:SystemRootWinStoreAppxManifest.xml
“Operating System Loader has no signature. Incompatible with SecureBoot. All bootable devices failed Secure Boot verification.”There are two main causes for this error – it could be that your computer is using a bad unauthentic Boot Image File or the Windows operating system is installed in the BIOS Mode. To fix this error, you can try performing a “cold” boot or reset the BIOS or reset your Windows 10 computer.
The new thing from Mozilla is not a browser, it is a VPN!
Besides Firefox, Mozilla offers now Firefox Relay, an app helping you to mask your email and phone number, and a new Mozilla VPN.
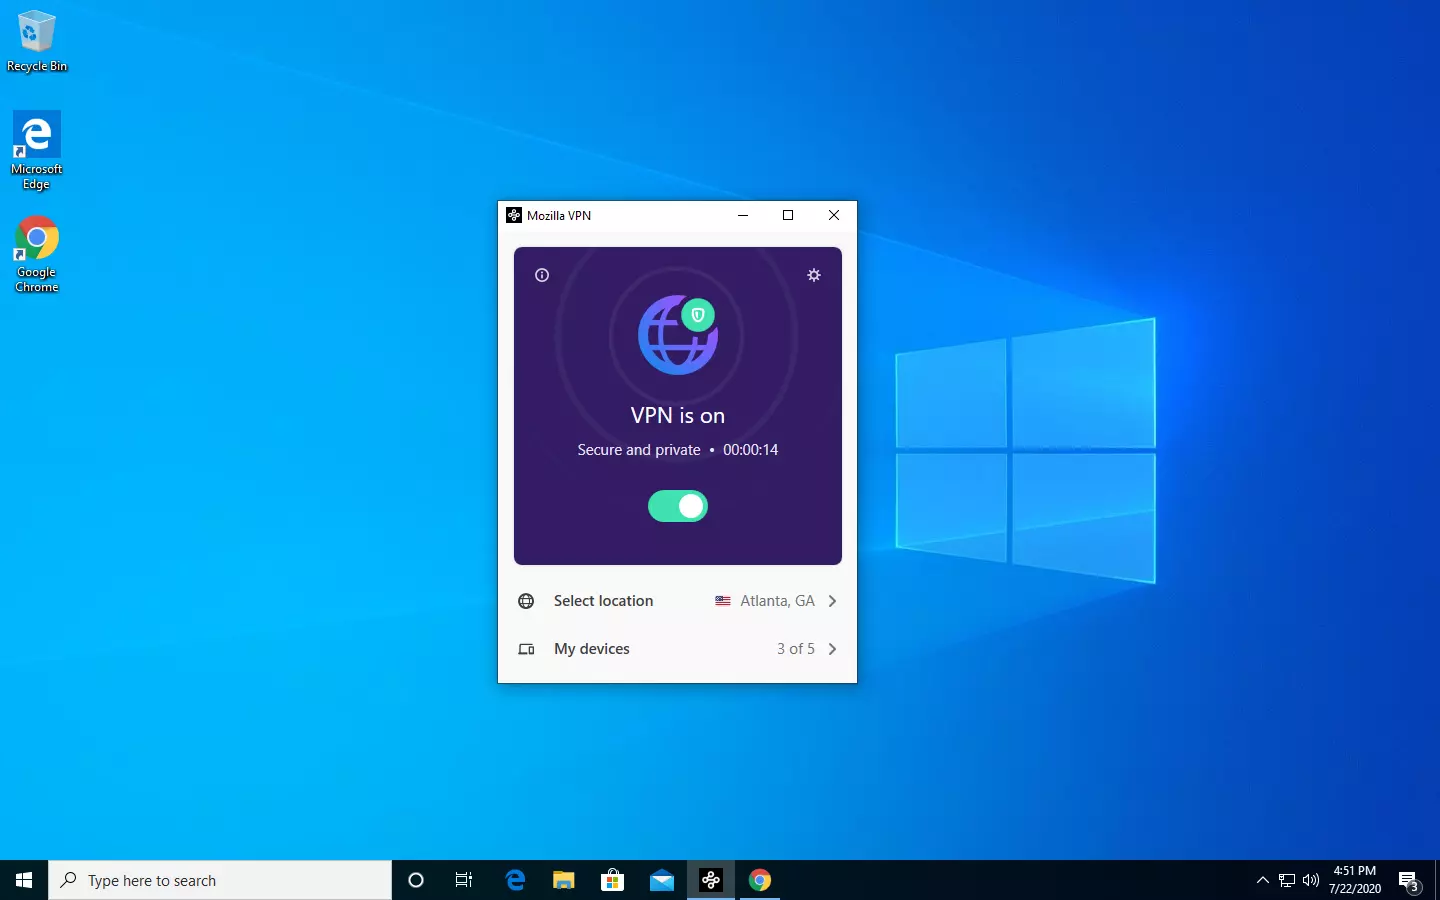
Mozilla has recently announced a new subscription model that will let you use all products together for $6.99 per month. Although this is a little more expensive than the competition that goes around for $5 per month note that with this subscription you are having access to all services, not just VPN.
VPN will not only hide your IP address but will also make sure websites cannot access your real location and it encrypts all of your network activity. Relay will give you protection against spam, serving as a shield for your email and limiting spammers from access to your real email address and phone number. With Mozilla subscription will let you use both services.
Website breaches and stealing user data is nothing new in the world of the internet. Although a very unpleasant experience it still happens even on some high-quality websites. In this article, we will not focus on how can you not be the target of this kind of attack, because you really cannot. Weel you can kind of if you decide not to have your data on websites at all, but let's just say that is not something you are willing to do.
 So, in this case, you have some social, forum, or gaming accounts but you heard that service has been breached and that your email or password might be stolen. Well in this case all you need to do is of course to login into the service and change your password. But, what happens if you are not aware at all that service has been compromised?
Mozilla foundation has asked themselves this same question it seems and they have decided to help us out. They have placed a free online service where you can just by typing in your email address find out if your email or data has been compromised in any way.
Go to https://monitor.firefox.com/ and check it out, if you find out that there is some website that you did not know was breached, change your password right away, and if you have used the same password for anything else (I hope not), change them as well.
cd "folder location address"Step 5: After that, enter the following script to disable the security questions:
Update-AllUsersQAOnce you’ve completed the steps above, the Security Questions should be disabled and you will be notified with a message stating that the feature has been disabled. On the other hand, if you have a change of heart and you want to enable the Security Questions back, here are some steps you need to take: Step 1: First, open the PowerShell window as admin. Step 2: Next, run the same script with one more parameter such as:
Update-AllUsersQA -answer SecretAnswerStep 3: And that’s about it. Do not forget to replace the Secret Answer with your preferred one and once you’re done, it will be set as the answer for all the Security Questions. Step 4: Now all that’s left to do is go to the Settings app to change the answer to the questions and you should be good to go.
Sadooma is a Browser Extension for Google Chrome. This extension offers users the ability to search for any trending news on the web.
This extension changes your default search engine to Yahoo, and while active it changes the displayed ads on your browser, allowing it to make revenue on every ad you click. While this is not inherently malicious, the extension redirects your search to its servers first before forwarding it to yahoo and displaying search results. The information that is sent back to the servers contains your browsing data & visited web pages. As this represents a security and privacy risk, Sadooma is classified as a browser hijacker for its potentially unwanted functions and poor user experience. From the Author:We’ve got what you need! If you are like us, addicted to interesting viral content, you’ve reached the best place for this. Sadooma will help you to find what is trending right now on the internet in an easy and immediate way. Privacy – We don’t share your information with others. Trending Content – New viral content every day Up to Date – We update sources to keep things fresh. Made with Love – Our content is safe and suitable for all ages.
Blackouts are one of the most annoying things that can happen in the modern age. We have all learned to depend on electricity, maybe too much, so having a backup plan in these unpleasant situations is necessary. Here are some good gadgets for these kinds of situations.

The fully charged power bank is a great item that could fill up your phone or tablet. If it is a larger power bank it could fill them up all the way to the top several times and having charged phone or tablet can help greatly with some fun during dark times. The power bank can also be used to fill up other gadgets on this list so if the power outage is expected to last longer perhaps it would be wiser not to waste it on phone/tablet games.

If the power bank is too short-lived for your needs, a portable generator is always a good option since it can provide power for longer time periods. The solar generator is what we recommend because it is much cheaper to produce electricity but it is limited if a power surge comes at night, one on gasoline is more stable and practical but it costs more to produce electricity.

One more electric-producing device on the list, this one however is aimed at charging your phone, tablet, or laptop by harvesting Sun's energy and turning it into valuable electricity for your devices. Fully silent and easy to operate this is a great tool for power outrage. It will not be able to produce electricity for smaller house appliances but for basic phone/tablet/laptop needs it will suffice.

Self-sustained with its own battery, panic lights are great assets for lightning when power is not present. They can turn automatically when the circuit detects that power is missing but can be also manually switched on or off. There are many versions of panic lights ranging from the light they produce to how long can they work so picking the right one will depend entirely on your home size and needs.

If you lack panic lights USB headlamp is a great choice to light your way and it works even better than a flashlight, although a flashlight is also a great tool, a headlight will provide you with free arms to do various things that you would not be able to by holding a flashlight. Modern headlights come with LED lights so they provide a good amount of light with small power consumption and they can be recharged in a power bank, solar charger, or generator.

LED Lantern is a gadget sitting somewhere between a headlight and a panic light, it offers around the same light amount as a panic light but you can carry it around with you. Of course, it will drain its battery faster than a panic light and it will still need to carry around but it can offer some good options when you need it, like taking it with you to the toilet.

An electric lighter is also one of the things that you will need, it can ignite candles, paper, stoves, etc. Its battery is usually enough for extensive use and there are small chances that it will need to be recharged. Having matches is also smart, just in case.

Great gadget when outbreaks last long or when you get hungry. Not all households have gas ovens so a Solar oven is a great tool to keep you full of food. Granted it will not be on par in speed and quality with a regular oven but when it is the only option it will suffice.