We have often talked about the security of your computer, we have been giving you tips and tried to explain how to best protect your computer from various attacks and malicious software. Today we will be talking about antivirus applications.
 Antivirus software has become the kind of a must-have in every computer in this day and age. When you think about it, our systems are connected to the internet most of the time if not always, and therefore kind placed in from the line of various cyber-attacks. Here antivirus software comes into focus, especially because it has evolved long from just a simple virus removal tool to full security suites.
We will be going through the best of these applications in order to present both their good and bad sides and hope that we will help you in picking the right one for you. Remember, picking either one of the presented solutions is way better than not having one at all. The list is made from best down in our opinion so number one is highly recommended.
In our opinion the best overall security protection suite for this age and time. Bitdefender has cemented itself as number one a few years back and it holds that status even today. It has top-of-the-game virus protection, an incredible amount of features, safepay banking online protection and it is amazingly cheap. Its downside we could say is that it can be annoying sometimes, especially if you set it to maximum protection and paranoid mode. In this case, it will often ask what to do and how to behave leading to minor annoyances.
Norton antivirus is well known to older computer users, this package has been around a long time and it is our pick for closest one to challenge top place because of its packed features. The number of features it has are really stunning and it comes also with great and maybe best-browsing protection of all candidates. It also has a backup tool bundled with it but the reason why it is in the second place is that it is taxing to the system and can have a real impact on computer performance. Great protection is important, but so it is working on it without slowdowns.
Another one of the old antivirus software on the list. Kaspersky Lab was once top tier antivirus software but it dropped down due to its high prices, later they have changed their pricing to be more in trend with other rival companies but many have switched to something else. Today it still packs one of the best antivirus engines with fast and configurable scans. It also has very impressive anti-ransomware features but sadly most of the things it just simply does for you leaving you to fully trust it since you cannot really configure much. It is not in step with new technologies and it is lacking some features like support for the Chrome browser that places it lower in our ranking.
The biggest sell point for this antivirus application is probably its ease of use and user-friendliness. It also packs a great antivirus engine and impressive anti-ransomware performance but sadly it comes with very limited configurability and somewhat lack of features comparing it with the top three entries. Never the less a very user-friendly application that you can configure without knowing any kind of tech talk, everything is laid out in simple English.
Perhaps best known for its free version, Avira has a premium one that is well better worth than the free version. Strong suites of this software are mostly aimed at the internet with its great anti-phishing and web protection along with a low price for all of its features. Sadly in the domain of virus protection, there are some reports from independent websites that its antivirus engine is not so great, it will offer you moderate protection but not the best.
If you are on the lookout for software that has a great virus database and plenty of features but is also incredibly light weighted and fast then look no further, Webroot Secure Anywhere is an application for you, incredibly fast and incredibly small is a great solution for older machines. It keeps all of its databases up in the cloud and this feature among its great advantages is also its greatest disadvantage since if you are out of the internet you will not be able to have the latest virus definitions available to you making this tool very situational.
Avast has many great protection features and it is very highly configurable. The firewall comes also in its premium edition and it offers great virus protection including a file shredder and awesome WI-FI inspector for an extra layer of security. This package would be higher on the list if it was not for its lack of WEB protection and its tool on the system resources.
Lack of features and somewhat strange user interface are downsides of this software but on its positive side it has good antivirus engine and its user interface is very friendly. Where it shines though is in its price, for one affordable price you get protection for 10 devices making this option a great choice for anyone wanting to protect more devices or just use a single license for the whole family.
Greatly configurable antivirus software with tons of options and very light on system resources makes ESET one of the best out there. Virus engine and database is also top tier but some testing labs have reported that protection offering is not really what it is advertised and if we talk about its strong suite of a great many options and configurations it is at the same moment its downside since it is not very friendly to novice and beginner users.
McAfee antivirus comes in its package with unlimited VPN service and if we take look at the top tier pricing plan it is a great investment. Sadly for its entry-level price, it covers only a single device and it was reported that it packs little outdated virus engine if we compare it with its rivals. Nevertheless, it still offers good virus protection and if you take into account the VPN that comes with it, it can find its users.
No matter which antivirus you choose you will not go wrong, after all any protection is way better than none.

 To personalize the lock screen do:
Nvidia announced the third generation of GeForce RTX GPUs called Ada Lovelace. New technology is bringing 76 billion transistors with 18,000 CUDA cores along with new gen ray tracing cores and improved Tensor cores as well. The new lineup also comes with DLSS 3 which is vastly improved from its previous version pushing a 4 times increase in frame rates over native rendering.
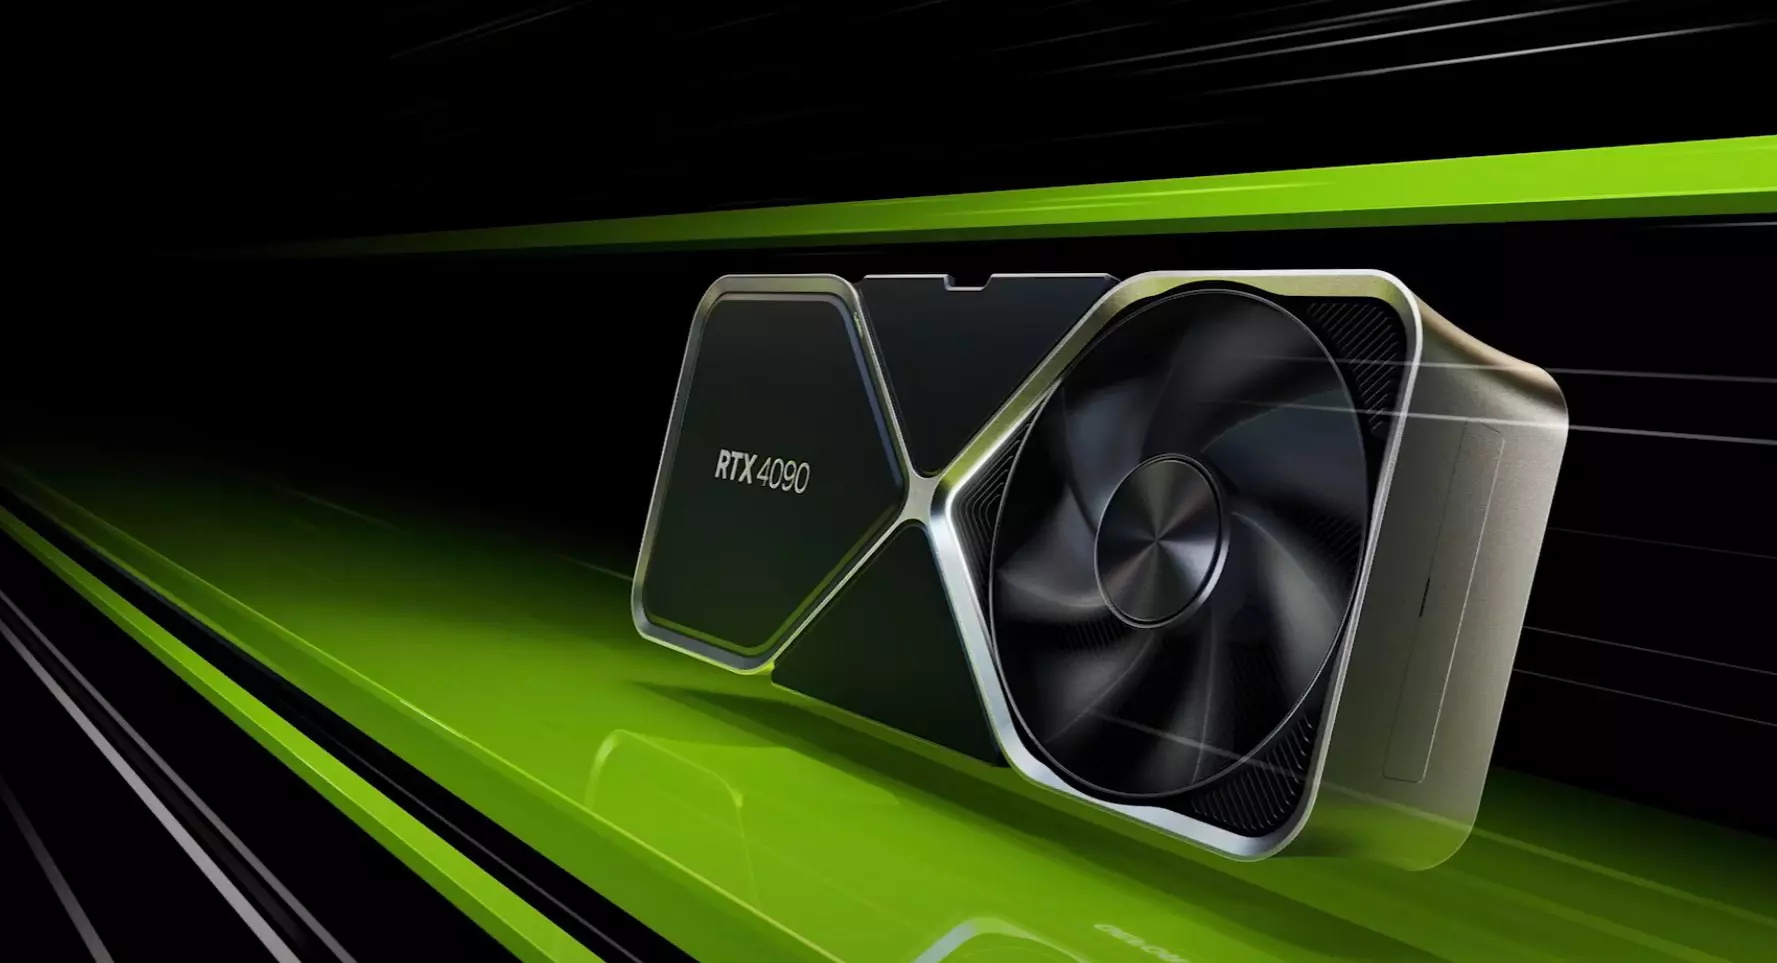
RTX 4090, a better model of GPU will come with 16,384 CUDA cores and a boost clock speed of 2.52 GHz. Also, it is packed with stunning 24 GB of GDDR6V VRAM. In Nvidia's words, its performance is twice faster than the 3090 Ti in games like Flight simulator, three times faster on Portal RTX, and four times faster on RacerX.
RTX 4080 comes in two modes, one with 12GB VRAM and a stronger one with 16GB VRAM but differences do not end here. The lower model is packing 7,680 CUDA cores while the stronger one is going to 9,728 CUDA cores. We will wait to see how will these cores count impact real-world performance in games.
As for prices, the flagship model RTX 4090 will be $1,600 USD and it will hit the market on October 12th. RTX 4080 12GB model will be $900 USD and the model with 16GB VRAM will go up to $1,200 USD. This, of course, is the price for Founders Edition cards, OEM cards from third parties like ASUS, MSI, Gigatech, etc will cost more.
"550 Requested action not taken: mailbox unavailable" "550 5 2 1 mail from refused spam site"In other words, the error code 550 means that your SMTP server was not able to deliver the sent email to the user.
 Error Causes
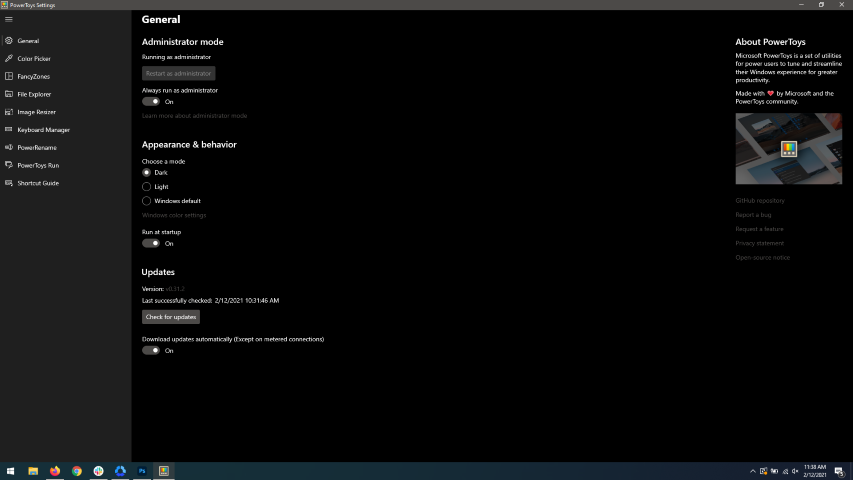 When opened you will be greeted with general settings window. These are settings for power toys themselves, Here you can check for updates, change the looks of power toys, run it on system startup and run them as administrator. Set them up so they best suit your needs.
 The color picker will let you as the name suggests pick colors, it will sample colors from running applications and windows, snap their values, and place them in the clipboard. A useful application if you are working as a graphic designer, want to create some cool word document, or just want to compare the difference between colors.
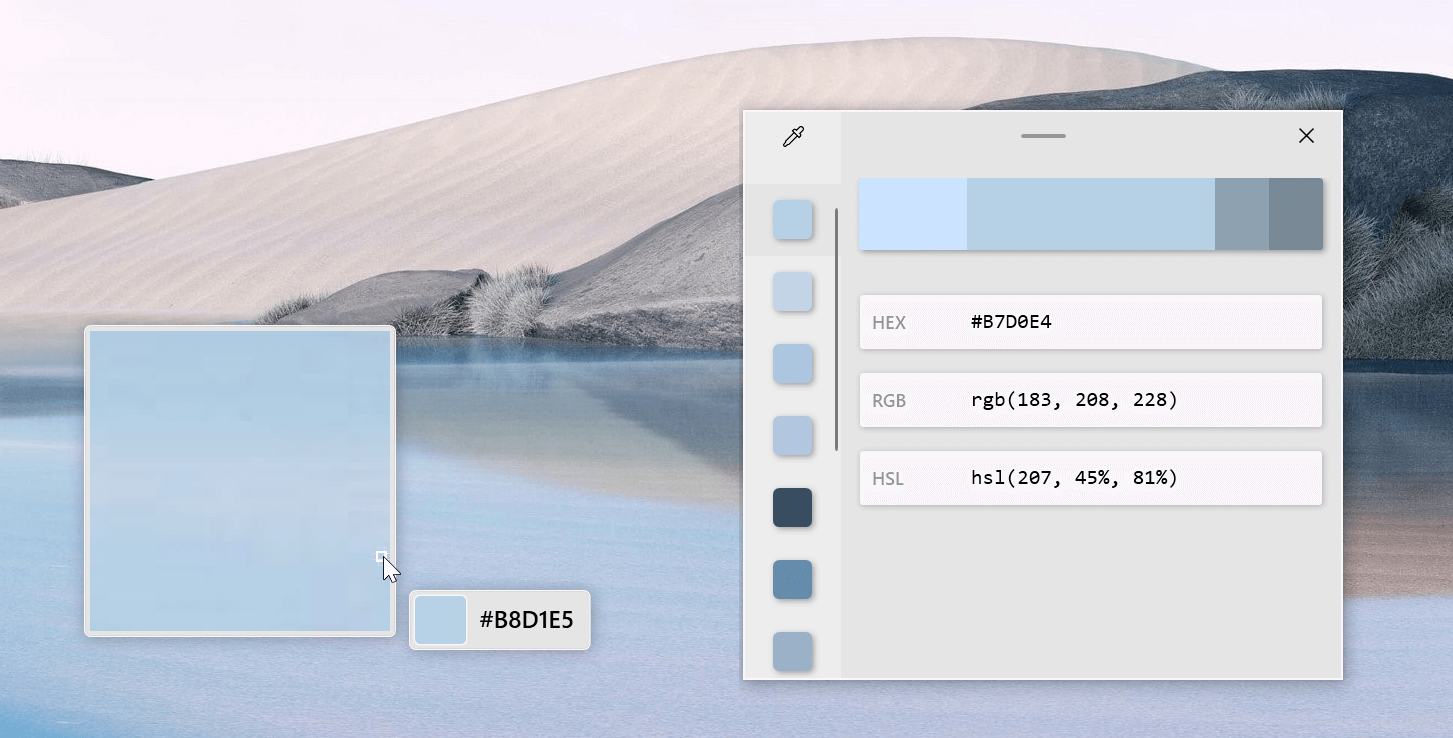
After the Color Picker is activated, hover your mouse cursor over the color you would like to copy and left-click the mouse button to select a color. If you want to see the area around your cursor in more detail, scroll up to zoom in. The copied color will be stored in your clipboard in the format that is configured in the settings (HEX by default). The editor lets you see the history of picked colors (up to 20) and copy their representation in any predefined string format. You can configure what color formats are visible in the editor, along with the order that they appear. This configuration can be found in PowerToys settings. The editor also allows you to fine-tune any picked color or get a new similar color. Editor previews different shades of currently selected color - 2 lighter and 2 darker ones. Clicking on any of those alternative color shades will add the selection to the history of picked colors (appears on the top of the colors history list). Color in the middle represents your currently selected color from the history of the colors. By clicking on it, the fine-tuning configuration control will appear, which will let you change the HUE or RGB values of the current color. Pressing OK will add newly configured color into the history of the colors.
The color picker will let you as the name suggests pick colors, it will sample colors from running applications and windows, snap their values, and place them in the clipboard. A useful application if you are working as a graphic designer, want to create some cool word document, or just want to compare the difference between colors.
After the Color Picker is activated, hover your mouse cursor over the color you would like to copy and left-click the mouse button to select a color. If you want to see the area around your cursor in more detail, scroll up to zoom in. The copied color will be stored in your clipboard in the format that is configured in the settings (HEX by default). The editor lets you see the history of picked colors (up to 20) and copy their representation in any predefined string format. You can configure what color formats are visible in the editor, along with the order that they appear. This configuration can be found in PowerToys settings. The editor also allows you to fine-tune any picked color or get a new similar color. Editor previews different shades of currently selected color - 2 lighter and 2 darker ones. Clicking on any of those alternative color shades will add the selection to the history of picked colors (appears on the top of the colors history list). Color in the middle represents your currently selected color from the history of the colors. By clicking on it, the fine-tuning configuration control will appear, which will let you change the HUE or RGB values of the current color. Pressing OK will add newly configured color into the history of the colors.
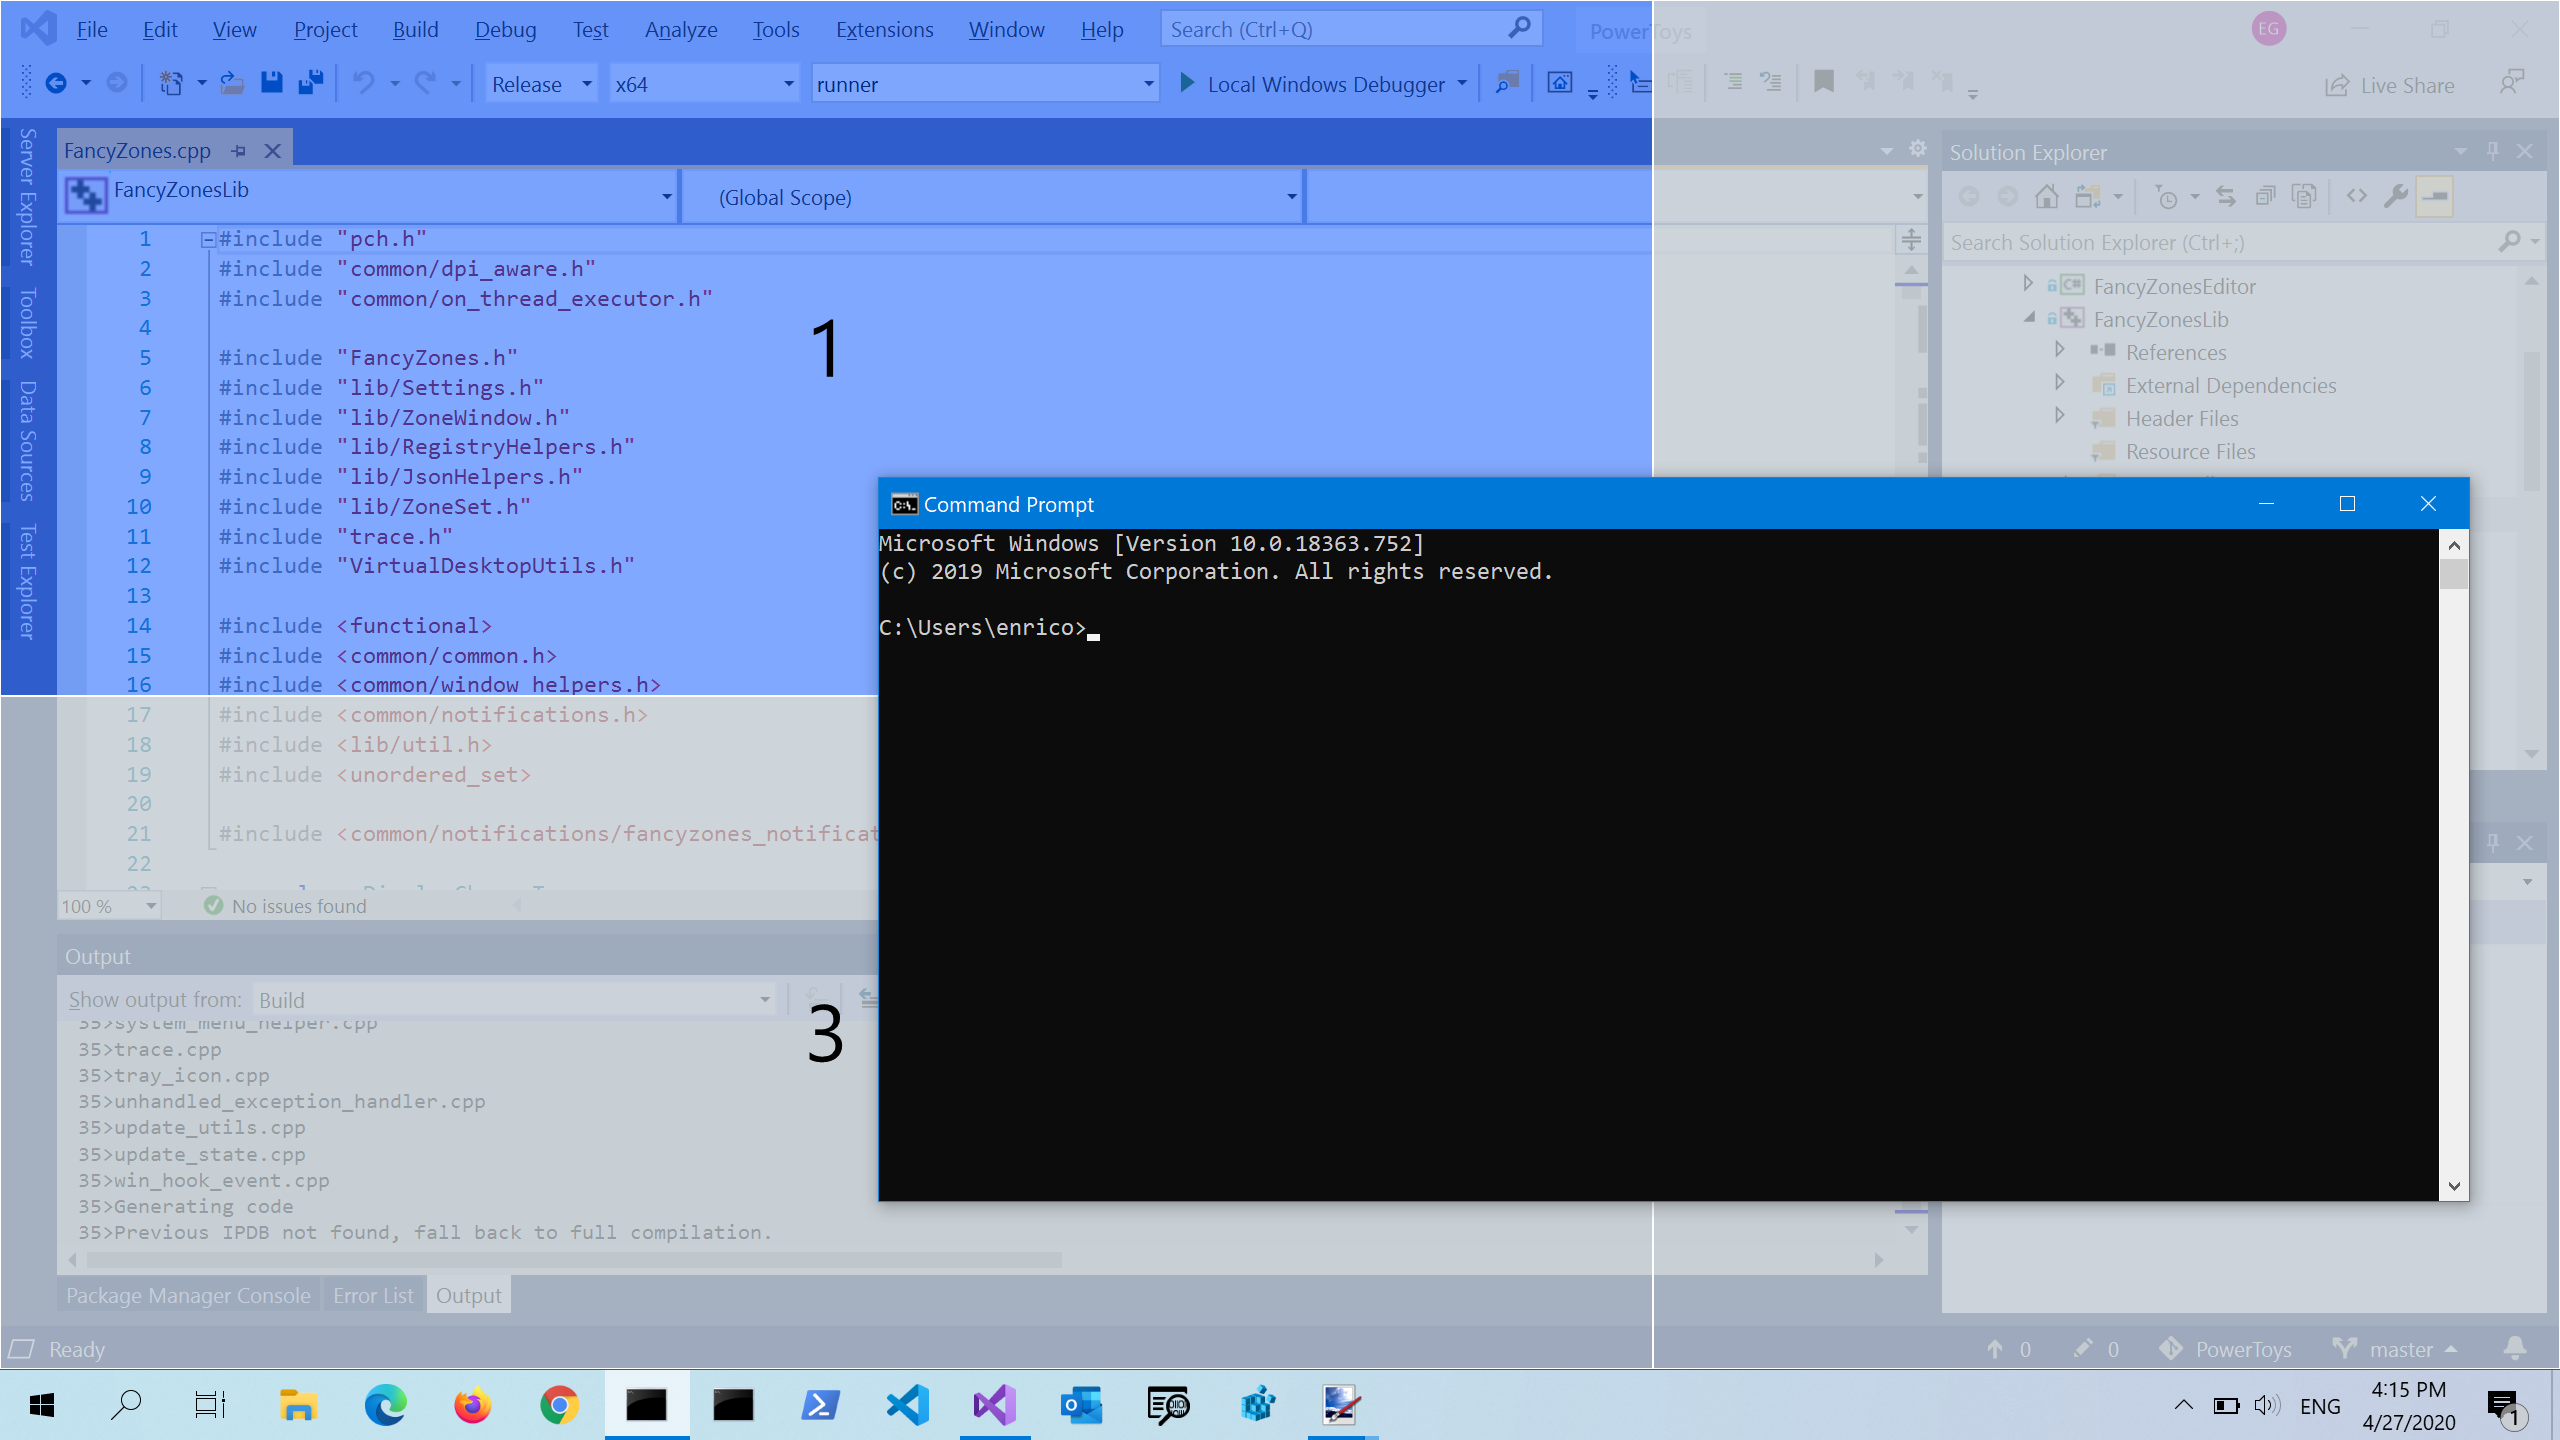 FancyZones is a window manager utility for arranging and snapping windows into efficient layouts to improve the speed of your workflow and restore layouts quickly. FancyZones allows the user to define a set of window locations for a desktop that are drag targets for windows. When the user drags a window into a zone, the window is resized and repositioned to fill that zone. When first launched, the zones editor presents a list of layouts that can be adjusted by how many windows are on the monitor. Choosing a layout shows a preview of that layout on the monitor. The selected layout is applied automatically.
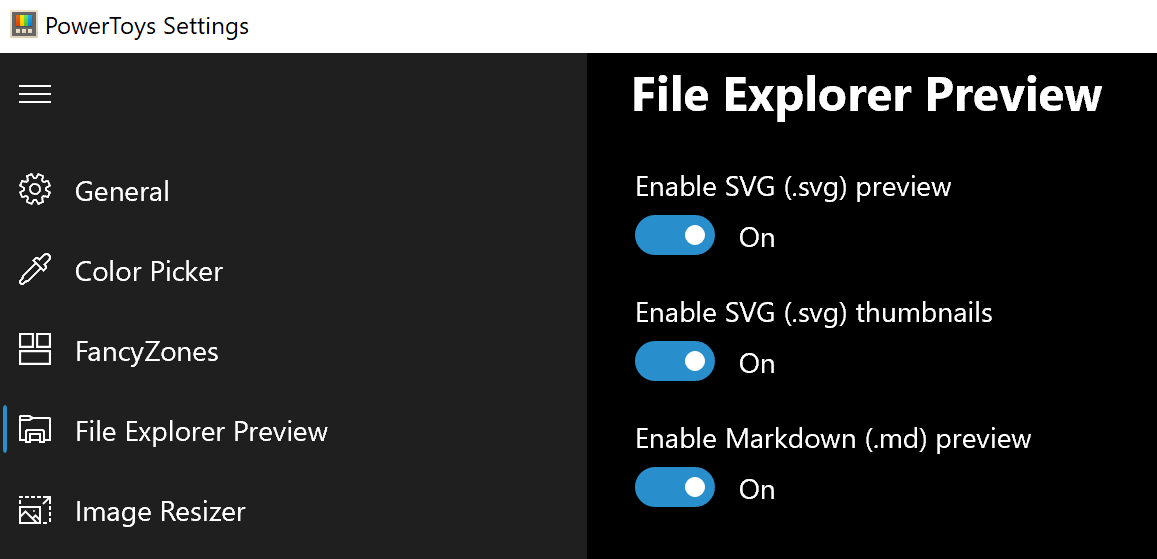 Only 3 options here but maybe some are important to you. This extension lets you enable SVG file preview in File Explorer, enable Markdown preview, and enable SVG thumbnails. Turn on each one you might need.
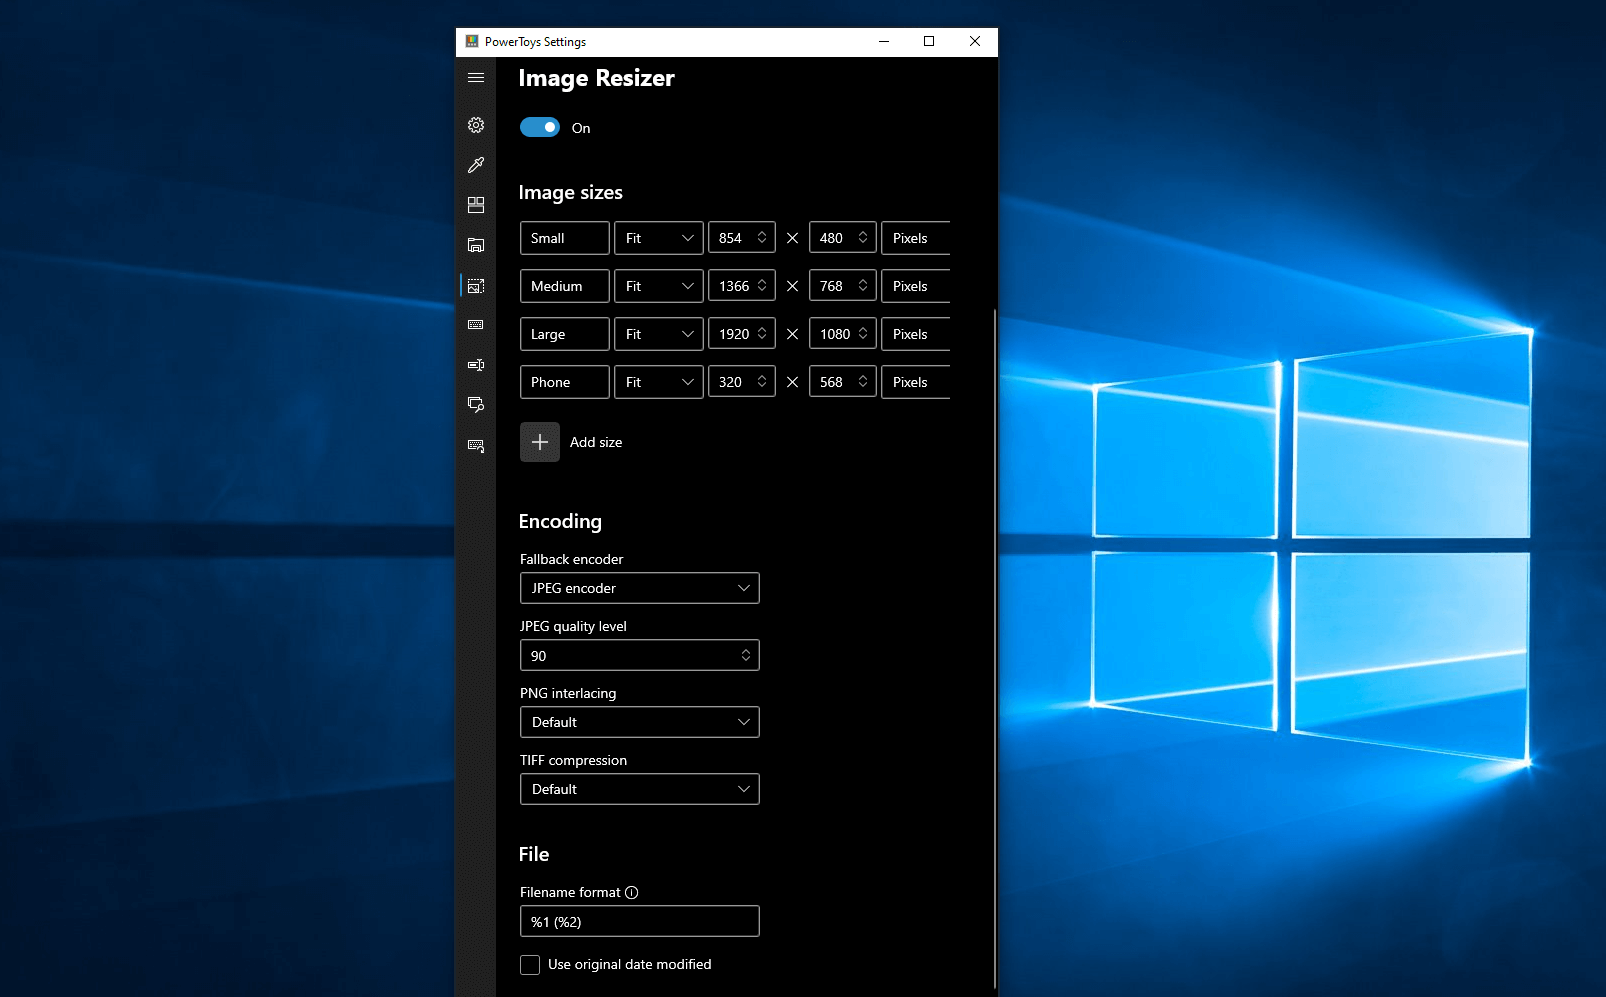 Image Resizer is a Windows shell extension for bulk image-resizing. After installing PowerToys, right-click on one or more selected image files in File Explorer, and then select Resize pictures from the menu. You can specify your own sizes if you want, you can resize when dragging files, you can overwrite files or make new copies of new sizes, and many more options. A very useful tool I am sure plenty of users can use since this eliminates the need for pictures or any other image application for common resizing tasks.
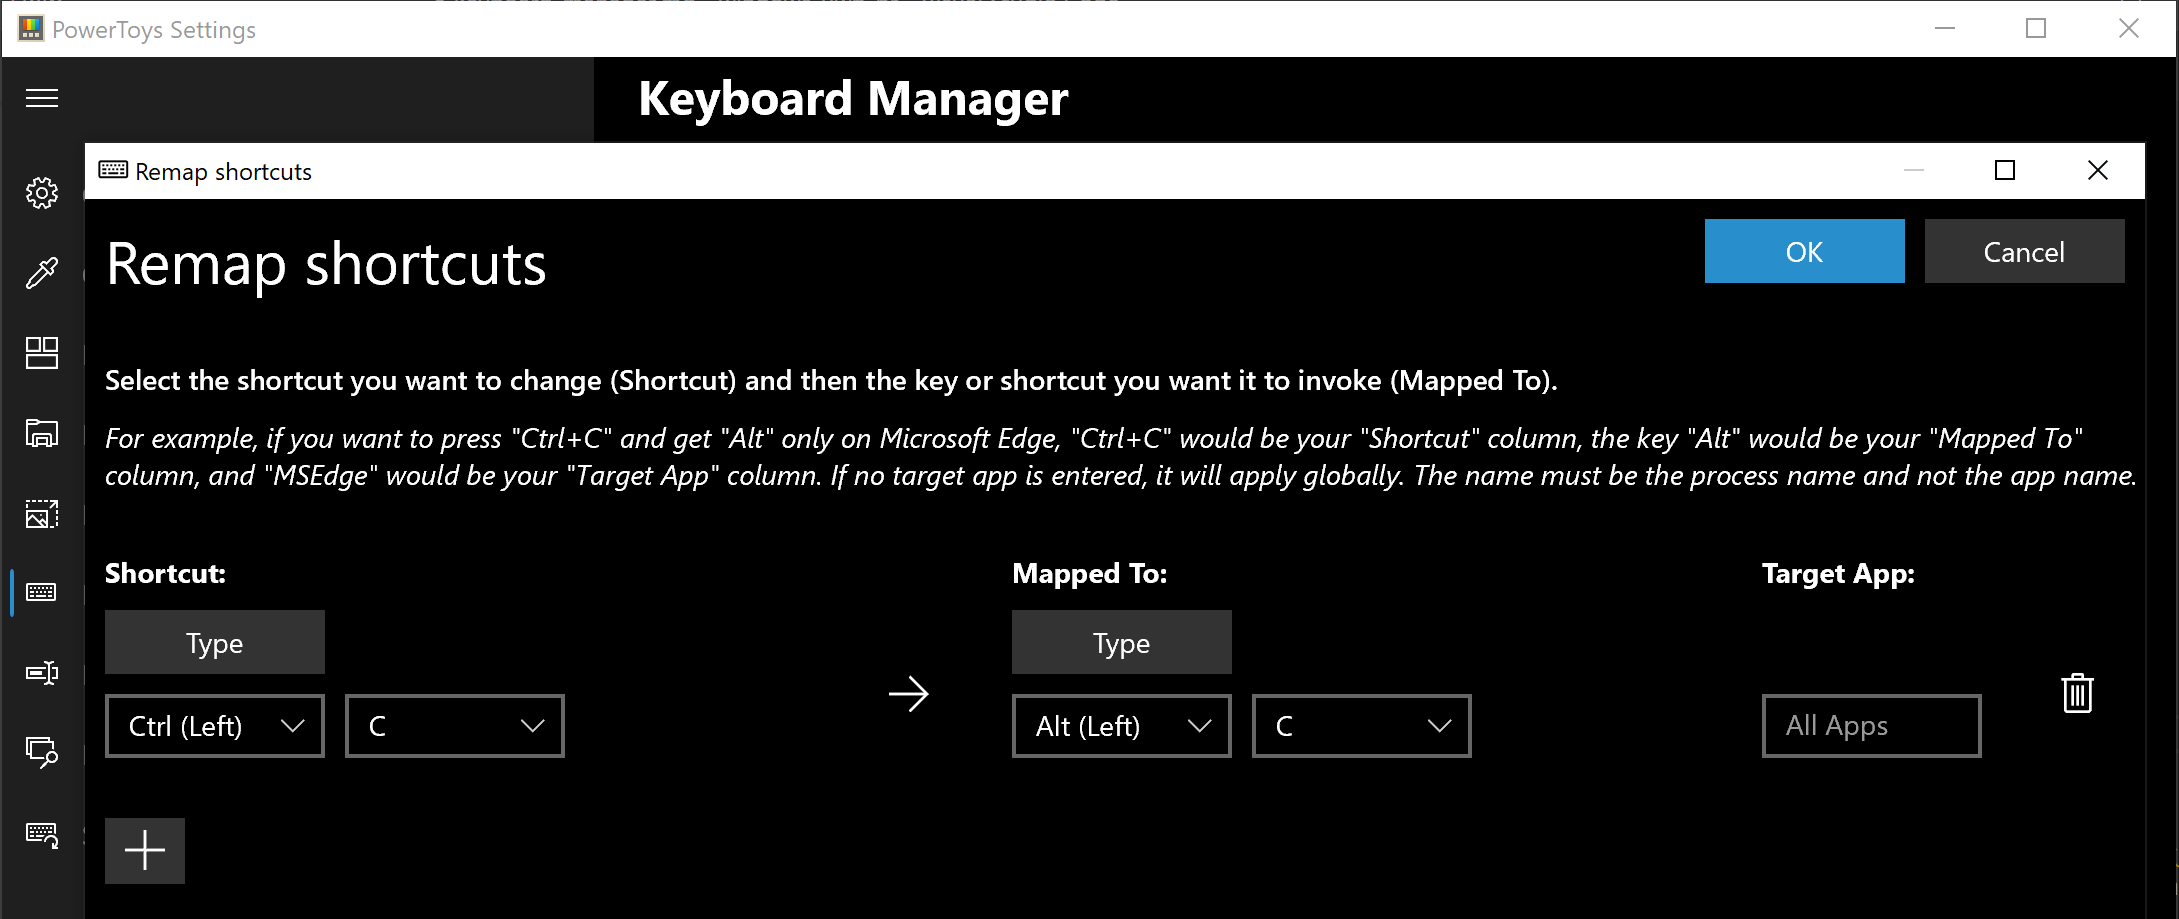 The PowerToys Keyboard Manager enables you to redefine keys on your keyboard. For example, you can exchange the letter A for the letter D on your keyboard. When you select the A key, a D will display. You can also exchange shortcut key combinations. For example, the shortcut key, Ctrl+C, will copy the text in Microsoft Word. With the PowerToys Keyboard Manager utility, you can exchange that shortcut for ⊞ Win+C). Now, ⊞ Win+C) will copy text. If you do not specify a targeted application in PowerToys Keyboard Manager, the shortcut exchange will be applied globally across Windows. PowerToys Keyboard Manager must be enabled (with PowerToys running in the background) for remapped keys and shortcuts to be applied. If PowerToys is not running, key remapping will no longer be applied.
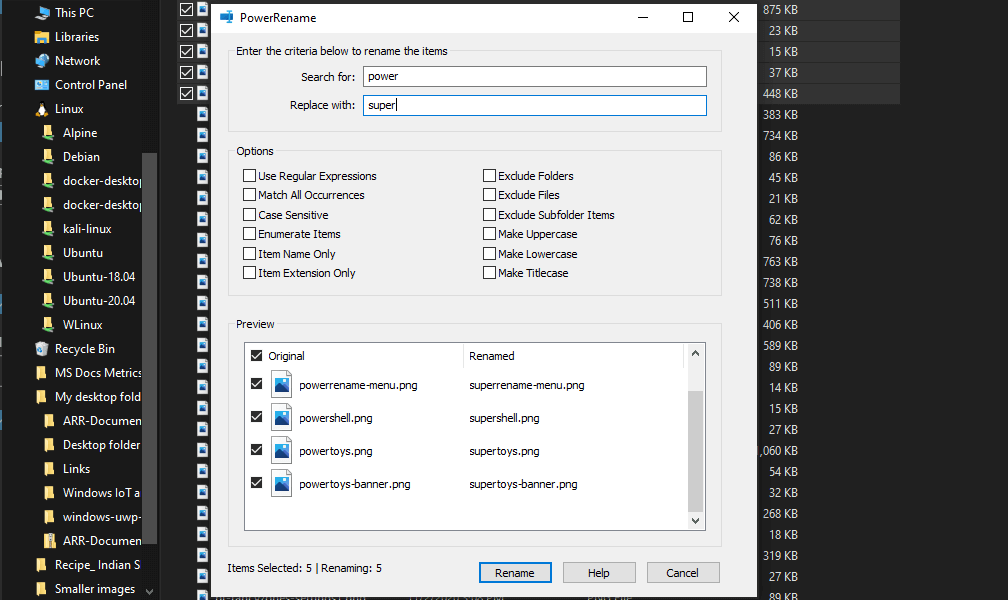 PowerRename is a bulk renaming tool that enables you to:
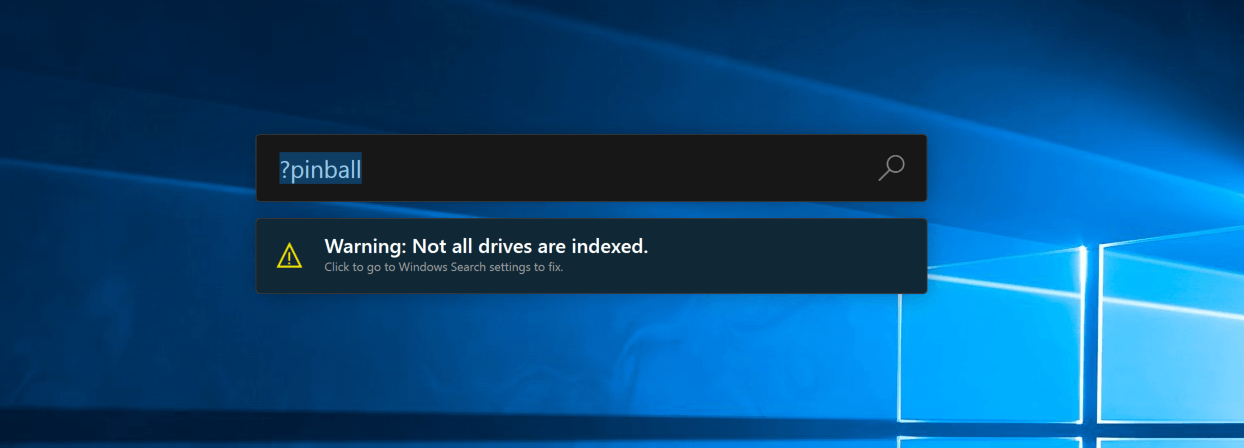 PowerToys Run is a quick launcher for power users that contains some additional features without sacrificing performance.
PowerToys Run features include:
PowerToys Run is a quick launcher for power users that contains some additional features without sacrificing performance.
PowerToys Run features include:
> (for example, > Shell:startup will open the Windows startup folder)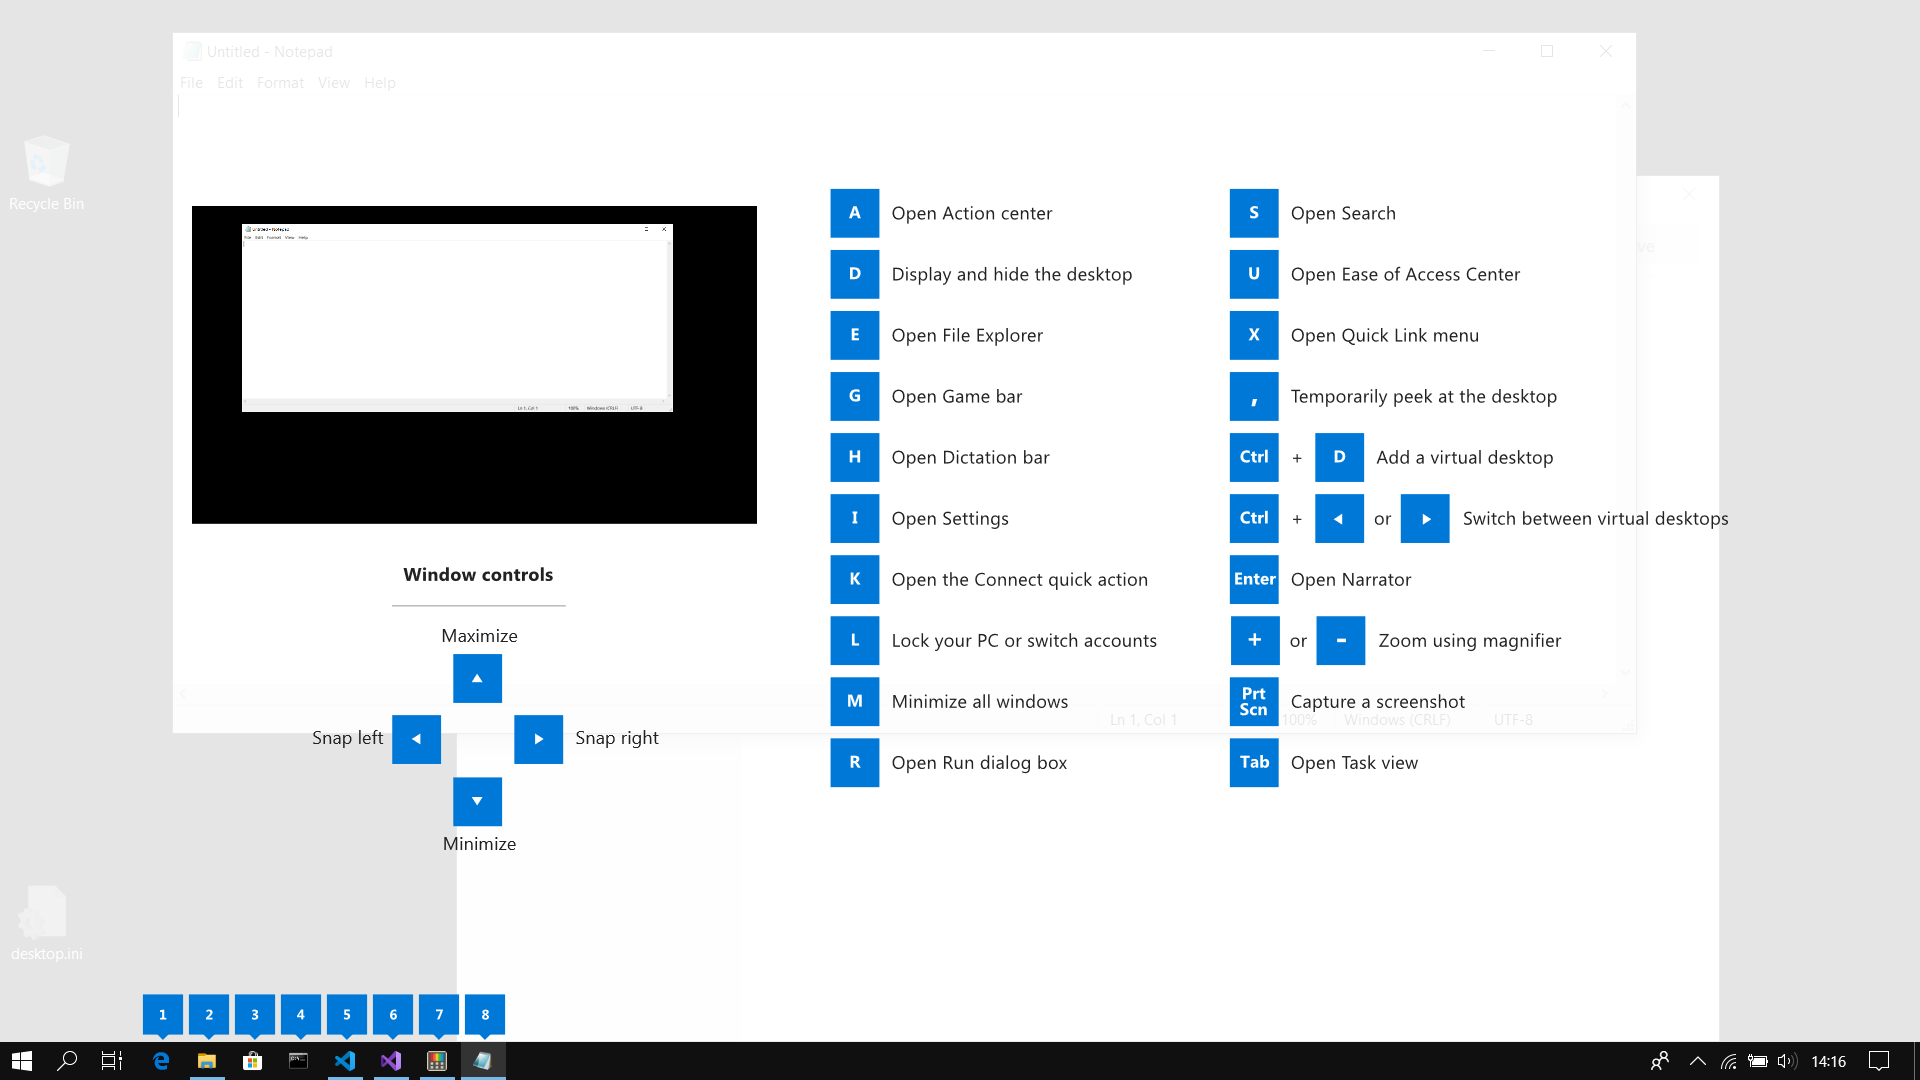 This guide uses PowerToys to display common keyboard shortcuts that use the Windows ⊞ key. Windows key keyboard shortcuts can be used while the guide is being shown and the result of those shortcuts (active window moved, arrow shortcut behavior changes, etc) will be displayed in the guide. Releasing the Windows ⊞ key will make the overlay disappear. Tapping the Windows ⊞ key will display the Windows Start menu.
Hey, you made it till the end, thank you for reading and I hope to see you soon.
This guide uses PowerToys to display common keyboard shortcuts that use the Windows ⊞ key. Windows key keyboard shortcuts can be used while the guide is being shown and the result of those shortcuts (active window moved, arrow shortcut behavior changes, etc) will be displayed in the guide. Releasing the Windows ⊞ key will make the overlay disappear. Tapping the Windows ⊞ key will display the Windows Start menu.
Hey, you made it till the end, thank you for reading and I hope to see you soon.