
Error Code 80073712—What is it?
Error code 80073712 is one of the dozens of error codes affecting Windows 10 users. It occurs when users attempt to upgrade their operating system but experience a failure. The error code usually results from problems associated with missing or damaged files within Windows Update. Common symptoms of this error code include the following:
- The inability of Windows Update to successfully complete the upgrade process
- Message box highlighting the presence of error code
Solution
 Error Causes
In the case of error code 80073712, the issues preventing Windows Update from completing the upgrade process are most likely due to problems with files within Windows Update. For instance, there may be corruption within the Component-Based Servicing (CBS) manifest.
Further Information and Manual Repair
Manual repair methods offer solutions to Microsoft users who are experiencing Windows error codes like the upgrade error code 80073712 in Windows 10. The manual repair methods in this article are not guaranteed to fix problems unrelated to this error code. Thus, be certain you are experiencing error code 80073712 before you attempt to implement the solutions provided below.
Method One: Run Windows Update Troubleshooter
Since issues related to Windows Update may be causing error code 80073712 to occur, one of the best solutions you can consider is to run the Windows Update Troubleshooter. This troubleshooter will be able to detect and fix corruptions within Windows Update files or any other issues directly related to Windows Update. To implement this manual repair method, follow the steps listed below:
- Step one: Open your Internet browser
- Step two: Type www.microsoft.com/downloads
- Step three: Type Windows Update Troubleshooter in the search bar at the top-right corner of the Microsoft website.
- Step four: Select Windows Update Troubleshooter then wait for the webpage to load.
- Step five: Select Run troubleshooter
Once you run the troubleshooter, you should be able to verify and fix any errors within Windows Update files. Restart your machine after the troubleshooting process is complete them proceed by checking Windows Update to see if you are able to complete the upgrade. If Windows Update downloads the upgrade and the installation of the upgrade occurs, the problem has been resolved. Otherwise, error code 80073712 will reoccur, in which case you will need to move to manual repair method two.
Method Two: Run DISM Tool
Another option available to Windows users experiencing error code 80073712 is to download and run the Deployment Image Servicing and Management (DISM) tool. This tool checks for inconsistencies or corruptions that may be preventing Windows Update services from functioning correctly. To download and run the tool, follow the instructions below:
- Step one: Type Command Prompt in the search box near the Start button
- Step two: Right-click Command Prompt, then click Run as administrator, providing administrator password or confirmation where necessary.
- Step three: Select Allow
- Step four: Press Enter after typing the following command:
DISM.exe /Online /Cleanup-image /Restorehealth
Wait a few minutes to ensure that the process is complete. Once you’ve run the DISM tool, it will detect errors, for instance within registry data, and correct or replace them. Restart your machine after running this tool then check Windows Update. Attempt to download the upgrade to see if you have successfully resolved error code 80073712. If you experience an upgrade failure, move to the next manual repair method mentioned below.
Method Three: Perform a Clean Install of Windows 10
The issues related to error code 80073712 may also be resolved by performing a clean install of Windows 10. This manual repair method ensures that any previous versions of your Windows operating system are removed before you attempt to access an upgrade. This can prove effective as it helps users avoid issues that would otherwise cause error codes or poor PC performance in cases where errors are present on one’s system.
To successfully perform a clean installation of Windows 10, be prepared to follow step-by-step procedures that include the following:- Step one: Download and run media creation tool
- Step two: Click Run, then select Create installation media for another PC
- Step three: Select changes to the installation options, then select Next
- Step four: Choose USB flash drive or ISO file, then click Next
- Step five: Select drive, then Next
- Step six: Select Finish, then restart your computer, ensuring that the media option you choose, whether USB flash drive or DVD, is in your machine before you choose to reboot.
- Step seven: Press any key then follow the prompts provided to set up Windows 10.
Method Four: Download an Automated Tool
If you wish to always have at your disposal a utility tool to fix these Windows 8 and other related issues when they do arise, download and install a powerful automated tool.
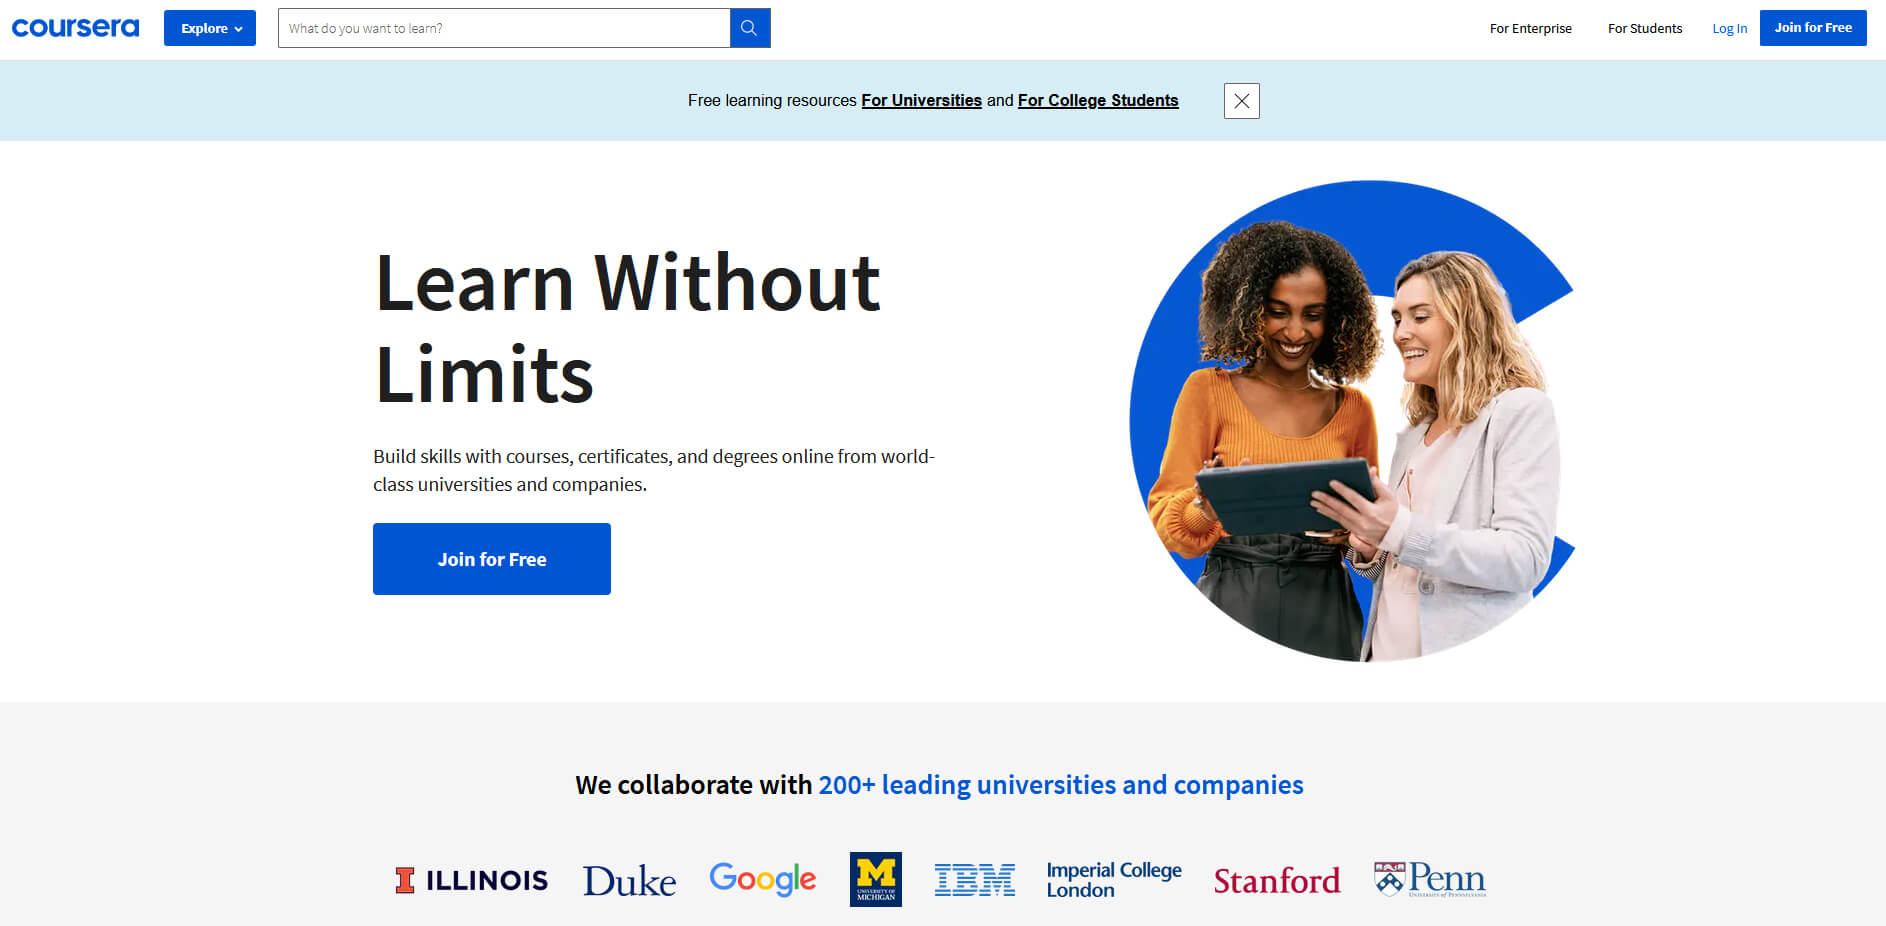 Coursera was one of the pioneers when it comes to college education online. When it started all courses were free and offered certificates if the taker has done tasks with a passing grade. Today not everything is free but still, there are tons of free courses that can help you to learn something new and to advance in your work or hobby.
Google is using the Coursera platform to deliver its courses to the audience and besides google a lot of academic professors from Princeton, Stanford, John Hopkins and many more are presently offering their course material.
Coursera was one of the pioneers when it comes to college education online. When it started all courses were free and offered certificates if the taker has done tasks with a passing grade. Today not everything is free but still, there are tons of free courses that can help you to learn something new and to advance in your work or hobby.
Google is using the Coursera platform to deliver its courses to the audience and besides google a lot of academic professors from Princeton, Stanford, John Hopkins and many more are presently offering their course material.
 edX has evolved from MITx, MIT’s free initiative to place some free academic lectures from its classrooms free into the world. Since it was rebranded into edX it started including other big university names like Berkeley, University of Texas System, Harvard, and many more.
Since its infant days, edX has expanded and included many areas that it offers coursework from arts to science. Certificated today are mostly not free but course videos are, so if you care to learn and not wave certificates around this is a great place to do it.
edX has evolved from MITx, MIT’s free initiative to place some free academic lectures from its classrooms free into the world. Since it was rebranded into edX it started including other big university names like Berkeley, University of Texas System, Harvard, and many more.
Since its infant days, edX has expanded and included many areas that it offers coursework from arts to science. Certificated today are mostly not free but course videos are, so if you care to learn and not wave certificates around this is a great place to do it.
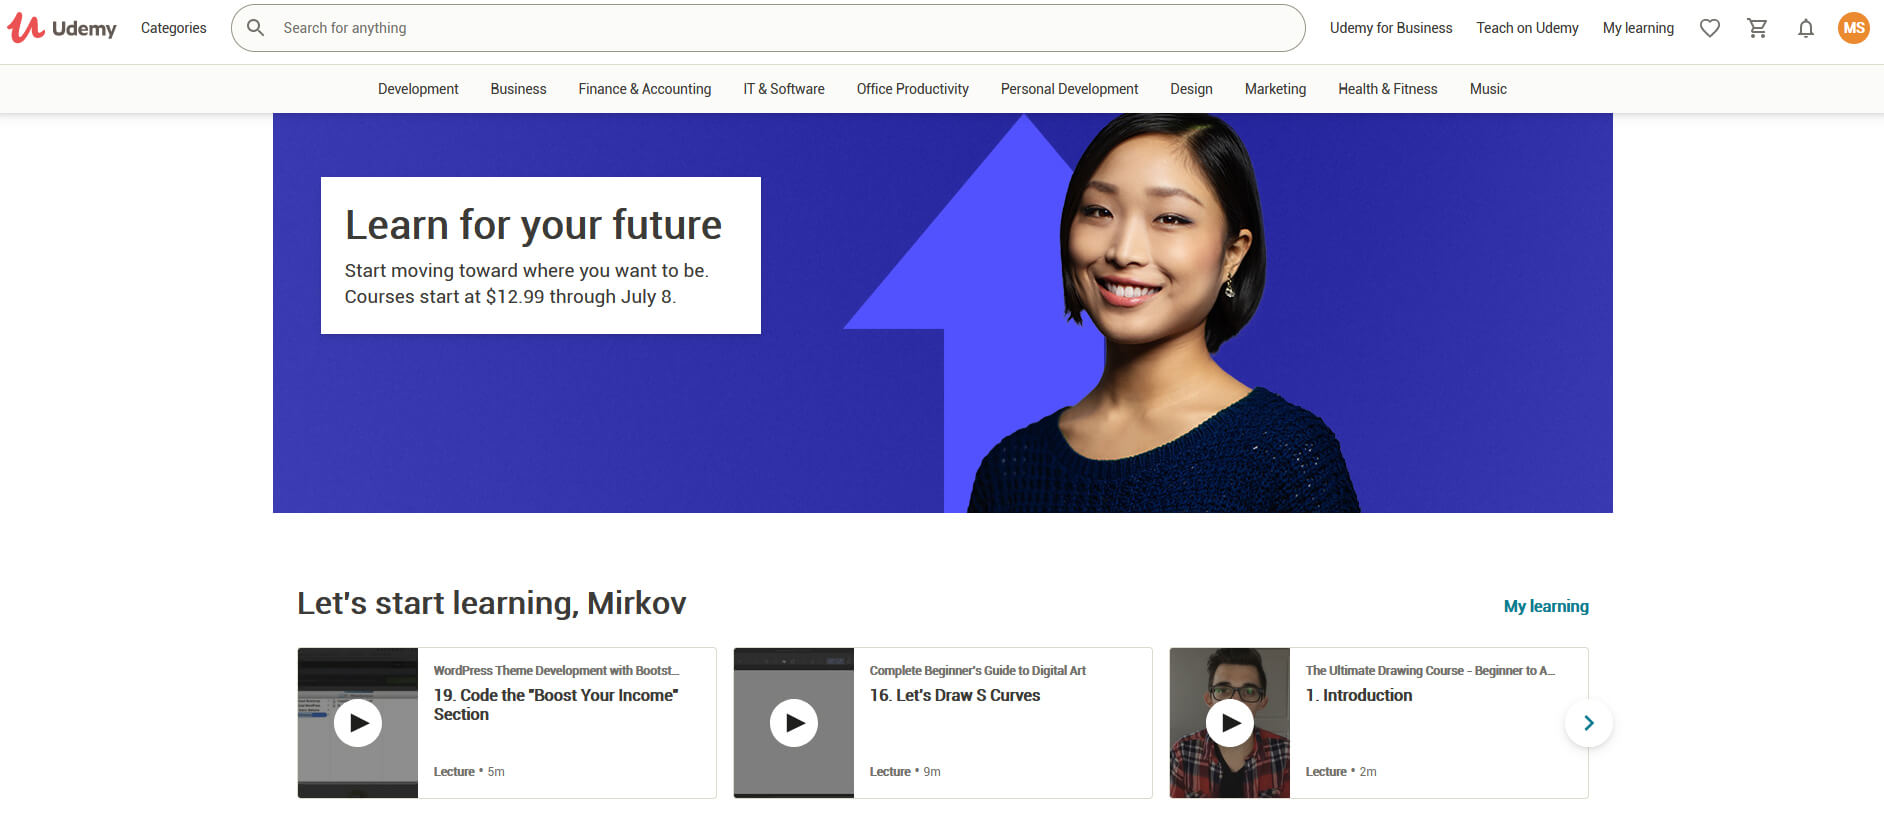 Udemy has a little different approach to course material than previously mentioned websites. Teachers on Udemy are mostly people that are working in a given field. Programmers will teach programming, fitness instructors will teach training, etc.
There are vas variety of topics even on lifestyle, hobbies even gaming to more serious ones like software developing hardware, etc.
There are free courses but mostly are one-time purchases with unlimited access to course material and with frequent discounts udemy might be a good place to look if you can find anything interesting.
Udemy has a little different approach to course material than previously mentioned websites. Teachers on Udemy are mostly people that are working in a given field. Programmers will teach programming, fitness instructors will teach training, etc.
There are vas variety of topics even on lifestyle, hobbies even gaming to more serious ones like software developing hardware, etc.
There are free courses but mostly are one-time purchases with unlimited access to course material and with frequent discounts udemy might be a good place to look if you can find anything interesting.
 Alison is kind of Udemy if we are talking about course material and who is teaching, the difference however is that it has more free content and it is one of the rare websites on this list that has Language courses.
Courses vary from beginner level to more advanced ones.
Alison is kind of Udemy if we are talking about course material and who is teaching, the difference however is that it has more free content and it is one of the rare websites on this list that has Language courses.
Courses vary from beginner level to more advanced ones.
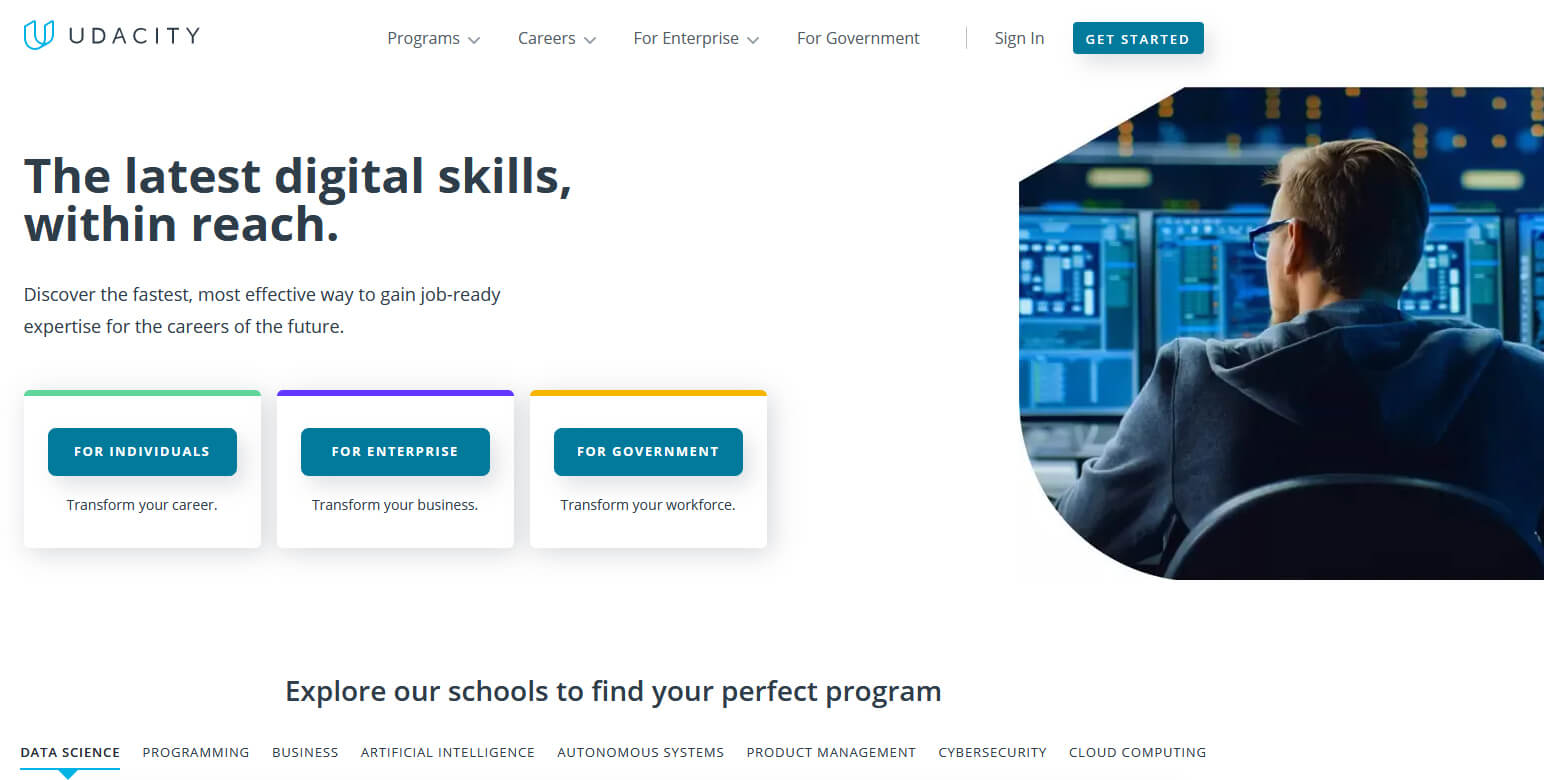 Udacity was also one of the earlier websites to offer free courses, in today’s world it still has free material but there is also paying one.
The big difference from other competitors is that Udacity focuses mostly on programming, data science, and web development and it is very strong in this field. There are no courses about art. Music or similar, mostly IT stuff is covered here.
If this is something that interests you, make a free account and give it a go.
Udacity was also one of the earlier websites to offer free courses, in today’s world it still has free material but there is also paying one.
The big difference from other competitors is that Udacity focuses mostly on programming, data science, and web development and it is very strong in this field. There are no courses about art. Music or similar, mostly IT stuff is covered here.
If this is something that interests you, make a free account and give it a go.
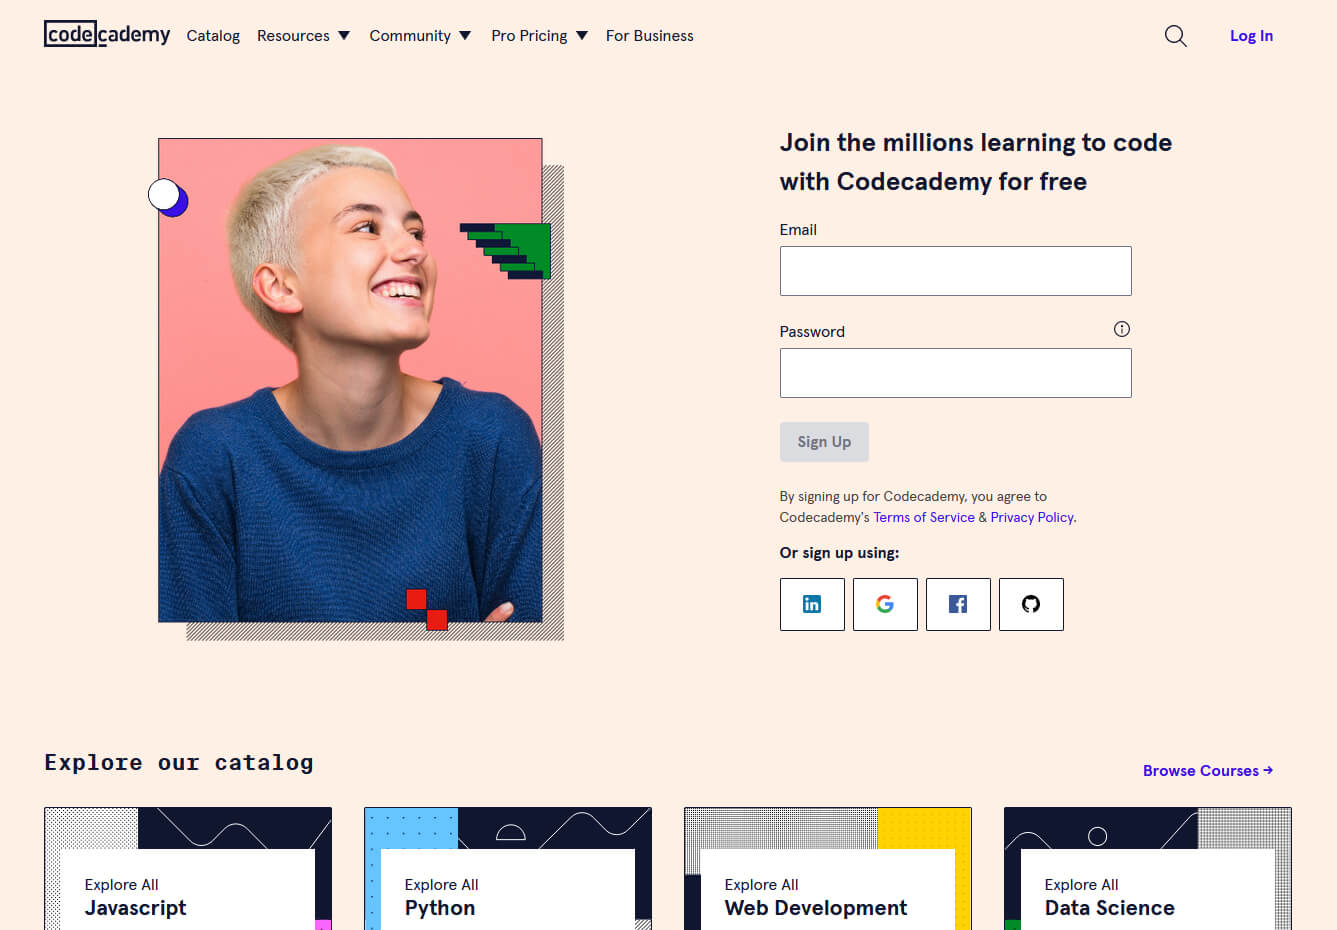 Codecademy is a website mainly focused on teaching you how to code. Pro plan is there but there are a lot of basic and free courses on the mentioned subject.
The curriculum is really wide covering Python, R, Java, JavaScript, SQL, Ruby, C#, C++, Swift, PHP, HTML, CSS and more so I am sure that if you are interested in coding this would be a pretty good place to find things.
Besides pure language coding courses site offers also, Cybersecurity, Web design, Data science, web development, Game Development, Mobile Development, and many more courses on provided subjects.
Codecademy is a website mainly focused on teaching you how to code. Pro plan is there but there are a lot of basic and free courses on the mentioned subject.
The curriculum is really wide covering Python, R, Java, JavaScript, SQL, Ruby, C#, C++, Swift, PHP, HTML, CSS and more so I am sure that if you are interested in coding this would be a pretty good place to find things.
Besides pure language coding courses site offers also, Cybersecurity, Web design, Data science, web development, Game Development, Mobile Development, and many more courses on provided subjects.
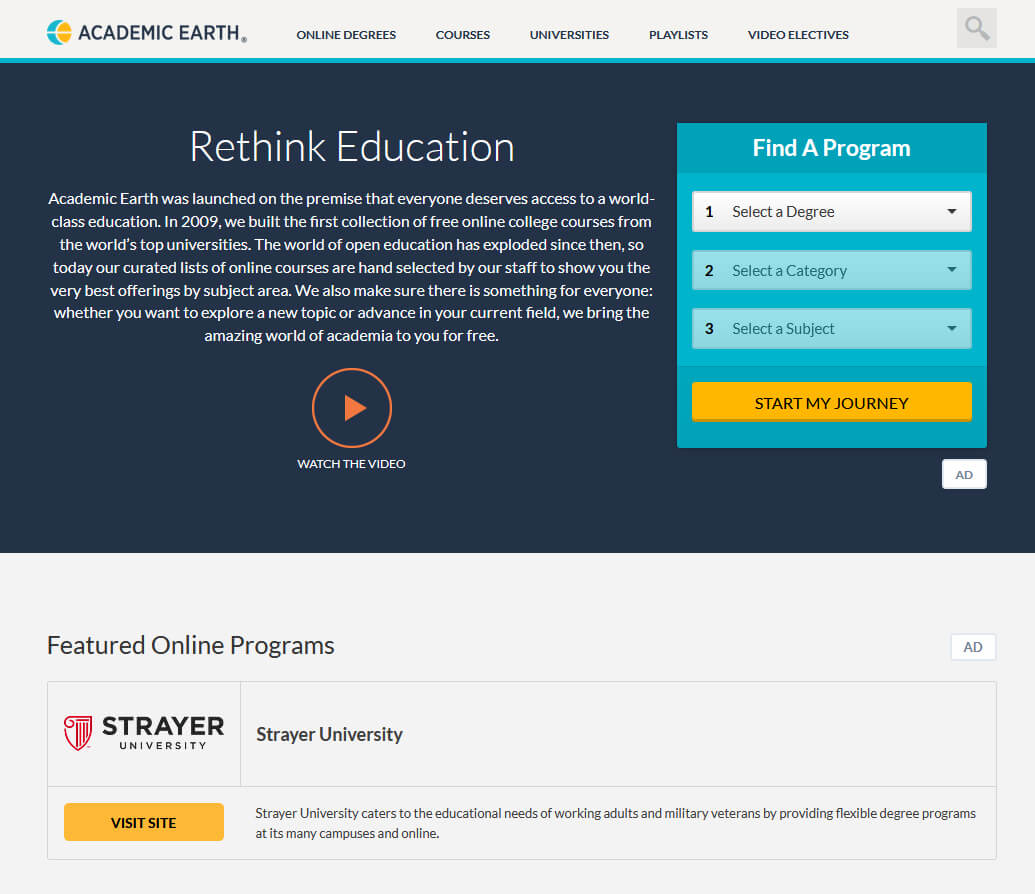 Academic Earth has been built with one simple premise: Everyone deserves access to education.
Lead by this kind of mindset on Academic Earth you will find well, academic courses similar to ones found on edX and Coursera, but from mentioned sites here all courses are free and you will find only academic ones, there are no entrepreneur or expert courses here, just pure academic ones.
If you wish to see and learn something the way it is taught in Harvard, Berkeley, MIT, etc this is the place for you.
Academic Earth has been built with one simple premise: Everyone deserves access to education.
Lead by this kind of mindset on Academic Earth you will find well, academic courses similar to ones found on edX and Coursera, but from mentioned sites here all courses are free and you will find only academic ones, there are no entrepreneur or expert courses here, just pure academic ones.
If you wish to see and learn something the way it is taught in Harvard, Berkeley, MIT, etc this is the place for you.
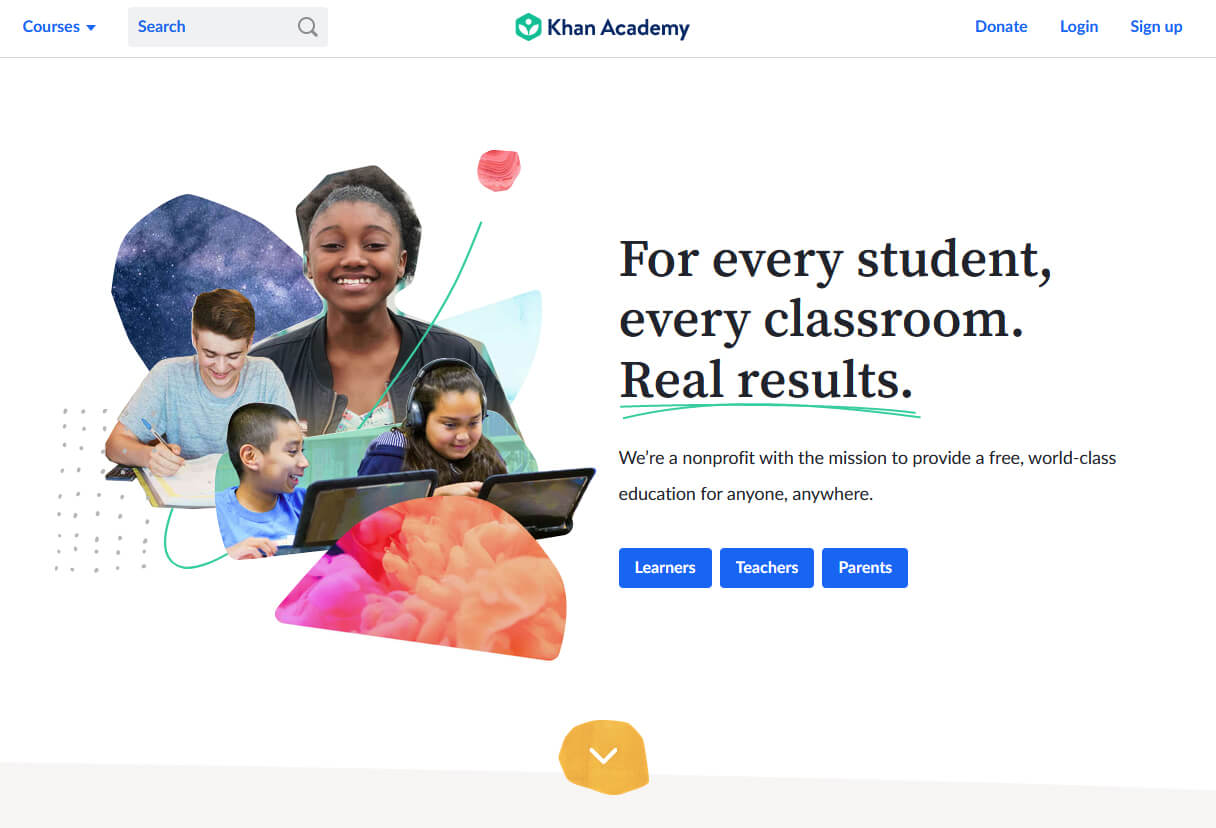 Khan academy is completely free and it is offering courses matching certain grades for children. It is offering courses for all 8 years of elementary school, math courses for high school and college with some coursework on topics like science, arts & humanities, reading, life skills, etc.
Despite not being on the same level as some university courses presented on other mentioned websites Khan Academy is a good place to learn a lot of basic skills that you could build upon later.
Khan academy is completely free and it is offering courses matching certain grades for children. It is offering courses for all 8 years of elementary school, math courses for high school and college with some coursework on topics like science, arts & humanities, reading, life skills, etc.
Despite not being on the same level as some university courses presented on other mentioned websites Khan Academy is a good place to learn a lot of basic skills that you could build upon later.

 From the menu choose command prompt (admin)
 In command prompt type sfc /scannow and press ENTER
Leave the computer for the operation to be completed and Reboot your computer
In command prompt type sfc /scannow and press ENTER
Leave the computer for the operation to be completed and Reboot your computer Valve has officially announced that Steam Deck will be compatible with Windows 11 despite TPM 2.0 Microsoft requirements.
From the beginning, Deck was announced like a mini handheld PC device. Powered with new Steam OS 3.0 based on Linux. However, besides out-of-the-box OS it was also stated that Deck will be a personal device meaning that other PC-based operating systems could be installed on it and even run your typical applications in it.
Since Microsoft announced Windows 11 hardware requirements, specifically the TPM 2.0 requirement many users voiced concern that Steam Deck will not be able to connect to Windows 11
TPM 2.0 is something that Microsoft requires for every internal and hardware component that is to connect on a Windows 11 device. This is to ensure that only trusted devices would be included in the array of a PC setup and avoid any problems like malicious hardware injecting software into a system.
This would also minimize the compromise Windows would have, as unverified or untrusted devices connect to a Windows PC.
However, Valve and AMD are ensuring us that Deck will not have any issue connecting to a PC running Windows 11 or even if you wish to transform Deck itself into a Device running Windows 11.
Valve has officially announced that Steam Deck will be compatible with Windows 11 despite TPM 2.0 Microsoft requirements.
From the beginning, Deck was announced like a mini handheld PC device. Powered with new Steam OS 3.0 based on Linux. However, besides out-of-the-box OS it was also stated that Deck will be a personal device meaning that other PC-based operating systems could be installed on it and even run your typical applications in it.
Since Microsoft announced Windows 11 hardware requirements, specifically the TPM 2.0 requirement many users voiced concern that Steam Deck will not be able to connect to Windows 11
TPM 2.0 is something that Microsoft requires for every internal and hardware component that is to connect on a Windows 11 device. This is to ensure that only trusted devices would be included in the array of a PC setup and avoid any problems like malicious hardware injecting software into a system.
This would also minimize the compromise Windows would have, as unverified or untrusted devices connect to a Windows PC.
However, Valve and AMD are ensuring us that Deck will not have any issue connecting to a PC running Windows 11 or even if you wish to transform Deck itself into a Device running Windows 11.