Logo

Change Network from Public to Private error

You have the option to choose to configure the Network to Private or Public when you set it on Windows 10 PC. On the other hand, if the option to change the Network from Public to Private goes missing in Windows Settings then this post will surely help. You can find this setting under Settings > Network and Internet > Ethernet and appears when you click on it.

If you are not able to see the option to change the network profile, then you either can’t open the settings, or the option to change it has been disabled. To resolve this issue, you can either use the Registry Editor or Windows PowerShell. Refer to the options given below for more details.

Option 1 – Change the Network Profile via Registry Editor

Changing the Network Profile can be done using the Registry Editor. But before you proceed, make sure that you create a System Restore Point first just in case. Refer to the steps below to do so.

  • Tap the Win + R keys to open the Run dialog box.
  • Then type “Regedit” in the field and hit Enter to open the Registry Editor.
  • After that, navigate to this key: HKEY_LOCAL_MACHINESOFTWAREMicrosoftWindows NTCurrentVersionNetworkListProfiles
  • Now expand the Profiles key folder located in the left pane to see one or more folders.
  • Next, expand each one of these folders and look for the “Description” sub-key which should match the name of your network.
  • After you find the Description sub-key, look for another sub-key named “Category” and double click on it to open it.
  • Now change its value from “0” to “1” to change the Network Profile from Public to Private.

Option 2 – Change the Network Profile via Windows PowerShell

Aside from the Windows Registry, you can also use Windows PowerShell in changing the Network Profile from Public to Private and so on. Take note that you have to use PowerShell with admin privileges. Just refer to the steps below to do so.

  • Tap the Win + X keys and then select the “PowerShell (Admin)” option.
  • Next, click on Yes if the User Account Control prompt appears.
  • After that, execute the commands listed below. Hit Enter right after you key in each one of them.
    • Get-NetConnectionProfile
    • Set-NetConnectionProfile -InterfaceIndex <index number> -NetworkCategory Private

Note: Since every Network Profile has an index number, you can check the label “Name” to identify the network that you want to change.

Do You Need Help with Your Device?

Our Team of Experts May Help
Troubleshoot.Tech Experts are There for You!
Replace damaged files
Restore performance
Free disk space
Remove Malware
Protects WEB browser
Remove Viruses
Stop PC freezing
GET HELP
Troubleshoot.Tech experts work with all versions of Microsoft Windows including Windows 11, with Android, Mac, and more.

Share this article:

You might also like

Location services are greyed out in Windows
Location services is a built-in tool in Windows 10 is a useful tool that offers users location information even when your laptop or desktop computer does not have a GPS since it uses Wi-Fi positioning as well as your device’s IP address. However, there are instances when you might encounter some problems when using this service. One instance is when you suddenly find the toggle button for Location service greyed out. This kind of program could be due to some glitch in the system or some third-party application on your computer. Because of this problem, you won’t be able to toggle the Location service on or off and you won’t be able to make any changes in its settings. Worry not, for this post will guide you on what you can do to fix the greyed-out toggle button of Location services in Windows 10. Before you perform some troubleshooting steps, you might want to restart your computer and see if it fixes the problem. If it didn’t, then this problem is not just some minor glitch. Thus, you have to follow the potential fixes provided below to fix the problem but before you do that, make sure that you create a System Restore point first. After that, follow each one of the following options.

Option 1 – Put your PC in a Clean Boot State

The first thing you can do to resolve the problem is to put your computer in a Clean Boot State. It could be that there is a third-party program that’s preventing the toggle button from functioning. To isolate this possibility, you need to put your computer in a Clean Boot State.
  • Log onto your PC as an administrator.
  • Type in MSConfig in the Start Search to open the System Configuration utility.
  • From there, go to the General tab and click “Selective startup”.
  • Clear the “Load Startup items” check box and make sure that the “Load System Services” and “Use Original boot configuration” options are checked.
  • Next, click the Services tab and select the “Hide All Microsoft Services” check box.
  • Click Disable all.
  • Click on Apply/OK and restart your PC. (This will put your PC into a Clean Boot State. And configure Windows to use the usual startup, just simply undo the changes.)
  • Now check if you can now use the toggle button of the Location service or not.

Option 2 – Try to use the Registry Editor

If putting your computer in a Clean Boot state didn’t fix the problem, you might want to make some adjustments in the Windows Registry via Registry Editor.
  • Tap the Win + R keys to open the Run utility and type “regedit” in the field and then tap Enter to open the Registry Editor.
  • After that, navigate to this registry path: HKEY_LOCAL_MACHINESYSTEMCurrentControlSetServiceslfsvcTriggerInfo
  • From there, select the Key (folder) named as “3” and right-click on it, and then delete it.
  • Once done, exit the Registry Editor and restart your computer.

Option 3 – Try to use the Windows Services Manager

  • Tap the Win + R keys to open the Run dialog box and type “services.msc” in the field and hit Enter to open the Services Manager.
  • Next, look for the “Geolocation Service” entry from the list of services.
  • Once you find it, right-click on it and select Properties. This will open a new mini window.
  • From there, make sure that it is “Running” and its Startup Type is set to “Automatic”.
  • After that, close the Services Manager and check if the problem is now resolved.

Option 4 – Try to use the Group Policy Editor

  • Tap the Win + R keys to launch Run and type “gpedit.msc” in the field and click OK to open the Group Policy Editor.
  • After that, navigate to this path: Administrative TemplatesWindows ComponentsLocation and Sensors
  • Next, double click on each one of the following settings and select the “Not configured” or “Disabled” option.
    • Turn off location scripting
    • Turn off location
    • Turn off sensors
  • Once done, navigate to this path: Administrative TemplatesWindows ComponentsLocation and SensorsWindows Location Provider
  • From there, double click on the “Turn off Windows Location Provider” policy setting and set its configuration to either “Disabled” or “Not configured”. You should see the following description of the policy setting in the window:
“This policy setting turns off the Windows Location Provider feature for this computer. If you enable this policy setting, the Windows Location Provider feature will be turned off, and all programs on this computer will not be able to use the Windows Location Provider feature. If you disable or do not configure this policy setting, all programs on this computer can use the Windows Location Provider feature.”
  • Now restart your computer.
Read More
Change Legacy to UEFI without reinstalling
There are some new generation motherboards for laptops and PCs that bring in support for both the Unified Extensible Firmware Interface or UEFI as well as the Basic Input Output System or BIOS. The main advantage of UEFI over the traditional BIOS is the fact that UEFI supports a hard drive that has a capacity of more than 2 terabytes. However, the disadvantage of UEFI is that it only supports the x64 Windows operating system versions and that the hard drive is supposed to use the GPT structure. So if your PC is compatible with and supports UEFI and you want to change from Legacy to UEFI, then you’ve come to the right place as this post will guide you on how you can exactly do that without having to reinstall it. There are two ways to change Legacy to UEFI. You can convert MBR to GPT using either the built-in utilities in Windows or using the Recovery Environment. Before you proceed, make sure that your computer fulfills the following prerequisites:
  • Your PC’s motherboard should support both Legacy and UEFI.
  • Your PC should be running at least the 1703 Windows 10 version or newer on an MBR partition.
Once you’ve made sure that your computer covers the aforementioned prerequisites, refer to the given options below.

Option 1 – Convert MBR to GPT via Windows built-in utilities

  • In the Windows Search box, type “command prompt” and from the search results that appear, right-click on Command Prompt and select the “Run as administrator” option.
  • After that, execute this command: exe /convert /allowfullOS
  • Now, wait until the process is completed since you can track its process on your screen.
  • Once it’s done, go to Settings > Update & Security > Advanced Startup options and from there, click on Restart Now. This will restart your computer and give you advanced options.
  • Next, select Troubleshoot > Advanced Options where you will see further options including System Restore, Startup Repair, Go back to the previous version, Command Prompt, System Image Recovery, and UEFI Firmware Settings.
  • Now select the UEFI Firmware Settings. This will take you to the BIOS. Boot Mode is typically available under Boot > Boot Configuration. Once you’re there, set it to UEFI and then save the changes you’ve made. After that, your computer will restart.

Option 2 – Convert MBR to GPT via the Recovery Environment

  • When the message appears on your screen while running Windows Setup, you need to tap the Shift + F10 keys to open Command Prompt.
  • Make sure to run Command Prompt as admin and then execute this command: exe /convert
  • After that, wait until the process is completed. When it’s done, you have to go to the BIOS just like in the first given option above.
  • As mentioned, you can usually find the Boot Mode under Boot > Boot Configuration. Once you’re there, set it to UEFI.
  • Now save the changes made and exit as your computer will restart.
Read More
Fix Windows Update error 0x80070003
If you are trying to run Windows Update but encountered an Error 0x80070003, read on as this post will guide you on how you can fix it. This kind of error in Windows Update can occur when you activate Windows Firewall or download from the Windows Store. This kind of error indicates that the Windows Update service or WUAUSERV is not started or that the Background Intelligent Transfer Service or BITS can’t be started. Aside from that, you can also encounter this error with the other Windows Update components. To fix the Windows Update error 0x80070003, you can try to run the built-in Windows Update troubleshooter or replace the old Configuration file named “Spupdsvc.exe”. You can also try to reset the Windows Update components or check the status of all the Windows Update-related services, as well as run a System File Checker scan.

Option 1 – Run the Windows Update Troubleshooter

Running the built-in Windows Update troubleshooter is one of the things you can first check out as it is known to automatically resolve any Windows Update errors like error code 0x80070003. To run this troubleshooter, Refer to these steps:
  • Tap the Win + I keys to open Settings.
  • From there, click Update and Security and go to the Troubleshoot section.
  • Next, select Windows Update and click the “Run the troubleshooter” button and wait until it’s finished, and then try to run Windows Update again.

Option 2 – Try replacing the old Configuration file named “Spupdsvc.exe”

The next thing you can do to fix the Windows Update error is to replace the Spupdsvc.exe file. This is a process file that comes under the Microsoft Update RunOnce service. So when an update becomes available for your computer, the process responsible for performing the upgrade is notified. In addition, the RunOnce entry is also added to the registry for the spupdsvc.exe and this process is executed when your computer restarts and when you log on.
  • In the Start Search, type “command prompt” and from the search results, right-click on Command Prompt and select the “Run as administrator” option.
  • Next, execute this command to replace the old configuration of the Spupdsvc.exe file with a new one: c m d (remove spaces on CMD) /c ren %systemroot%System32Spupdsvc.exe Spupdsvc.old
  • After that, try to run Windows Updates again and check if the error is now gone.

Option 3 – Try deleting the files from the SoftwareDistribution folder and resetting the Catroot2 folder

The downloaded Windows Updates are placed in a folder called “SoftwareDistribution”. The files downloaded in this folder are automatically deleted once the installation is completed. However, if the files are not clean up or if the installation is still pending, you can delete all the files in this folder after you pause the Windows Update service. For complete instructions, refer to the steps below.
  • Open the WinX Menu.
  • From there, open Command Prompt as admin.
  • Then type in the following command – don’t forget to hit Enter right after typing each one of them.
net stop wuauserv net start cryptSvc net start bits net start msiserver
  • After entering these commands, it will stop the Windows Update Service, Background Intelligent Transfer Service (BITS), Cryptographic, and the MSI Installer
  • Next, go to the C:/Windows/SoftwareDistribution folder and get rid of all the folders and files thereby tapping the Ctrl + A keys to select them all and then click on Delete. Note that if the files are in use, you won’t be able to delete them.
After resetting the SoftwareDistribution folder, you need to reset the Catroot2 folder to restart the services you just stopped. To do that, follow these steps:
  • Type each one of the following commands.
net start wuauserv net start cryptSvc net start bits net start msiserver
  • After that, exit Command Prompt and restart your computer.

Option 4 – Check the status of some Windows Update Services

  • Tap the Win + R keys to open the Run dialog box.
  • Next, type “services.msc” in the field and hit Enter or click OK to open Services.
  • From the list of Services, look for the following services and make sure that their Startup type is as follows:
    • Windows Update – Manual (Triggered)
    • Background Intelligent Transfer Service – Manual
    • Cryptographic Services – Automatic
    • Workstation Service – Automatic
  • After that, check if the Service status of the listed services above are set to Running. If they’re not, click on the Start button to start these services and then check if the Windows Update error 0x80070003 is now fixed or not.

Option 5 – Run the System File Checker Scan

If manually resetting the Windows Update components didn’t work, you can run a System File Checker scan instead. It is a built-in command-line utility that replaces bad and corrupted system files with good system files that might be the cause why you’re getting the error when you try updating your computer. To run the SFC command, follow the steps given below.
  • Tap Win + R to launch Run.
  • Type in cmd in the field and tap Enter.
  • After opening Command Prompt, type in sfc /scannow
The command will start a system scan which will take a few whiles before it finishes. Once it’s done, you could get the following results:
  1. Windows Resource Protection did not find any integrity violations.
  2. Windows Resource Protection found corrupt files and successfully repaired them.
  3. Windows Resource Protection found corrupt files but was unable to fix some of them.
  • Restart your computer.
Read More
How to Resolve Internal Error 2753

Internal Error 2753 - What is it?

Internal error 2753 is associated with Windows Installer failure. The Windows Installer is basically an in-built software program in Windows 7 and 8. It installs all programs on the system smoothly, saves the program in the computer program files and in the Windows Registry. Though this can be carried manually Windows Installer makes the installation process much easier. However, internal error 2753 can cause a great deal of distress and frustration during program installation. This error prevents you from installing your desired program successfully.

Solution

Restoro box imageError Causes

The 2 known causes for Internal Error 2753 are:
  • Viral infection
  • Windows Installer not properly registered

Further Information and Manual Repair

To resolve internal error 2753 on your system, try the methods discussed below. These methods are easy and require no technical expertise. Let’s get started:

Method 1 - Remove All Malicious Programs

Malicious programs like viruses, malware, adware, Trojan and spyware can corrupt programs on your PC like Windows Installer. If this is the underlying cause of error code 2753, then simply download a powerful antivirus on your system. Run it to scan for all such malicious programs and remove them. Once your PC is clean, try installing your desired program. This will hopefully resolve the issue. If the error still pops up then try method 2.

Method 2 - Register Windows Installer Properly

To do this, go to the start menu and then open Run and type ‘cmd’ in the box, and press OK. This will open the DOS command window. In the command prompt type "regsvr32 vbscript.dll" and then press Enter to proceed. After that, you will see a message that will read as "DllRegisterServer in vbscript.dll succeeded." This means Window Installer files have been successfully registered on your PC.  Now you can try installing your desired program again. If the installation begins and completes successfully, then the error is resolved.

Method 3 - Undo Recent Changes

If nothing works, then use the Windows System Restore Utility tool to undo recent changes. This will bring back your PC in the former state before you experienced the error 2753 on your PC. To access System Restore Utility, press Start and type System Restore in the search box. Now follow the steps in the Wizard to choose a restore point. Once you select the point, reboot your system to activate changes.
Read More
Simple Manual to Fix Corrupted PST Files Quick

Just what is a PST File?

PST file is the acronym for Private Storage Table. It is a proprietary file structure utilized in the ms-outlook program shop and to preserve attachments as well as e-mails, notifications, scheduled calendar events, and even more. This structure can also be called a Personal Folder File. The storage limit or the size varies today with respect to the Outlook version you've got installed. The PST file size limit depends on the edition you have installed. Outlook 2002 and earlier versions have a memory limitation of 2GB while later versions such as Outlook 2013 have up to 50GB memory limit.

Error Causes

You will be amazed to discover there is not a single cause behind this problem. The File can be damaged due to a number of reasons including:
  • Virus infection
  • Incorrect file system recovery
  • Data storage device failure
  • Storage size limit exceeds
  • Sometimes due to power failure when accessing the PST files
Once this File becomes corrupted and broken, it places you in danger of losing your important e-mails and attachments. Moreover, this stops you from getting or sending e-mails to and from your own associates. And in case you would like to add new contacts, you are greatly hindered. It reduces your productivity. For individuals relying completely on the Outlook program for communicating via e-mails and maintaining a track of important dates that they have set reminders for and scheduled in their calendars, the PST file problem is a nightmare. It decreases productiveness and performance.

Further Information and Manual Repair

To regain the damaged File without removing old e-mails Install a PST File Repair Tool. The latter one is probably the best way to resolve this issue without compromising on your old important emails and contacts. There are a number of repair resources out there. Each device provides a distinct degree of characteristics and performance. We urge you to use Stellar Phoenix Outlook PST Repair Tool. Not only does this repair tool aid work out PST file error that is damaged, but it also helps with data recovery. With this particular tool, it is possible to recover even the erased files you've removed from your Outlook Installation before the PST file got corrupted. Wait there is more! It is also possible to raise the memory limit by installing this repair tool on your computer. What this means is in the event the PST file corruption's cause was associated with the storage size limit, it is easily worked out. With an increase in memory, you can keep your older emails and continue storing new mail from associates. To begin, Click here to Download Install Stellar Phoenix Outlook PST Repair on your personal computer and run it to restore the PST files.
Read More
Your computer has lost the lease to IP Address
If you encounter an error message that states, “Your computer has lost the lease to its IP Address <IP ADDRESS> on the Network Card with network address <NETWORK ADDRESS>”, then this post might be of help to you. This kind of error due to the timeout caused by the DHCPv6 address which is used to connect the client to the user network as an independent client or a part of a domain. There are a lot of potential fixes you can try to fix this error and we will be discussing each one of them below. You can try to reboot your router, flush the DNS cache, reset the Network adapter, toggle the DHCPv6 Lease time or disable IPv6 in the Network Center. For more details, refer to the following options.

Option 1 – Try rebooting your router

The first thing you can try to do to fix the error is to simply restart your router. All you need to do is reboot the router from its Admin panel or you can also turn it off manually and turn it back on after a couple of seconds so that it can completely reboot. Once you’re done, try accessing your server again and see if the error is now fixed.

Option 2 – Try to flush the DNS configuration

You could also try to flush the DNS configuration in your computer to fix the error. How? Refer to these steps:
  • Tap the Win + X key combination and click on the Command Prompt (Admin) option or you could also search “cmd” in the Cortana search box and right-click on Command Prompt from the search results and select the “Run as administrator” option.
  • After opening Command Prompt with admin privileges, enter each one of the commands given below sequentially in order to flush the DNS cache.
    • ipconfig/release
    • ipconfig/renew
    • ipconfig/flushdns
  • Now type the exit command to close Command Prompt and then restart your computer and see if the problem is fixed.
One the other hand, you could also try to reset Winsock as well as the TCP/IP. Once done, just exit the Command Prompt and check if that fixes your issue. You may want to reset Winsock & reset TCP/IP as well.

Option 3 – Try to toggle the DHCPv6 Lease time

  • First, you need to log in to the Admin panel of your router.
  • Next, navigate to the DHCPv6 settings inside it and look for a field for Lease Time.
  • After you’ve found it, increase the Lease Time value to something greater than what is already entered depending on your preference.
  • Now apply the configuration and reboot your router to apply the modified settings. Just remember that if things didn’t work out, you can just change back the Lease Time value to what it was before.

Option 4 – Try disabling the IPv6 in the Network Center

  • Tap the Win + X key combination and click on Network Connections.
  • This will open the Settings app on a specific page. Now on the right-side panel, click on the Network and Sharing Center link.
  • After that, it will open the Control Panel and from there, click on the network that your computer is connected to and then click on Properties.
  • Next, uncheck the entry that says, “Internet Protocol Version 6 (TCP/IPv6)” in the list that populates.
  • Now click on OK and close all other windows and see if the error is fixed.

Option 5 – Run the Network Adapter troubleshooter

To run the Network Troubleshooter, refer to these steps:
  • Open the Search bar on your computer and type in “troubleshoot” to open the Troubleshoot settings.
  • Next, scroll down and select the “Network Adapter” option from the right pane.
  • Then click on the Run Troubleshooter” button.
  • After that, your computer will check for any possible errors and will pinpoint the root cause of the problem if possible.
  • Restart your computer.

Option 6 – Try to perform Network Reset

You can also try to perform a Network Reset to resolve the problem. This will reset the entire network configuration including your IP address. To perform Network Reset, follow these steps:
  • Tap the Win + I keys to open Settings.
  • From there, go to the Network and Internet section.
  • Next, scroll down and look for “Network Reset” under the status pane.
  • After that, click on Network Reset and then on Reset now to start resetting the network configuration. Once done, check if it is able to fix the error or not.
Read More
Transferring characters in diablo 2 remake
Diablo 2 resurrected has hit official release and servers seem to be finally taken care of and everything seems to be running smoothly now. The game also received great praise from gamers and attracted old players of the original Diablo 2 game. diablo 2 gameplay
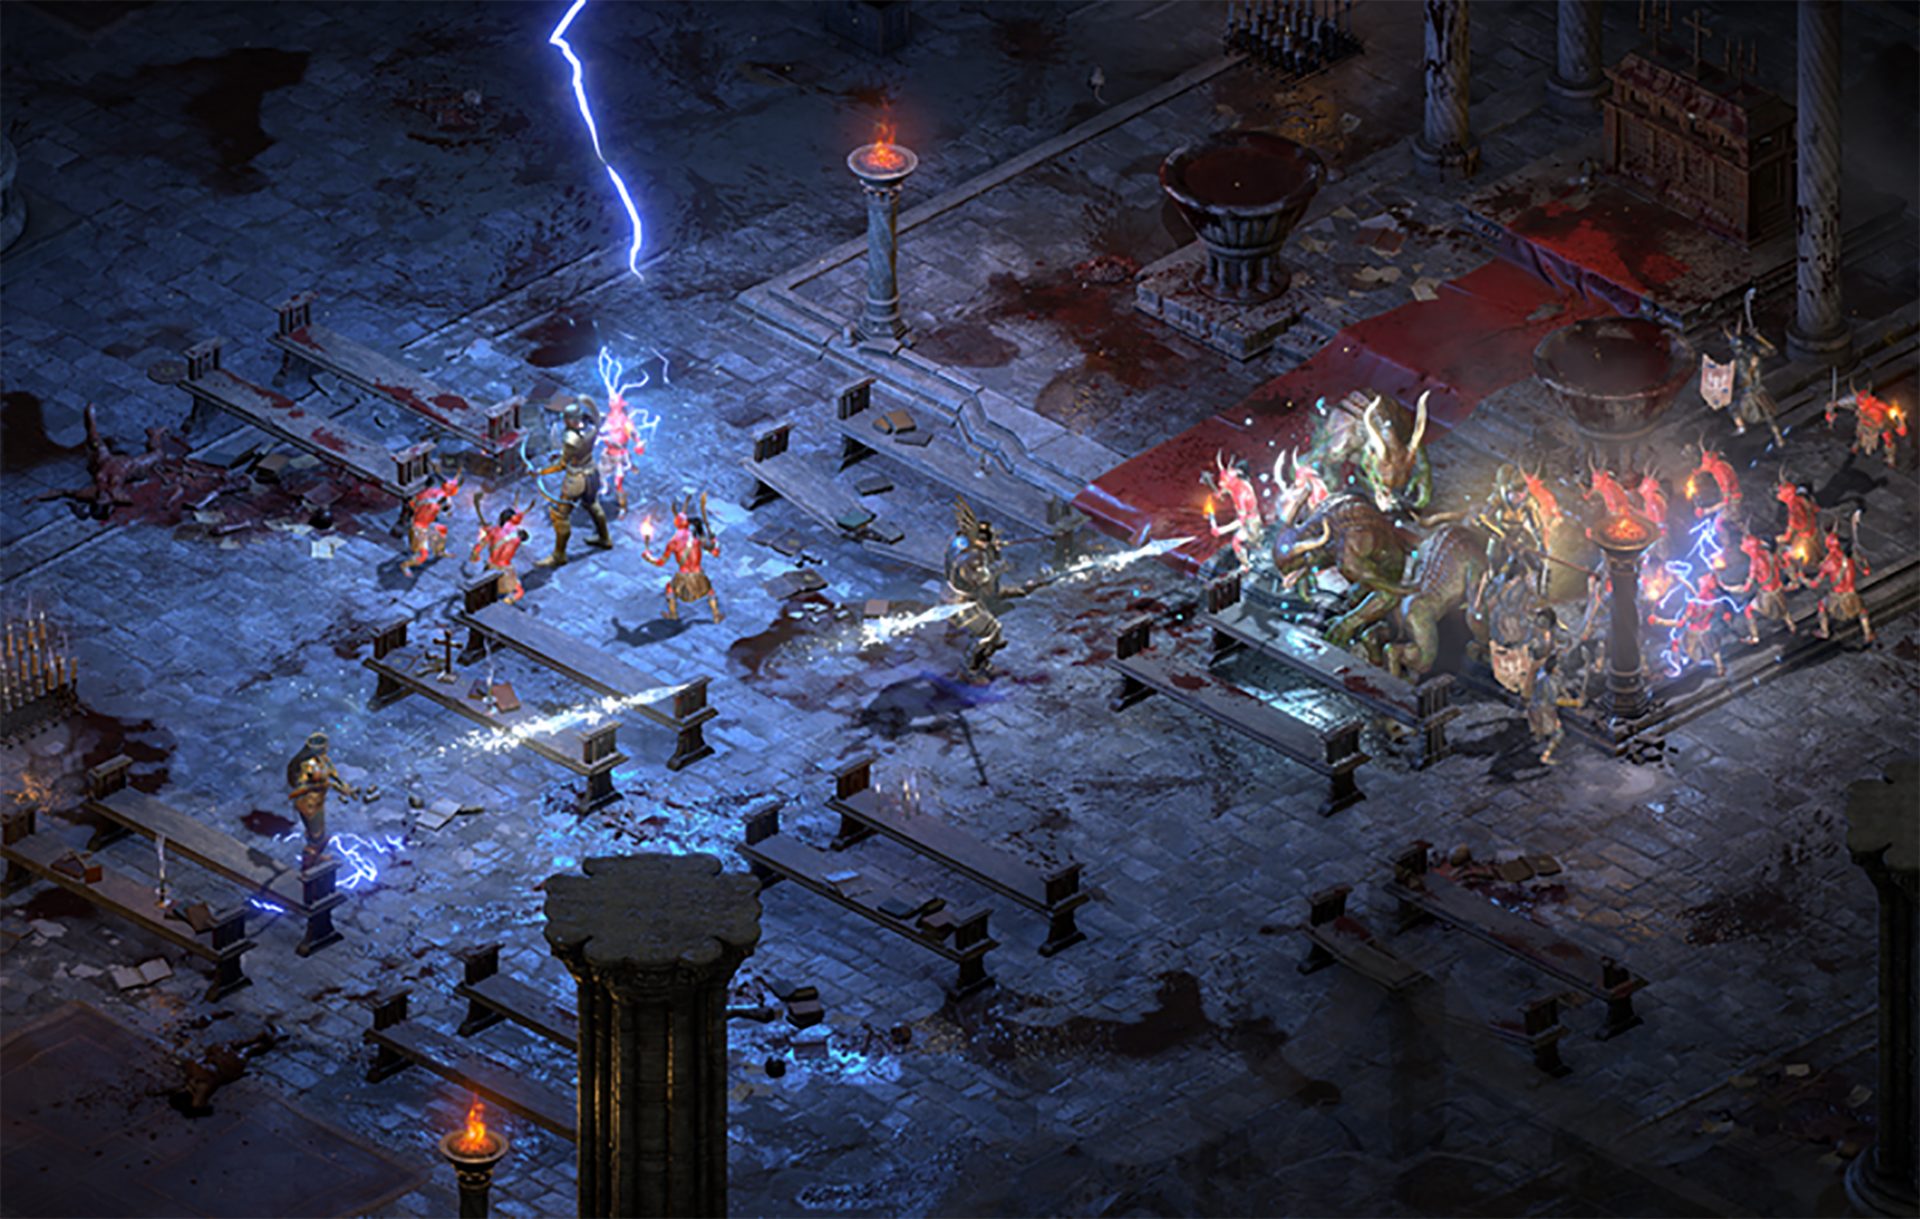
Speaking of old players of old Diablo 2, they can transfer their old characters into remaster and continue playing them within this new great HD environment. There are some steps and requirements but we are here to help and transferred characters will bring full stash, inventory, and equipped items with them.

Requirements

There are not many requirements for this transfer to occur but they must be respected in order to be successful. The first thing is a minor requirement and somewhat annoying but it needs to be done, firstly fire up Diablo 2 resurrected and create a character, any kind of character with any kind of name, any kind of class. This strange requirement is to actually create a character folder and register it inside D2 resurrected so we can copy old ones there. The second requirement will be that characters that you wish to be transferred must be offline characters. Old battle net online characters cannot be transferred at this moment and probably will not be in the future as well. So for all of you that wish to transfer online characters, bad luck, for the rest of us casuals playing offline single-player mode, we can enjoy our characters.

Process of diablo 2 character trasfer

The process itself of transferring characters when previously mentioned requirements are met is just a simple and copy operation. If you have somewhere backed your characters go into your backup folder and copy files in c:\users\*current user*\saved games\*diablo 2 resurrected folder* If you do not have characters backed up and just have old Diablo 2 installed and playing it, you can go to c:\users\*current user*\saved games\*diablo 2 folder* and just copy all characters files into c:\users\*current user*\saved games\*diablo 2 resurrected folder* Your old characters end with .d2s extension, grab all that you want to transfer, and copy them into D2R. Take note that copied characters cannot be brought back into Diablo 2, once they are copied into Diablo 2 resurrected all further progress on them will be tied to the new game.

Conclusion

That’s it about the transfer process and requirements for it. Fire up the new game version and enjoy.
Read More
Fix Windows Activation Error Code 0x8007007B in Windows 10
If you recently upgraded your computer or if you’ve just switched to a new Windows 10 PC, the most common errors you might encounter are the Windows Activation errors. This issue boils down to the Windows Activation server which has either failed to validate or recognize the license tied to the digital account. In this post, you will be guided on how to fix an activation error in an organization with an error code 0x8007007B. It contains this exact error message: “We can’t activate Windows on this device as we can’t connect to your organization’s activation server. Make sure that you’re connected to your organization’s network and try again. If you continue having problems with activation, contact your organization’s support person. Error code 0x8007007B.” Various computers are activated via the KMS licensing (Key Management Server) in organizations. Computers that are activated using this process do not get a permanent activation and have to stay connected to the organization instead of for at least 7 months or 180 days. It is common in Pro and Enterprise versions that are deployed in bulk for at least hundreds or thousands of computers. So imagine a user with a personal computer in the office who decided to leave the organization but will still have an activated Windows key. And so to prevent that from happening, organizations use the KMS licensing. Another possible cause of the error is in case some user used an organization key and later on, the PC just got upgraded or downgraded to a version that is not compatible with that copy of Windows. To fix this Windows Activation error, here are some suggestions that might help.

Option 1 – You can try connecting to the organization’s network and activate the computer. But before that, you need to first check if the computer actually belongs to an organization or not.

  • Tap the Win + R keys to open the Run dialog box.
  • Type “cmd” and hit Enter to open an elevated Command Prompt.
  • After that type the vbs /dlv command and hit Enter to execute it.
  • Next, check if the Product Key Channel says “GVLK”. If it does, then it means that your computer was activated using volume licensing.

Option 2 – Change Licence Key

If you’ve recently left an organization then it’s best if you buy another copy of Windows 10 and then change the license key. This time, make sure that the license key is for the same version of Windows. However, if it’s different, you need to format your computer.

Option 3 – You can try activating Windows 10 using a mobile phone

Activating Windows 10 can also be done using your phone. Just note that you have to call Microsoft to do so.
  • In the Start Search box, type in “Slui 4” and tap Enter.
  • Next, select your country and click on Next.
  • Keep the window open and call the toll-free number of the country you’re from.
  • Afterward, a confirmation ID should be given by the automated system which you must take a note of.
  • Finally, in the box on the window, type in the confirmation ID and click on the Activate button. That should do it.

Option 4 – If you think that the issue is caused by some hardware changes, you can try using the Activation Troubleshooter.

There are times when users already have the license keys and were able to activate Windows. However, it doesn’t last long and only works for a while and it’s suddenly throwing up an activation error like this one. To use the Windows Activation Troubleshooter, just go to Settings and to Activation and then run the troubleshooter from there. If you've made some modifications to your hardware, you have to click the “I changed hardware on this device recently” option for further suggestions.
Read More
Fix Black border or bar on Monitor
If you suddenly see a black border in your computer’s display then you might be wondering how come this happened but worry not for this post will give you a couple of suggestions that could help you resolve the problem. The black bar could appear at the bottom or just the sides of the screen. Whichever it may be, there are options you can check out. Refer to the options givens below and make sure to follow them carefully.

Option 1 – Try checking the screen resolution

You might want to try checking the resolution of your screen.
  • Open the Windows 10 Settings and go to Display.
  • Next, go for the “100% (Recommended)” option under Scale and layout for the size of the text, apps, and other items.
  • After that, select the Recommended setting again under Resolution.
Now check to see if the black bars are still there. They should be gone at this point, but if for some strange reason nothing has changed, then attempt the steps below.

Option 2 – Try updating Graphics & Monitor drivers

You might want to try updating your graphics and monitor drivers if you haven’t updated them for some time now. To do that, refer to these steps:
  • First, boot your computer into Safe Mode.
  • After that, tap the Win + R keys to launch Run.
  • Type in devmgmt.msc into the box and tap Enter or click OK to open the Device Manager.
  • After that, a list of device drivers will be displayed. From there, look for the Graphics drivers or the Monitor drivers and then click each one of them.
  • After that, right-click on each entry and select the “Uninstall Device” option from the menu.
  • Now restart your computer.
  • After restarting your computer, go to the Settings app and Check for Updates in the Windows Update section.
Note: You can also try to roll back the graphics and monitor drivers back to their previous versions if updating them didn’t work. You can also try visiting the manufacturer’s website and download the graphics or monitor driver setup for your operating system.

Option 3 – Try to run the DISM tool

You can also run the DISM Tool as it might also help in getting rid of the black border or bar on your Windows 10 computer. Using this built-in tool, you have various options such as the “/ScanHealth”, “/CheckHealth”, and “/RestoreHealth” which could help you resolve the problem.
  • Open the Command Prompt with admin privileges.
  • Then type in the following commands and make sure to hit Enter right after you type each one of them:
    • Dism /Online /Cleanup-Image /CheckHealth
    • Dism /Online /Cleanup-Image /ScanHealth
    • exe /Online /Cleanup-image /Restorehealth
  • Do not close the window if the process takes a while as it will probably take a few minutes to finish.

Option 4 – Troubleshot the problem in a Clean Boot State

There are some instances that some conflicting programs installed in your computer might be the one that’s causing the Black border issue. To identify which program is causing the problem, you need to put your computer in a Clean Boot State. To do so, follow the steps below.
  • Log onto your PC as an administrator.
  • Type in MSConfig in the Start Search to open the System Configuration utility.
  • From there, go to the General tab and click “Selective startup”.
  • Clear the “Load Startup items” check box and make sure that the “Load System Services” and “Use Original boot configuration” options are checked.
  • Next, click the Services tab and select the “Hide All Microsoft Services” check box.
  • Click Disable all.
  • Click on Apply/OK and restart your PC. (This will put your PC into a Clean Boot State. And configure Windows to use the usual startup, just simply undo the changes.)
  • From there, start to isolate the problem by checking which one of the programs you installed recently is the root cause of the problem.
Read More
How to personalize STEAM with custom skin
steam skinSkinning of applications is not new to PC users, but did you knew you could skin Steam? With skin, you can customize the UI and style of the client to what you want making it more personal and to your liking. First thing is to find the skin that you would like to install. There are a lot of sites where you could find custom made Steam skins but we would recommend steamskins.org The site itself is organized in tabs with different sections, once you click on the tab you will get a list of skins available for chosen section. If you click on the skin you will be taken to skin page detail where you can find what skin is aiming for, its legibility, a record of how the skin has been altered over time, or some mix of these aspects. Note that some skins might have issues like some buttons might be missing from big picture mode but so far none of the skins has any kind of client breaking feature, only functionality one.

Downloading skin

Once you have chosen desired skin and while on the skin details page, scroll to the middle of the page just above the Related Skins sections with two options: Direct Download and External Download. Now usually I would recommend Direct download but in this case, I would advise going with External Download for the simple reason that the External link will send you to the developer's website where there is a higher chance to get the latest updated skin.

Installing it in Steam

Once the skin is downloaded you will first need to create a skin folder inside your Steam installation location. Navigate to your Steam installation folder (default: C:\Program Files (x86)\Steam) and create a new folder inside it. Give new folder name Skins and confirm. Extract the skin zip file in the newly made folder. Once the file is extracted you can delete the ZIP file if you wish. Go to your Steam client and go to Steam>Settings. In settings select Interface on the left bar and on the right part then click the Select the skin you wish Steam to use the drop-down menu and select the skin that you wish to use. Confirm and restart your Steam client

Reverting to old skin

If you found skin unappealing or, unfortunately, has some functions missing you can always choose another skin or revert back to default Steam skin. Default Steam skin is named in the drop-down menu as < default skin >.
Read More
1 2 3 171
Logo
Copyright © 2023, ErrorTools. All Rights Reserved
Trademark: Microsoft Windows logos are registered trademarks of Microsoft. Disclaimer: ErrorTools.com is not affiliated with Microsoft, nor claims direct affiliation.
The information on this page is provided for information purposes only.
DMCA.com Protection Status