Realtek sound device not playing sound is a common Windows issue. It happens occasionally and luckily it can be solved with a little effort and in a short time period. Today in this article we will explore the most common reasons and solutions for driver malfunction for Realtek inside Windows 10. If you have this particular problem, go from step 1 to the last step since all steps are meant to go from simplest to the most complex.
All of that being said let us fix your Realtek driver issue.
The first thing would in any troubleshooting be to check are your speakers turned on or are your headphones connected and the volume or switch on them is set properly. Nothing more embarrassing than spending an hour or so troubleshooting only to find out that issue was in a malfunction of speakers or them not being turned on.
Same as the previous step where you have checked hardware, now it is time to check to see if the volume control is set properly and not by any chance muted or volume is brought all the way down.
If both hardware is functioning properly and volume control in Windows is set correctly then the issue might be in Windows not detecting device or driver malfunction. In any case, the Device Manager will be the one who will report this problem. In order to check to see if the driver is properly working press ⊞ WINDOWS + X to open the hidden start menu.

Once it opens, click on Device Manager to open it,

If you have a driver device error inside Windows, you should see it immediately when entering the Device Manager, it will have a yellow exclamation mark beside it. Right-click on it and choose update driver.
If driver update failed or you already have the latest drivers, reinstalling them could fix the issue since drivers might have corrupted during installation of some update or application. Follow steps from point 3 to get to the driver in Device Manager, then right-click on it but instead of update choose to uninstall. Reboot Windows once the driver is uninstalled and Windows will install a new one.
Check to see if the latest Windows update is installed, update your Windows if needed
If everything else fails, get DRIVERFIX, a premium solution for your PC issues, and fix driver errors.

“This policy setting prevents File Explorer from encrypting files that are moved to an encrypted folder. If you enable this policy setting, File Explorer will not automatically encrypt files that are moved to an encrypted folder. If you disable or do not configure this policy setting, File Explorer automatically encrypts files that are moved to an encrypted folder. This setting applies only to files moved within a volume. When files are moved to other volumes, or if you create a new file in an encrypted folder, File Explorer encrypts those files automatically.”
ConvertDocsOnline is a Browser Extension for Google Chrome developed by Mindspark Inc. This extension offers users a quick and easy way to convert documents without any additional applications installed on their computer, it also has quick access links to popular websites that the average user might find interesting. While all this may look appealing and nice, this extension injects itself into your browser.
While installed, ConvertDocsOnline will monitor your browsing activity and record visited websites, clicked links, downloads, and even viewed products. All this information is later used/sold to Mindsparks Ad network to better serve user-targeted ads.
Browsing the internet with this extension installed will result in ad placement throughout your browsing sessions. These ads might appear as normal links (sponsored content), ad links, or even pop-up ads.
ConvertDocsOnline has been marked as a Browser Hijacker by several Anti-Virus scanners and is therefore recommended for optional removal from your PC.
"Error 1723- There is a problem with this Windows Installer package. A DLL required for this install could not be run. Contact your support personnel or package vendor...”You are most likely to come across the error code 1723 if the Java installation is not completed successfully. In other words, the error indicates that the installation process has failed.
 Error Causes
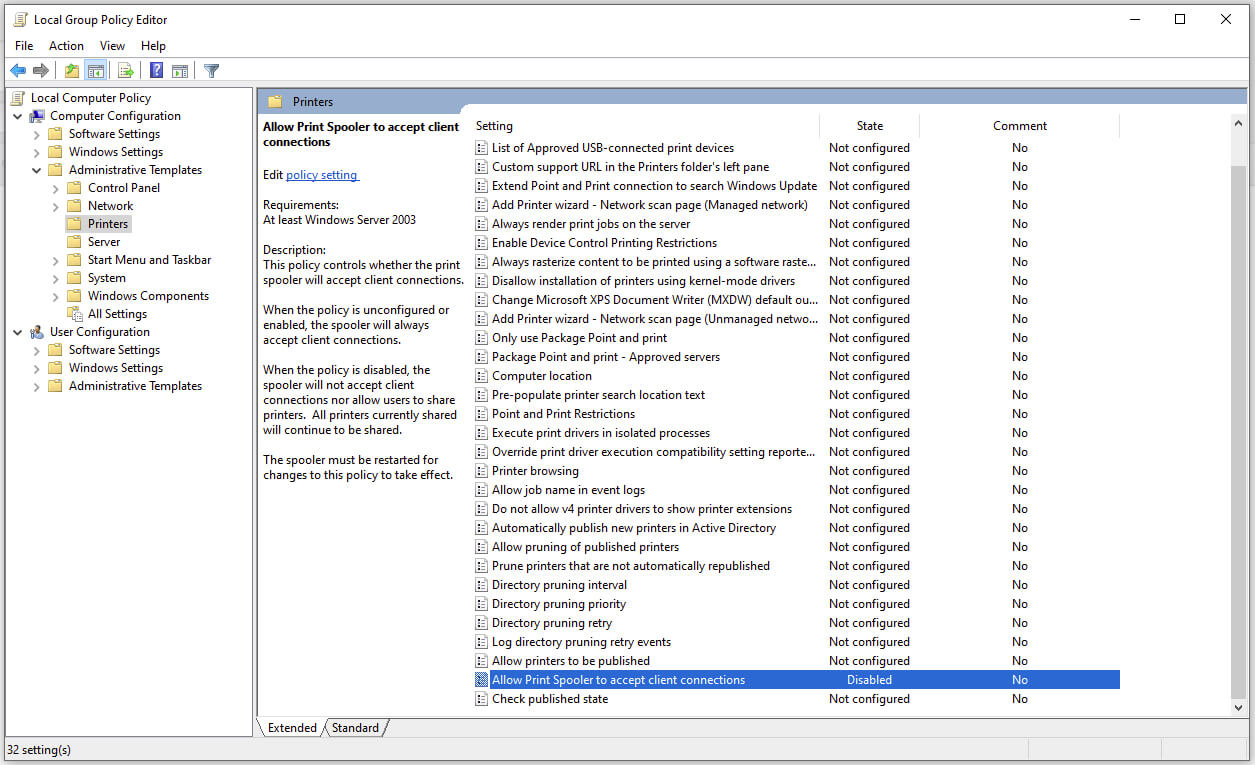 Microsoft is once again advising its customers to disable Windows print spooler after a new vulnerability that allows hackers to execute malicious code on machines has emerged. While a patch fixing the flaw will be released in due course, the most effective workaround currently on the table is to stop and disable the print spooler service entirely.
"An elevation of privilege vulnerability exists when the Windows Print Spooler service improperly performs privileged file operations. An attacker who successfully exploited this vulnerability could run arbitrary code with SYSTEM privileges. An attacker could then install programs; view, change, or delete data; or create new accounts with full user rights."
“We couldn’t install Windows 10. The installation failed in the SAFE_OS phase with an error during INSTALL_UPDATES operation: Error 0x800F081F” “The installation failed in the Safe_OS phase with an error during apply_image operation: Error: 0x800f081f – 0x20003”To fix this kind of Windows Update error, you need not use external programs but you can try to disable the Developer Mode, run the Windows Update troubleshooter or restart all the Windows Update-related services and components. For more details, refer to the options provided below.
In today's IT world, if you want a computer for typical day-to-day actions and gaming, there are 3 primary ways you can go. An Apple computer with its proprietary hardware and operating system or a typical machine with Windows or Linux operating system.
Each system has both advantages and disadvantages and picking the right one might be difficult for some users. From hardware differences to specific software and operating system, each system is aimed at a different type of work, and in this article, we will explore each one and help you in choosing the right one for you.

Apple has managed to create a unique ecosystem of its own devices, from its iMac desktop computers to more professional MAC studio and power MAC and all the way to tablet iPad and iPhone are powered by Apple's own operating system that connects all of these devices into one large system. So if you really need one singular ecosystem this is a huge advantage.
The ecosystem on the side, MAC computer systems are great, some would argue best for coding, design, video work, and sound editing. MAC M2 chip is optimized for all of these tasks and a specially tailored operating system is just the icing on the cake. Specific Apple-made software like a logic pro or final cut also helps a lot to position MAC systems on top of the line.
Reading all of this you might think hey this is the computer for me, it does everything! Sadly the truth is not like that. The first thing that is difficult on MAC systems and a maybe big reason that it is not so adopted outside professional working environment is lack of games. If you are a gamer or plan on using MAC for gaming, well I have some bad news. The second big turn-off is that MAC systems tend to be more expensive than PC systems, yes components are of higher quality but rest assured that you will pay for also for branding.
Get MAC as your workstation for serious work and for good tech support, if you need a plain home computer keep reading.

There is no better feeling than assembling your own computer, tweaking hardware to make a monster and despite haters hating, Windows is the best all-around operating system on the market. It is supporting the largest variety of hardware and the largest variety of software.
The best platform for serious gaming and streaming Windows machine has cemented itself as a multimedia powerhouse. But, this kind of computer is not alien to being also a professional machine, you can practically do everything that you can do on Apple or Linux machine inside Windows, yes some things might require extra steps or will be slightly slower but in the end, being able to do anything is the greatest strength of Windows machine.
Of course, every system has its flaws and Windows is not immune to that. One of the biggest is being the operating system for every hardware ever made and every software as well while keeping legacy support for old software and hardware, basically, its biggest strength is in the same time its biggest weakness leading to sometimes stability issues. Also being able to place any kind of hardware can also lead to the same stability issues. Executing something a little slower than other systems and having some extra steps can also be looked upon as weaknesses.

First and perhaps for some people, the biggest advantage of the Linux operating system is its price, it is completely free! Other advantages include the great server and networking included in the OS itself, the large amount of customization, and unmatched stability. The ability to write scripts inside the OS terminal is also a great thing and coding is much more streamlined and friendlier than on other machines.
The power of Linux is the ability to change anything, even on the system layer, no other operating system will let you change the basic functionality of the OS itself while Linux will let you do this. It is also the only operating system you can fully use by booting it up from a USB stick and having the same experience as it was installed on a local hard drive. Among other OS mentioned earlier, Linux is by far the lightest one, taking the smallest amount of memory among the three.
The bad side of the Linux machine is the steep learning curve, among the three mentioned operating systems rest assured Linux is the most difficult to learn and be comfortable in it. The operating system will require you to know the hardware and how computers work in order to fully use its potential. Other things that place it behind are not so wide hardware support compared to Windows and the somewhat confusing distro model.
Linux versions come in form of different distro packages and first-time users will face many of them being left in awe of which one to choose. Also installing drivers and software via a package system can also be a tedious task as well, often being that some version of the driver will not work on the newer version of the Linux distro.
Get a Linux machine if you are well versed in computer technology, if you want great customization of the OS itself or if you do not want to spend money on OS and software since almost entire Linux software is open source.
Error CausesError code 10 is a type of Window Device Manager error code. This error code is generated when the Device Manager can’t start the hardware device or is experiencing device driver issues. It is displayed in the following format:
"This device cannot start. (Code 10)"
You can access complete details about error codes related to Device Manager such as code 10 through the Device Status area in the Device Properties.
By accessing Device Status, you can easily view the status of each device and learn about the specific device that could be causing the problem.
 Error Causes
Error code 10 can be triggered due to several reasons. These include:
Device driver corruption can cause you great inconvenience and PC performance issues. The computer’s operating system relies heavily on device drivers to communicate with the hardware.
For example, the printer driver facilitates functioning of the printer. Similarly, the graphic card driver ensures proper video output on the monitor screen.
However, your PC hardware, such as printer or keyboard, may stop functioning properly if their device drivers become outdated or corrupt. Therefore to avoid inconvenience and to ensure your PC works properly, it is important to resolve the problem immediately without any delay.
To repair error code 10, you don’t have to be a technical whiz or hire a professional computer programmer. Here are some of the best and easy to perform DIY methods that can help you fix this device error in no time.
Sometimes temporary problems in Device Manager can also generate code 10 error. Therefore it is advisable to restart your PC. Rebooting your system might fix the error. Try it! If it does, great, however, if the error still persists, then try other methods listed below.
Go through the Device Status in the Device Properties to view the driver causing the problem. If any driver is tagged with a yellow exclamation point, it means that driver is the one causing problems. Once identified, uninstall that driver and then reinstall it. This will hopefully resolve the problem.
Whether the error code 10 is generated due to incompatible, corrupted, or outdated device drivers, simply update the device driver to resolve. To update the driver, go to the Device Manager, then click the driver tab in the device properties dialog box.
After that, click update driver. This will start the hardware update wizard. Then follow the instructions to update the driver on your PC. During this process, you may be prompted to provide the driver path.
If you don’t have it, then you will have to download the latest driver from the hardware vendor’s official website. This can be time-consuming and stressful.
Another alternative is to install DriverFIX. It is a user-friendly device driver management software with an intuitive interface.
Its intelligent algorithm is designed to detect all the problematic drivers in seconds. It automatically updates and accurately installs appropriate drivers and ensures your PC runs at its optimum level in no time.
Click here to download DriverFIX on your system to resolve error code 10.