The docking station was promised upon release of the Deck but it was pushed back and now the official statement is that it is delayed again.

Valve said in an announcement on June 1:
“Due to parts shortages and COVID closures at our manufacturing facilities, the official Steam Deck Docking Station is delayed. We’re working on improving the situation and will share more info when we have it.”
Valve
The docking station was presented at the same time as Deck itself and the whole idea was to make Steam Deck work like a laptop docking station. It has ports for USB devices, displays, and network connections that became functional the moment Deck is placed on it. Docking supports a mouse, keyboard, and external display making it an almost full PC station if needed.
Valve confirmed that its official dock station will not improve performance so while you wait for its release you can use another docking station with a USB Type-C connector.

Error Code 0xC1900101, 0x4000D is not very common among the many error codes emerging when updating to Windows 10. It is specific to Windows 7 users who try to upgrade to Windows 10 system.
This error hinders Windows 7 users to install the Windows 10 update. Once the update is launched, the process will go smoothly until a certain percentage (normally upon hitting 70% or more) and then it gets stuck. The user will then see a notification stating: “The installation failed in the SECOND_BOOT phase with an error during MIGRATE_DATA operation.”
You’ll be able to get past the error after a while. The error message will disappear and continue with the configuration process. But, not for long as it will reoccur at around 90% of installation with another error message saying: “The installation failed in the SECOND_BOOT phase with an error during PRE_OOBE operation.”
 Error Causes
You’re most likely to encounter Error Code 0xC1900101 – 0x4000D when you upgrade to Windows 10 using a USB drive. There are several reasons why this update-related error happens such as wrong update, incompatibility with an antivirus program, or incompatibilities with some software.
In attempting to fix error code-related problems, it is best to do manual repair methods. Employing repair methods manually can help users pinpoint the root causes of the issues they are encountering and apply permanent solutions to fix the problem.
While every Windows user can do most manual repair methods, there are certain cases where help from a Windows expert is needed. If you’re not confident in employing the manual repair methods yourself, you can always consider seeking help from a professional Windows technician who is equipped with enough knowledge to address any issues you are facing or you can just simply use a powerful automated tool.
In fixing Error Code 0xC1900101 – 0x4000D, you can try doing any of the following manual repair methods:
Error Code 0xC1900101-0x4000D probably occurs when there are programs running in the background of the system as you are in the process of updating. On that note, you must ensure that any programs running in the background must be disabled through Task Manager.
NOTE: If there are any processes you are unfamiliar with, you can always right-click that process then “search online.” Be careful not to end “Windows process” tasks under the “Type” column as it might cause further problems.
Anti-malware tools normally trigger problems since they consist of files that are possibly incompatible with some software. If Error Code 0xc1900101-0x4000d is caused by incompatibility with an antivirus program, follow the following steps:
In doing this method, you need to use the System Readiness tool.
NOTE: The process might take a while depending on the speed of your device.
Can’t seem to put up with the long and technical manual repair process? You can still fix this error by downloading and installing a powerful automated tool that will surely get the job done in a jiffy!
Error Causes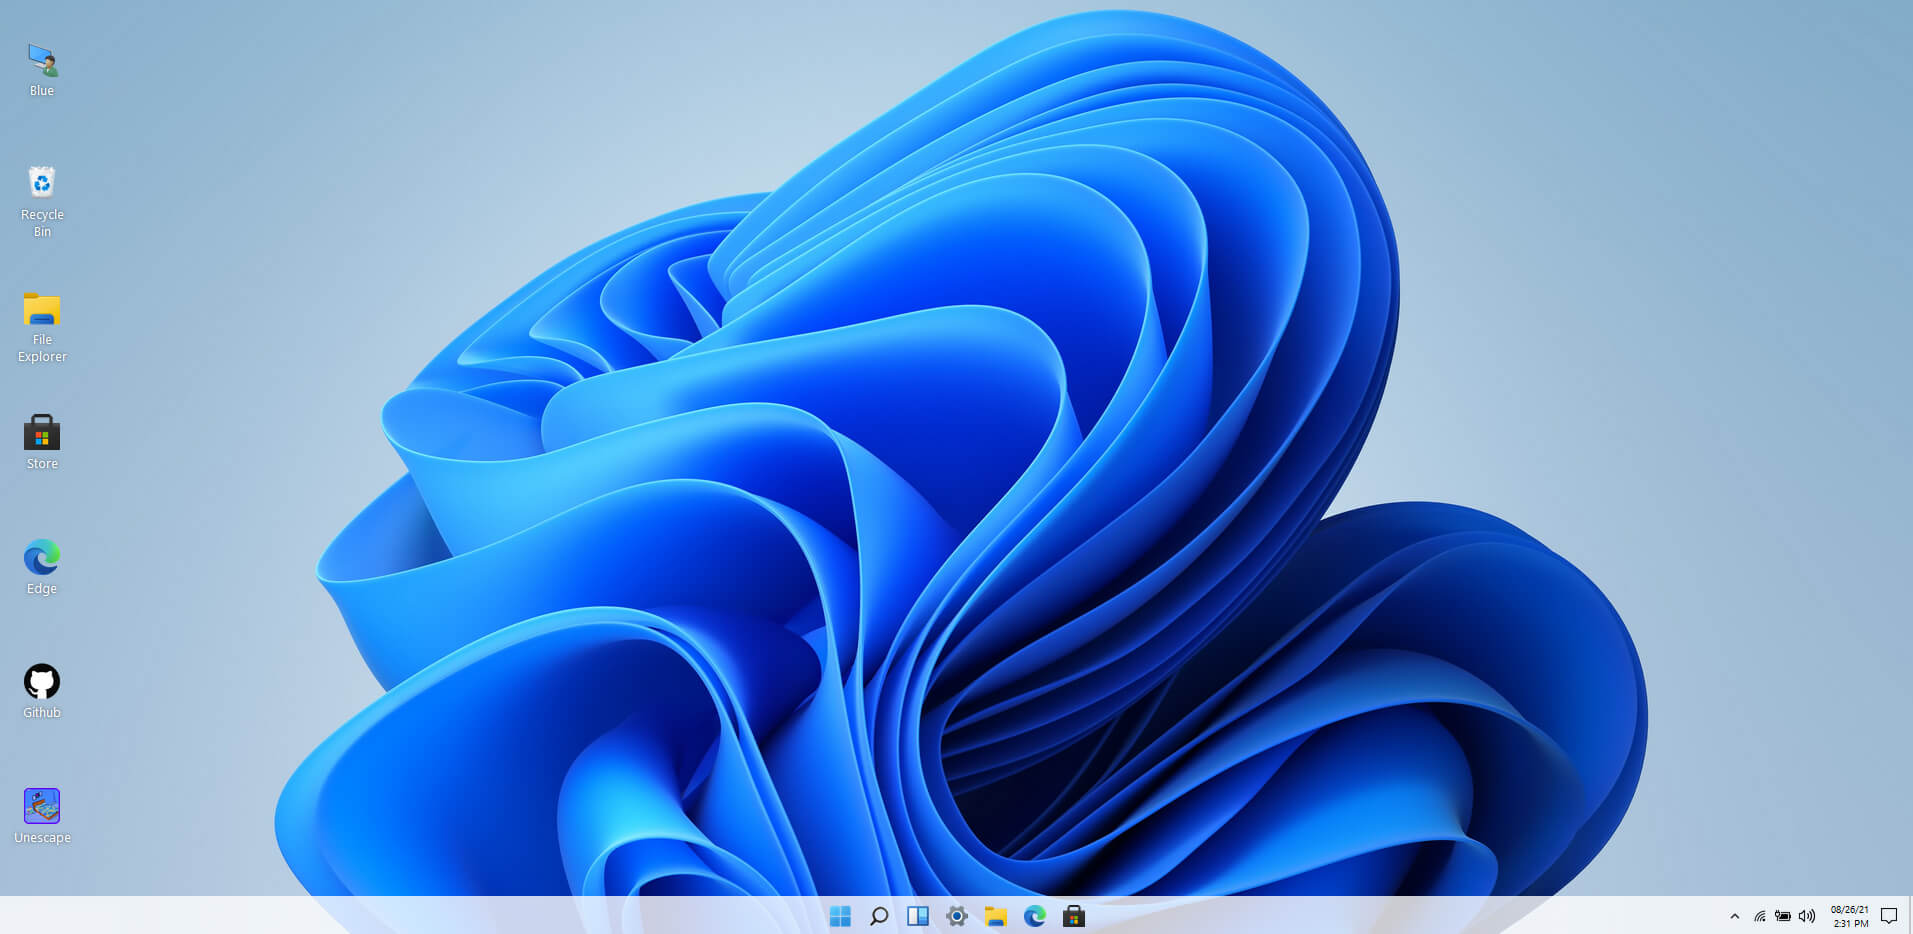 Windows 11 release date is closing in, some people have tried it via insider build, some have decided not to. It has come to our attention that there is a little website made by BlueEdge that offers a virtual Windows 11 desktop.
Opening the Website will put you right inside Windows 11 desktop, now take note that this is not Windows 11, it is a simulation of Microsoft’s newest OS and therefore many things will not work like File Explorer, etc.
One thing you can make sure it is working is UI itself, you can see how you do like the new Taskbar, start menu, widgets, and some other things. You can just pop up on the site and check how you do like the overall new look and feel of Windows 11 UI before installing it or trying it.
We are sure that many more options will come in time but even now you can get a feel of the newest OS.
Windows 11 BlueEdge site: https://win11.blueedge.me/
Windows 11 release date is closing in, some people have tried it via insider build, some have decided not to. It has come to our attention that there is a little website made by BlueEdge that offers a virtual Windows 11 desktop.
Opening the Website will put you right inside Windows 11 desktop, now take note that this is not Windows 11, it is a simulation of Microsoft’s newest OS and therefore many things will not work like File Explorer, etc.
One thing you can make sure it is working is UI itself, you can see how you do like the new Taskbar, start menu, widgets, and some other things. You can just pop up on the site and check how you do like the overall new look and feel of Windows 11 UI before installing it or trying it.
We are sure that many more options will come in time but even now you can get a feel of the newest OS.
Windows 11 BlueEdge site: https://win11.blueedge.me/ Recently Meta has gone viral that it is working on an AI video-making algorithm named Make a Video. AI will like in picture making AI take text input and produce a video from it.
Now, a new player enters the AI video battlefield, its name is GOOGLE!

The Google research project Imagen Video is also text to video generator similar to Meta's Make a Video with one little difference. unlike Meta's offering which includes only sign-up, Google is withholding access for now under the veil of safeguarding issues.
Google has been in the Ai space before with their Imagen, a DALL-E style generator capable of photorealistic picture generation based on text prompts. The new Google tool works in a similar way but with better functions. Ai can generate a diverse range of high-fidelity videos across different aesthetic styles and with a deep understanding of 3D models thus creating high-definition, 24-frames-per-second videos.
"With the help of progressive distillation, Imagen Video can generate high-quality videos using just eight diffusion steps per sub-model. This speeds up video generation time substantially, by a factor of ~18x,”
Jonathan Ho, author of the research paper
Despite filtering for “undesirable content”, the team admits “there is a risk that Imagen has encoded harmful stereotypes and representations”. So, until the AI - and its users - can be trusted, Google refuses to release Imagen Video without additional safeguards in place.
Error code 12 is a typical Device Manager error code. It usually pops on the computer screen when the computer experiences device driver problems or system resource conflicts.
Error code 12 is mostly displayed on the computer screen in the following format:
‘This device cannot find enough free resources that it can use. If you want to use this device, you will need to disable one of the other devices on this system.’
 Error Causes
The error code 12 occurs when 2 devices installed on your PC are accidentally assigned the same I/O (input/output) ports or the same direct memory access channel.
This assignment is known to be made either by BIOS (Basic Input/output system) or by the operating system. It can sometimes be assigned by a combination of the two. Also, code 12 can also appear on your monitor screen if the BIOS didn’t allocate enough resources to the device.
Although this error code is not fatal, it is nonetheless advisable to fix it immediately to avoid inconvenience and hassle. This error is most likely to lower and hamper the performance of your system.
Here are some of the easiest and most effective do-it-yourself methods to resolve error code 12 on your PC. To perform these fixes, you don’t have to be technically sound or a computer programmer for that matter. Simply follow the steps to fix the problem right away.
To repair error code 12, simply go to the start menu and type Device Manager in the search box. Now go to the Device Properties dialog box. After that click on the ‘General Tab’ and now access Troubleshoot to start the Troubleshooting Wizard.
The Wizard will ask you some questions and provide you a solution accordingly. Follow the instructions and resolution steps provided by the troubleshooting wizard to repair error code 12 on your PC.
By disabling the problematic device in the Device Manager, Windows will ignore that piece of hardware. Once disabled, Windows will then no longer assign system resources to that device and no driver/software will be able to use that device.
To disable, go to the Device Properties in the Device Manager and then click the Driver tab. Click disable located at the bottom of the window. Then you will be prompted with a message stating ‘Disabling this device will cause it to stop functioning. Do you wish to disable it?’ Click yes to continue and then click OK to save changes.
Another method to resolve error code 12 is to restore your PC to its previous state when it was working properly.
For this, it is important to backup all your data first to avoid data loss issues that are likely to occur during this process. Creating backups manually can be a time-consuming and tedious task. To save time and quicken the process, it is best to install a program like DriverFIX.
DriverFIX is a user-friendly and intuitive device driver management software that helps backup all your data automatically and efficiently, while simultaneously restores your PC back to its previous state before you encountered problems.
Click here to download DriverFIX on your system to resolve error code 12