 As of the time of writing this article you no longer need or are required to have a password if you plan to log in to your Microsoft account. Microsoft explored various options for account security and came to the conclusion that passwords are obsolete.
Microsoft is letting you access your account through the Microsoft Authenticator app, Windows Hello, a security key, SMS verification, or email verification code. All of these methods are way better in terms of security than passwords.
To get rid of your Microsoft password, the process is simple. You simply need to go to your Microsoft account, click “advanced security options,” then “enable passwordless accounts” under the Additional security section.

 10 worst computer viruses in history
Error Code 0x8007000b has appeared on Windows operating systems from Windows 10 all the way back to Windows XP. In most cases, it occurs when there is a problem within the transaction log for the filing system within Windows.
Common symptoms include:
There are several different ways that you can attempt to resolve the problems that cause Error Code 0x800700b to appear on your operating system. Several of these methods are pretty easy for basic users, but others require some comfort and knowledge in working with advanced tools on your operating system.
If the methods below do not completely resolve the appearance of Error Code 0x800700b on your Windows operating system or if you are not confident in your ability to undertake these steps on your own, you may need to get in touch with a qualified computer repair professional to assist you with the error resolution process. If this error message is not resolved, you could expose your computer to other error codes such as error code 80070103.
 Error Causes
The primary cause for Error Code 0x800700b is that there is an issue or corrupt entry in the transaction log for the file system within Windows. This makes it impossible for Windows to complete the Windows Update process. Although the error message states that an unknown error has been encountered, it is usually fairly simple to resolve the appearance of faulty or corrupt entries in the transaction log if you follow the steps below to complete.
There are several ways that you can attempt to resolve Error Code 0x800700b manually on your Windows operating system. At least one of these methods requires some advanced knowledge or skill in using the command prompt, so if you aren’t confident in your ability to follow these steps through to completion, be sure to get in touch with a qualified computer repair technician who can help you to resolve the error.
Here are the top three methods that can be used to resolve Error Code 0x800700b on your machine:
To clear and reset the entries in your transaction log, there are a few simple steps that you should follow:
An alternative method to resolving Error Code 0x800700b is to open and run the System Update Readiness Tool on your machine. This program runs a scan on your Windows operating system to determine whether it is ready for updates, attempting to resolve any errors it encounters along the way.
After you have scanned and run this tool, you should always take the time to restart your computer before attempting to perform the update process, so that any changes made can be successfully applied to your computer.
The System File Checker is a tool for Windows that runs a basic scan for problem files and attempts to resolve them. To run this tool, follow these steps:
This tool should tell you what the specific issues are so that you can resolve them. It may give you a message that the action couldn’t be performed, that corrupt files were fixed, or that corrupt files were encountered, but could not be fixed automatically.
Error CausesPortable small Bluetooth speakers are nothing new on the market, most of the time they have given the opportunity for music listening during picnics and walks in nature and also replaced some car speaker systems. The latest star in small portable speakers in JBL Clip 4, small in size, waterproof, and with an incredible high-quality sound.
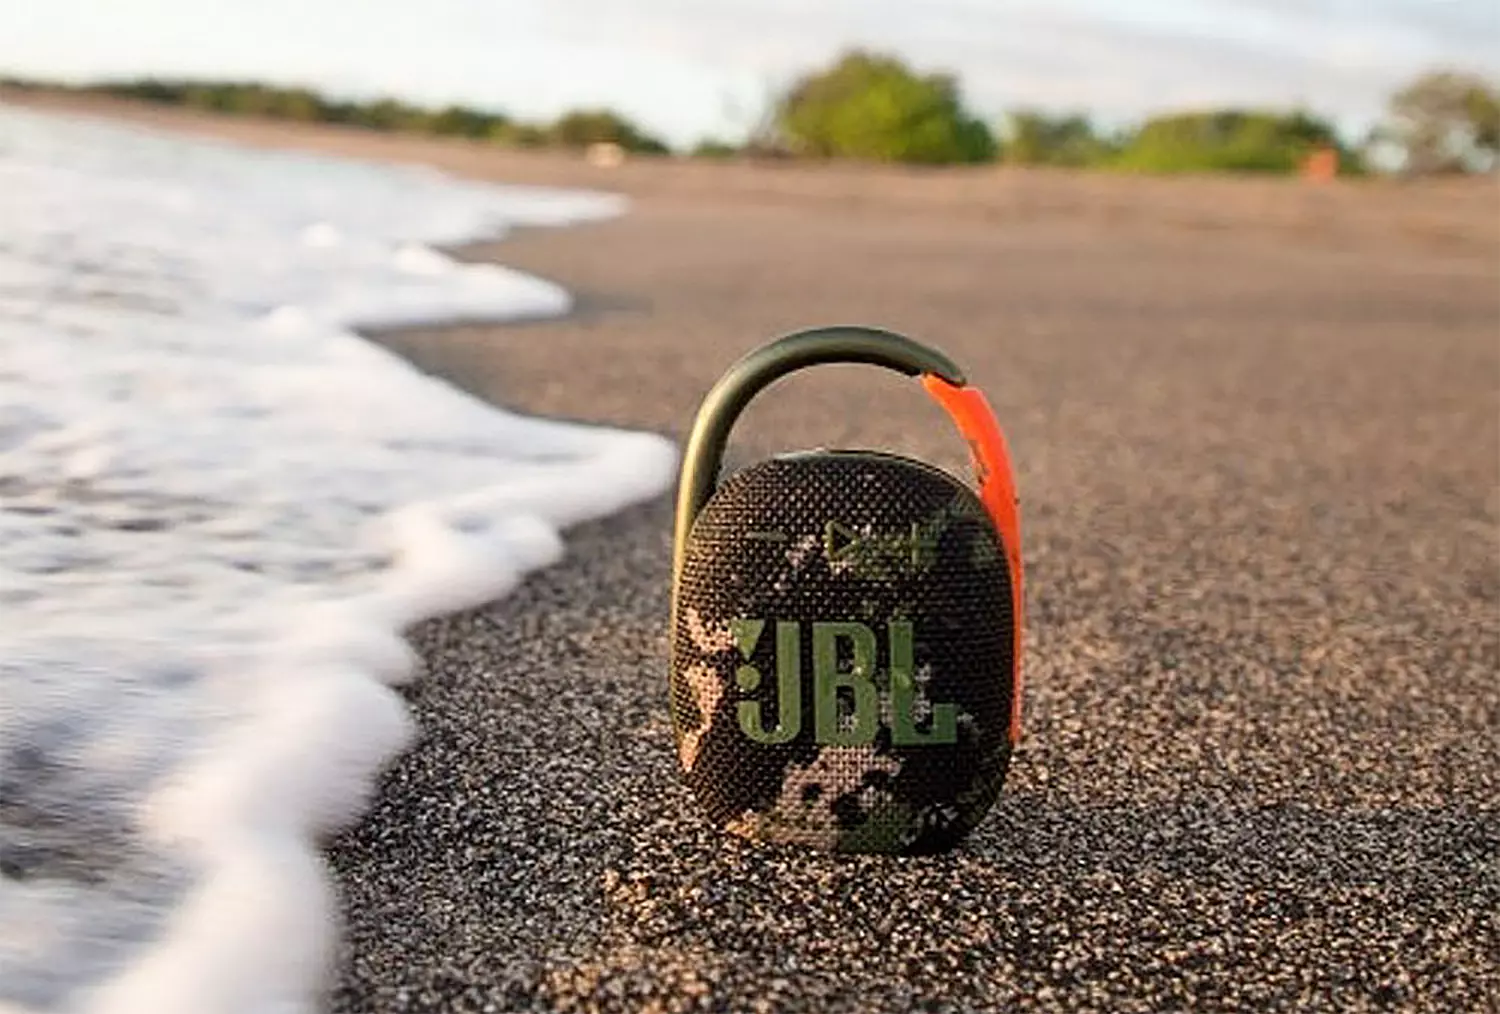
Out of the box and after first look speaker looks great, it has excellent design and is very intuitive to work with. Everything is laid out logically and you can start using it right away without reading instructions.
The sound quality is surprisingly very good and clear. I must say I have not expected this clarity and power from a speaker of this size. The volume range is also incredibly good and will fill most needs even on small picnics outdoors where you can hear it loud enough. One thing to mention is that even on their loudness levels sound is still clear without distortion which, to be honest, is to be expected from someone like JBL.
You can take it where ever you want, Its size and clip make it perfect for beach and pool trips. Speaker is waterproof and gas IP67 rating, meaning that sand and dirt will not affect it either. Do not take this speaker to your diving adventures since that will break it but a depth around 1 meter underwater should be safe. After your trip do not forget to wash Clip 4 with clean water so all dirt, salt, and other stuff are properly cleaned for longer life of the device.
JBL claims that the battery will last 10 hours of continuous play. Note that this is meant probably on the largest volume setting so when you use it on lower settings battery is lasting longer. Playing of course on low volumes will extend playback time even longer but here we come at one feature that I do not like, there is no indication of any kind how much battery is left in the speaker, the only indication is a red light when the battery is almost empty which means you could be outside at that point and did not know that low battery was there in the first place when you were packing. Some battery indication would be a great addon.
The clip itself has been improved from the previous Clip 3 model, it is wider, it goes all the way around the casing, and feels overall better and more stable. Since the clip is now all around casing this means a wider opening can be made making it fit around stuff Clip 3 was not able to.
All in all, Clip 4 is an incredible speaker and one that would highly recommend, the price goes around 79 USD but it can be found even as low as 50 USD on discounts and promotions and if you manage to get one at that price it is a great buy. Sound is good, portability is great, dirt and waterproof are excellent and battery life is really good.
bootrec /fixboot
ren BCD BCD.bak
bcdboot c:Windows /l en-us /s b: /f ALL
diskpart
list volume
select volume number
assign letter=<LETTER>Note: Make sure to replace “<LETTER>” with the letter you want to allocate to that partition. Afterward, it will assign a letter to the selected volume.
diskpart
list disk
select disk number
list partition
select partition number
active
“A USB device has malfunctioned and exceeded the power limits of its hub port. You should disconnect the device”.To easily fix the problem, you can try to disconnect the device and click on Reset and if you click on Close, the port will not work until you unplug it and then restart your computer. On the other hand, if disconnecting the device did not resolve the problem, you can try running the Hardware & USB troubleshooter or use a USB hub. You can also try to reinstall, uninstall or roll back the USB drivers or run the OEM diagnostics. For more information, refer to each one of the potential fixes provided below.
DISM.exe /Online /Cleanup-image /Restorehealth
sfc /scannow
findstr /c:"[SR]" %windir%LogsCBSCBS.log >"%userprofile%Desktopsfclogs.txt"The command you entered will open up the logs on your Desktop where you can look for files that are causing the error on your computer manually.
chkdsk /f /r
Error Causes