 With its Rift model, Oculus set itself as a big player in VR. Now the company is slowly bowing out of the dedicated, tethered VR headset with its latest Quest 2 designed to primarily be a standalone headset.
 Although the headset itself is nothing revolutionary or special its controllers are. They can track individual finger movements, making games (that take advantage of them) much more immersive than the standard trigger grips on other controllers.
 The PlayStation VR is compelling thanks to Sony backing its development, plus the PlayStation 4's affordability and availability compared with gaming PCs. All you need is the headset, a PlayStation 4, and a PlayStation Camera (now included with most PlayStation VR bundles).
 HP headset is one which you get if you want the best image quality in VR headset, sadly controllers did not follow the same quality of headset itself. But this is still a pretty decent headset overall and worth the purchase.
 HTC's Vive Cosmos is the upgraded version of the Vive. It features a higher resolution and replaces the external base stations with outward-facing cameras for motion tracking. It's a comprehensive package for whole-room VR.
What is Error Code 31?
Device Manager Error Code 31 pops up when Windows prevents the driver for a particular hardware device from loading. The error code 31 is almost always presented in the following format:
“This device is not working properly because Windows cannot load the drivers required for this device.” Code 31
This error can occur with any hardware device; however, in most cases, it occurs with Ethernet cards. The good news is that it belongs in the easy-to-resolve category. So repairing it should not be difficult.
Solution
 Error Causes
Error code 31 is related to driver problems, and the most common causes include:
- Outdated drivers
- Missing drivers
- Mis-configured drivers
- Corrupt drivers
Further Information and Manual Repair
To resolve error code 31 on your system, try the methods given below. We have listed down some of the most effective and easy-to-perform DIY methods for fixing Device Manager code 31 on your PC.
Method 1 - Rollback the Driver to its Previous State
This simply means to return the driver back to its previous state - to the version last installed. Try this method to resolve error code 31. This is probably the easiest way to return your PC to its previous working state.
However, by doing so, you will not be able to update your drivers and run new driver versions on your system. In other words, this is a temporary method to fix this issue.
You may still want to try other methods given below to ensure you have the latest drivers installed on your system.
You can roll back the driver to its previous version by accessing the Driver Rollback feature located in the driver settings within the Device Manager. Or another way to perform a rollback is to use the Windows System Restore Utility.
It is a recovery tool built-in the new Windows versions. To access it, simply go to the start menu and type System Restore Utility in the search menu.
Access it and pick a point in the past, also referred to as the restore point, to return your PC to its previous state before the error code 31 occurred.
However, to resolve the problem permanently, try method 2.
Method 2 - Update the Driver
Error code 31, as discussed above, may occur due to outdated, misconfigured, or corrupted drivers. Whatever the reason may be, to ensure the proper functioning of your hardware device, it is important to update the drivers on your system frequently.
To start driver updates, first, it is important to find out and identify problematic drivers. You need to identify the drivers that are corrupt, misconfigured, and outdated. For this, go to the Device Manager and then look for devices with yellow exclamation marks.
The yellow exclamation marks next to the devices show that these device drivers are problematic. Once you’ve identified the problematic drivers, simply update them by finding the latest and compatible versions on the manufacturer’s website.
This process is time-consuming and can be frustrating at times, especially when doing it for the first time.
Also, once you’ve updated the drivers, you need to update them from time to time to ensure they don’t get outdated, or else you will have to encounter Device Manager error codes again.
Method 3 - Download DriverFIX to Update Drivers Automatically
To avoid the hassle and stress involved in updating drivers manually, it is advisable to download and install DriverFIX.
DriverFIX is a smart, innovative, and feature-filled software embedded with an intelligent algorithm that quickly detects problematic drivers, matches them with the latest and compatible versions, and updates them immediately and automatically in just a few seconds and a couple of clicks.
It’s as simple as it can be. Furthermore, with this software installed on your PC, you don’t have to stress and worry about when your drivers need to be updated again.
DriverFIX ensures all drivers are continuously and regularly updated before they become outdated.
Click here to download DriverFIX to repair Device Manager error code 31 and update drivers automatically and regularly.

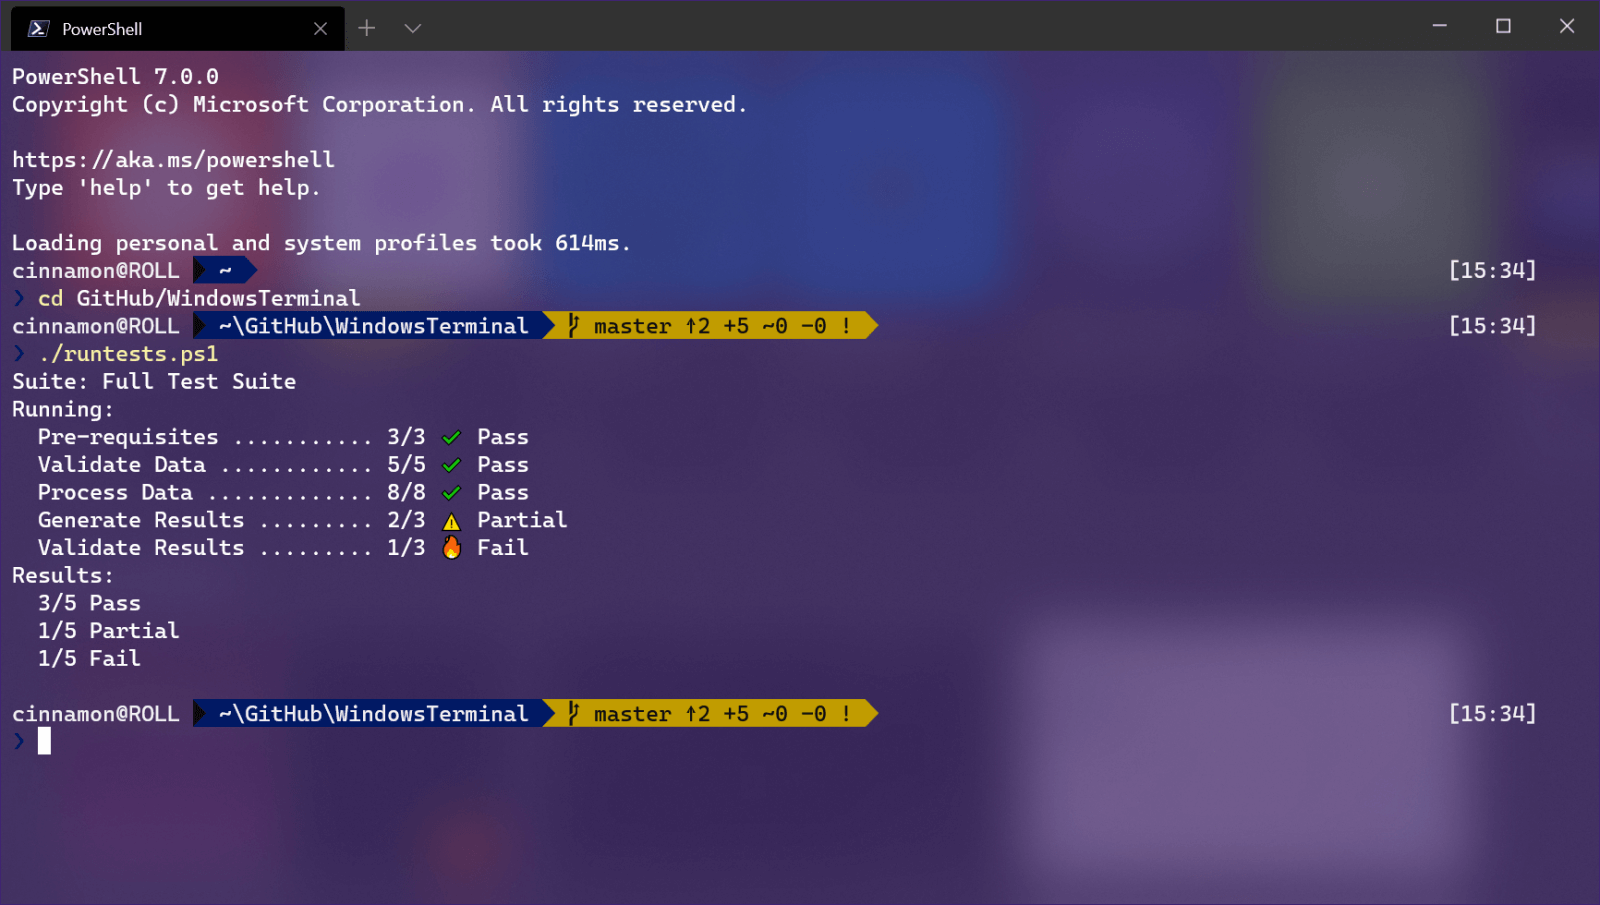 Windows Terminal is a new free Microsoft terminal sort of application. When you open either Power Shell or Command Prompt in Windows they will be opened in different windows, and if you want several of each you will have several windows of each on your screen.
Windows Terminal fixes this by opening each of the Instances of Command Prompt and Power Shell as separate tabs inside itself making it much easier to manage multiple instances of named applications.
You can also run both Power Shell and Command prompt tabs in the same Windows Terminal. Luckily running command prompt and power shell in different tabs is not the only thing you can do. Windows Terminal lets you choose your own theme, it has emoji support, GPU rendering, split panes, and many more customizable options.
Windows 11 will have Terminal as the default command-line environment for opening Power Shell or Command prompt, even Windows Subsystem for Linux (WSL)
Windows Terminal is a new free Microsoft terminal sort of application. When you open either Power Shell or Command Prompt in Windows they will be opened in different windows, and if you want several of each you will have several windows of each on your screen.
Windows Terminal fixes this by opening each of the Instances of Command Prompt and Power Shell as separate tabs inside itself making it much easier to manage multiple instances of named applications.
You can also run both Power Shell and Command prompt tabs in the same Windows Terminal. Luckily running command prompt and power shell in different tabs is not the only thing you can do. Windows Terminal lets you choose your own theme, it has emoji support, GPU rendering, split panes, and many more customizable options.
Windows 11 will have Terminal as the default command-line environment for opening Power Shell or Command prompt, even Windows Subsystem for Linux (WSL)
 So, in this case, you have some social, forum, or gaming accounts but you heard that service has been breached and that your email or password might be stolen. Well in this case all you need to do is of course to login into the service and change your password. But, what happens if you are not aware at all that service has been compromised?