Although it’s easy to set up wired printers in most cases and they have their charm, you don’t have to be around the printer if you are connected to the same network. So in this post, you will be guided on how you can install and set up a wireless printer on your Windows 10 computer.
The idea here is to ensure that your Wi-Fi printer and your Windows 10 computer are connected on the same network and to do that, you need to carry out the following steps:
Step 1: Connect your printer to the Wi-Fi network.
In this step, you need to turn on your printer and look for the option to connect to a Wi-Fi network. Note that the step to connect to the Wi-Fi network depends on what kind of printer you use as well as its OEM since there will be a user interface or a Wi-Fi button that will get the job done for you. Once your printer is connected to the Wi-Fi network, you need to keep it turned on until the setup is completed.
Step 2: Next, add a printer or scanner to Windows 10
Step 3: You have to install a printer software
In this step, you need to use the driver software from the OEM even though the default printer software works since in most cases, the driver software from OEM works better compared to the default ones and offers much better functionality like ink-saving modes, and many more.
Step 4: You now have to change the default printer
After installing the printer software, you now have to set or change the default printer in your computer. If you have not installed any printer, the default printer in Windows is the one that saves the files. Now since you have already installed your printer, all that’s left for you to do is to change the default printer of Windows 10 to the one you installed earlier. To do that, follow these sub-steps:
Step 5: If you have any issues with your newly installed printer, then you need to troubleshoot it
One of the first basic troubleshooting you can perform to resolve the printer issue is running the Printer Troubleshooter. This built-in troubleshooter can detect and automatically fix the problem for you. To use it, follow these steps:

 Error Causes
YourTemplateFinder is a browser extension developed by Mindspark for Google Chrome. This extension allows users to browse and download various templates that can be used for all kinds of occasions.
When installed, it changes your default search engine and home page to MyWay.com. During your browsing sessions, YourTemplateFinder will monitor user activity, recording website visits, user information, product purchases, etc. This data is later used to target better ads to users.
While browsing the internet with this extension active you will see additional ads displayed throughout your browsing sessions. Sponsored content such as links, banners, and pop-up ads will appear on websites sometimes even covering the website content.
This extension has been marked for removal by several anti-virus applications and has been classified as a Browser Hijacker due to its aggressive behavior and ad injections. It is flagged for optional removal.
“This policy setting lets you prevent Windows from using diagnostic data to provide tailored experiences to the user. If you enable this policy setting, Windows will not use diagnostic data from this device (this data may include browser, app, and feature usage, depending on the “diagnostic data” setting value) to customize the content shown on the lock screen, Windows tips, Microsoft consumer features, and other related features. If these features are enabled, users will still see recommendations, tips, and offers, but they may be less relevant. If you disable or do not configure this policy setting, Microsoft will use diagnostic data to provide personalized recommendations, tips, and offers to tailor Windows for the user’s needs and make it work better for them. This setting does not control Cortana tailored experiences, since there are separate policies to configure it.”
Social media is here to stay it seems, from Facebook, Instagram, Twitter, etc each site has its users and its rules. Companies, bloggers, public figures, and people, in general, are using them on a daily basis and some are posting cool ads, nice graphics, videos, and many more in order to gain followers or just to share something that they think is worth.
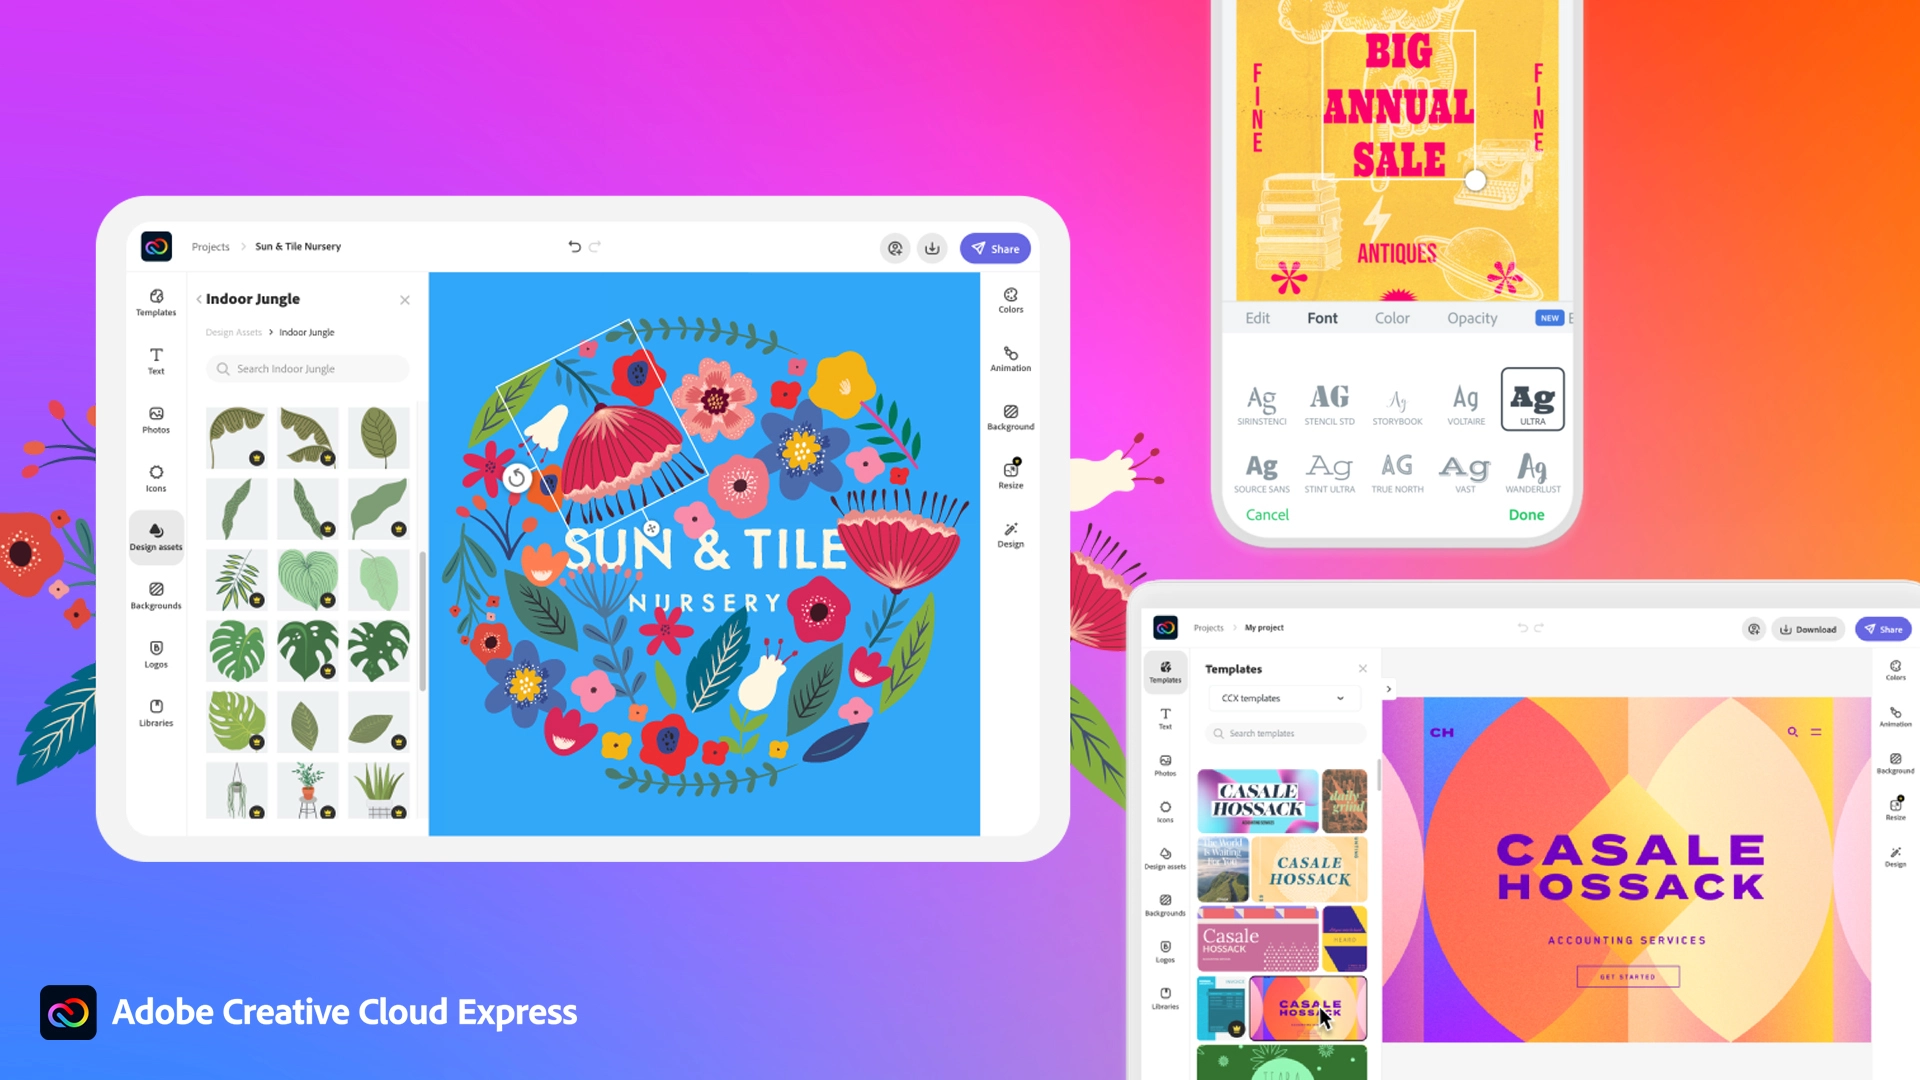
Making your post look good is somewhat essential if you plan on reaching a larger audience and Adobe's Express aims to fill that gap. It is the latest Adobe product that is purposely made for graphic and video creation for social media.
Adobe is well known in the world of professional design in all spheres like print, web, and motion, with this application, they want to take over social media design with Express. The direct competitor to Spark and canva, Express is filled with high-quality adobe templates and some great stuff found in photoshop like automatic background removal which gives it an edge over other applications.
The good thing about Express is that there is a completely free version and premium, like its competitors but with some benefits that clearly show that Adobe is determined to place its application on top of the game. The free plan includes:
For 10 USD per month of 100 USD prepaid annual fee, you get a premium plan that includes:
The application itself is incredibly easy to learn and to work with and literally, anyone can pick it up and start creating immediately. No matter are you just starting with social media or using Canva or Spark, give Express a go, make a free account and try it, I guarantee that you will find some features amazing, and its ease of use relaxing.
“Error 1722. There is a problem with this Windows Installer package. A program required for this install to complete could not be run. Contact your support or package vendor.”
Error Causeschkdsk /f /r
shutdown /r /o /f /t 00