

Error Code 46 – What is it?
Error Code 46 is a device driver error that occurs when Windows fails to access the connected peripheral device to the computer as Windows is in a process of shutting down.
Users experience this error on any Windows 2000 and later operating system versions and usually see a pop-up with the following message:
“Windows cannot gain access to this hardware device because the operating system is in the process of shutting down. (Code 46)”
Solution
 Error Causes
Error Code 46 is caused when there is a temporary problem with windows system files which prompts that the system is undergoing a shut down when in fact is it not.
This prevents access to the connected devices. This error may also be caused by a registry issue in which case it has either become corrupted or damaged.
Further Information and Manual Repair
Unlike all other Windows error codes, code 46 is relatively easy to fix with the right knowledge and does not pose any serious threat to the well-being of your PC. Here is how you can do it.
Method 1 – Restart your PC
The simplest method to resolve Error Code 46 is to run a restart of your computer.
The error is most commonly a temporary registry glitch that prevents you from accessing the device connected to your computer. Upon restarting your computer, it will resume working properly as before.
There is no need to run a troubleshooting wizard, use system restore, or run anti-virus software to scan and remove malware or spyware. A simple restart is all that is needed.
Method 2 – Install DriverFIX
Although the error code can be resolved upon restarting the computer, there’s a possibility of damaged or corrupted Windows registry files. This can be fixed by using a program like DriverFIX.
DriverFIX, with its user-friendly approach to help you fix your PC issues, comes with an integrated database that detects which drivers you need to reconfigure within just a few seconds and downloads it automatically.
It further ensures that your drivers are installed in their entirety leaving no room for any corrupted or damaged registry.
Error Code 46 may not be much of an issue, however, to prevent any risk of a Windows system corruption can be disastrous for your computer.
DriverFIX helps you fix your PC registry and device driver problems with user-friendly software and an integrated database. The database which consists of detailed information on what device driver needs to be installed will automatically download the required device driver without you need to refer to your hardware instruction manual.
Registry problems resulting from incomplete program installations and viruses such as malware and spyware damaged registry files. This affects your PC in serious ways.
DriverFIX further has an automatic backup and restoration system that helps create system ‘checkpoints’ which allow you to roll back to a healthier state and resume operations. This can help you avert any Windows error codes in the future.
Click here to download DriverFIX now!
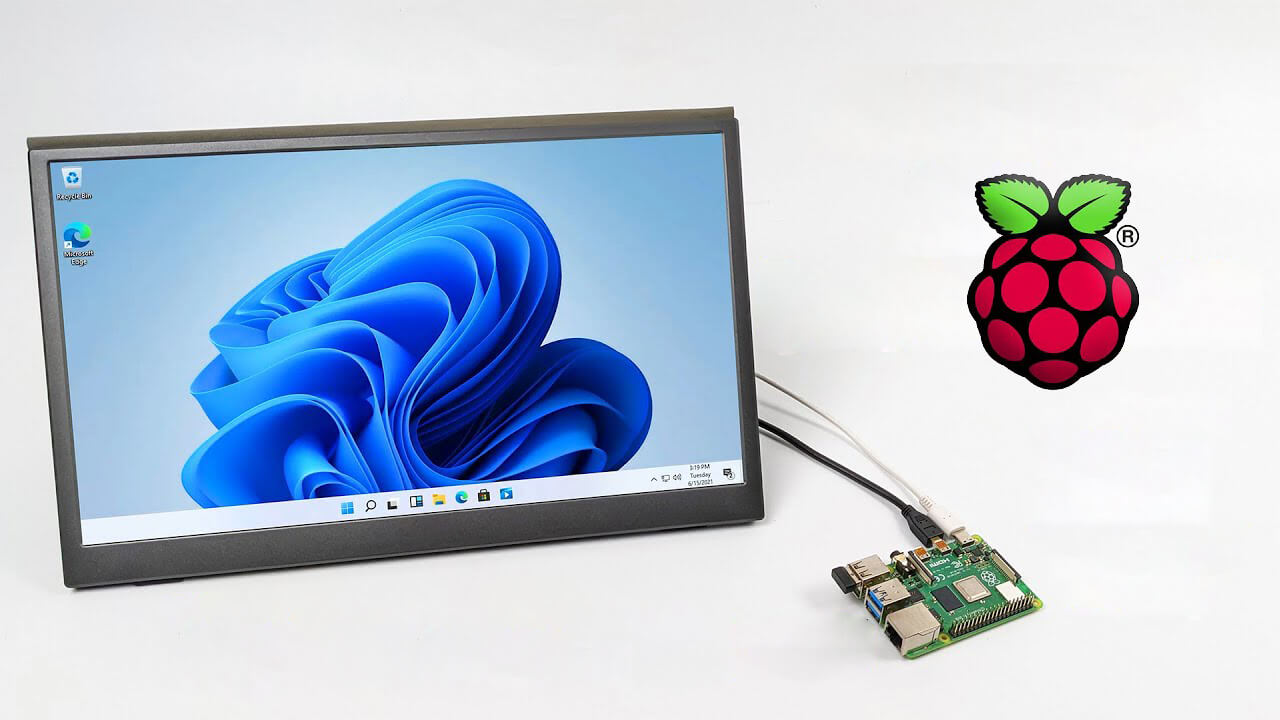 Raspberry Pi 4 and things you need for Windows 11 installation
 The first thing that would pop into my mind is that I have lost tons of work and that something in my hardware has gone very wrong and it is dead. Luckily that is not the case and this error means that due to Windows update drivers were not properly transferred due to some compatibility issues, maybe it was a corrupt update file, etc. Of course, the reason could be hardware malfunction as well, but if everything was working fine before the update, it is a software issue, and I must say it is a common one and fixable. Please keep reading this guide in order to fix the Device not migrated error.
 Find device inside device manager, right-click on it, and choose properties. Go to the events tab and make sure that the device has migration issues.
 You have now 3 options for updating the driver, you can do it manually, automatically, or with the driver installer. We will cover all 3 options so you choose which one best suits you.
OPTION 1: Manually.
Close the Properties tab, go to the device manufacturer website and download the latest driver, if there are no drivers there, the only executable installer for the device skip this step and try the other 2. After you have downloaded the driver package from the website, right-click on the device and choose update driver.
You have now 3 options for updating the driver, you can do it manually, automatically, or with the driver installer. We will cover all 3 options so you choose which one best suits you.
OPTION 1: Manually.
Close the Properties tab, go to the device manufacturer website and download the latest driver, if there are no drivers there, the only executable installer for the device skip this step and try the other 2. After you have downloaded the driver package from the website, right-click on the device and choose update driver.
 Now navigate to the folder where you have downloaded your driver package and update the driver. Reboot your system.
OPTION 2: Automatic update.
Close the Properties tab, right-click on the device and choose to uninstall.
Now navigate to the folder where you have downloaded your driver package and update the driver. Reboot your system.
OPTION 2: Automatic update.
Close the Properties tab, right-click on the device and choose to uninstall.
 Once the device is uninstalled, restart your system, and Windows will automatically search and install the latest driver for the device.
OPTION 3: Via driver installer.
If you have downloaded .EXE or executable driver installer from device manufacturers web site try installing it, if the installation fails, try using compatibility mode for the installer. Navigate where the installer is located, right-click on it, and choose properties. Go to compatibility TAB and try installing it with administrator privileges in Windows 8 mode.
Once the device is uninstalled, restart your system, and Windows will automatically search and install the latest driver for the device.
OPTION 3: Via driver installer.
If you have downloaded .EXE or executable driver installer from device manufacturers web site try installing it, if the installation fails, try using compatibility mode for the installer. Navigate where the installer is located, right-click on it, and choose properties. Go to compatibility TAB and try installing it with administrator privileges in Windows 8 mode.
 Reboot your system after this step.
This should solve the issues, however, if the issue still persists, follow the next steps.
Reboot your system after this step.
This should solve the issues, however, if the issue still persists, follow the next steps. The scanning process and repair of files will take around 15 min. Leave it to finish completely, do not restart, work on the computer or shut it down while the process is active, and only after it is finished reboot your system.
 Go to the Windows update tab and click on DOWNLOAD or click on check for updates for the latest Windows fix.


 In the run dialog, type control panel and press enter to enter control panel, locate recovery and click on it.
 Inside the recovery screen click on Open System Restore.
 Choose a date when everything was working in order, the best bet is the date before Windows update and roll it back.
 Click on date, and then on next.