Rapid Media Converter is a Potentially Unwanted Program that usually comes bundled with other unwanted software. Many users reported being unaware they had installed the application. It also generates additional advertising, and for this reason, it is classified as Adware and flagged for optional removal by several AVs.
From the Author: Howard Software / Applon runs off an ad-supported platform. During general internet usage on sites where Applon Support operates, users may see advertisements in form of shopping results and new tabs. The type of ad is dependent on the content of the page as you generally browse the internet. Applon is not related to or endorsed by the underlying website. These advertisements will be identified with the Applon Name or Logo.
About Browser Hijackers
Adware is programs created to show advertisements on users’ PCs with or without their consent. A kind of malware, it comes bundled up with the software application that a person either installs or accesses. Shareware or free software programs are generally packaged with adware. When adware penetrates your computer without you knowing and transfers information about you or your PC to 3rd parties, then it happens to be spyware. Other sorts of adware might take control of your internet browser and redirects you to websites that you don’t really want to check out.
Adware is a common problem in most computer systems and these are really detrimental to your device. Adware/Spyware is usually downloaded and/or installed accidentally by users while exploring the net and people face lots of difficulties at the same time when it comes to removing adware from their computers.
Adware could be dangerous for computer users in numerous ways. It could cause advertisements (popups, ad banners, and in-text) to show up constantly when you’re online or perhaps disrupt your computer experience when not connected to the net. When infected with adware for a long time, your computer will perform at slow processing speed, take a longer time to start up and shut down, easily get frozen up while loading websites, and even get the blue screen of death (BSOD). More often than not, adware is a legitimate revenue source for many companies that offer software to customers at zero cost. But adware generated advertisements tends to be more aggressive than normal ads which can greatly impair system performance or possibly result in a total crash.
The adware will damage your PC should you allow it on your personal computer for a long period. A sensible way to block adware from corrupting your PC is to employ a reliable antimalware program such as Safebytes Anti-Malware on your computer. This software will give complete all-around protection to make sure that your laptop or computer doesn’t get infected again with spyware and adware.
Take the following measures to prevent adware from overtaking your system: Downloading software online should come from trustworthy websites and also be selective about what you install on your computer; Always read the end-user license agreement (EULA) of any application you plan to install; Beware of clickable ads particularly those that advertise special deals, coupons, or any other suspicious deals.; Avoid installing toolbars, because toolbars from less reputable websites always contain adware, which might slow your PC and in some cases infect your computer outright.
What to Do if Malware Stops You From Downloading Antivirus?
Every malware is bad and the extent of the damage will vary greatly with regards to the type of infection. Certain malware goes to great lengths to prevent you from installing anything on your computer system, especially antivirus software. So what you should do when malware prevents you from downloading or installing Anti-Malware? There are a few fixes you could try to get around with this particular obstacle.
Start Windows in Safe ModeIf any virus is set to load immediately when Windows starts, getting into Safe Mode may block the attempt. Since just the minimum programs and services launch in Safe Mode, there are hardly any reasons for conflicts to happen. Listed here are the steps you have to follow to start into the Safe Mode of your Windows XP, Vista, or 7 computers (visit Microsoft website for instructions on Windows 8 and 10 PCs).
1) At power-on/startup, tap the F8 key in one-second intervals. This should bring up the Advanced Boot Options menu.
2) Use the arrow keys to select Safe Mode with Networking and hit ENTER.
3) As soon as this mode loads, you should have the internet. Now, make use of your web browser normally and go to https://safebytes.com/products/anti-malware/ to download and install Safebytes Anti-Malware.
4) Following installation, do a complete scan and allow the software program to delete the threats it detects.
Obtain the anti-malware software using an alternate browser
Some malware only targets specific web browsers. If this is your situation, utilize another browser as it could circumvent the computer virus. If you appear to have a trojan attached to Internet Explorer, then switch to an alternate web browser with built-in security features, such as Firefox or Chrome, to download your preferred anti-malware program – Safebytes.
Create a bootable USB anti-virus drive
Here’s another solution which is using a portable USB antivirus software that can scan your computer for malware without the need for installation. Adopt these measures to run the anti-virus on the affected computer system.
1) On a clean computer, download and install Safebytes Anti-Malware.
2) Connect the USB flash drive to a USB slot on the clean computer.
3) Double-click on the downloaded file to run the installation wizard.
4) Choose the USB flash drive as the destination for saving the software file. Follow the on-screen instructions to finish the installation.
5) Transfer the USB drive from the uninfected computer to the infected computer.
6) Double-click the EXE file to open the Safebytes program from the thumb drive.
7) Click on the “Scan Now” button to begin the malware scan.
SafeBytes AntiMalware Overview
Are you looking to download the best anti-malware software program for your laptop or computer? You can find many applications in the market which come in paid and free versions for Microsoft Windows systems. A few of them do a great job in eliminating malware threats while some will harm your PC by themselves. You must be careful not to choose the wrong application, especially if you buy premium software. While considering the trustworthy programs, Safebytes Anti-Malware is certainly the highly recommended one.
Safebytes is among the well-established computer solutions firms, which provide this all-inclusive anti-malware application. With its most advanced virus detection and repair technology, this software will help you protect your PC against infections brought on by different kinds of malware and similar internet threats, including adware, spyware, computer viruses, worms, trojan horses, keyloggers, ransomware, and potentially unwanted program (PUPs).
SafeBytes has fantastic features when compared with various other anti-malware programs. The following are some of the good ones:
Robust, Anti-malware Protection: Built on a highly acclaimed anti-virus engine, this malware removal application has the capacity to find and remove several stubborn malware threats like browser hijackers, PUPs, and ransomware that other common antivirus software will miss.
Live Protection: SafeBytes provides totally hands-free live protection and is set to observe, prevent and eliminate all threats at its first encounter. It’ll regularly monitor your pc for hacker activity and also provides end-users with sophisticated firewall protection.
High-Speed Malware Scanning Engine: SafeBytes Anti-Malware has a multi-thread scan algorithm that works up to 5x faster than any other anti-malware software.
Safe Web Browsing: SafeBytes checks the links present on a webpage for possible threats and informs you whether the website is safe to check out or not, through its unique safety ranking system.
Light-weight: This program is light-weight and can work quietly in the background, and that does not have an effect on your PC efficiency.
24/7 Customer Support: For any technical queries or product support, you can obtain 24/7 expert assistance through chat and email.
To sum it up, SafeBytes Anti-Malware is really great for securing your computer against all sorts of malware threats. There is no doubt that your computer will be protected in real-time as soon as you put this software program to use. For top protection and the best value for your money, you can’t get better than SafeBytes Anti-Malware.
Technical Details and Manual Removal (Advanced Users)
If you don’t want to use malware removal software and prefer to get rid of Rapid Media Converter manually, you might do so by going to the Add/Remove Programs menu in the control panel and removing the offending software; in cases of web browser extensions, you can remove it by going to the browser’s Add-on/Extension manager. You will definitely also want to reset your web browser.
To be certain of complete removal, find the following Windows registry entries on your system and delete it or reset the values appropriately. Please keep in mind that this is for advanced users only and could be difficult, with incorrect file removal causing additional system errors. Additionally, certain malicious programs have the capability to defend against its removal. Doing this in Safe Mode is advised.
Files:
Search and Delete:
RapidMediaConverter.exe
ffmpeg.exe
unins000.exe
SQLite.Interop.dll
RFolders:
C:\Program Files\RapidMediaConverter\


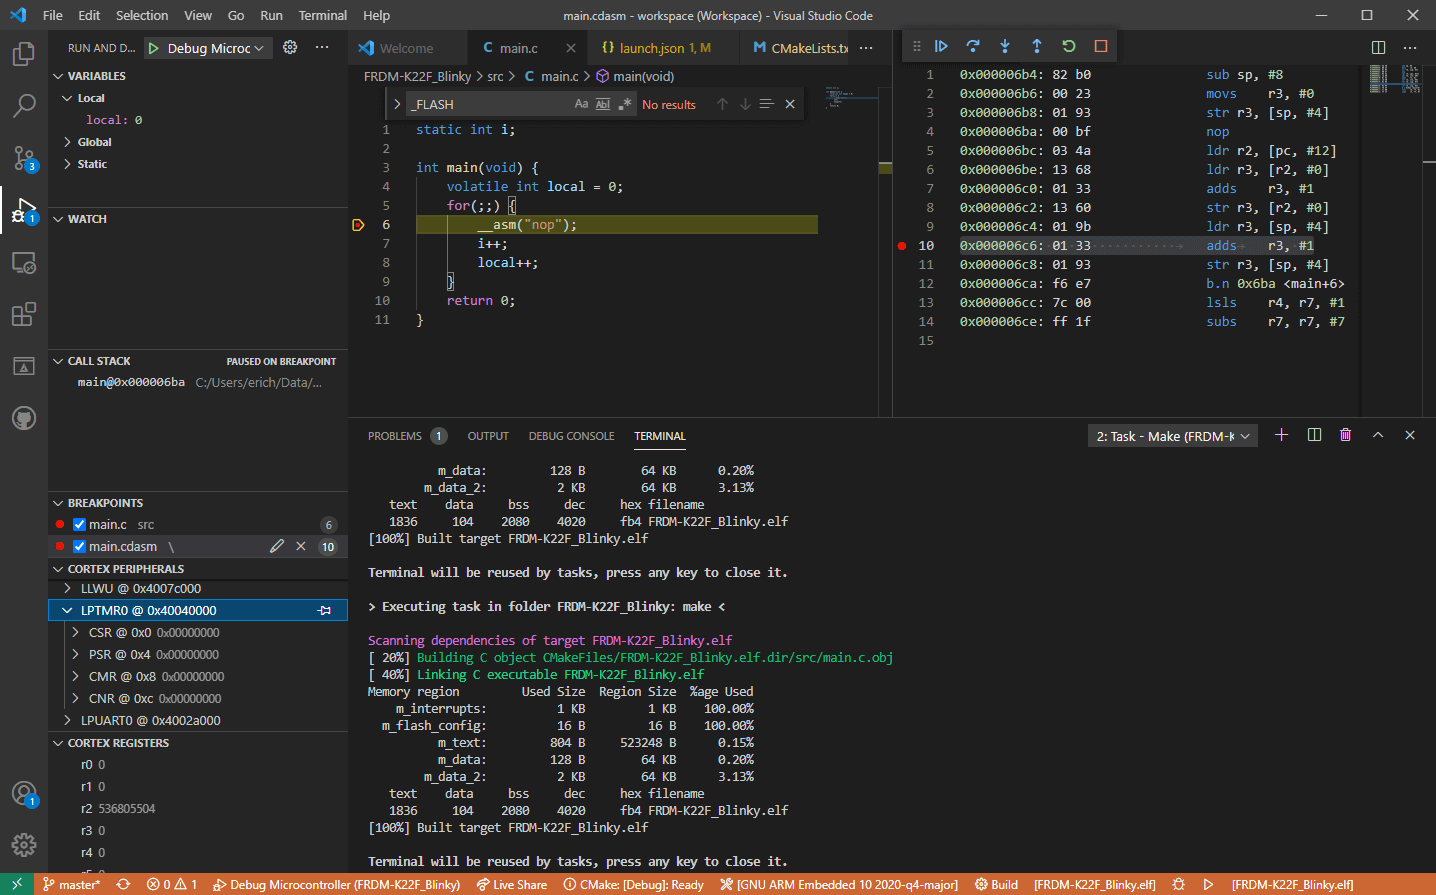 Visual studio code is a code editor available for Windows, Linux, and macOS. It is a completely free tool offering you to code in any language without the need to switch to another editor.
Visual Studio Code is part of Microsoft Visual Studio which is a complete integrated development environment (IDE). Take notice that Visual studio itself has more advanced tools for developing and testing, it has 24/7 support, training, and Azure for WEB apps.
Visual Studio Code is an editor lacking in some advanced features Visual Studio offers.
Visual studio code is a code editor available for Windows, Linux, and macOS. It is a completely free tool offering you to code in any language without the need to switch to another editor.
Visual Studio Code is part of Microsoft Visual Studio which is a complete integrated development environment (IDE). Take notice that Visual studio itself has more advanced tools for developing and testing, it has 24/7 support, training, and Azure for WEB apps.
Visual Studio Code is an editor lacking in some advanced features Visual Studio offers.
 Changes and features